Tuesday, April 23, 2013

Silkscreened Box and Votive with Martha Stewart Crafts

Silkscreened Box and Votive

What better occasion is there than Mother’s Day  to make a handmade gift? I’m sharing a project I made using supplies from Martha Stewart Crafts. This was actually made for The Mumster’s Birthday but would work great for Mother’s Day too.

Martha Stewart Crafts

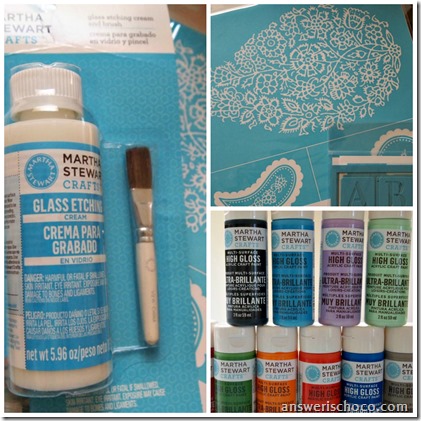
For this project I used High Gloss Acrylic Paints (Hydrangea Purple and Gray Wolf) Silk Screens, and Glass Etching Cream from Martha Stewart Crafts by Plaid.

Other supplies you’ll need:
  • Box to cover (I used a cigar box)
  • Glass votive holder
  • Embellishments
  • Paper
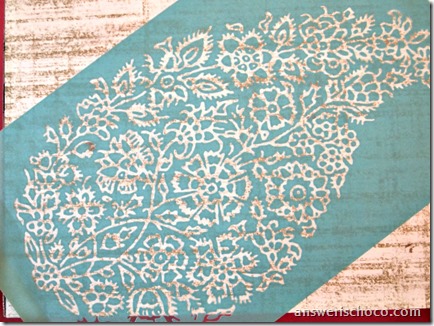
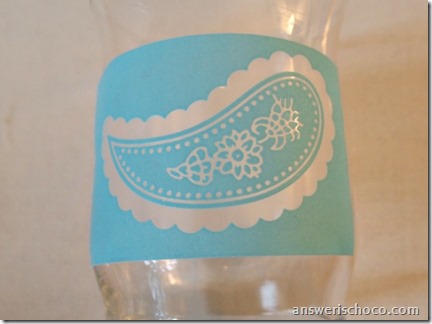
I painted my box with the Gray Wolf  and then decoupaged my paper onto it. The real fun began with the paisley silk screen stencils. These are super thin and have a sticky backing that help keep them in place.

Martha Stewart Paisley Silkscreen

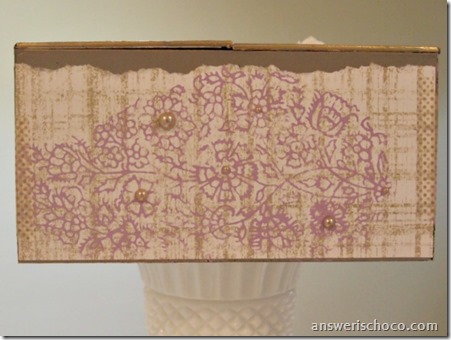
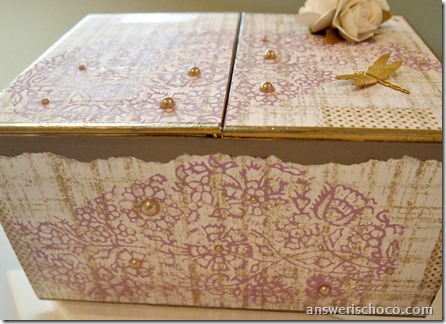
Silkscreened Box Side

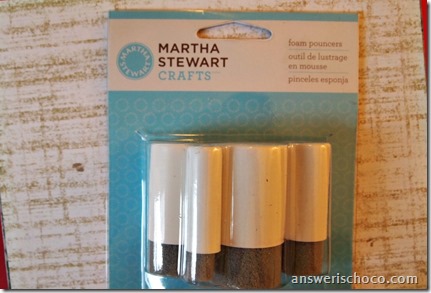
I used the spouncers to apply the Hydrangea Purple paint, going evenly over the surface. Since the silkscreens are so flexible, I was able to angle and position them any way I wanted.

Martha Stewart Foam Pouncers


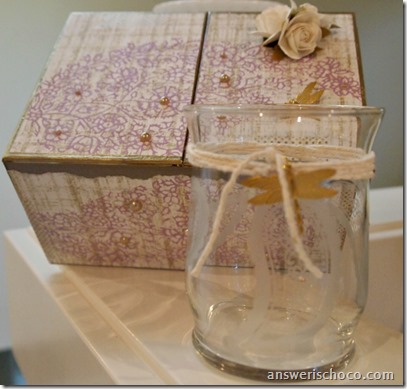
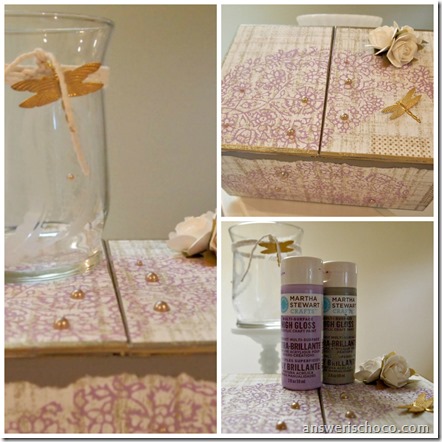
I  covered each side, the top and bottom of the box using the large paisley silkscreen. Once the paint was dry, I embellished with self adhesive pearls.

Silkscreened Box 1

Now for the votive!

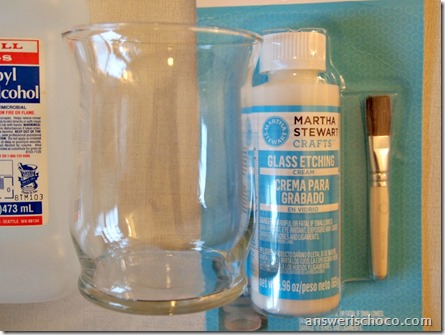
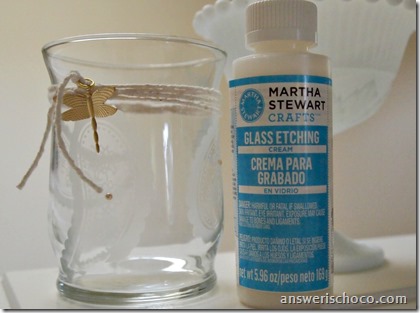
Etched Votive Supplies

I have been wanting to ( but afraid ) play with glass etching cream for a while. It was so easy I was kicking myself for not doing it sooner. I used a votive holder from the dollar store. Clean it up and make sure to wipe down with rubbing alcohol.

Martha Stewart Silkscreen Glass Etching

I used a smaller silkscreen for the votive and again since they’re flexible and have a sticky side, they’re easy to use on curved surfaces. Laid this on my surface and then using the brush that comes with the etching cream, applied an even coat. Wait 15 minutes and rinse! I repeated two more times.

Martha Stewart Glass Etching Cream Votive

To finish, I wrapped plain twine around the top and added a dragonfly charm.

Silkscreened Box Votive Collage

The Mother’s Day gift possibilities are endless.

To find out more about these and  more fun products from the Martha Stewart Crafts by Plaid line  be sure to check out the Plaid blog, Facebook, Twitter, and Pinterest pages.

I picked this day to share my post because today is The Mumster’s birthday and I knew I wanted to make something special for her with these products. Happy Birthday Mom. Love you.

This post was sponsored by Plaid and The Blueprint Social. Project ideas and opinions are my own.

Sharing At: 


Monday, April 22, 2013

Happy Earth Day: The Tale of the Upcycled Scarf Ring Tree of Life Bangle Bracelet

Tree of Life Bangle Bracelet

I’m starting a new meme. “Craftsplaining”. Like when you get an idea in your head to use something for a completely unrelated purpose ( eg I have "craftsplained" my way through Home Depot, Lowes, Dollar Tree, Target…) I've had conversations like : ”oh how old is your baby” because I’m buying baby wipes. “20 but these aren’t for him. I use them to clean up after my Mod Podge projects

Or when someone says “what made you think of that”. OK sometimes there’s not even a “craftsplanation” for that. Like this project. I received a scarf for Christmas and it came with his big acrylic ring that you could use to tie it different ways. HA! It’s a bangle bracelet DUH!

For this project you will need:
  • Plastic or acrylic bangle type device
  • Mod Podge
  • Paper Scrap
  • Metal leaf adhesive
  • Metal leafing
  • Charm(s)
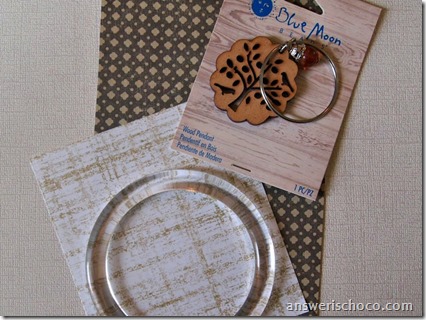
Scarf Ring Bangle

Since this was an Earth Day project, everything I used came from my stash.

Scarf Ring Bangle 1

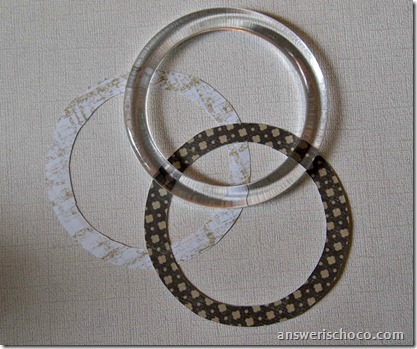
Trace around your bangle on your scrapbook paper scraps. I hadn’t decided yet which paper I was going to use so I cut two paper “bangles”. I also hummed the Olympics theme song.

Rough up your bangle. I just used an emery board. Apply Mod Podge (I used Matte finish, my go to) apply paper, smooth, apply coat on top of paper. Go make dinner or surf our favorite blogs.

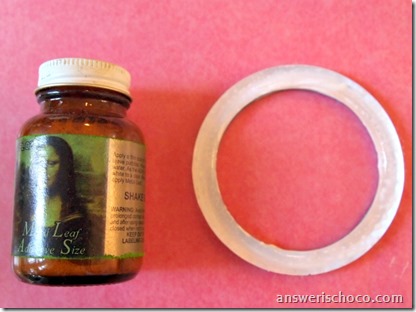
Metal Leaf Adhesive

Now, once your MP side is dry you’ll want to apply your metal leaf. If you’re not familiar with metal leafing, supplies are available at fine art stores or I know Michaels carries them. Metal leaf is not the same as FOIL. Foil has a dull side and a bright side. If you use foil ( which you could for this project) makes sure to keep the shiny side up. Also, the label is not green and Mona Lisa doesn’t usually look seasick on it. I spilled a green alcohol re-inker on my bottle.

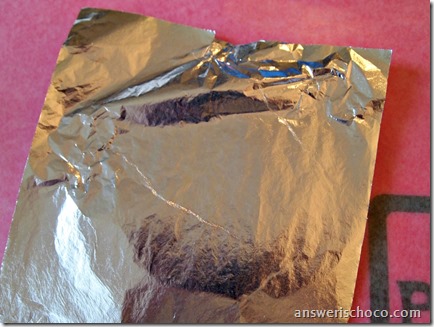
Silver Leafing

Unlike foil, when you apply metal leafing entire portions of it stick to the adhesive. Lay your foil over your sticky surface ( adhesive takes about 20-30 min to set up before you apply your leafing) and then I just use a stiff stencil brush to pounce on the leafing. Go all over your surface.

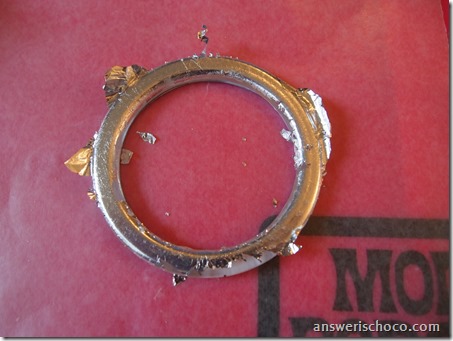
P4229137

As you go around your surface, the portions with nothing to stick to will tear away. If you are a neat freak can’t stand any uncontrolled mess, this is NOT for you. The leafing is very light weight and pieces will fly away. HINT: I lay down a piece of wax paper to help control things and then I can just toss it. You should also save your scrap pieces for other projects.

Tree of Life Charm

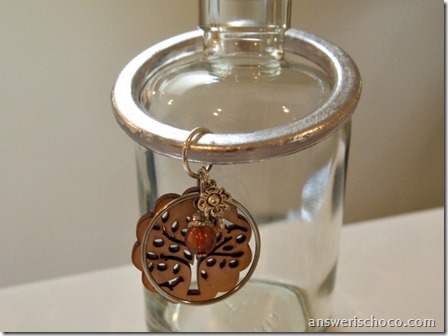
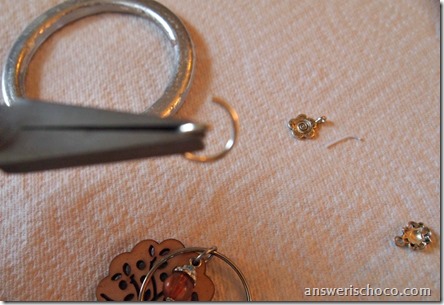
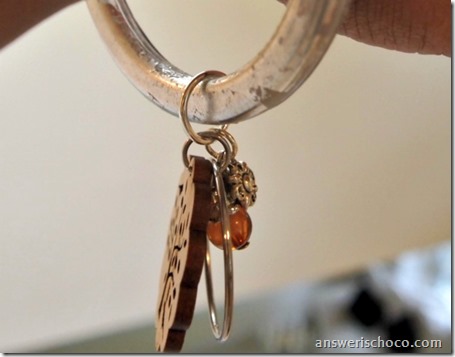
Once I had my leafing on, I attached a “Tree of Life” pendant from Blue Moon Beads to my bangle using a large jump ring. I thought this was perfect for Earth Day.  I like big clunky jewelry but of course you could use something smaller. You’ll just need a big enough jump ring to hold your bangle. I also used up some little charms from my stash. Yay stashbusting!

Silver Leaf Mod Podge Bangle

Tree of Life Bangle 2

I would love to hear some of the "craftsplanations" you've had to give. Share in the comments!

Sharing At:


Saturday, April 20, 2013

Scrappy Tags...Who Wants to Win Them?

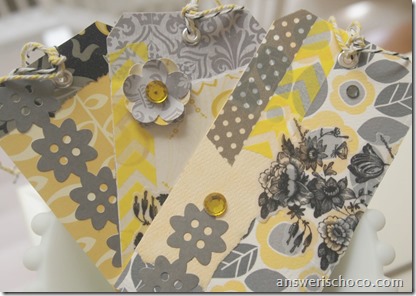
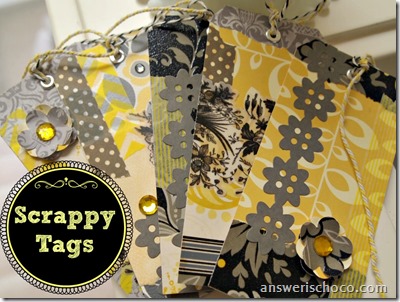
Scrappy Tags


Creating things is therapeutic for me like it is for many creative people. After a week filled with less than happy news, I finally felt like making a little something. You may recall I had several birthdays this month and made a few cards. That always means scraps left over.  I decided to make some tags.  I’ve shared posts before about these being one of the best ways I know to use up scraps.

I also decided I wanted to give them away. Why? Just because. Consider this a “give-a-tute” or a “Tute-a-way” . Regardless, it makes me happy. Sometimes you just need to make things right? 

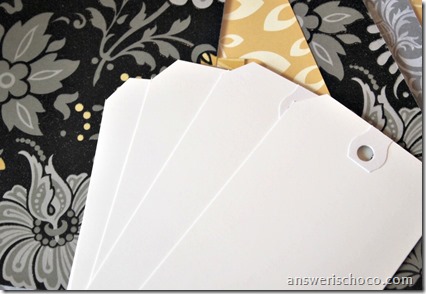
Black Yellow Grey Tags

This is a fast , easy, and stashbusty project. You will need:
  • Blank Tags. Pre-made or you can cut your own.
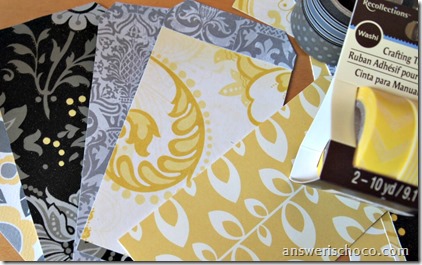
  • Coordinating Scraps
  • Adhesive
  • Embellishments ( I used rhinestones, washi tape, scrapbook stickers, and more scraps)
  • Twine or ribbon
Cover your tags with your preferred adhesive. Cover with scraps. I had pieces big enough to cover my tags completely and some pieces not quite big enough. No problem, combine the smaller pieces and trim accordingly.

Scrap Covered Tags 

Mix and match other pieces of your coordinating scraps in whatever combo makes you happy. Use the hole on the back side of your covered tag as a guide, punch through your covered side, add an eyelet.

Scrappy Tags Yellow Gray

Then just have fun embellishing. I punched some flowers from even more scraps and layered them. I used portions of stickers and strips of washi tape just wherever.

Scrap Tags Black Gray Yellow

Finished off by threading coordinating baker’s twine through the eyelets.

Scrap Tags Yellows and Grays

So who wants them? Deets below. I'll announce the winner at Friday's BFF Open House.


a Rafflecopter giveaway


Sharing At: 


Thursday, April 18, 2013

BFF Open House Link Party #101

The Answer Is Chocolate

I debated about whether to have a party this week because it certainly has not been a celebratory one. My heart continues to go out to Boston and West Texas. I'm always amazed at how quickly the creative community responds to a tragedy. Whether it was Socks for Sandy, Snowflakes for Sandy Hook, the responses to previous natural disasters, there is a way to channel our creative energies. 

Emily from House and Hone is already on the job and has announced a doll drive for the children in Texas. Please click on over to her place for the details. 

As always there were some wonderful ideas shared last week. Here are just a few: 


Karyn, at Pint Sized Baker claims she's not a cake pop goddess but who is she trying to kid? She's amazing and College Boy would go crazy for these being a self confessed comic geek! 

trays3

I love easy and I love Dollar Store finds. Christina and Rebecca from Dear Beautiful You combined the two and made these cute dessert stands. You really need to check out the party they used them for too! 


I'm not much of a gardener or a plant person but having something alive and growing always makes it feel like Spring. Jamie from The Creative Imperative has some great terrarium ideas that I think even I could handle. 


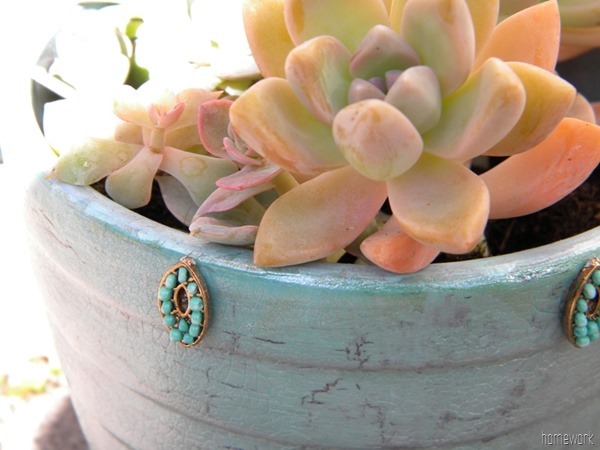
Carolyn from homework combined a Dollar Store find, a crackle paint technique and jewelry pieces from her stash to make this gorgeous Spring succulent pot. 

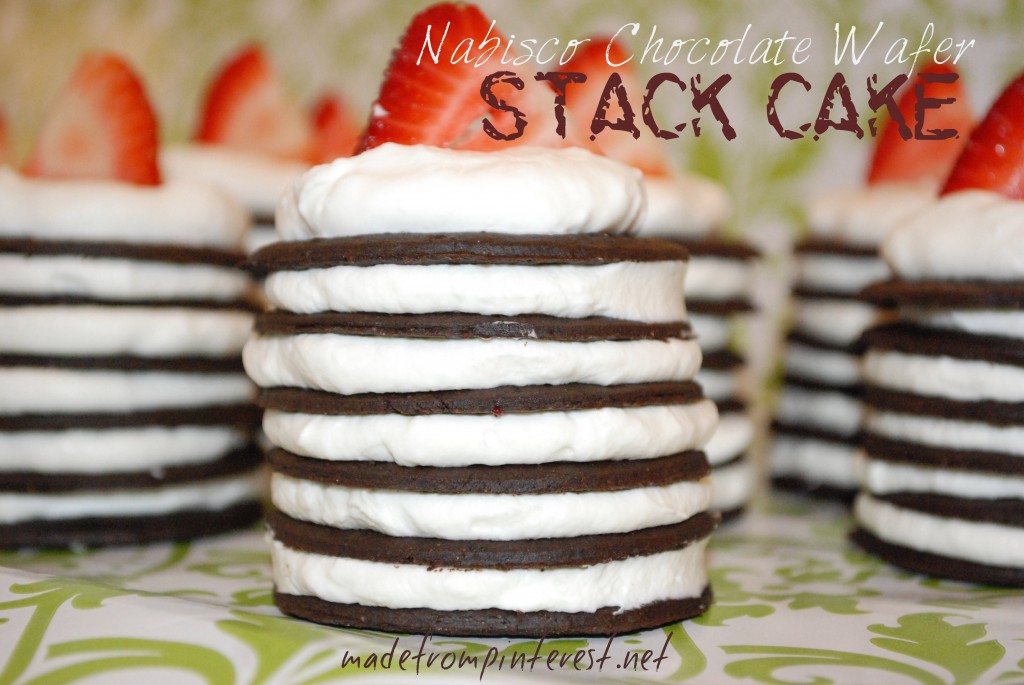
Nabisco Chocolate Wafer Stack Cake 1024x685

Finally, this week's chocolate feature is from Debbie at Made From Pinterest. I've only ever used these wafer cookies as a cheesecake base but here's an easy and yummy idea Chocolate Wafer Stack Cakes.

Now, on with the party. If you're new to linking up, please be sure and leave a comment. Following isn't required, but I do love meeting new bloggers and like to follow back. Thanks for spending some of your time on my little chocolate covered corner of the internet. 


Wednesday, April 17, 2013

Spring Spring Spring... Printable


Haven't been up to much creatively in the past couple of days. 

But it's been a bit Spring like here today, so I whipped up a quick printable in PicMonkey that I thought I'd share. 

If you use, I'd love to see how. 

Hugs creative peeps. 

Sharing At: 


Sunday, April 14, 2013

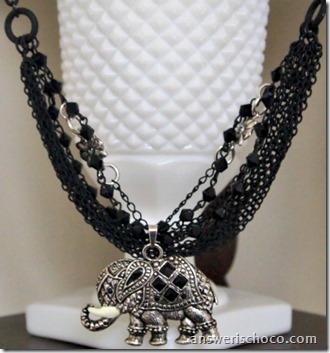
Elephant Amulet Multi-Strand Necklace

Elephant Amulet 1

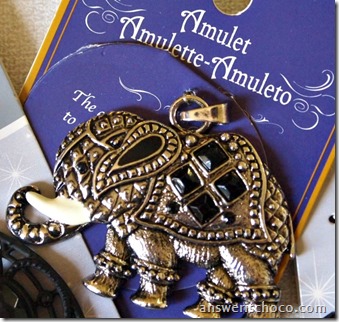
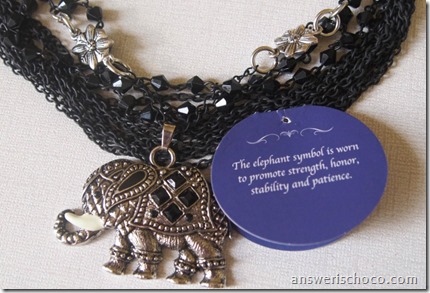
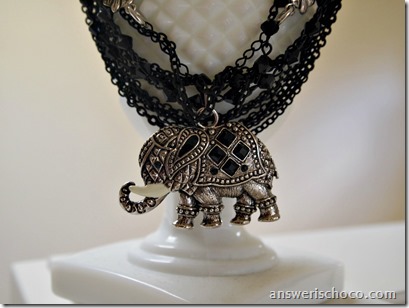
As member of the Blue Moon Bead design team, I  got to play with a new collection of Amulet pieces currently available at Michaels stores. These amulets are large pendants, representing a variety of cultures.  For this project, I chose a silver and black elephant.

Elephant Amulet

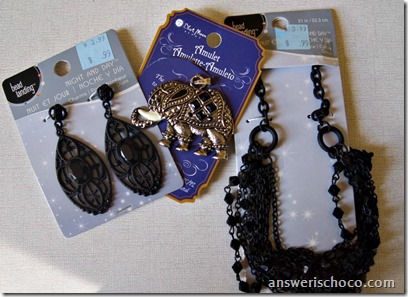
These are bold pieces. I had recently picked up some steal deal pieces on one of my Michaels trips and they were a perfect match for my amulet.

Blue Moon Beads Amulet

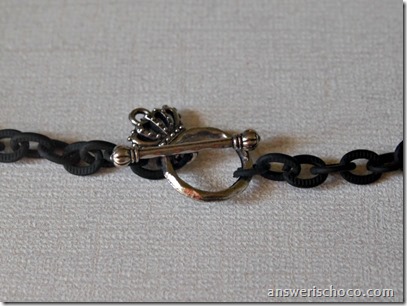
The black multi-strand chain  and the earring pieces were on sale for $.99 each!  We’ll get to the earrings in a minute. The first thing I did was change out the clasp on the necklace. I love lobster. I don’t love lobster clasps so I took off the one that was on the chain and replaced it with a silver toggle clasp (also by Blue Moon Beads). Since I was going to use my silver and black amulet, I didn’t care that it didn’t match the chain.

Blue Moon Crown Clasp

There was some extra chain from the original clasp which I then used to attach my amulet. I attached jump rings to either end, slid the amulet on, and then used more silver jump rings to attach this portion to the multi- strand portion of the necklace.

Blue Moon Elephant Amulet

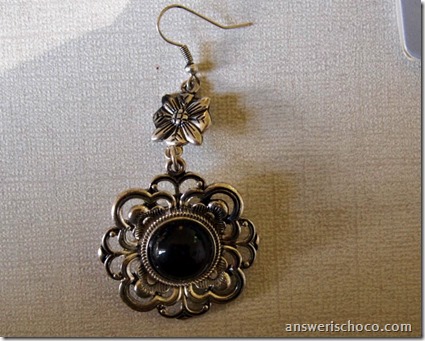
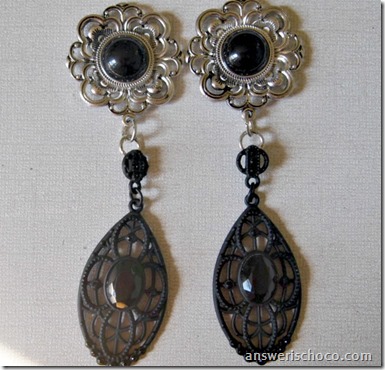
I’ve mentioned before that I don’t have pierced ears and have to make a lot of my own clip earrings. I often find pierced earrings on sale that I buy intending to take them apart and re-arrange them. That was the case with these:
Pierced Earring Conversion to Clip

I took off the ear wire and the flower charm, made the bottom the top, glued on clip earring backs, and attached the black drop pieces I picked up for $.99!

Converted Clip Earrings

They matched my black and silver amulet necklace perfectly. In case you can’t tell, I’m a big earring kinda girl!
Blue Moon Elephant Amulet 1

Sharing At: