Monday, November 12, 2012

Blue Moon Beads Design Team Project : Rum Raisin and Gold

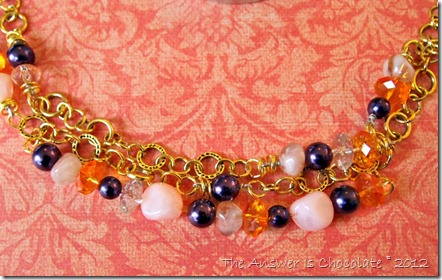
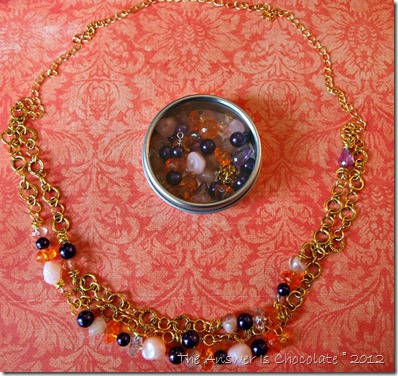
Blue Moon Rum Raisin Double Strand

You might remember last month I announced that I’d been selected to be part of Blue Moon Beads 2012-2013 Design Team. I’m so excited to share the first project I made with the wonderful supplies they sent me to play with!

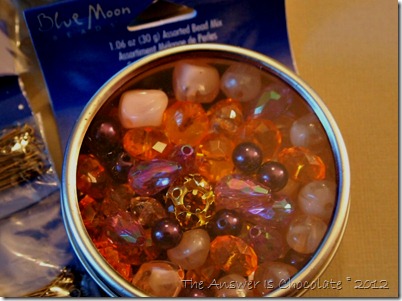
Included in the supplies were several tins of color coordinated beads. The first one I played with is called “Rum Raisin”

Blue Moon Rum Raisin

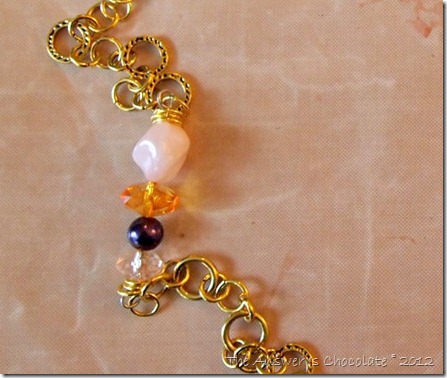
Pinks, purples, lavenders and orange.  The colors immediately said “gold” to me so I used some gold BM chain that I already had in my stash. I made several clusters of beads to intermix with the chain using beading wire and wrapped loops. A great video to show you how to make a wrapped loop is here: Wrapped Loop Tutorial

BM Run Raisin Gold Chain
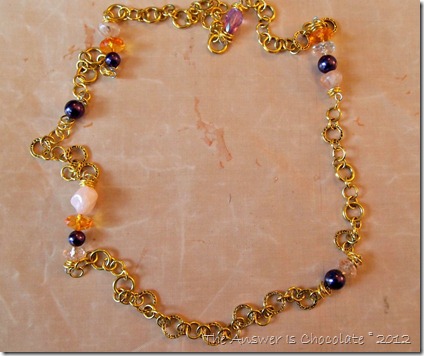
I didn’t have any particular order so I just kind of eyeballed my spacing of the beaded sections.
BM Run Raisin Gold Chain
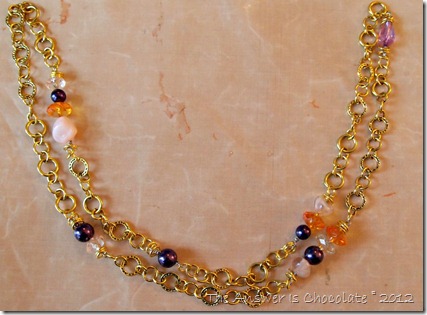
II folded my large completed chain in half and attached jump rings to each end and then added some more chain to each end.
BM Rum Raisin Doubled
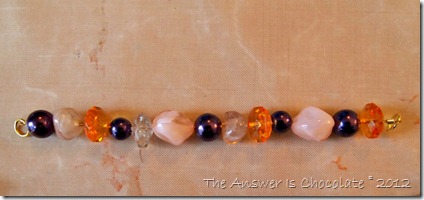
Using stringing wire, I strung a small section of beads that I attached with jump rings to the middle of the double layer:
Rum Raisin Strand

Rum Raisin Blue Moon Beads

I like the randomness of this and these are definitely colors I would not likely have put together on my own. These little tins can be found at JoAnn’s and Blue Moon chain and beading supplies can be found at several craft stores.


Sharing At:


Disclosure: As part of the Blue Moon Design Team, supplies were provided for my use. Opinions are my own.

BFF Open House Link Party #78 Wrap Up and Features!

Happy Monday crafty people. Can you believe that Thanksgiving now less than two weeks away? Really. Less than TWO WEEKS. When my son was little, he quickly surmised that it was the “forgotten” holiday and would get mad that stores went immediately from Halloween to Christmas and insisted that we decorate for Thanksgiving equally as much as those other holidays. I’m glad to see I’m not the only one so here are some ideas from Friday’s party.


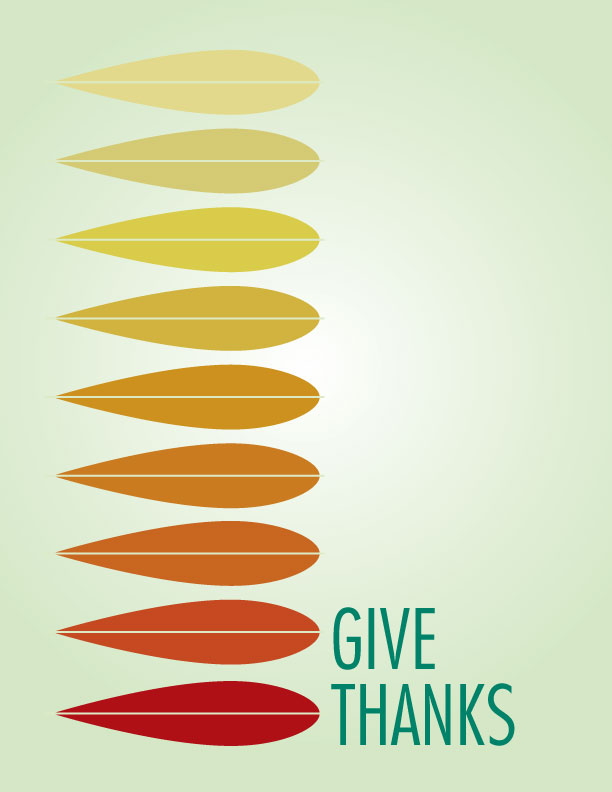
I love the simplicity of this ombre printable from Bev at Flamingo Toes don’t you?  She’s got two more variations.


Michele over at The Scrap Shoppe shows how to easily transform some cheap gourds into glammed up décor. Can you go wrong when glitter’s involved?


New blog on the block! Robyn from Ruffly Ribbons shared this gorgeous headband to dress up your attire for holiday entertaining or just because. I live in headbands. Must attempt! Robyn’s is a new blog so let’s show her some bloggy love.


Before we know it, we’ll be hearing Christmas music 24x7. OK already hearing it!  Aimee from Twigg Studios shared these drop cloth and felt stockings. Great to hang or use as a way to present a gift.
And this week’s chocolate feature is from Lori Ann at Lori Ann’s Food and Fam. Oh my:


I’ll let her describe it:
You might not be able to handle it....it's o.k.
You need to know your limits.

Slow Cooker Chocolate Lava Cake


Thanks everyone for linking up and sharing your creativity here at The Answer Is Chocolate. Hope to see you again on Friday and make it a creative week!

Thursday, November 8, 2012

BFF Open House Link Party #78

Happy Friday Eve everyone! Hope it's been a good week for all. Can't believe it's time for another party already but here we are so let's get right to it.


link party rules-001


Wednesday, November 7, 2012

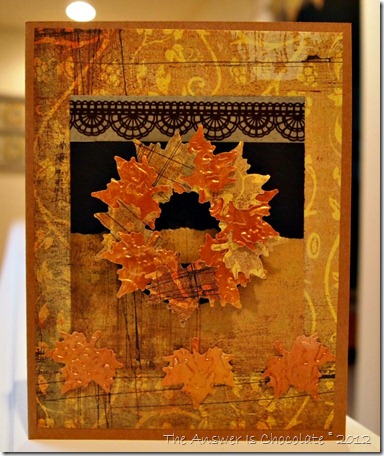
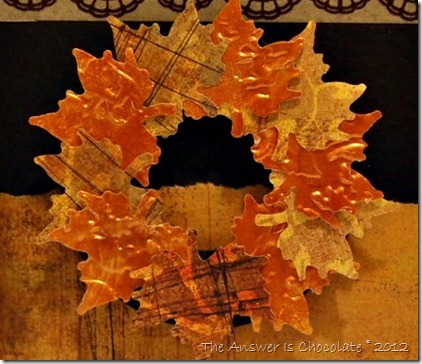
Punched Leaf Wreath for Cards, Packages, Etc.

Mini Leaf Wreath Card

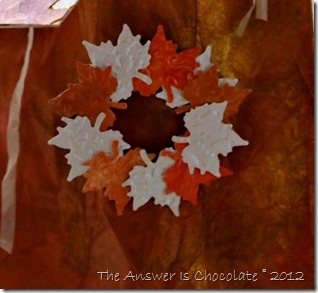
I love my die cutting machines but sometimes you just have to punch things ya know? I like to use up scraps if I can and punches are a great way to do that. So here’s how I made my punched leaf wreaths that I used on the gift bags I shared yesterday as well as some cards.

For this project you will need:
  • Paper scraps
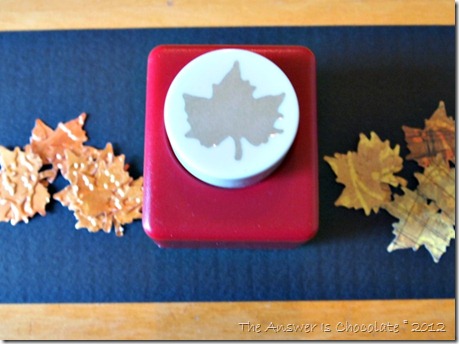
  • Leaf punch
  • Glue

Mini Leaf Wreath

Punch an assortment of leaves from your paper scraps.  I had some embossed papers and some patterned papers in my scrap stash.

Mini Wreath Bae

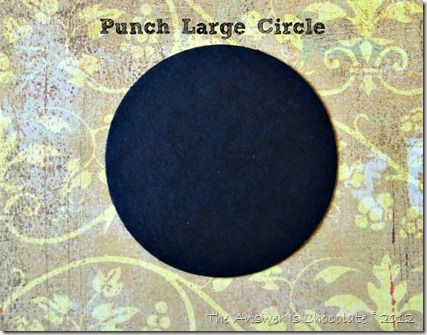
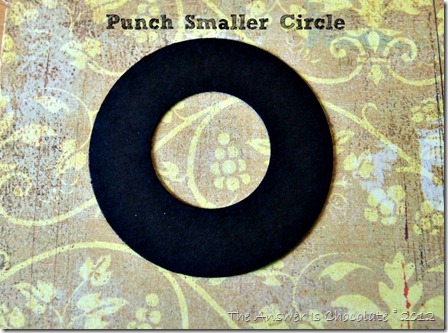
For the wreath base, punch a large circle from another scrap. This one is 2 inches. Then use a smaller punch and punch out the middle of your circle.

Wreath Base 2

Voila. Wreath form. Glue your leaves so they cover the wreath base. I kind of angled mine and used Ranger Glossy Accents but any quick adhesion glue will do. You could use glue dots or foam dots too.

Mini Wreath focal

This one I adhered to a card using foam dots. The one below I used on my gift bags.

Punched Leaf  Wreath 2

Sharing At:

Tuesday, November 6, 2012

Got Lunch Bags? Wrap Your Gifts In Them

Autumn Bags

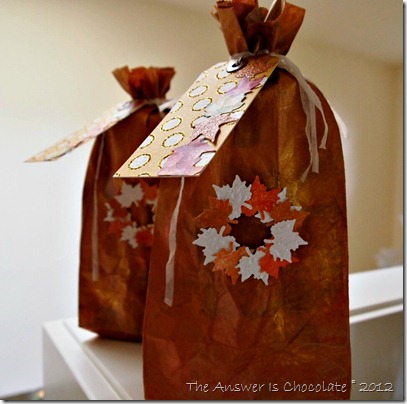
Last week I shared some candles I made for a couple of girlfriends I’m having lunch with this week.  I needed something to wrap them in so I turned to my pantry and used brown paper lunch bags.
For this project you’ll need:
  • Plain brown paper bags
  • Inks
  • Brayer
  • Cosmetic sponge
Brown Paper Bag Mica Inks

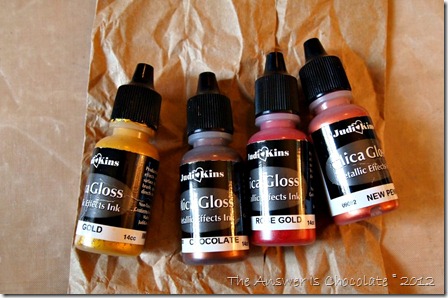
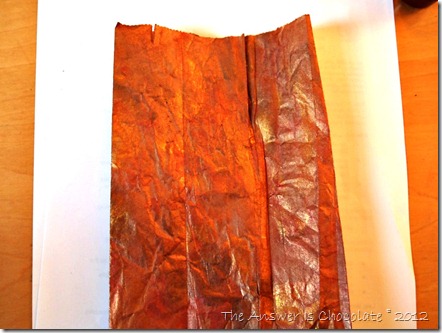
I wanted my bags to have some texture so I scrunched them up, smoothed out, then scrunched up again.  I used this Mica Gloss inks but pretty sure any pigment re-inkers, alcohol inks, or acrylic paints would work.

Judi Kins Mica Gloss

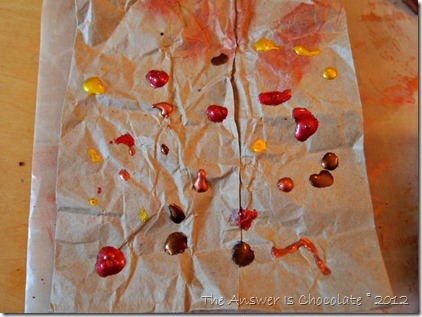
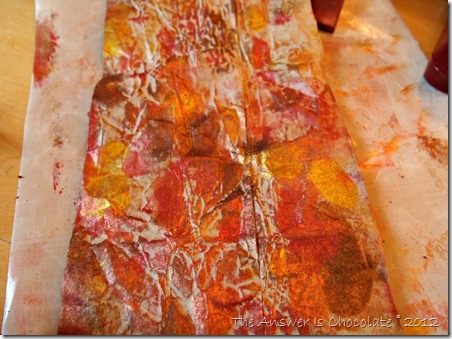
Randomly scatter drops of inks on your surface. The goal here is not perfection! I was going for a natural look mimicking Fall leaves.

Brayered Ink

Using a brayer, spread your inks. I wanted a more blended look , so after I brayered, I used a cosmetic sponge ( Dollar Tree craft supplies !) to blend the inks.

Brayered and Sponged Inks

My bags ended up being very pliable and soft. Not sure if this is from the inks or all of the working of the paper or both.

Brown Paper Wrapping

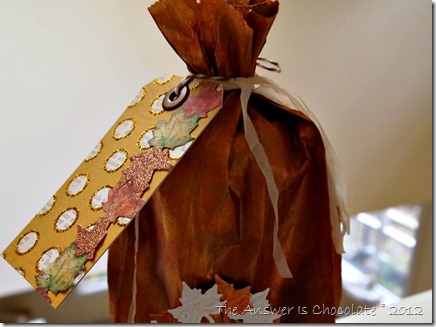
This made it really easy to use them as wrapping. Tied the tops with some ribbon yarn and then adhered the tags I made last week with baker’s twine.

Finished with a punched leaf wreath. I’ll show you how I did that in another post.

Autumn Bags

Sharing At:


Monday, November 5, 2012

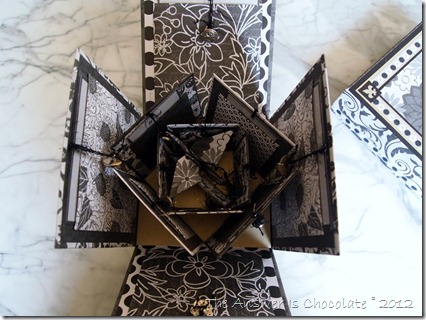
My Super Cool Magic Box Birthday Present

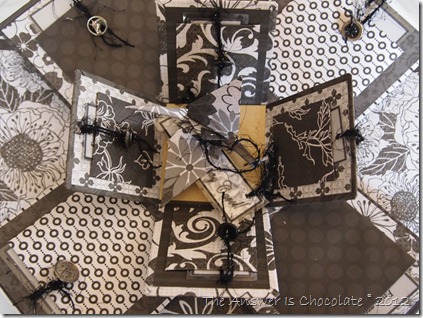
I mentioned last week that I had a chance to get together with one of my besties for a belated birthday celebration. This is the same friend who last year made the cutest gingerbread house Christmas “card”. Well she surprised me with this incredible magic box.The photos don't do it justice.

Magic Box 

I’ve seen this done on a smaller scale as a card but she went big and did three levels.

SUrprise Box

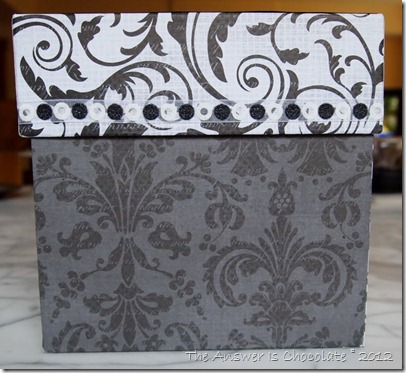
Knowing my love of black and white and grey, she picked some gorgeous papers and made it so the lid and the sides alternated patterns.

PB046758

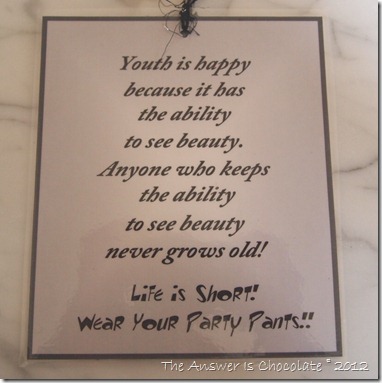
Using more coordinating papers, she lined the inside of each layer and made a pocket for quotations that she printed in black and white and laminated. Each pocket contains a different quote.

PB046759

In the very center was a birthday crane with a Happy Birthday Wish. I love all of the fibers and embellishments she used.

PB046762

This is one of my favorites! My party pants are right next to my Big Girl Panties!

I will treasure this treasure forever!

BFF Open House Link Part #77 Wrap Up and Features

Thanks to everyone who linked up to last week’s party ! You all are way ahead of me on Thanksgiving and Christmas ideas! Here are just a few to share:

Let’s start with this gorgeous burlap wreath from My CreativiT:


I am in love with all of those gorgeous ruffles!

Would you believe these leaves are made from brown packaging paper? Me either!


Go visit Twigg Studios to learn how to make some of your own.

Jenn, over at One Thrifty Chick, gave out mulling spices to teachers for Halloween. I love this idea as something you could send home with guests at Thanksgiving ( or take as a hostess gift).

Rachel over at Holy Craft shared how to make these lovely twine and book page pumpkins:


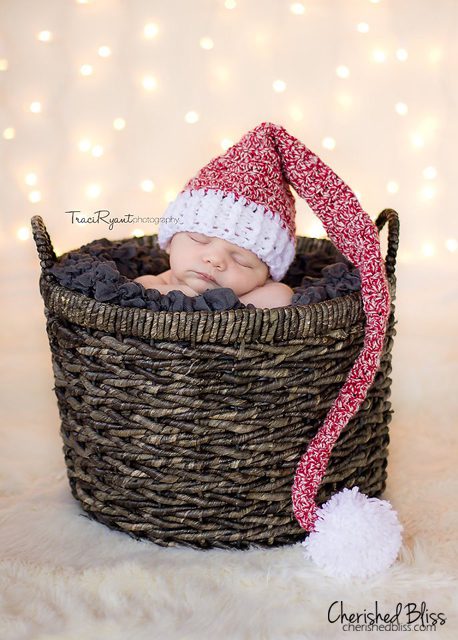
Jumping ahead to Christmas, could this be more adorable? The idea and the model?  Visit Cherished Bliss to get the hat pattern. You’re on on your own for the model.

Adorable FREE Stocking Hat Crochet Pattern via cherishedbliss.com

Awwwwwww!

And finally, this week’s chocolate feature. OMG:

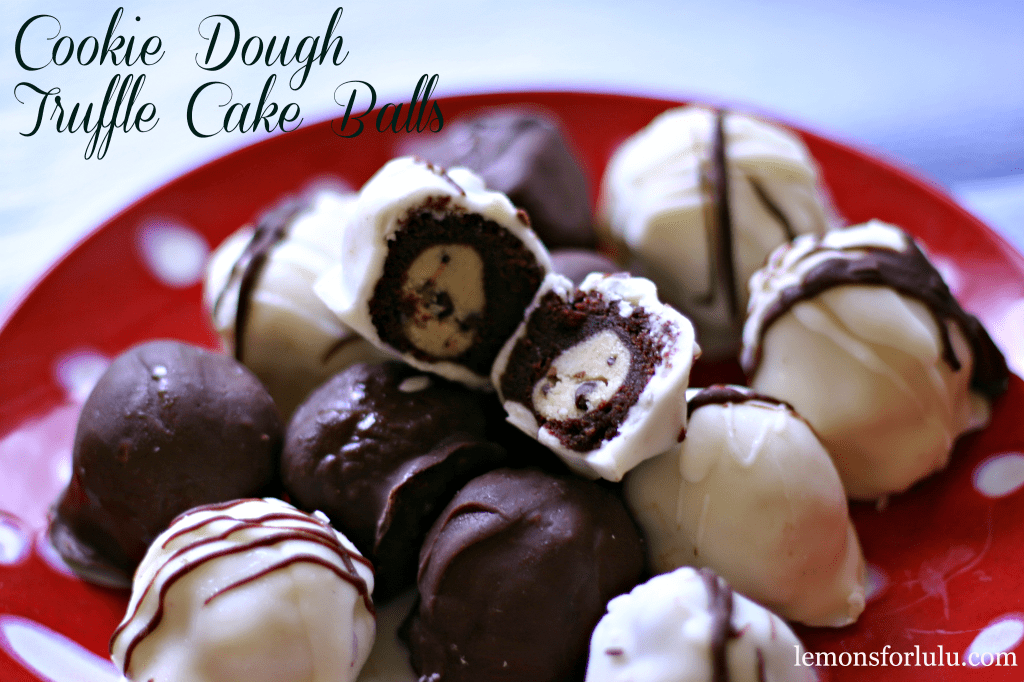
Cookie Dough Truffle Cake Balls

Cookie Dough Truffle Cake Balls from Lemons for Lulu. There are no words to describe how yummy these look!

Thanks again for choosing to share your creativity here at The Answer Is Chocolate. Make it a creative week!