Hanukkah begins tomorrow and I am honored to have a friend who appreciates my craftiness. I try to come up with something new each year and I realized I'd never made her a banner. So I did! It was easy to do using these amazing layered letters I was able to download for FREE (sign-up required) from Gjoa at Special Heart Studio.
Supplies:
- Layered Mandala Letters Svg
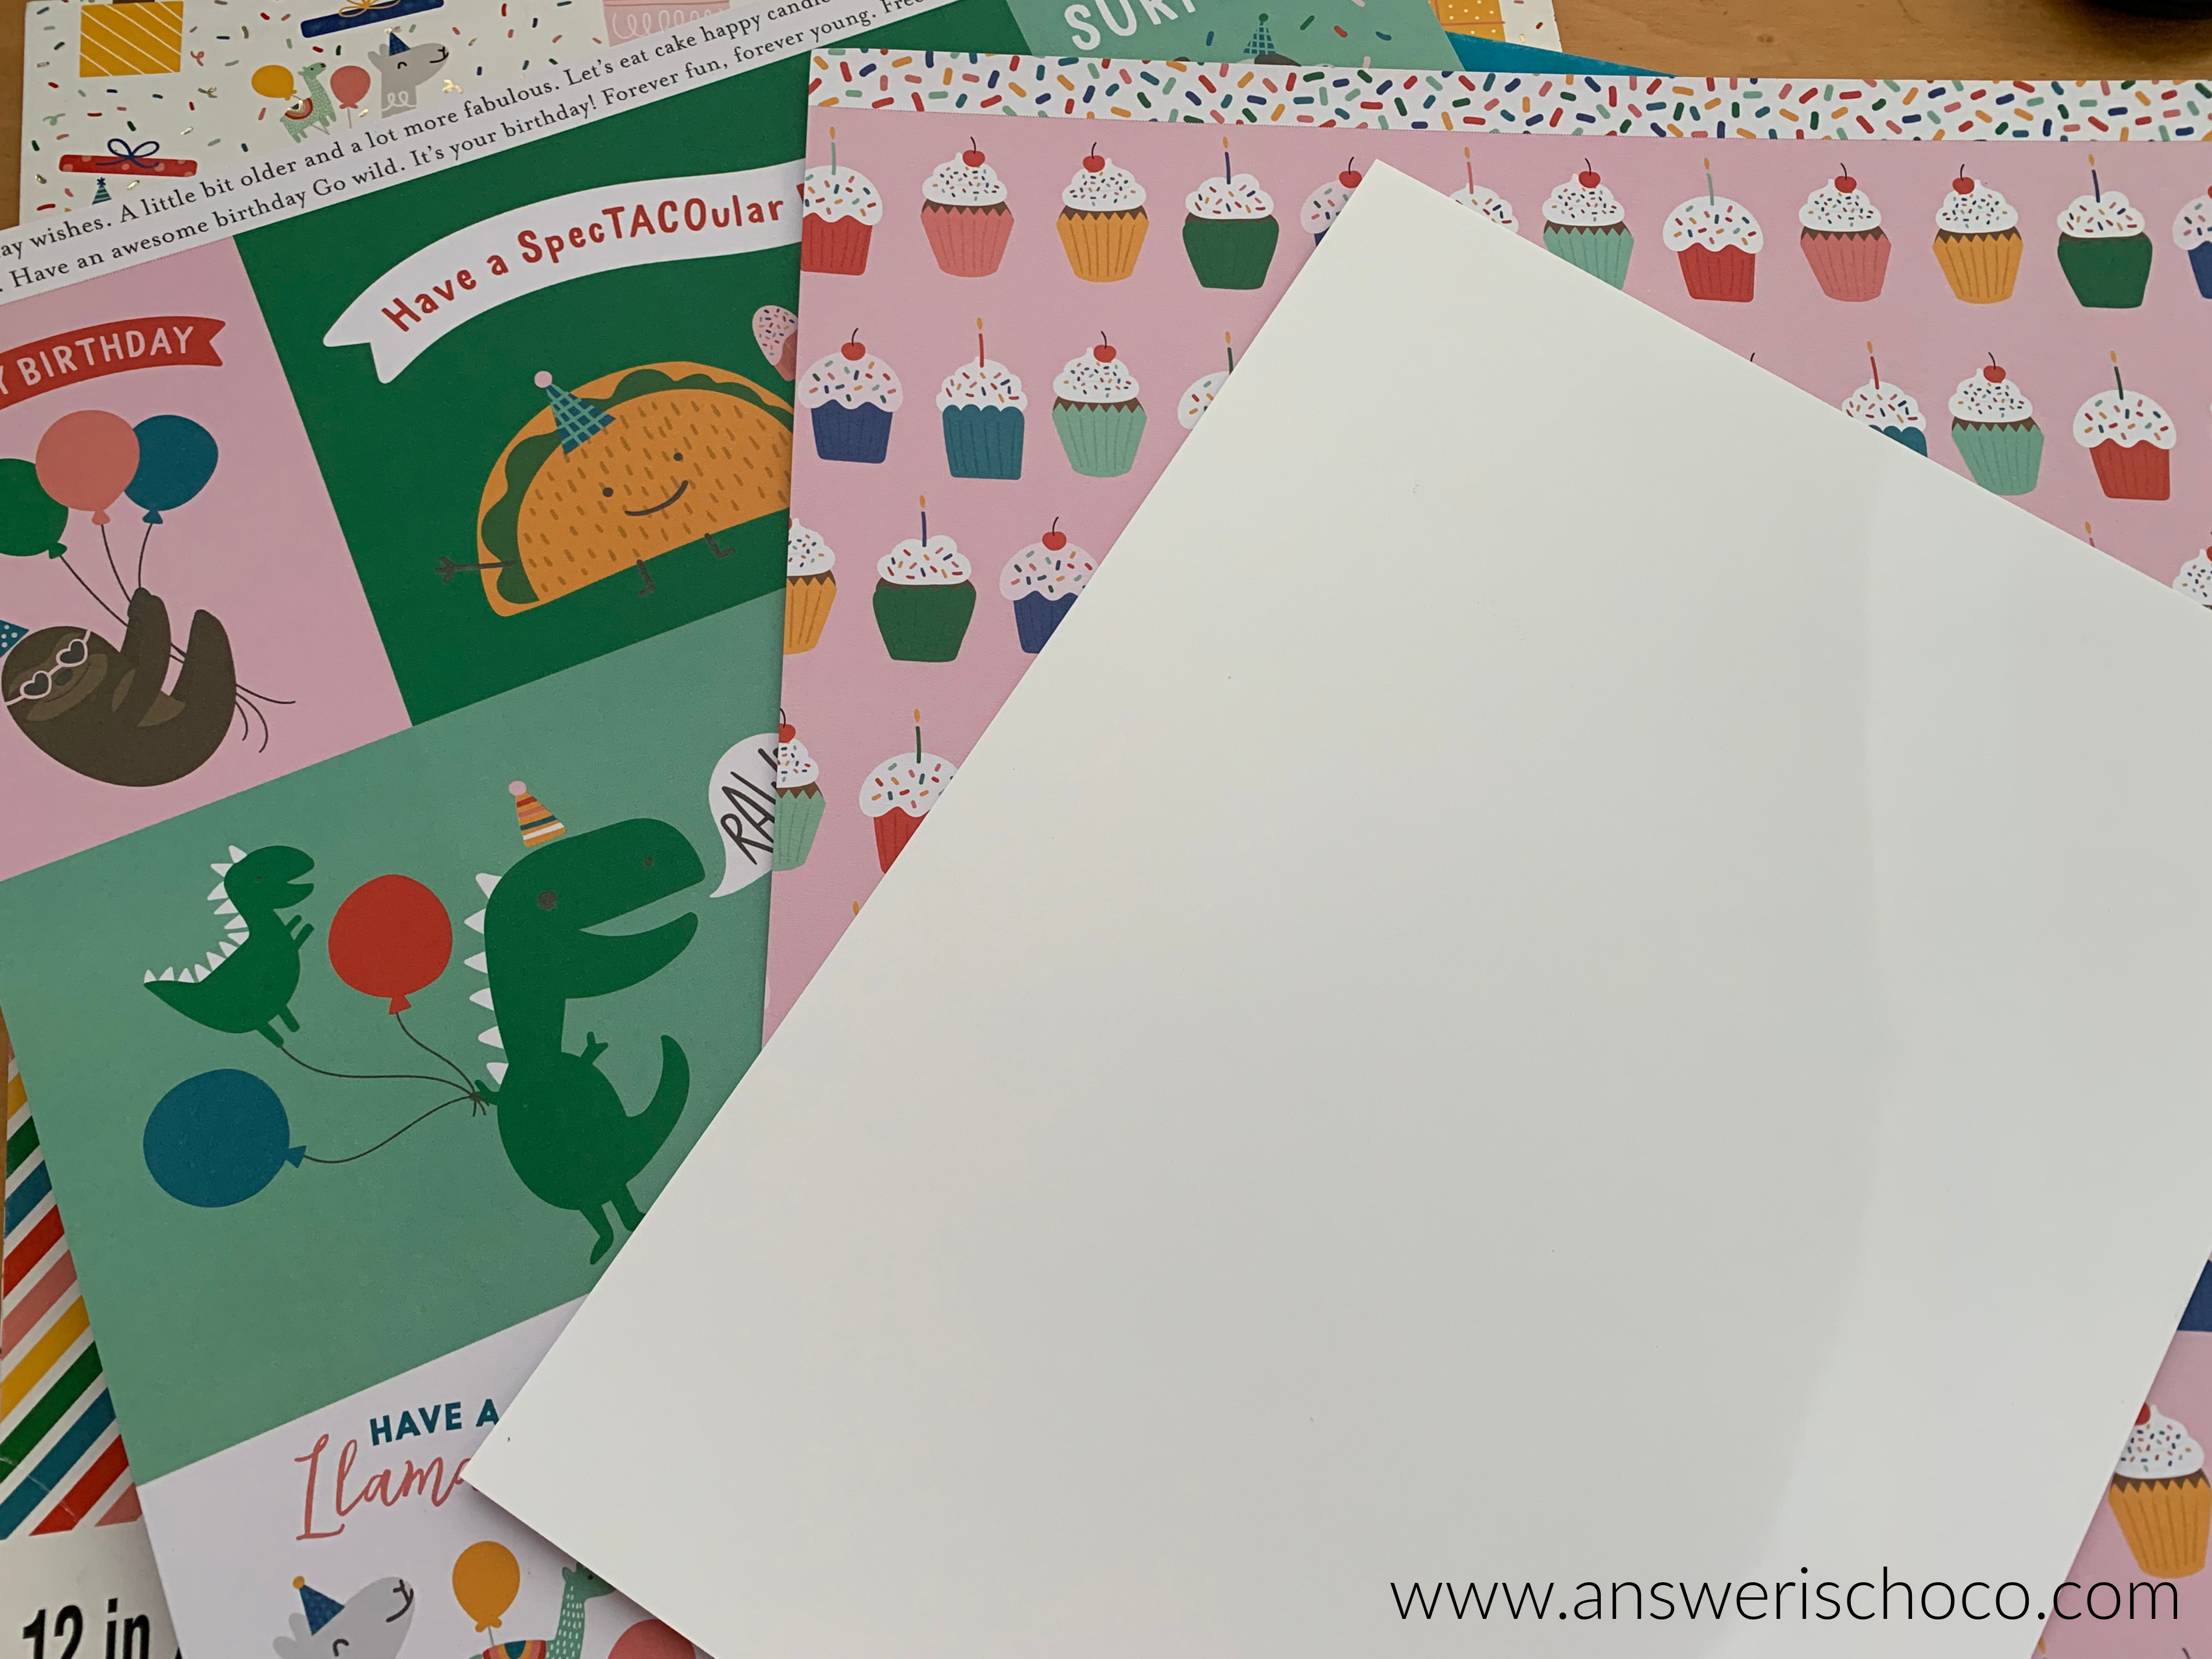
- Cardstock
- Spray Adhesive and Foam Squares
- Sequins and Dimensional Glue
- Ribbon

I downloaded the file, imported into Cricut Design Space, and sized, then chose gold glitter, white, black, and blue glitter cardstock for the layers. Working from the bottom up, I attached the white layer to the gold base layer with foam squares, used a tape runner for the black, and second gold layers, then attached the blue (top) layer using spray adhesive.

Here are the first three letters done! Once all of the letters are complete, assemble the banner using ribbon. I used Offray "Galena" Ribbon (Walmart) and strung the letters as shown, tying knots on the ends of the ribbon to prevent fraying.

Of course, I had to make a card too! Hubs gave me the "she's off her nut" look when I told him I was quilling our holiday cards this year. Challenge accepted! I finished Hanukkah cards first, choosing a dreidel outline as the base.

Then I selected coordinating colors from my quilling strips and just coiled away! I got so busy I neglected to take pictures but Pinterest and You Tube have TONS of how tos! You can check out my Quilling Board on Pinterest as well.

I made one to go with this gift, and another for another friend whose family celebrates both Hanukkah and Christmas. I had this handmade star paper in my stash...the stash I save for special cards and it worked perfectly with the colors! To finish, I added gold sequins as shown using Glossy Accents dimensional glue.
Wishing all those celebrating, Love, Lights, Latkes!