Showing posts with label Mod Podge Matte. Show all posts

Wednesday, September 19, 2012

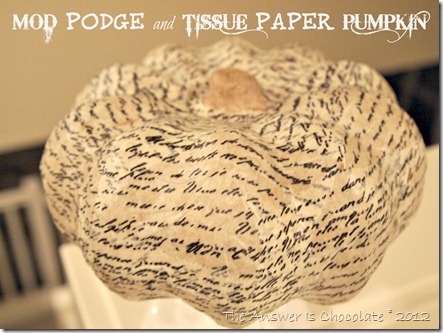
Mod Podge and Tissue Paper Pumpkin Tutorial

Mod Podged Tissue Papered Pumpkin

I’m finally getting around to some Fall projects. I’m a late bloomer. This is something that’s super easy and can stay out from Halloween through Thanksgiving. You will need:
  • Paper Mache Pumpkin (the one I used is about 6 inches across)
  • Tissue paper (I used 2 sheets, 12x12)
  • Mod Podge
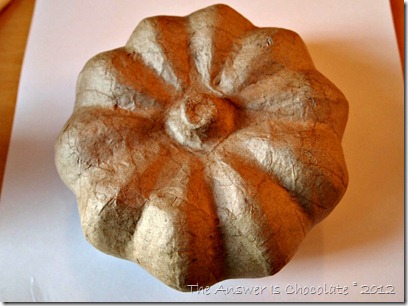
I started with a paper mache pumpkin I found on sale after season last year. I’ve seen them this year at Michaels, JoAnn’s etc.

Paper Mache Pumpkin

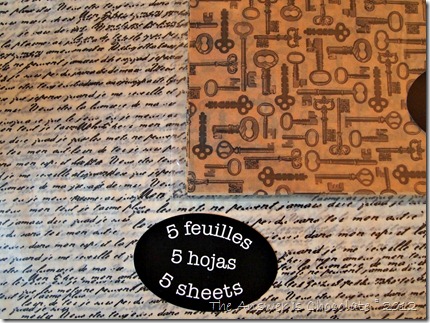
On one of my recent Michaels trips, I discovered packs of Recollections printed tissue papers in the scrapbook paper aisle. They were $1.99 for a pack of 5 regular price.

Recollections TIssue Papers

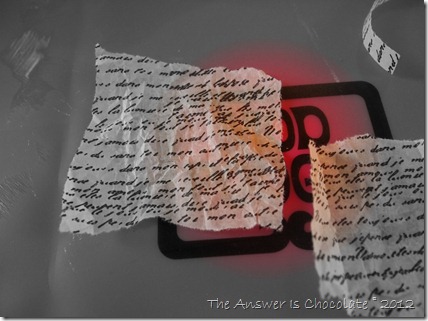
For this project, I chose the script paper. This is a good project to do if you’re in a bad mood. Not saying that I was, just saying. Why? Because you get to scrunch and tear stuff! Tear all four edges of your papers first. Then:

Recollections Paper Pumpkin

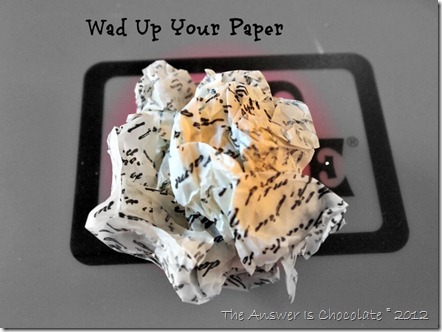
Wad, scrunch, ball up your paper. Unwad, then tear into smaller pieces:

Recollections Paper Pumpkin 2

The reason you’ll want to have torn your edges first is that they blend better when podging.

Mod Podge Pumpkin

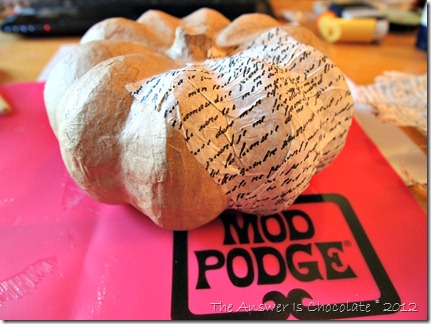
Apply Mod Podge ( I used Matte Finish) to the back of your paper pieces, then apply your paper to the pumpkin. Since tissue paper is thin you don’t want to oversaturate but it’s also very forgiving and gets in the creases of the pumpkin unlike stiffer paper would.

I was conscious but not OCD about making sure the script was all going the same way.

Mod Podge Tissue Paper Pumpkin

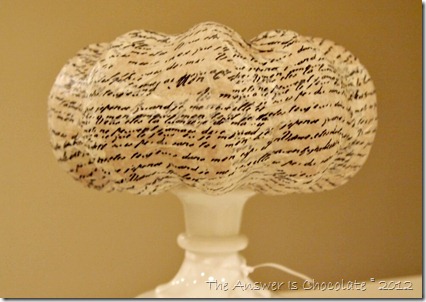
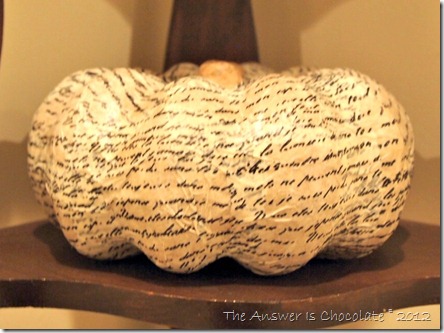
In some spots, paper got layered  making things more opaque, and in others it didn’t and I liked the effect of some of the naked pumpkin showing through.

Tissue Paper Pumpkin

Once you’ve got all of your paper on, coat with Mod Podge and just wait for it to dry.  I’m working on another variation so check back soon.

Sharing At: 


Saturday, September 1, 2012

Decor Craft: Numbers, Time Pieces, and Mod Podge

Numbers , Time, Mod Podge

You can still link up to this week’s BFF Open House here.

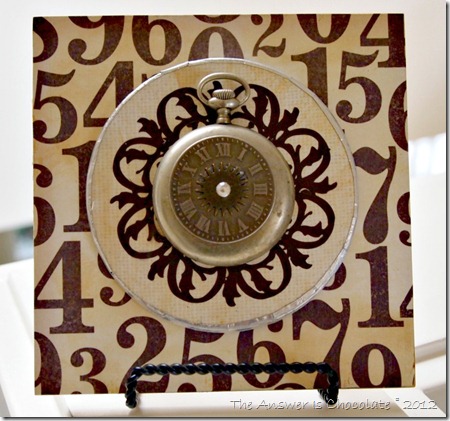
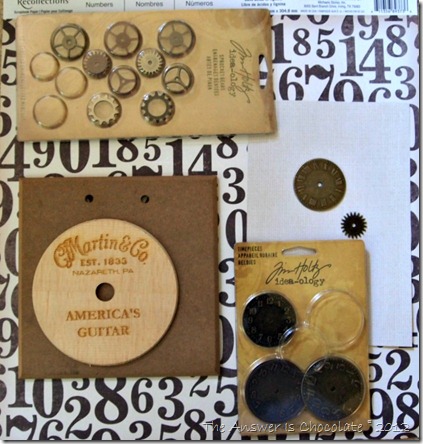
I thought I’d share a little something I made to commemorate our Anniversary. We both love clocks, time pieces, etc. For Mother’s Day this year we went to a local flea market where I found an antique pocket watch casing but hadn’t decided what I wanted to do with it. Then this idea came to me when I picked up some of this numbers paper by Recollections at Michaels recently.

Recollections Number Paper

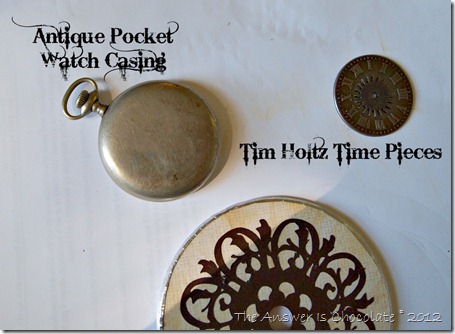
I had some  Tim Holtz time piece and gear pieces in my stash, and Mr. C gave me a couple of wood discs ( I have no idea what they are) he found in his den. Add to that an MDF plaque from stash and another piece of scrap paper.

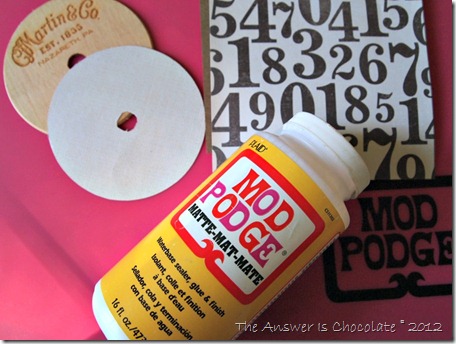
Mod Podge Recollections Numbers Paper

I traced the plaque and disc on the papers and cut out. Then applied with Mod Podge and sanded the edges when dry.
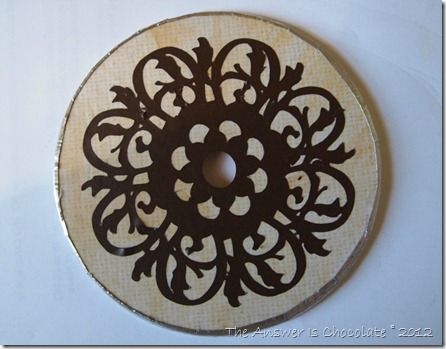
Cricut Damask Decor

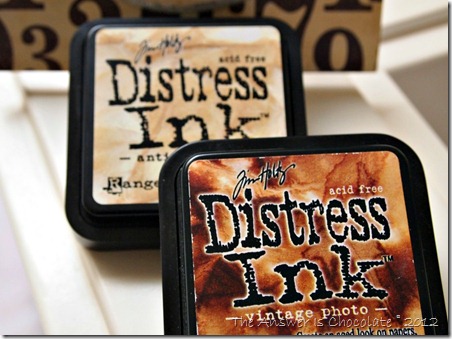
I liked the design I used from the Damask Décor Cricut Cartridge on my upcycled cheese box so I cut another one out of chocolate brown vinyl.  I antiqued both the paper covered disc and the plaque with Ranger Distress  Inks:

Ranger Distress Inks

and edged the wooden disc with some aluminum tape. Once the paper pieces were done, I glued all my watch pieces together with E-6000.

Tim Holtz Time Pieces

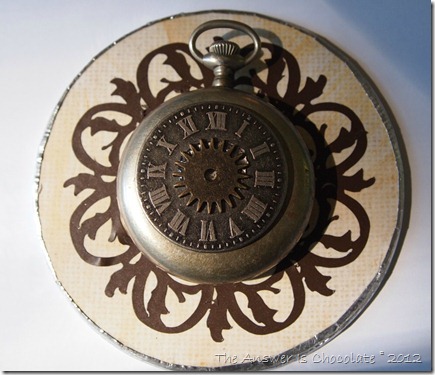
I’d debated whether to use the inside or back of the pocket watch casing and decided to go with the back. So glued the time pieces together then glued to the casing , then glued to the disc.

Repurposed Pocket Watch

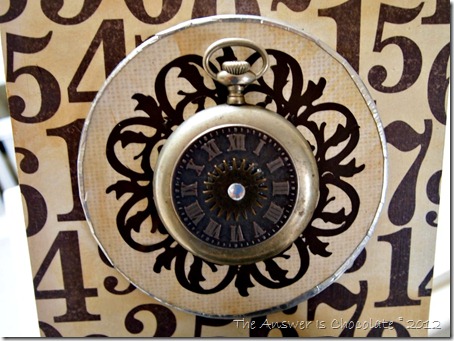
Me, being me, I had to add a rhinestone in the middle as the final touch! Gotta have bling!

Numbers, Vinyl, Pocket Watch

The most expensive piece of this was the pocket watch casing…$10 which I still don’t know if that was a good deal or not, but it’s silver and it spoke to me, and so there.

The Tim Holtz sets are around $5 or $6 each ( of course I buy these w/ 40% coupons!) and you get several projects out of them. The MDF frame I got at Ben Franklin for $1.99 and the rest of the stuff I had. Oh the Recollections paper was 4 for $1 on sale at Michaels.

The 21 years of memories that this project represents? Priceless.

Sharing At: 


Monday, August 27, 2012

Green Craft: Turn A Cheese Box Into A Gift Box


I recently shared this project over at the Expressions Vinyl blog but wanted to share it here with all of my readers.

I know I'm not the only one who looks at something for its crafty possibilities before recycling or putting it in the trash. I've seen some other crafty peeps use these cheese boxes and had been saving one to play with. 


Laughing Cow Box

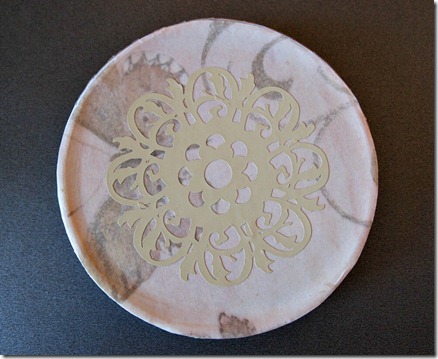
I used my box to trace two circles onto the scrapbook paper you see in the background, cut them out and then applied them to the box using Mod Podge. 

While that was drying, I went to work on what would be the focal point of my box. I alternate between my Silhouette Cameo and my Cricut Expression, both of which I love to use to cut vinyl. I used the Cricut for this.

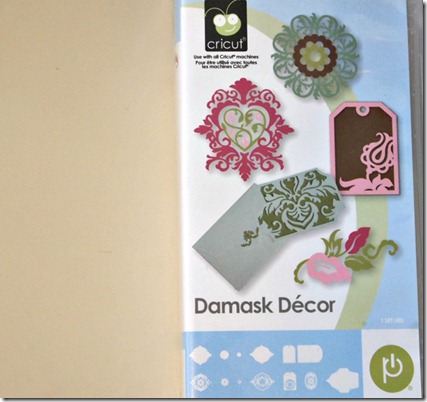
Damask Decor

I used the Damask Décor cartridge and a taupe vinyl scrap and cut out my image ( #30).

Damask 30 Cricut

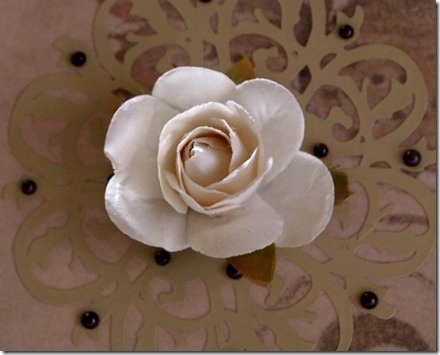
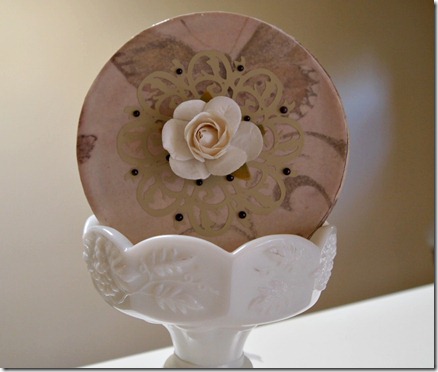
Here’s the vinyl all cut out and placed on the top of the box. I liked it well enough at that point but never being one to leave anything alone, I went to my embellishment stash and decided on a paper flower and some chocolate colored self adhesive pearls.

Vinyl Embellished Gift Box

The whole thing took maybe an hour and most of that was drying time for the Mod Podge.  Simple, inexpensive, uses what you might already have on hand. Now I just have to finish the gift that is going inside the gift box!

Damask Vinyl Box

Sharing At: