Showing posts with label Dollar Tree. Show all posts

Wednesday, October 31, 2018

Til Death Do Us Part Couples Shower Candles


 Happy Halloween all! Hope those of you with Trick or Treaters are prepared for tonight. We are winging it. We have no idea if we'll get any at all but I was a Girl Scout so I'm prepared with candy ( my favorites just in case no one shows!).

My BFF just threw an amazing couples shower for "our" daughter and future son-in-law. The inside joke is that I'm her "real" mom because we tend to like a lot of the same things, and those things are very different from what my BFF tends to like. We all converge around Harry Potter!  Since we were pregnant together, there's always been a connection there.

The wedding isn't until January but "our" daughter LOVES Halloween and all things skully and gothic so October was the perfect time for the shower.

Supplies:

  • Plain Prayer Candles (Dollar Tree)
  • Black Vinyl ( I used Cricut Glossy Black)
  • Skull Image ( downloaded from Silhouette online store)
  • Decorative Paper ( I had this in my stash)
  • Washi Tape (also stash)


Tip: if you need Dollar Tree items in a specific quantity and don't want to risk your store not having enough, you can order online and have sent to your store for you to pickup. I had a little hiccup with mine but it's the first time it's happened and luckily the store still had the 20 candles I needed.


I wrapped the bottom of 10 with the silver paper and 10 with the black and silver paper.


I used a strong double sided tape to adhere. I had some coordinating washi tape in my stash so I used it with the silver paper. 

My images were busy  cutting on my Cameo while I was wrapping the candles. Once they were cut, the fun began: weeding. Not my favorite part of vinyl, but oh so necessary! 


Weeding As Art ! These are all my little scraps removed from the images. 


Once the weeding was complete and the transfer tape applied, applying the images to the candles was easy peasy.  My BFF was so happy with them and they went perfectly with how she'd decorated for the shower. 


Sunday, November 9, 2014

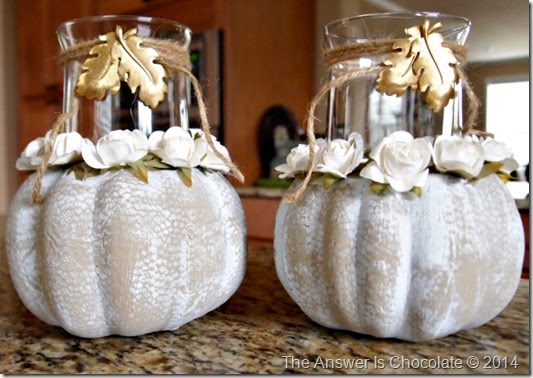
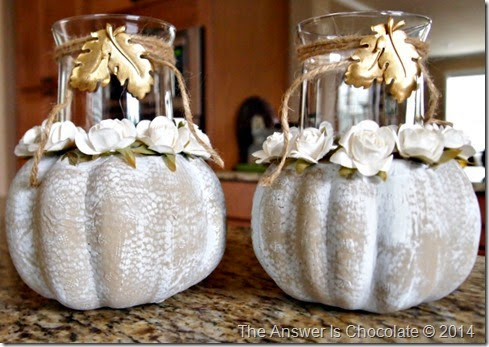
Dollar Tree Altered Pumpkin Candleholders

Dollar Tree Thanksgiving Candle Holders

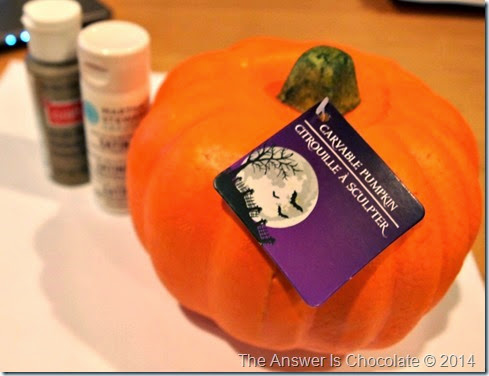
I picked up a couple of extra foam pumpkins at the Dollar Tree during Halloween shopping. Like most projects I do, I knew I’d do something with them but not exactly what. Since the tag said they were carvable, I thought maybe I could use them as the base to hold glass candleholders , also from Dollar Tree. No clue why this thought came to me...just did.

For this project you will need:
  • Dollar Tree ( or other carvable foam pumpkins)
  • Glass candleholders (Dollar Tree)
  • Craft paint
  • XActo knife
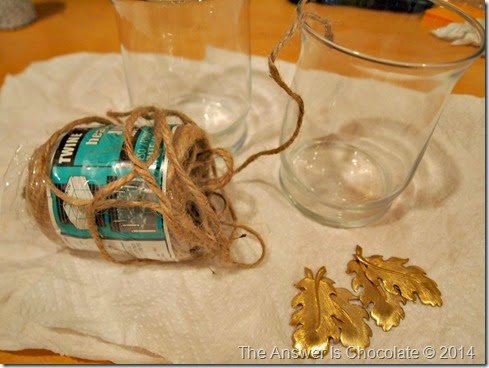
  • Twine
  • Charms
  • Hot glue gun
  • Paper Roses
Dollar Tree Pumpkin

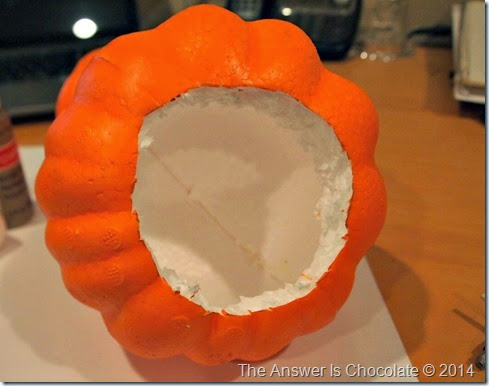
Using the bottom of the glass candleholder as a guide, I traced a circle around the top of the pumpkin and cut out the top with an Xacto knife:

Carved Dollar Tree Pumpkin

Yay…no pumpkin guts to deal with. Inside the rim looked a little rough so I covered it with some Mod Podge and tissue paper. It doesn’t really show in the finished project but I wanted to be safe  just in case.

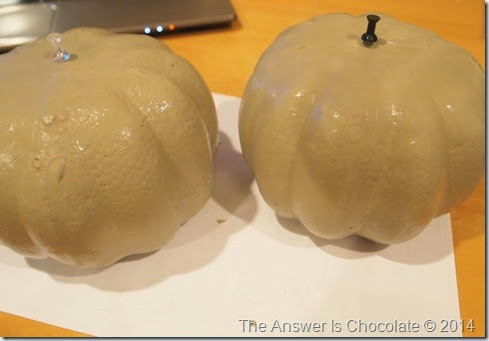
Painted Dollar Tree Pumpkins

Paint pumpkins with a couple coats of craft paint (I used taupe).

Tip:  use push pins to make it easy to pick them up and hold while painting.

When the base color is dry, dry brush with white. The bumpy texture of the pumpkin really shows through with the dry brushing.

Dollar Tree Pumpkin Makeover

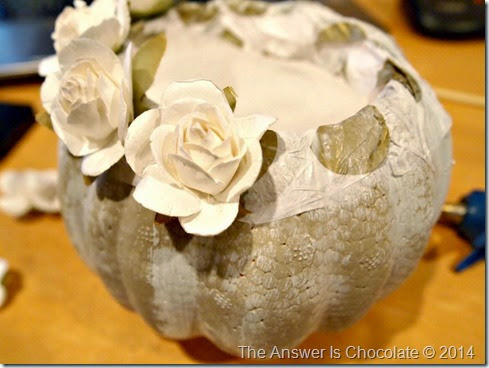
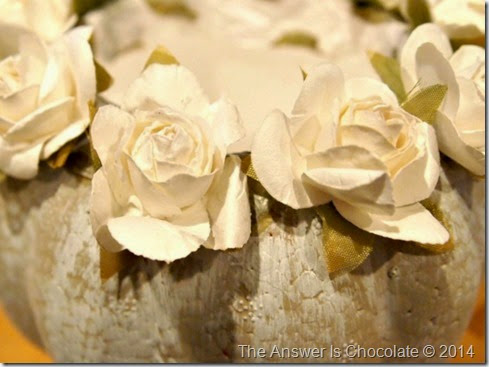
Glue paper roses around the top of the pumpkin (you can see the tissue paper I used to rim the inside of the pumpkin) .

Dollar Tree Makeover 1

Now on to the candleholders.

Dollar Tree Vase Makeover

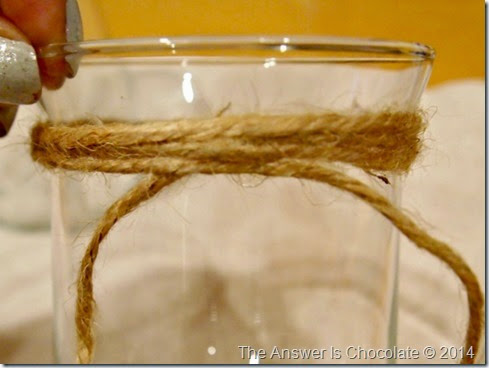
Wrap the twine around the top of the candleholder and tack in place using hot glue.
Twine Wrapped Vase

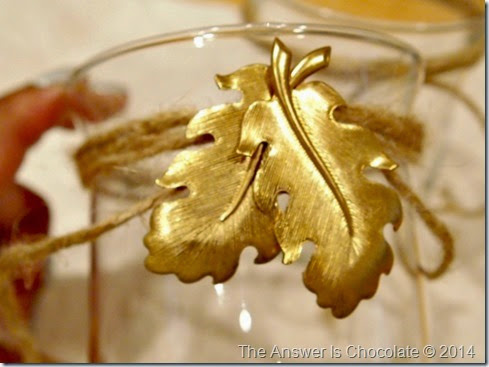
Hot glue charms to center:

Oak Leaf Charm Vase

Place candleholders inside pumpkin base.

Dollar Tree Thanksgiving Candle Holders

Sharing At:
The Girl Creative


Sunday, November 2, 2014

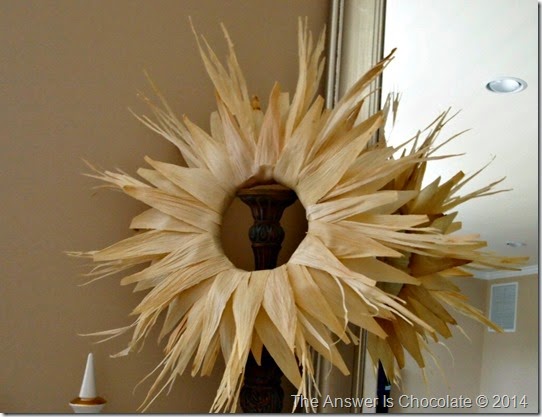
Thanksgiving: Cornhusk Wreath

Cornhusk Wreath Stand

I hope everyone had a Happy Halloween!

Full speed on to Thanksgiving which often gets overlooked in the preparation for Christmas. Well not in this house! College Boy picked up on Thanksgiving being overlooked pretty early on so ever since then I have made sure to decorate for it at least as much as I do for Halloween. This year is extra special because CB will be home for Thanksgiving for the first time in 2 years!!! Yes I am triple exclamation point excited.

I remember seeing cornhusk wreaths in magazines and on Pinterest last year and knew I wanted to try one this year.

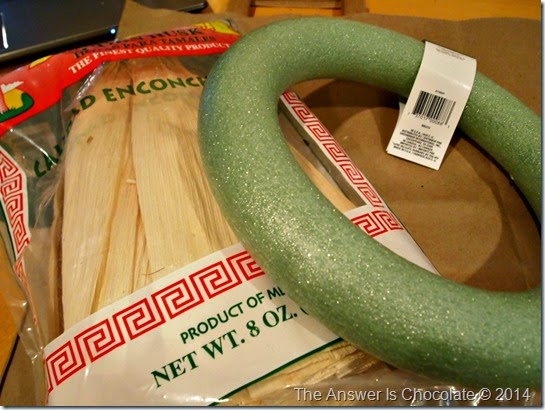
For this project you will need:
  • Cornhusks ( I am not Martha enough to have saved and dried my own from Summer corn on the cob…got mine at the grocery store by the Mexican spices. $3.99)
  • Wreath form ( Dollar Tree)
  • Glue Gun
  • Glue Sticks
  • Kraft paper or brown bag

Cornhusk Wreath Supplies

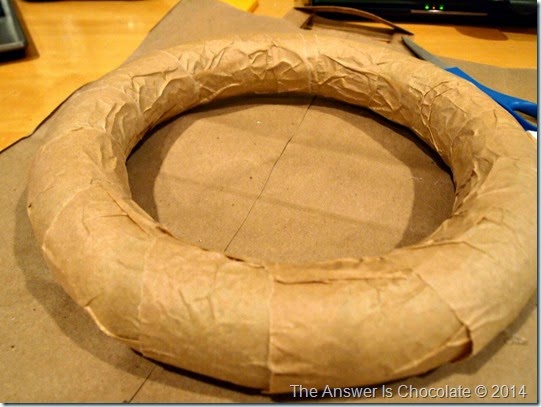
I decided just in case I wasn’t even about placing my corn husks ( and didn’t want any of the green from the wreath form showing through) I’d cover the wreath form with some paper. I used painter’s masking paper but you could use kraft paper, brown bags etc.

Paper Wrapped Wreath

Some tutorials advise moistening the cornhusks to make them easier to work with but I just used them dry. Some split a bit but I didn't mind. They were pretty wide so I tore each husk into halves or thirds depending on the original size. I ended up with a bunch of scraps. More on that later.

Cornhusk Wreath Begin

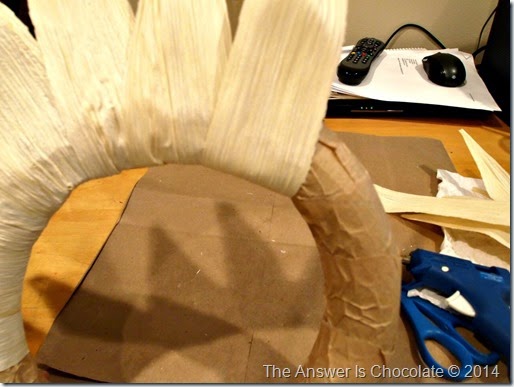
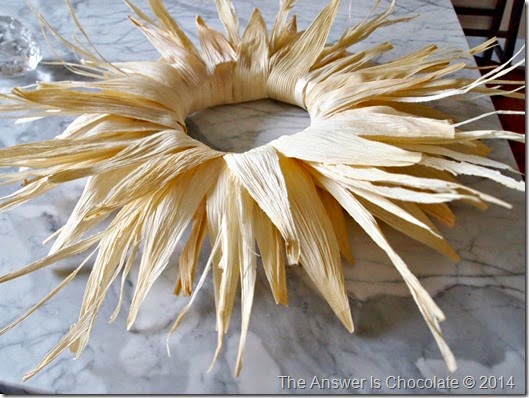
I wrapped the wide side of my husks under the wreath and glued them around the form with the pointy ends sticking out. Once one layer was complete I added another couple of layers slightly offset each time so the husks aren’t laying directly on top of each other.

Cornhusk Bundles

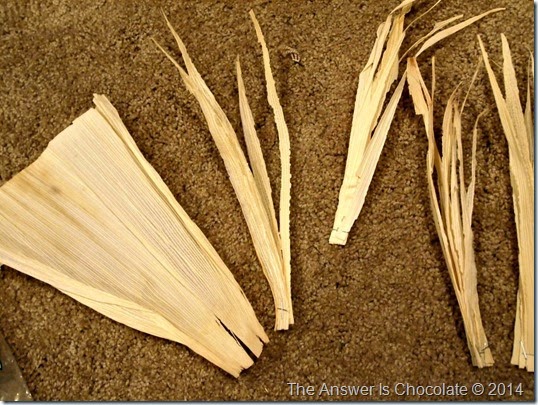
Remember the scraps? These were the odd bits that I pulled off to make each of my sections about the same size. I gathered a handful of these together , stapling at the bottom and made enough of these little bundles to tuck around the wreath. I found it easiest to tear from the wide side just FYI.

Cornhusk Wreath Side

I was actually happy with the wreath before I added these but once I did, I was really happy because it gave the wreath a more natural wild look.

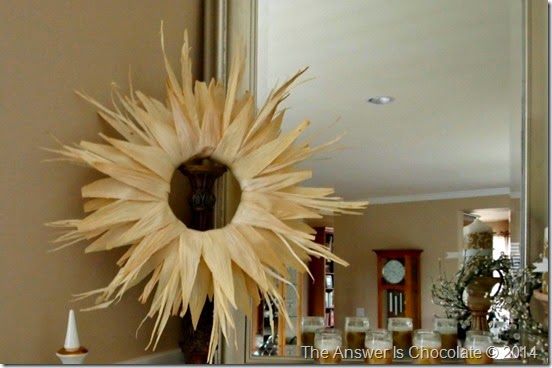
Cornhusk Wreath Mantle

I’m sure this would be fine outdoors ( corn grows outside right?) but I have mine resting on an over sized candlestick that sits on my mantle. I  only used about half the bag of husks so have some other ideas in my head that you may see later!

Sharing At: 


Saturday, December 21, 2013

Elegant and Easy: Dollar Tree Candle Hostess Gift and Table Favors

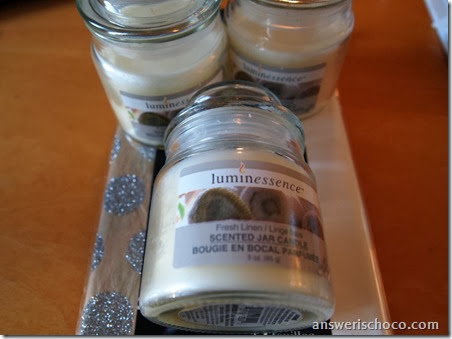
Dollar Tree Candles

Tall jar ( prayer) candles are a staple in my craft stash. I love altering them and they make easy and affordable gifts. I pick mine up at Dollar Tree and in all my trips there, I’ve looked at but not picked up the lidded jar candles in the same section. Until now.

Dollar Tree Jar Candles

While I was at DT, I also found this gorgeous tissue paper…natural colored with metallic dots! It comes in silver, gold and red dots. I bought the silver and gold. Why didn’t I buy the red???

For this project you need:
  • Small jar candles ( as mentioned Dollar Tree)
  • Tissue Paper
  • Decoupage Medium ( I used Martha Stewart Matte)
  • Ribbon and beads to embellish
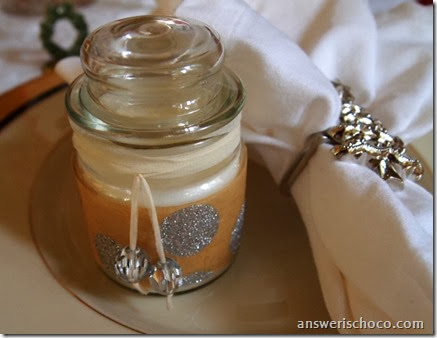
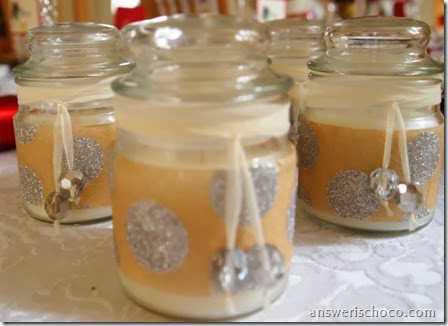
Remove labels from candle. I was so happy that these came right off. Cut tissue paper into strips ( 1.5 x 8 ). Coat glass with decoupage medium and apply tissue. Go over top of tissue with more decoupage medium. Let dry. Embellish with ribbon and beads. Done!

Dollar Tree Candle Table Favors

I always like to have a table favor on my holiday tables. A little something guests can take home with them to remember the occasion. I made these for each of my Christmas dinner guests and have them at each place setting.

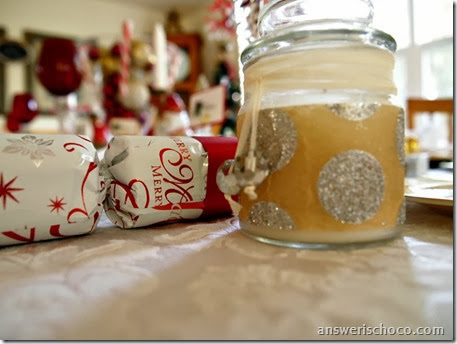
Tissue Papered Jar Candles

Easy, affordable, and I hope elegant. Tis also the season for parties and hostess gifts. I made the tall candle for a friend hosting a treat exchange.

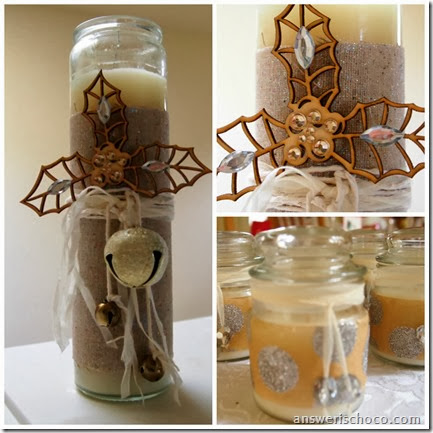
Tall Altered Glass Candle

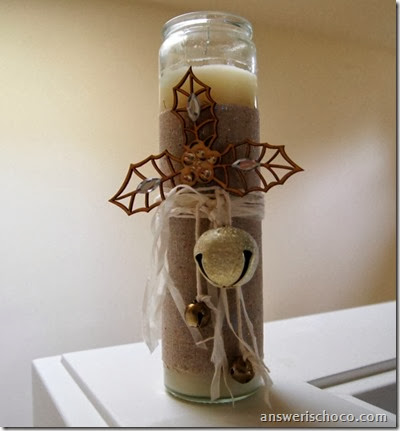
Instead of paper, I wrapped the candle in a scrap of drop cloth. I bought this huge drop cloth at Home Depot a few years ago to use as a tablecloth and ended up cutting it up and using it for all kinds of things. And anyone wonders why the Home Depot people look at me funny?

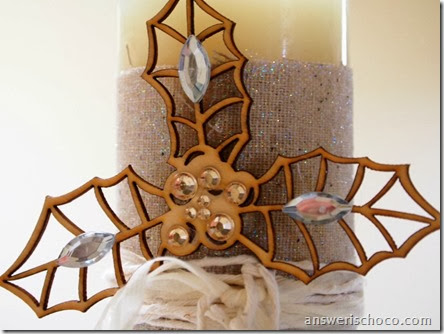
Kaiser Craft Holly Leaf

I used the Glitter Finish Martha Stewart decoupage medium for this one. The focal is this little Kaiser Craft laser cut wood holly piece I picked up in the scrapbooking section somewhere. I added self adhesive rhinestones and glued on some additional jewels and wrapped the center of the candle with ribbon yarn.

Tall Altered Glass Candle

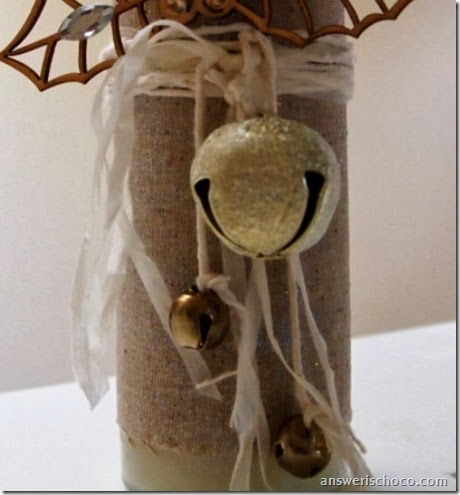
To finish, I tied on a big glittered bell and two small bells using plain twine.

Glitter Polka Dot Jar Candles

Sharing At:

Tuesday, October 22, 2013

Cheap to Chic Pumpkin Transformation

Silver and Brown Pumpkin

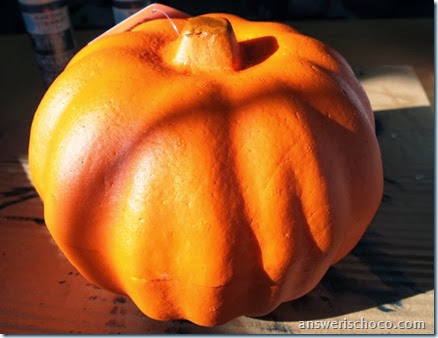
So last week when I was playing with a foam pumpkin and wished that I’d bought another one, Mr. Chocolate heard me and went someplace he doesn’t ever go: Dollar Tree. I didn’t even have to ask. He surprised me and came home with a pumpkin. That’s what I call true love!
For this project you will need:
  • Small foam pumpkin
  • Acrylic craft paints
  • Embellishments
I started with my diamond in the rough cheapo foam pumpkin.

Dollar Tree Pumpkin

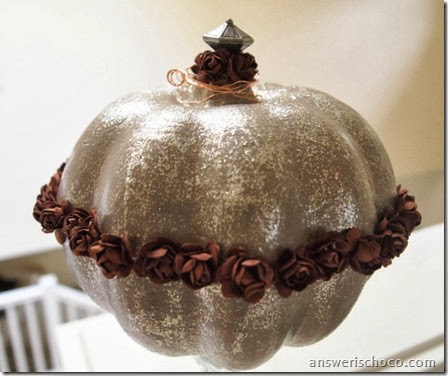
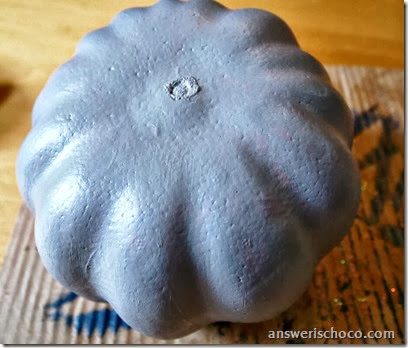
I knew I wanted a non-traditional look so I chose a gray satin paint to base coat the pumpkin. Two coats.
Dollar Tree Pumpkin Basecoat

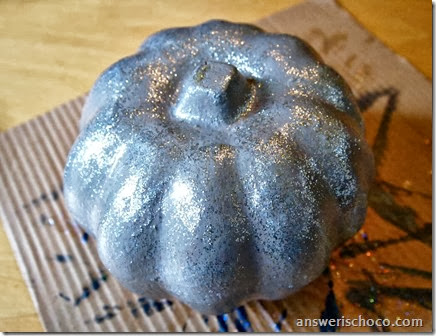
I kind of liked it but what fun is just a couple of coats of paint? So I added a couple of coats of a coordinating glitter paint.

Glitter Pumpkin

Almost left it alone after that but …nope!

Glitzy Pumpkin

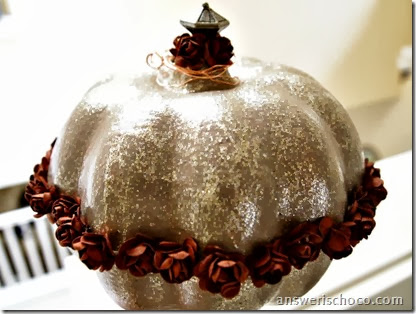
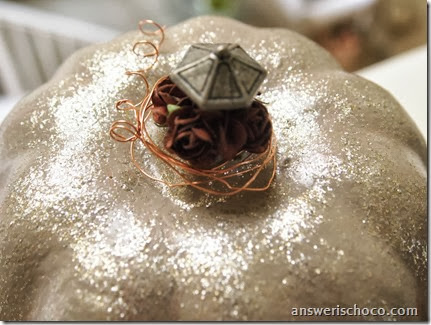
I had a bunch of chocolate brown paper roses in my stash ( the kind you find in bridal supplies) so I popped the heads off the stems and hot glued them around the middle of the pumpkin.  I also remembered these funky Industrial Chic knobs I picked up on clearance at Michaels. One of those things you have no idea why you’re buying but know there will come a project and an aha moment.

Dollar Tree Pumpkin Top

I just pushed the knob right through the foam and then secured it with a dab of hot glue and added some more roses. Finished with some  copper wire wrapped around the stem. 

I may have to make yet one more trip to Dollar Tree. I may also have decided upon my Thanksgiving color scheme.

Monday, October 21, 2013

Zombie Cookies and Monster Fingers: This Year's College Boy Halloween Treats

Monster Mash Oreos

If you’ve followed my blog for the past few years, you’ll know that I usually do a Halloween care package for College Boy. Halloween always falls around mid-terms and if you’re the parent of a college student, you might be familiar with the “send your kid a care package” letters that usually come out this time of year. Some company will deliver a care package to your student but needless to say, I’d rather make my own.


I try to make these fun but keep the cost down especially since we have to mail these. Dollar Tree, Michaels, and stuff I had on hand came together. 

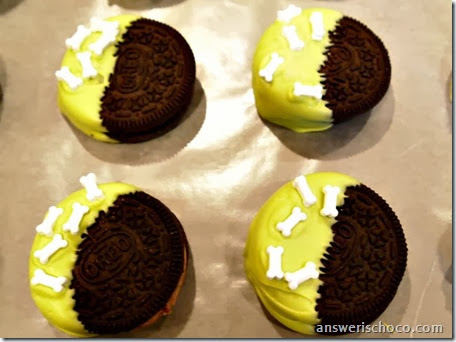
This year I went with a Zombie / Monster theme . We’re huge “Walking Dead” fans. While Zombies aren’t known for eating bones, I couldn’t find any candy brain sprinkles so bones it is.

Monster Mash Cookies

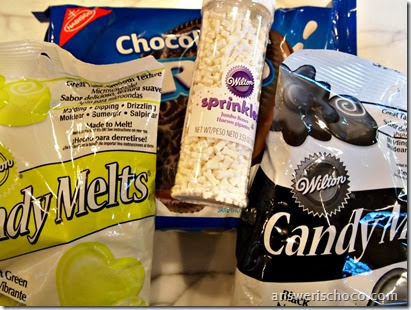
For this project you will need:
  • Oreos
  • Candy Melts ( I hadn’t yet decided between the green and the black but ultimately just used green)
  • Bone sprinkles ( if anyone finds brains, let me know!)

Dipped Oreos are about the easiest thing you could ever do. To start:
Wilton Green Candy Melts

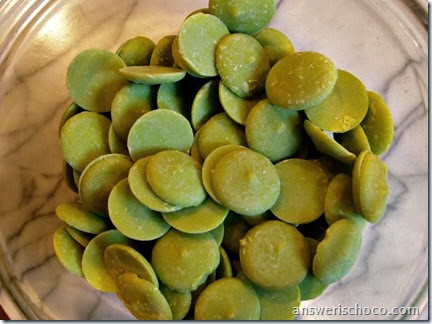
Melt candy melts. I usually do mine in the microwave.

Melted Green Candy Melts

Once melted, dip. Place on wax paper. Sprinkle with stuff. Done. Seriously.
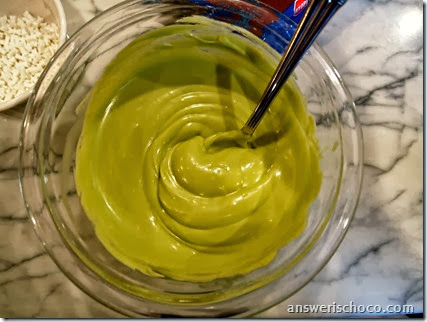
I had some green goo left over and I’d picked up a Halloween themed silicone mold at the Dollar Tree because I have wanted to try using them . I have had mixed results with the clear plastic molds. I’m hooked on the silicone molds!

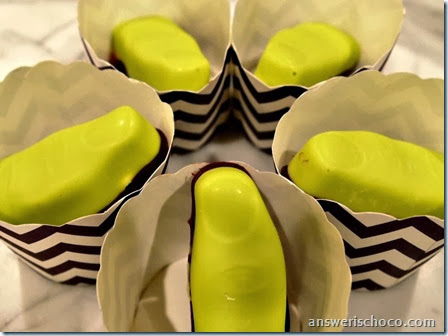
Double Layer Crunchy Fingers

I made crunchy candy Monster Fingers! I spooned the leftover green melted candy into the mold until about half full.  I spotted some M and Ms and decided to sprinkle them on top of the green candy. Then went over that with melted dark chocolate. When you bite into the finger, CRUNCH, just like a bone. I know, I’m twisted.

Crunchy Fingers

For the bone shapes in the mold, I filled with dark chocolate.  Not a great photo but didn’t have time to worry about lighting when I was trying to “set my bones”.

Monster Mash Cookie Cups

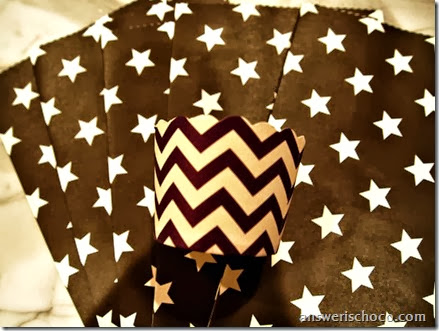
To package everything, I used these purple chevron striped cups I got last year from Pick Your Plum. I stacked the cookies and wrapped them using clear cello bags. Same for the fingers.

Star Bags

Paired the cups with these black and white star bags I picked up on one of my dig through the clearance stuff trips to Michaels. 75% off!

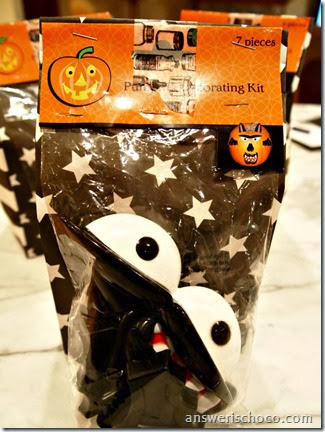
While I was at the Dollar Tree, I also picked up some pumpkin decorating kits. No carving required, the pieces just stick to the pumpkin. Last year I recall he and his friends went in search of no carve options so hopefully they still want to do this!

Vampire Pumpkin Decorating Kit

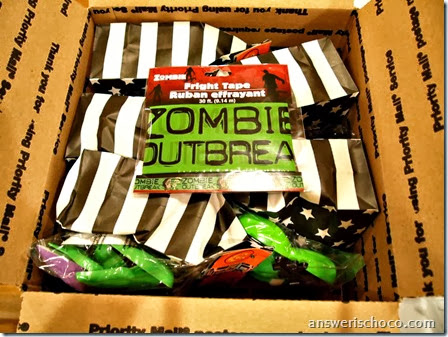
Filled the paper star bags with the cookies, finger, and additional candy and stapled the kits to the outside.
Zombie Outbreak

Dollar Tree also had some Zombie Outbreak tape that went well with the theme so added that. All packed up and ready to go!

2012 Halloween Treats  "Fangtastic Treat Bags"

2011 Halloween Treats  "Reverse Trick or Treat"

Sharing At: