Showing posts with label Creative Fabrica. Show all posts

Tuesday, December 13, 2022

Easy DIY Ice Skating Sign


Something you may not know about me is that I was a figure skater for about 10 years. The Olympics were never going to be a thing (although I did skate at the same rink as someone who DID go on to medal and one of my coaches was also an Olympic medalist) but as a result, I love everything to do with ice skating except being at the point now where I'm likely to break a hip! 

I've had a pair of skates as part of my decor for years and this year, decided to put them outside on the bench by our front door. 

Supplies:
  • Wood Art Panel 11x14. These are available at art supply stores as well as Michaels, JoAnn etc.
  • White and Black Acrylic Paints
  • Black Vinyl (I used Cricut Glossy Black) and Transfer Tape
  • Ice Skating Themed Cut File (I found this one at Creative Fabrica)
  • Digital Cutting Machines (I used my Cricut Explore Air 2)


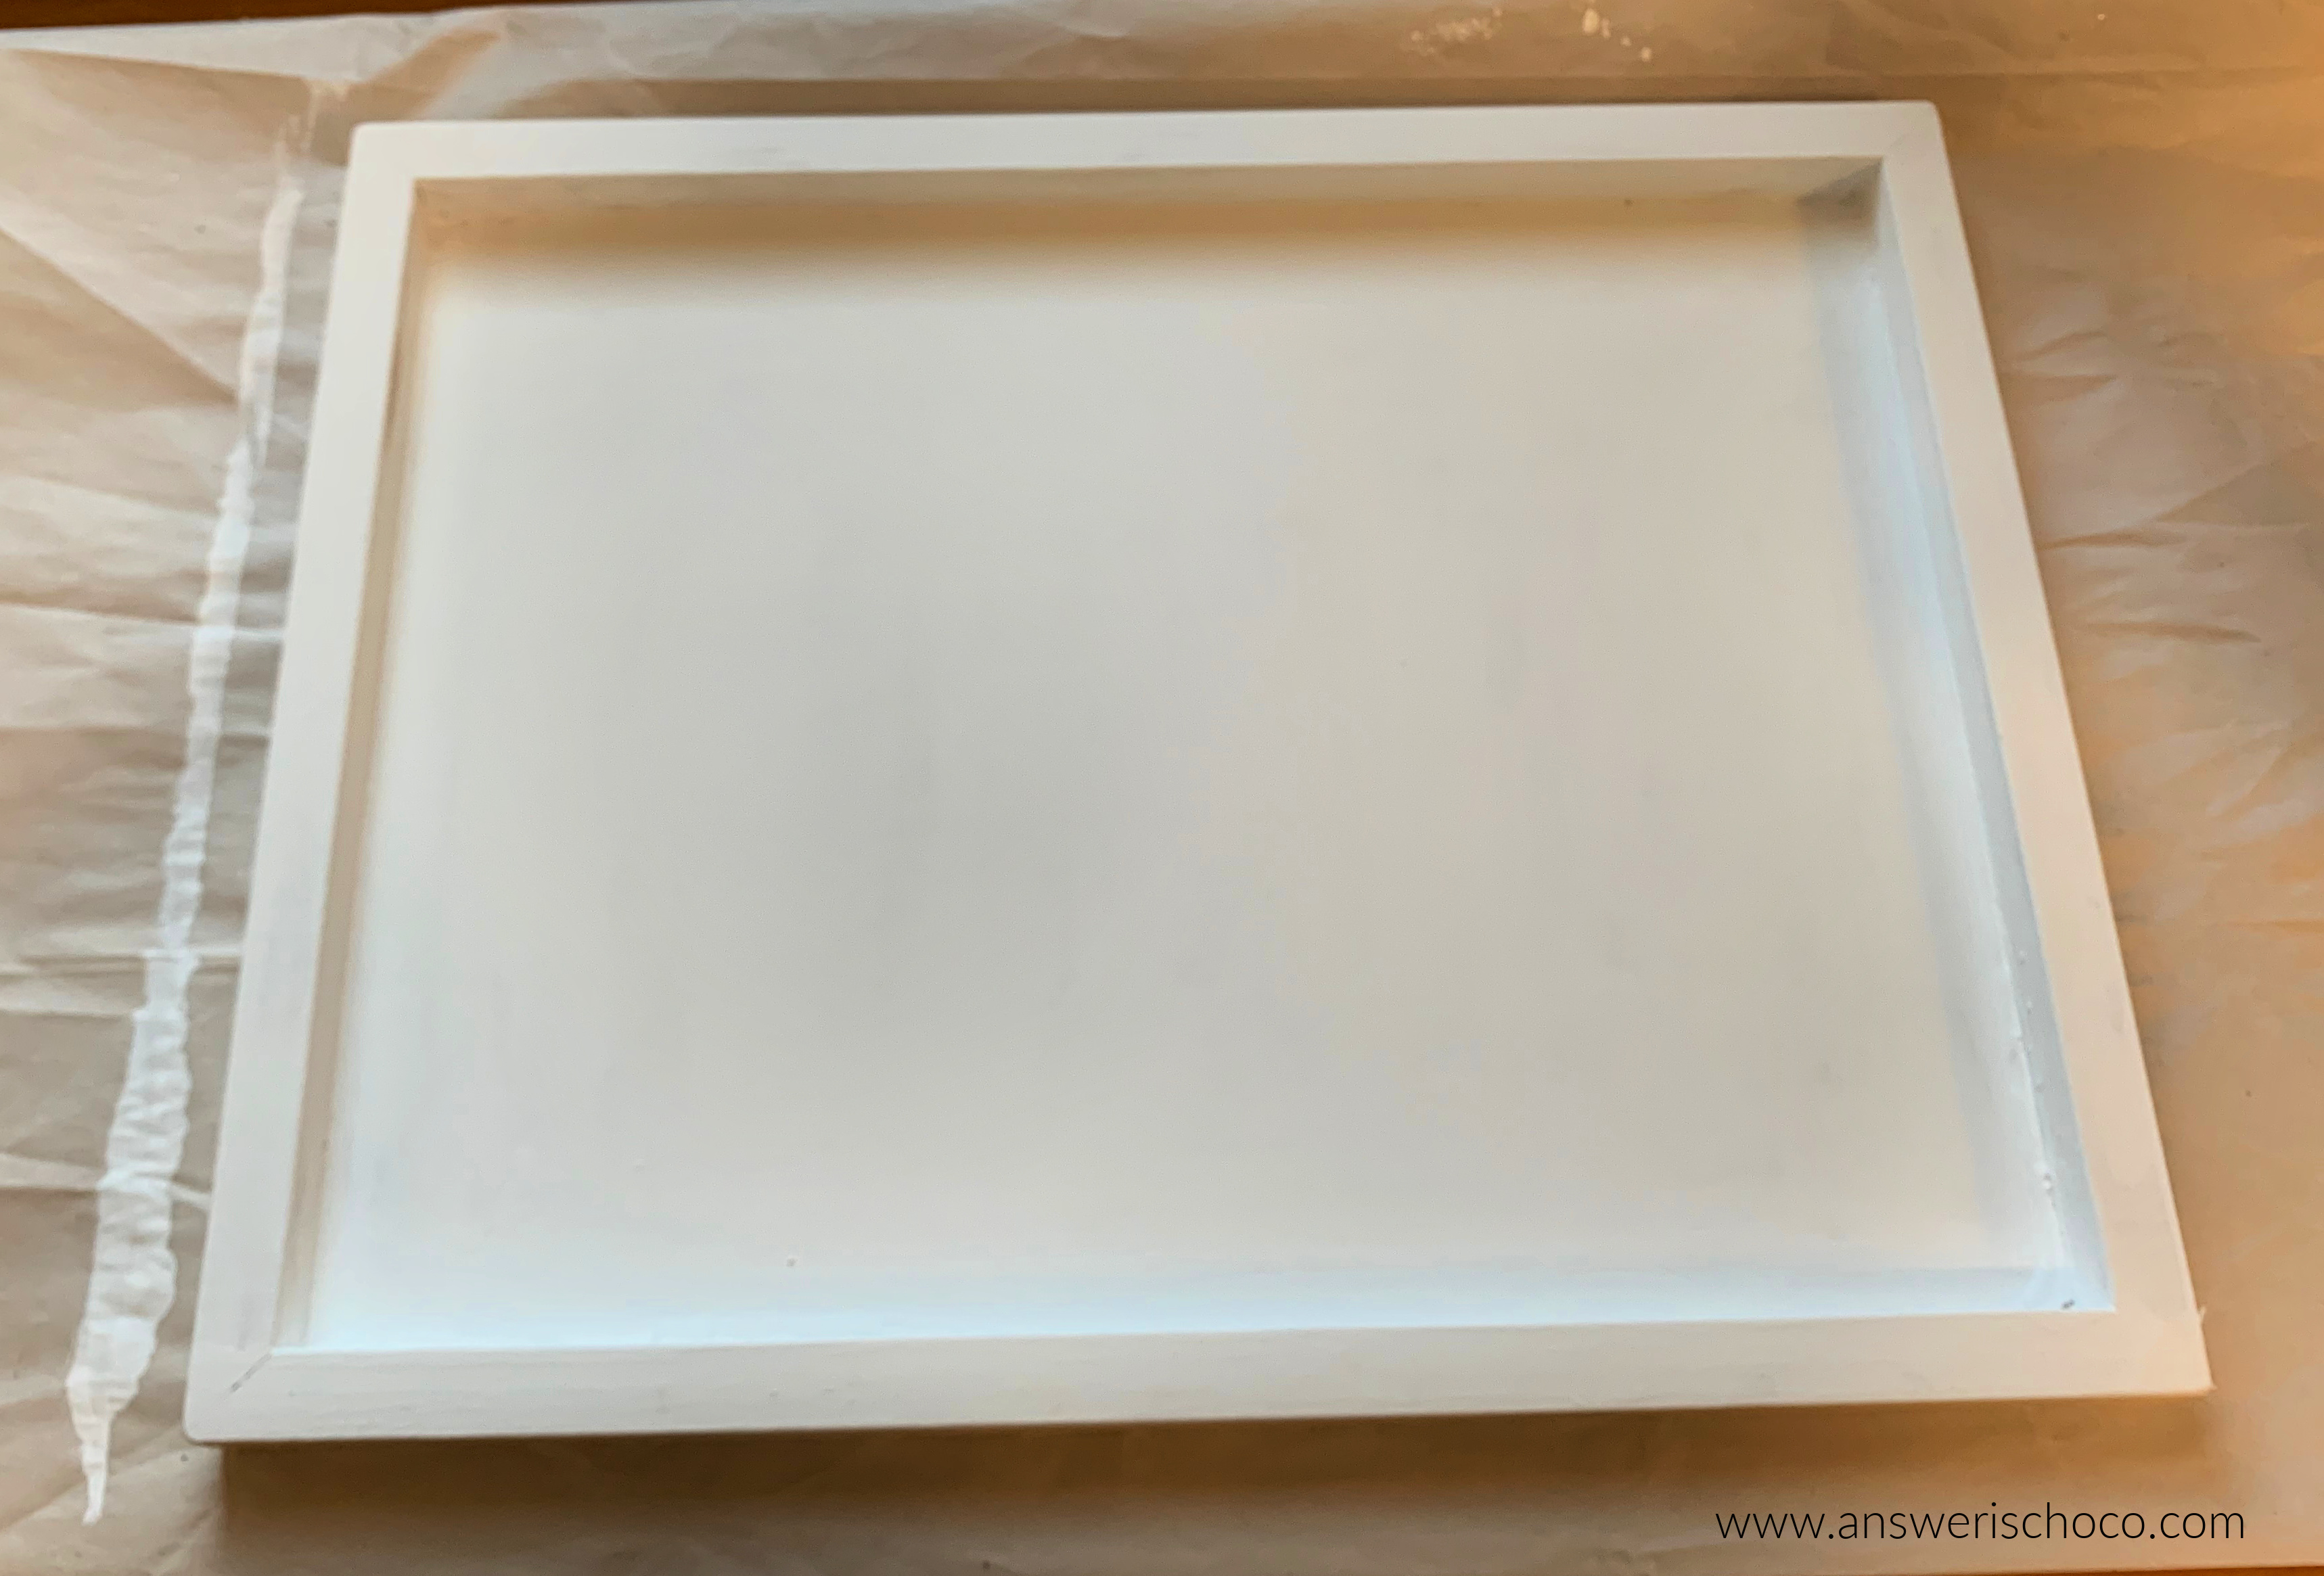
The intent of these boards is to use the flat side but I wanted a framed look so I used the underside. Painted it with a couple of coats of white and let dry while I sized and cut the vinyl.


I downloaded this file from Creative Fabrica where I'm a subscriber, and uploaded into Cricut Design Space and sized to fit within my sign. Cut and weeded, then applied the transfer tape. 


I set that aside and painted the edges of the board with black acrylic paint. I wanted to match the "old fashioned" look of the sign so a few worn spots here and there where the white shows through. 


Then I laid the vinyl where it looked about right, burnished it with my Cricut burnishing tool, and done! 

The outside bench is covered so even if we do get some rain it's safe enough so I didn't seal it. 


We found this cool wreath last year at an art fair. It's made from the wire bristles used to clean chimneys! I also made this giant Santa Mailbox a few years ago that shares the bench. 


Sharing At: 


Monday, December 12, 2022

Papercrafting: 2022 Holiday Cards


I will always be a person who sends snail mail cards. Papercrafting remains my first love and I'm honored that so many of my friends choose to save and even display them as part of their seasonal decor. That means the world to me. Sharing this year's collection of Holiday Cards in shades of icy blue, metallics, and black and white. 

Supplies:
  • Park Lane Paper Stack First Snow (JoAnn)
  • Recollections Paper Stack Black and White Winter (Michaels)
  • Black and White 110lb Cardstock (Recollections, Michaels)
  • Silver and Gold Cardstock (Recollections, Michaels)
  • Layered Cut Files (Creative Fabrica and Craft With Sarah)
  • Digital Cutting Machine (Cricut Explore Air 2)
  • Tape Gun
  • Foam Tape
  • Misc. Embellishments


These are the two paper stacks I used in my cards. I was on the hunt early this year. Each stack has a selection of foiled and plain papers and the Park Lane stack is double-sided.  


My cardmaking tends to follow a similar process: 
  • Cut base from 110lb Cardstock to 7x10 to make a 5x7 card
  • Score using bone folder and scoring board (Martha Stewart)
  • Cut metallic panel 5x7 and attach to front of card
  • Cut patterned paper to 4.75x6.75 and attach to metallic panel

TIP: Something that helps me is changing the colors of each layer in Cricut Design Space to match the end result I want. It helps me remember which layer to cut in which color. 


White card base, metallic panel, and scrapbook paper panel


Here is each layer of the "Star Tree" card cut out. I usually work from the base layer up which helps me better position each layer. Apply with spray adhesive. 

Once you have your layers together, attach your completed focal to your card with foam tape, and embellish away! 


For this "Twirly Tree" card, I selected one of the trees from a collection from Creative Fabrica and cut using coordinating glitter paper, white, and silver. Mount using spray adhesive then attach to card using foam tape. For this one, I embellished with tiny clear self-adhesive rhinestones. Background paper is from the Park Lane stack. 


I'm never content to do cards in just one style so for this Layered Ornament card (image is also from Creative Fabrica) I used the Recollections Black and White Winter stack, cut the image from black, white, and silver and again used tiny rhinestones and some larger black ones to embellish.


Same process for this Layered Star card, again Park Lane Stack/Creative Fabrica, and embellished with iridescent snowflake and bright gold sequins and rhinestones. 

And then finally, this Star Tree card against background paper with metallic trees. 


I also make a few Hanukkah cards and got this amazing Menorah cut file from a wonderfully generous Maker named Sarah who blogs at Craft With Sarah


I think it's so beautiful! 

They're on their way to their recipients and I hope the like them as much as I loved making them!

Sharing At: 


Wednesday, October 5, 2022

Halloween: Spooky Season Layered Bat and Moon Cards


Halloween cards just may be my favorite cards to make. I love using non-traditional colors and for this year's, I went with a brilliant royal blue as a color accent to go with shiny silver and gold.  

Supplies:
  • Black 110lb Cardstock (Recollections,Michaels)
  • Metallic Blue,Silver,Gold Cardstock (Recollections,Michaels)
  • Foiled Halloween Scrapbook Paper (Spook Hill, Michaels)
  • Layered SVGs (Bat is from Creative Fabrica Moon is Cricut Design Space)
  • Digital Cutting Machine
  • Adhesive Tape Runner
  • Coordinating Sequins
  • Self-adhesive Rhinestones
  • Dimensional Glue (Glossy Accents, Ranger)


I selected the foiled skull and stars papers from the Spook Hill stack I had from last year. When I'm making multiples, I like to have my cards and panels all cut ahead of time, as well as any images I'm using. That way when it's time to assemble, I'm just focused on that. 

Card Size: 5x7 so cut 7x10 and score in the middle. 
Blue Panel: 4.75x6.75
Foiled Papers: 4x6

After deciding on my images, I brought into Cricut Design Space and then cut everything out. 


The Bat SVG comes with four layers but I went with three. Black base, white middle, gold top. For the moon, I used the offset option in Cricut Design Space to create the gold layer and cut the image from silver paper. 


I used spray adhesive to attach the Bat layers and then foam dots to attach the silver layer to the gold layer for the moons. 


I assembled the cards as shown and then used double-sided tape to attach the moon and foam tape to attach the bat. To finish, I used bright gold sequins and clear rhinestones to decorate the moon and bat. 


The blue reminds me of the night sky!


Tuesday, January 18, 2022

Valentine's Decor: The Year Round Tree


Last year, I told Mr. Chocolate I'd ordered a "Halloween Tree" which prompted a sideways look. He figured I'd ordered a black Christmas tree (which I debated and still love for a Halloween tree) but some part of me must have known the future because I decided to go with a lighted cherry tree. At the time, it was intended to just be a Halloween tree and then once I had it up and decorated, guess who didn't want it to come down when Halloween was over? So it then became a Fall tree I decorated with layered paper leaves and silk Fall flowers. It went away for Christmas when the Christmas tree came out and when we were taking it down, guess who asked if the tree he'd given me a look about was coming back? I debated about doing generic Winter but then I knew I was going to want to do something for Valentine's day so I skipped ahead and made layered heart ornaments and decorated some clear acrylic ornaments for it. 

Supplies: 
  • Cardstock
  • Foam Tape and Foam Dots
  • SVG file
  • Digital Cutting Machine
  • Acrylic Ornaments
  • Adhesive Foil

The image I used was from Creative Fabrica (3d-layered-heart-21). 

I wanted to go with a non-traditional color palette and I decided on black white and gold so I grabbed those papers out of my stash. 


I imported the file into my Cricut Design Space software, sized and then cut each layer, repeating the color pattern: black white gold


You can see that each layer becomes more delicate bottom to top. I used foam tape on the less detailed layers, then switched to foam dots as they became more detailed. 


Black base layer then white layer.


Then gold layer and repeat with the remaining three layers. 


I'm so entranced by these layered cut files! I love how you can peek through them and the depth they create! Once I assembled all of the hearts ( I did 8 ) I added coordinating black and white ribbon with hot glue so I could hang them on my tree. 


I love the lights against the layers, especially at night. I also had some clear acrylic ornaments left over from Christmas projects and decided they'd be perfect with this version "the tree". 


I had some bright silver adhesive foil in my stash and used an image from Cricut Design Space for these. 


I did 9 of these and the foil is so easy to work with I didn't even bother with transfer tape and just removed the hearts from the carrier backing and placed on the ornaments. 


I saved the parts left behind because look at the cool pattern you can still play with! To finish these, I added some black and white twine. 


Sharing At: