Showing posts with label Card Making. Show all posts

Monday, March 3, 2014

Fashionista Birthday Card : Pink Paislee Secret Crush

Pink Paislee Birthday Card

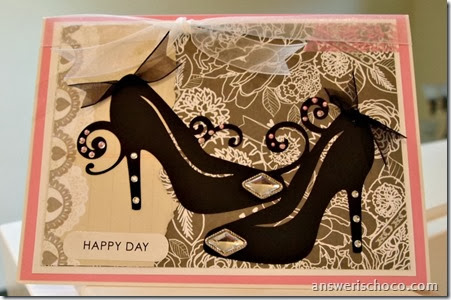
I made this birthday card for a very stylish friend. Who can’t use a pair of fabulous high heels even if they’re made of paper?

For this card I used:
  • Bordered A-7 card ( Pop Tone)
  • Pink Paislee “Secret Crush” papers
  • Black and White Cardstock
  • Cricut Wall Décor and More cartridge
  • Cricut Expression
  • Ribbon
  • Rhinestones and Liquid Pearls

Start with a pre-scored A-7 card.  I used a white bordered invitation by Pop Tone. Layer with a panel of paper from the Pink Paislee “Secret Crush” collection.

The shoes were cut from black cardstock using the Wall Décor and More cartridge by Cricut and my Cricut Expression.

Wall Decor and More Shoes

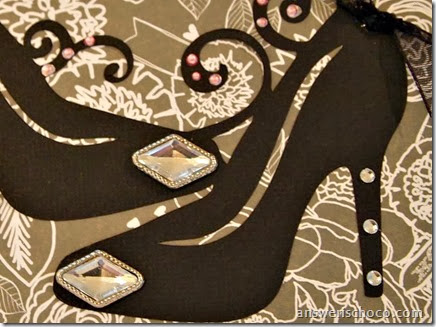
I glammed these up with self adhesive rhinestones on the toes and the heels, dots of pink Liquid Pearls and organza ribbon bows.

Pink Paislee and Cricut Card

Finished the card  with a scrap of pink washi tape, wrapping white organza ribbon around the top of the card  and adding a sentiment sticker.

Sharing At: 

Tuesday, February 4, 2014

21: Vegas Style Birthday Card

Red White and Black Birthday

My BFF and I have done everything together including getting married and then a few years later, having kids within days of each other. We even went to the same Ob/Gyn and delivered in the same hospital. So 10 days after celebrating my baby’s 21st, it was time to celebrate her baby’s 21st.

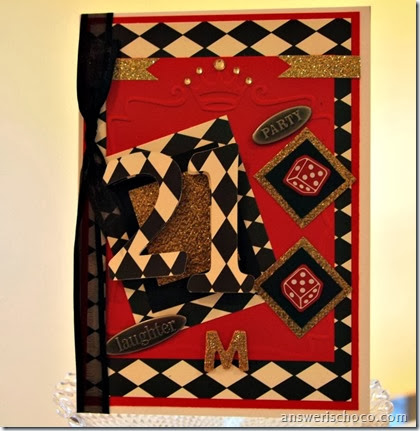
Since she’ll be celebrating in Vegas, I wanted the card to match so when I saw dice brads at Impress I had to get them and based the card around them.
Black and White 21

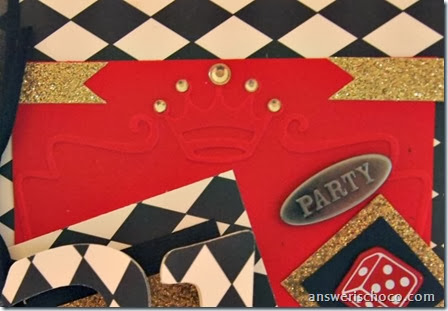
I went with a red / white / black scheme to play off of the roulette wheel. Used Canvas Corp diamond patterned paper , layered with an embossed panel using a Cuttlebug embossing folder with a crown at the top.
Black and White Checker

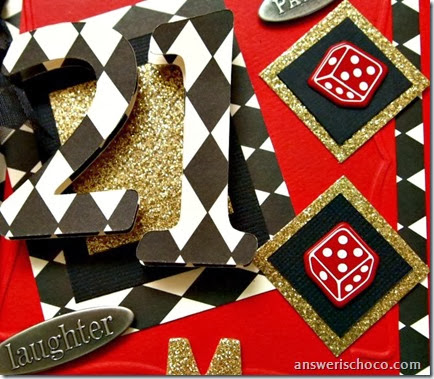
I used my Cricut Expression to cut the numbers 21 out of the diamond patterned paper and layered them with foam dots ( cut 2 sets for each number) and added some glittered gold paper and ribbon to give the card some glitz.  Layered the dice brads onto black and gold papers and embellished the crown with gold rhinestones.

I hope the birthday girl has a great time!

Tuesday, January 14, 2014

50 Shades of Birthdays : 50th Birthday Cards

50 Shades of Birthdays

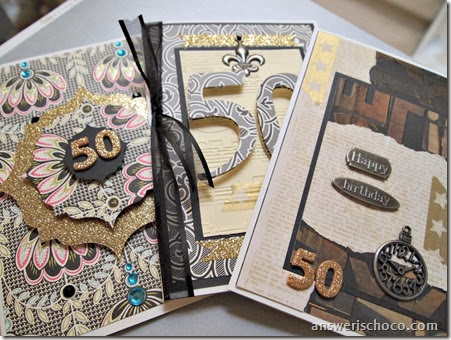
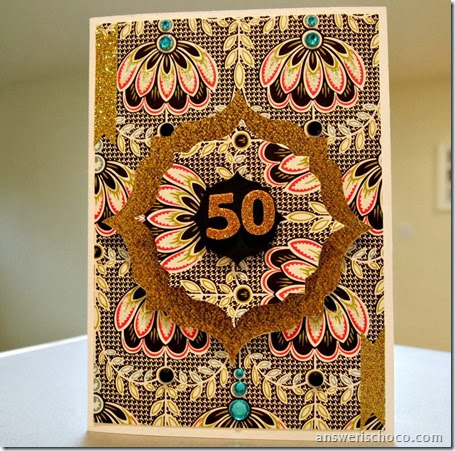
Or, 150 years of birthdays but that seems excessive. I mentioned in an earlier post that I had several January birthdays so I’d be posting lots of cards. Three of those happen to be 50th birthdays so here are three different cards made for three different but individually special people.

50th Birthday Black White Gold

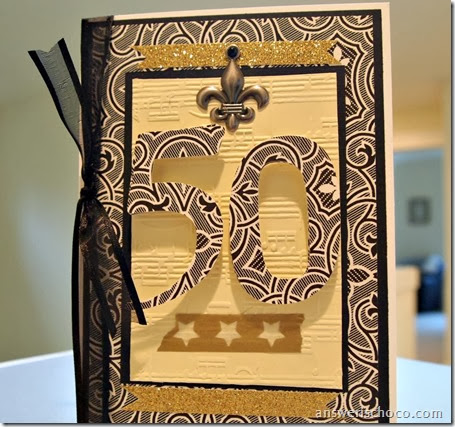
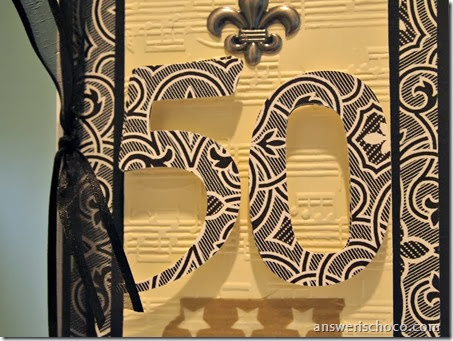
Card #1 uses Anna Griffin black and white paper and a music score embossed panel (Darice). I cut two sets of the numbers “50” from the patterned paper and layered them using foam dots to give some depth. Kept things simple with gold glitter tape ( American Crafts) , gold washi tape, and a black organza ribbon.  The fleur-de-lis metal piece is one of a pack I picked up at Michaels in the $1 bin.

50th Birthday Black White Gold Closeup


Card #2:

50th Birthday Gold Glitter

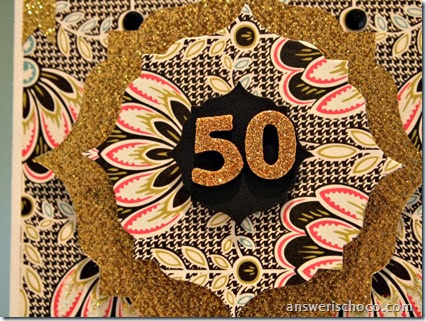
This is another Anna Griffin paper. I used it in combination with a gold glitter cardstock and cut the panels using Spellbinders dies. Layered with foam dots and the focal number is American Crafts glitter Thickers stickers. Embellished with coordinating rhinestones and Stickles.
50th Birthday Gold Glitter Closeup
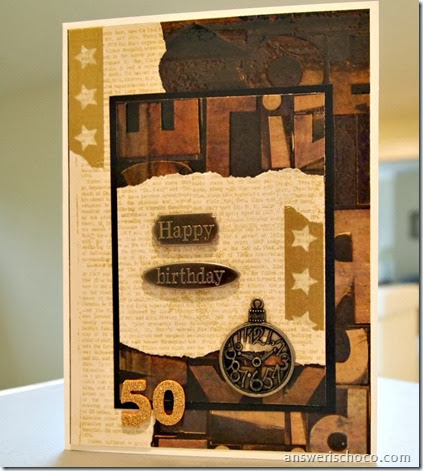
Card #3 also keeps the gold theme but is more casual in keeping with the recipient:
50th Birthday Time

I used papers from a vintage pack by Recollections along with Thickers, metal stickers, and washi tape.

For each of these cards, I kept it simple using only one or two strong graphic papers for each.

Monday, January 6, 2014

Anna Griffin and Coco Chanel: Black and White Birthday Card

Anna Griffin Black and White

My first project of the New Year and no surprise, it’s a card. In fact you’ll see a few coming because I have a bunch of January birthdays to celebrate.

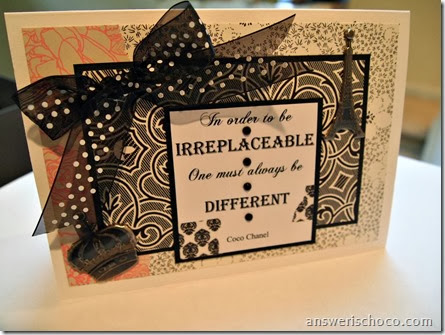
First up is a card for a girlfriend who is “crazy for Coco” as in Chanel. Like the style icon ( and yours truly) she is a huge fan of classic black and white (although I added a tiny swatch of pink in here).
Anna Griffin Black and White Papers

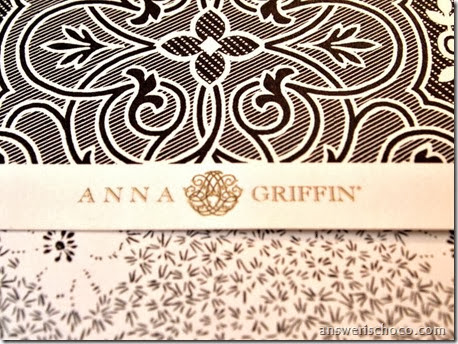
While out and about this weekend, I found these gorgeous Anna Griffin papers at a little boutique that surprisingly had a scrapbooking section. On sale even! The paper is reversible with a bolder print on one side and the lighter print on the other.

Black and White Birthday

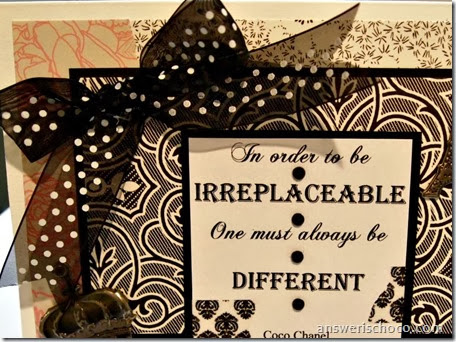
The card is 5x7 white cardstock, layered with panels of the Anna Griffin papers and a pink patterned scrap from my stash. The black and white polka dot ribbon is American crafts.

Coco Chanel Quote

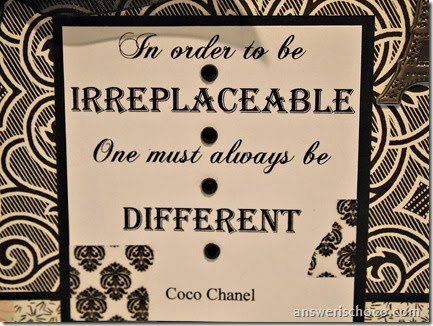
I computer generated the quote using mixed fonts, printed on white card stock, trimmed, and matted on black paper. Added a little black and white washi tape and rhinestones. 

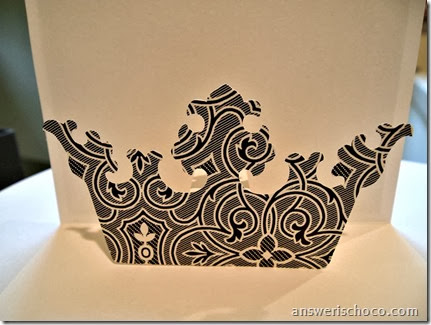
This card is also a pop up. I’ve never made a pop up card before and what took me so long I don’t know! I cut a crown from the black and white paper using my Cricut Expression and Wall Décor and More Cartridge and just kept the inside simple:

Anna Griffin Black and White Crown

And voila, a card fit for a queen !

Sharing At: 


Monday, November 25, 2013

Christmas Card Making Made Easy with Coordinating Papers

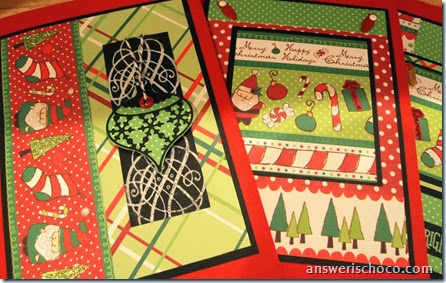
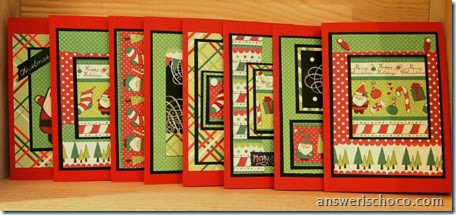
Merry and Bright Cards 1

Products in this post were supplied to me by Oriental Trading Company. Project ideas and opinions are my own.
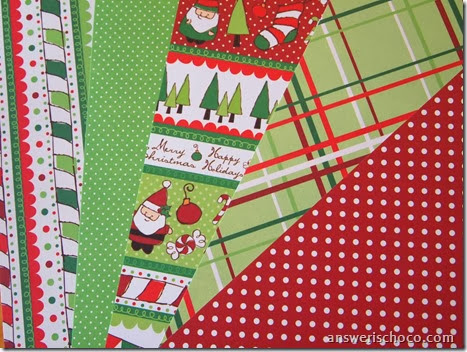
I love making cards and some of my favorite cards to make are Christmas cards. Since I make a lot of Christmas cards, I look for ways to make them unique but not too time consuming. One way to do that is to use coordinated papers like the Bright Christmas pack from Oriental Trading Company. 100 sheets of light cardstock weight scrapbook paper in coordinating patterns for $16.
Merry and Bright 5 Papers

I chose 5 different papers from the pack and since all of the colors coordinate, I just went with a combination of patterns and prints. A couple of the sheets had images perfect to use as focals for the cards. This is a great way to make cards if you don’t have a lot of cardmaking supplies and you don’t even need to be a stamper since you’re using the images from the papers.

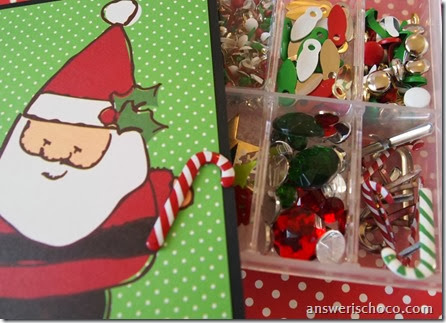
Oriental Trading Findings

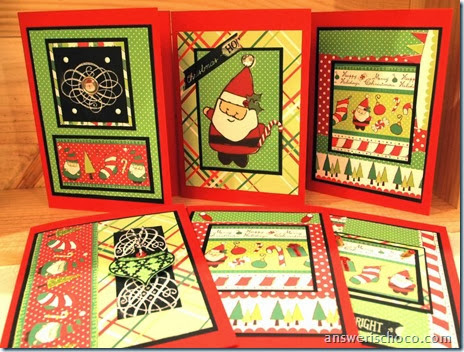
Santa was in the corner of this green polka dot paper so I cut out a panel, and layered him to a slightly larger piece of black paper. Using coordinating embellishments ( also from OTC) I added a little candy cane brad to Santa and finished him off with a couple of dabs of glitter glue on his hat and holly berry.

Merry and Bright Cards 2

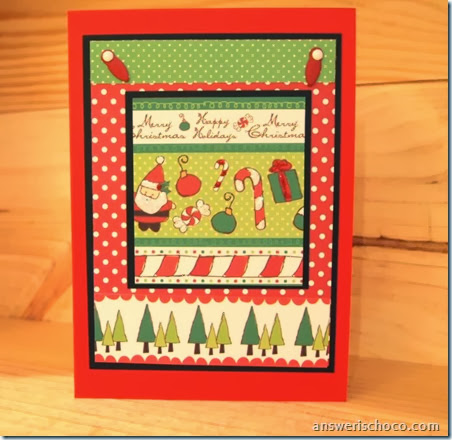
For other cards, I combined papers using some as borders ( top and bottom here) and then as the focal point of the card.  I used more glitter glue in places to give the pieces more dimension.

Merry and Bright Cards 3

I made 8 cards with combinations of the 5 papers. I did some stamping on a couple of the cards but used one stamp and one ink to keep things simple. I had so much fun playing with the papers I can’t wait to sit down with them some more.

Merry and Bright Cards


d

Monday, October 14, 2013

Halloween Cards: Quick, Easy, and Stashbusted

Quick Halloween Cards

While I love nothing more than shopping for new goodies each season, sometimes you really need to use what you have. For this year’s Halloween cards I decided to do that and pulled out miscellaneous things from my stash.

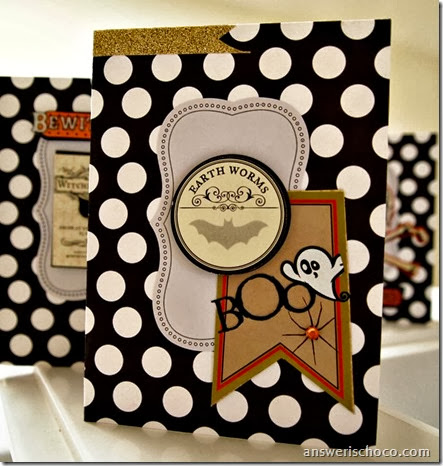
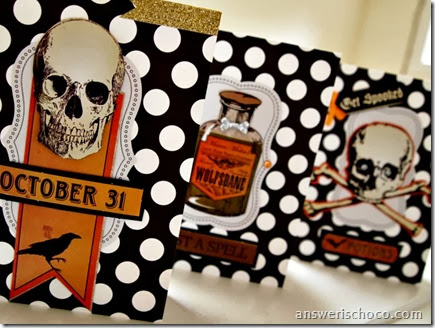
Quick Halloween Card Canvas Corp

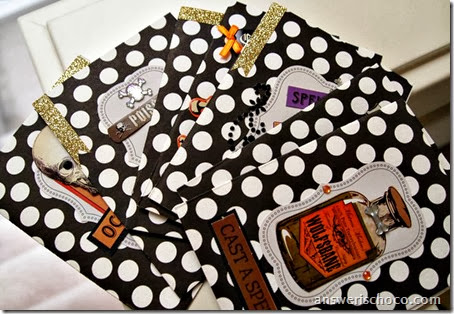
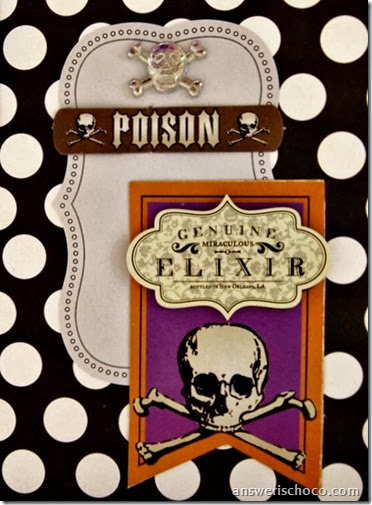
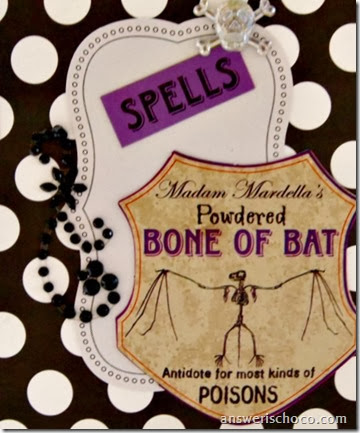
The cards themselves ( Canvas Corp) were from a pre-made pack. Black and white polka-dot cardstock. Perfect for Halloween! I used a label sticker from a pack I’d picked up along the way somewhere.  For the card shown above, I added a chipboard banner shaped sticker on top of which I put a scrap of a Halloween rub-on. Added a sticker from another leftover package and finished with a leftover orange rhinestone, and scrap of glittered ribbon.

Quick Halloween Cards Stickers

I did the same with the other cards I made, coordinating whatever went together from what I had on hand.
Halloween Cards Fast

Quick Halloween Cards This N That

Tuesday, September 17, 2013

Back to School for College Kids: Coffee Run Card

Coffee Run Card

Those of you who are coffee drinkers, remember when you weren’t? Remember when you thought it tasted gross and wondered how and why anyone would ever drink the stuff?  I do. And I think I was about the same age as College Boy when that changed forever. Is there a coffee switch that clicks on in College?


Now that coffee is a major food group, we usually help him out with a Starbucks card to cover Pumpkin Spice Lattes and supplement the dining hall coffee. Funny how the frequency of Starbucks trips is in direct proportion to who's paying for the Lattes isn't it? Mom and Dad pay...frequency goes up. College kid pays? Dining hall coffee YUM!

I remembered this Canvas Corp paper I had in my stash. PERFECT!

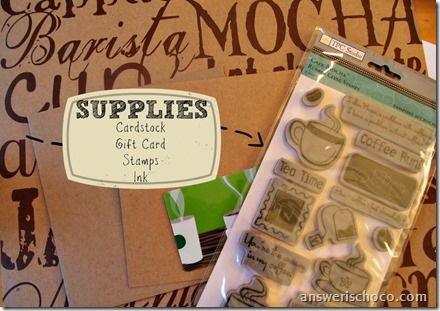
Coffee Run Supplies

For this project you will need:
  • Cardstock ( I used kraft to match my patterned paper and because it reminded me of the Starbucks “sleeves”) and matching envelope
  • Coffee themed paper (Canvas Corp “Coffee Words on Kraft”)
  • Gift card
  • Coordinating theme stamps
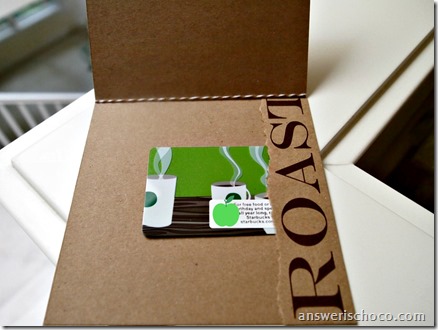
Cut cardstock to make 5.25 x 5.25 card. Cut patterned paper to cover front and back. Cover front of card. On inside of card, cut a slit to fit your gift card. I used an XActo knife and cut down the short side of the GC:

Coffee Run Inside

Slide GC through slit; cover back of card with remaining panel and use a scrap of the paper to line the inside of the card as shown.

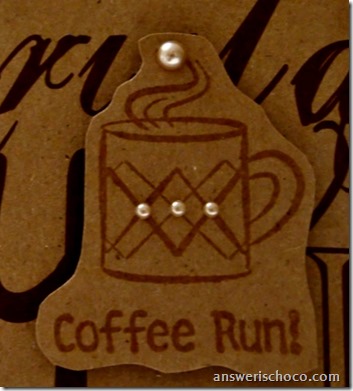
Coffee Run Closeup

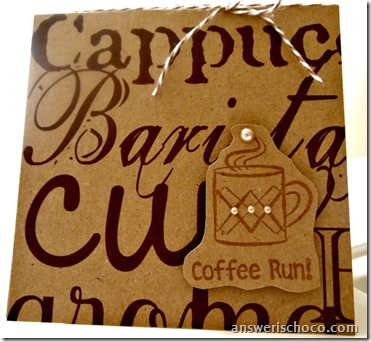
I debated about just leaving the card alone but me? Leave something alone? So I stamped a coffee stamp on a kraft scrap using watermark ink, finished with some decorative pearls, trimmed the image and mounted with foam dots.

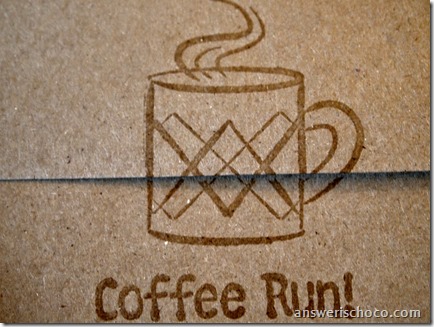
Coffee Run envelope

I liked how the watermark ink looked on the kraft paper so I stamped the back of the envelope too!

So who else went from “coffee is the grossest thing ever” to “is there life before coffee”?


Monday, September 9, 2013

Anniversary Card in Black, Silver and Gold. Handmade Paper Is The Star !

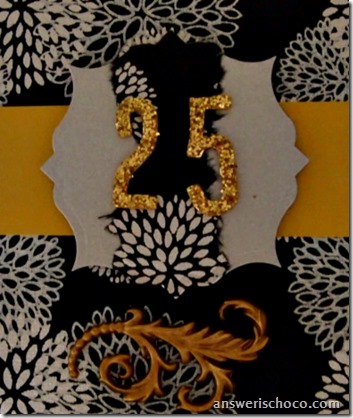
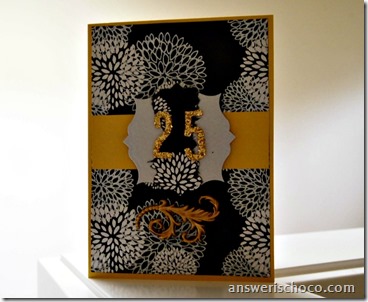
25th Anniversary Card

Sharing a very quick Anniversary card I had to get out the door. Thankfully my paper hoarding paid off since this beautiful black and silver floral print handmade paper didn’t need much else!
Products used in this card:
  • Stardream Metallics gold cardstock
  • Handmade paper
  • Die Cutting Machine and Die (I used a Spellbinders die)
  • Glittered Stickers ( I used Thickers by American Crafts)
  • Embellishment ( 3-D sticker I had in my stash)
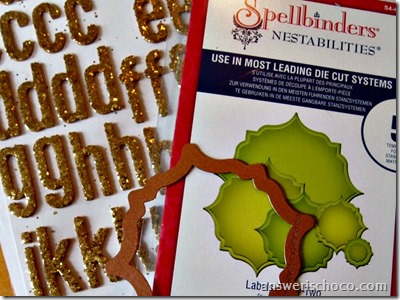
Spellbinders and Thickers

The card is 5x7. Cut cardstock to size and score down the middle. Trim handmade paper to 4.75 x 6.75 and trim cardstock scrap leftover from your card to 4.75 and adhere across middle of patterned paper.
Anniversary Card

For the focal, I layered a scrap of the patterned paper onto a piece of silver metallic cardstock and then cut the whole thing using my Spellbinders die. Added the Thickers glitter stickers to the front and adhered the focal to the card with a foam dot. Finished with a gold embellishment I had in my stash.

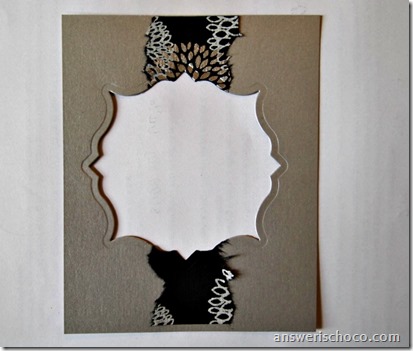
Die Cut Negative

This is the negative from that little experiment which I think I’ll use in another card!

Wednesday, August 21, 2013

Cardmaking with Project Life and A Just Because Giveaway

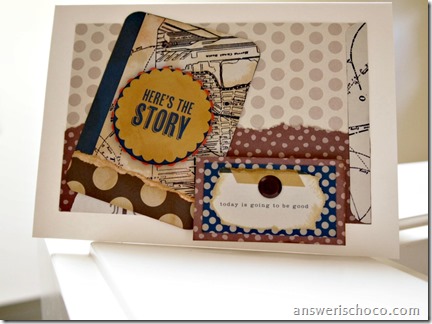
Here's The Story Project Life

You may recall the post I had up last week using the “Vintage Travel” Project Life scrapbooking kit. While it’s designed for easy scrapbooks, I decided to use it to make some cards. The great thing is, since the Project Life kit is  made by American Crafts, it coordinates with American Crafts papers! I love it when a plan I didn’t have comes together.

Vintage Travel Project Life

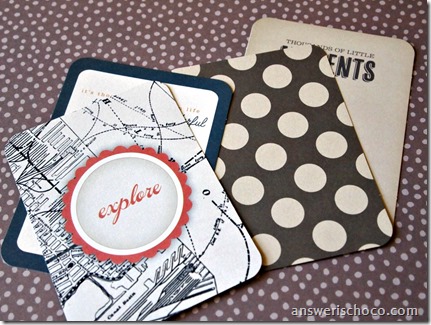
Here are some of the Project Life scrapbook cards I randomly selected along with a piece of scrapbook paper I had in my stash ( Fifth and Frolic collection).  I had fun using designs in the cards as inspiration. For example, I used a circle punch to punch out the middle of one card and used the punched out portion here:

Project Life Greeting Card

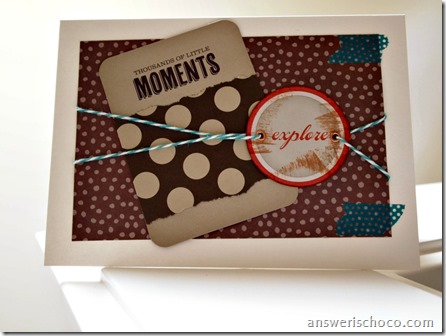
I distressed the cut out circle with some ink, tore another card and adhered it to the “Thousands of Little Moments” 5x7 card and used the scrapbook paper as my background Finished with some coordinating baker’s twine and washi tape.

Project Life Vintage Travel Kit

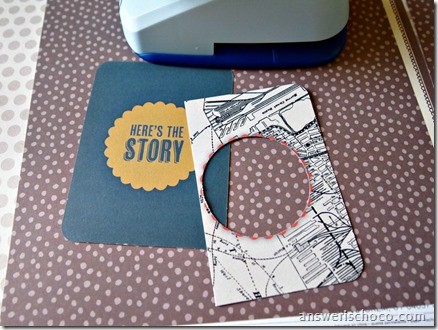
Here’s the negative from the PL card I punched out. I  trimmed it slightly and layered it over yet another card from the kit. Used more distress ink over the whole thing and used it along with a sentiment from another card to make the card shown at the top of the post.

I was having so much fun I couldn’t stop. So I grabbed even more cards from the kit and decided to make some 4.25 x 5.5  notecards.

Notecards Project Life

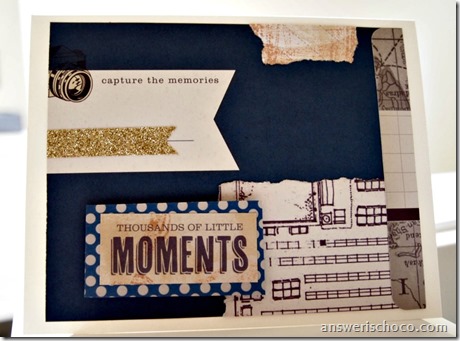
Each of these notecards uses pieces from the PL kit, just randomly paired together, cut up, torn up, etc.

Project Life Camera Card

I finished some with glitter tape and others with washi tape and some with both. And guess what? I’m giving them away! Why? Why not.

Here's the Rafflectopter widget and entry is simple. Leave a blog comment telling me what your favorite back to school supply was as a kid. I loved school supply shopping almost more than back to school clothes shopping. From the days of sharp new crayons to fresh clean paper and notebooks. New pencils with unused erasers! A new box of pens. Nerdalert! 

Monday, July 22, 2013

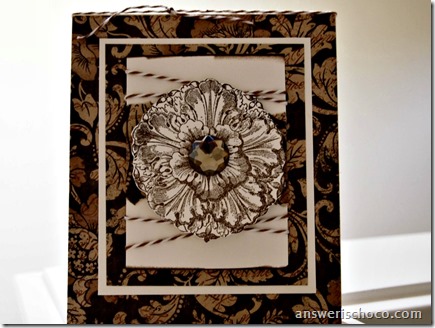
Make a Card in 10 Minutes


Graphics 45 Sympathy

Sharing a quick card idea , based on a card I needed to make this weekend. Start to finish, maybe 10 minutes and involved two pieces of paper!
For this card I used:
  • Cardstock (Neenah Cream Cardstock)
  • Scrapbook Paper (Graphic45 Bed of Roses)
  • Flower Medallion Stamp (Paper Inspirations)
  • Baker’s Twine (Cappucino)
  • Stamp Ink ( I used Fresh Ink Chocolate)
  • Rhinestone Brad
This card is sized a little differently than most I make. Cut cardstock lengthwise 6 inches. Score in the middle for card dimension 5.5 x 6.
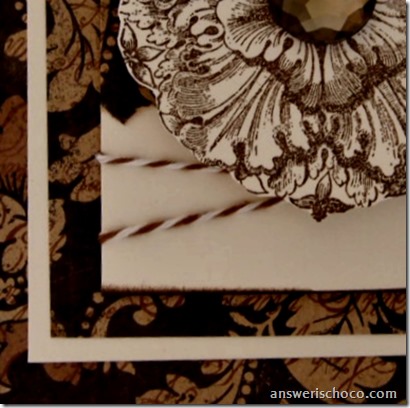
Cover with scrapbook paper, then layer cardstock and scrapbook paper  panels as shown. Edge smallest cream panel with ink.

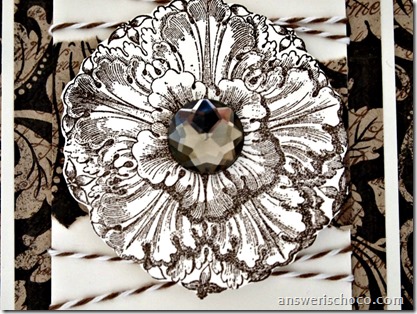
Paper Inspirations Medallion

Stamp medallion on cream cardstock scrap. Trim closely. Add large rhinestone brad to center and adhere to center of smallest panel with adhesive foam dot.  Wrap with baker’s twine and then adhere to center of card.

Cappucino Baker's Twine