Showing posts with label Card Making. Show all posts

Monday, October 14, 2013

Halloween Cards: Quick, Easy, and Stashbusted

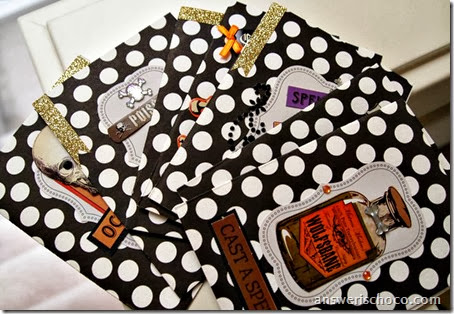
Quick Halloween Cards

While I love nothing more than shopping for new goodies each season, sometimes you really need to use what you have. For this year’s Halloween cards I decided to do that and pulled out miscellaneous things from my stash.

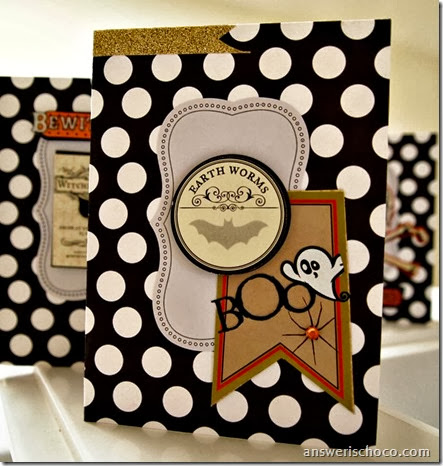
Quick Halloween Card Canvas Corp

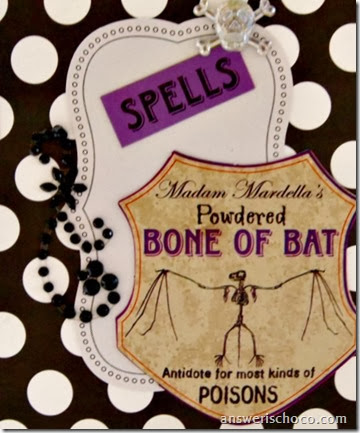
The cards themselves ( Canvas Corp) were from a pre-made pack. Black and white polka-dot cardstock. Perfect for Halloween! I used a label sticker from a pack I’d picked up along the way somewhere.  For the card shown above, I added a chipboard banner shaped sticker on top of which I put a scrap of a Halloween rub-on. Added a sticker from another leftover package and finished with a leftover orange rhinestone, and scrap of glittered ribbon.

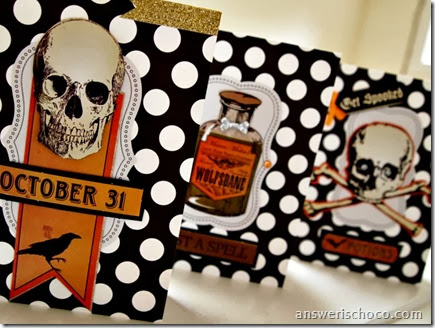
Quick Halloween Cards Stickers

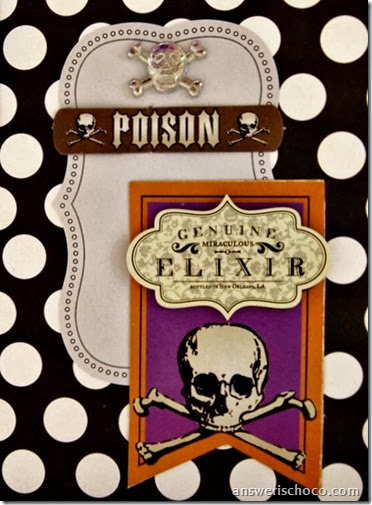
I did the same with the other cards I made, coordinating whatever went together from what I had on hand.
Halloween Cards Fast

Quick Halloween Cards This N That

Tuesday, September 17, 2013

Back to School for College Kids: Coffee Run Card

Coffee Run Card

Those of you who are coffee drinkers, remember when you weren’t? Remember when you thought it tasted gross and wondered how and why anyone would ever drink the stuff?  I do. And I think I was about the same age as College Boy when that changed forever. Is there a coffee switch that clicks on in College?


Now that coffee is a major food group, we usually help him out with a Starbucks card to cover Pumpkin Spice Lattes and supplement the dining hall coffee. Funny how the frequency of Starbucks trips is in direct proportion to who's paying for the Lattes isn't it? Mom and Dad pay...frequency goes up. College kid pays? Dining hall coffee YUM!

I remembered this Canvas Corp paper I had in my stash. PERFECT!

Coffee Run Supplies

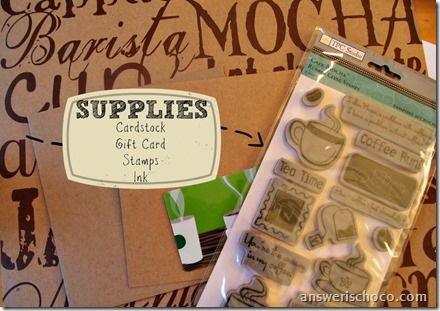
For this project you will need:
  • Cardstock ( I used kraft to match my patterned paper and because it reminded me of the Starbucks “sleeves”) and matching envelope
  • Coffee themed paper (Canvas Corp “Coffee Words on Kraft”)
  • Gift card
  • Coordinating theme stamps
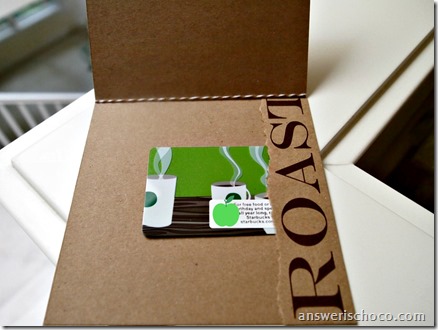
Cut cardstock to make 5.25 x 5.25 card. Cut patterned paper to cover front and back. Cover front of card. On inside of card, cut a slit to fit your gift card. I used an XActo knife and cut down the short side of the GC:

Coffee Run Inside

Slide GC through slit; cover back of card with remaining panel and use a scrap of the paper to line the inside of the card as shown.

Coffee Run Closeup

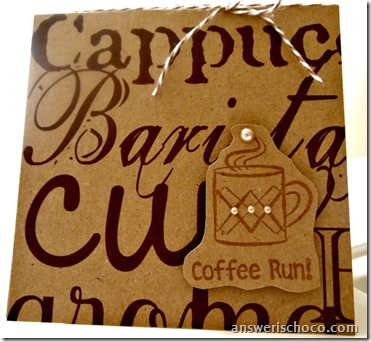
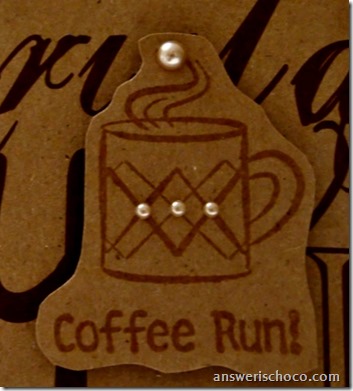
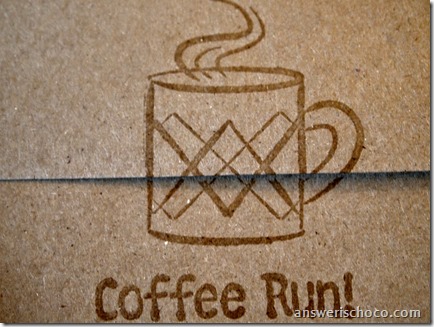
I debated about just leaving the card alone but me? Leave something alone? So I stamped a coffee stamp on a kraft scrap using watermark ink, finished with some decorative pearls, trimmed the image and mounted with foam dots.

Coffee Run envelope

I liked how the watermark ink looked on the kraft paper so I stamped the back of the envelope too!

So who else went from “coffee is the grossest thing ever” to “is there life before coffee”?


Monday, September 9, 2013

Anniversary Card in Black, Silver and Gold. Handmade Paper Is The Star !

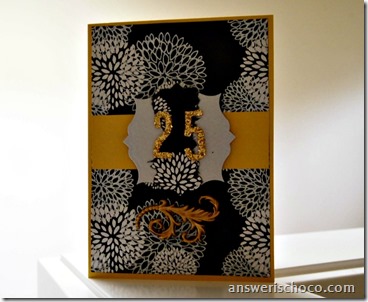
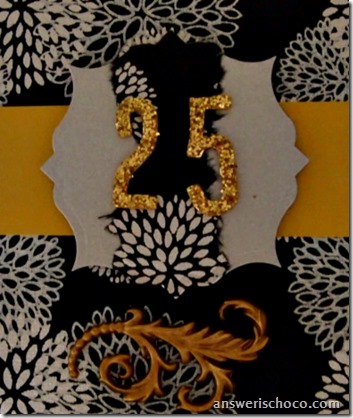
25th Anniversary Card

Sharing a very quick Anniversary card I had to get out the door. Thankfully my paper hoarding paid off since this beautiful black and silver floral print handmade paper didn’t need much else!
Products used in this card:
  • Stardream Metallics gold cardstock
  • Handmade paper
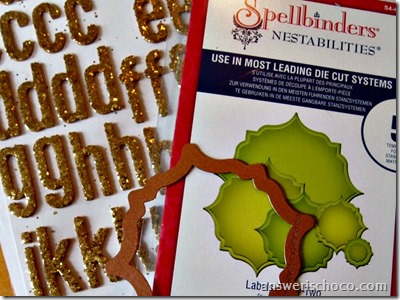
  • Die Cutting Machine and Die (I used a Spellbinders die)
  • Glittered Stickers ( I used Thickers by American Crafts)
  • Embellishment ( 3-D sticker I had in my stash)
Spellbinders and Thickers

The card is 5x7. Cut cardstock to size and score down the middle. Trim handmade paper to 4.75 x 6.75 and trim cardstock scrap leftover from your card to 4.75 and adhere across middle of patterned paper.
Anniversary Card

For the focal, I layered a scrap of the patterned paper onto a piece of silver metallic cardstock and then cut the whole thing using my Spellbinders die. Added the Thickers glitter stickers to the front and adhered the focal to the card with a foam dot. Finished with a gold embellishment I had in my stash.

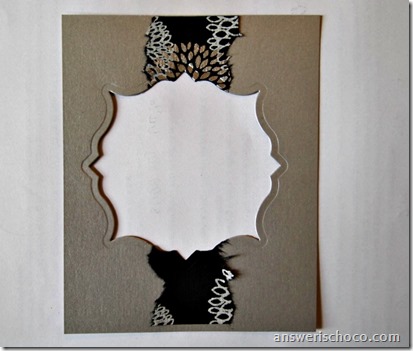
Die Cut Negative

This is the negative from that little experiment which I think I’ll use in another card!

Wednesday, August 21, 2013

Cardmaking with Project Life and A Just Because Giveaway

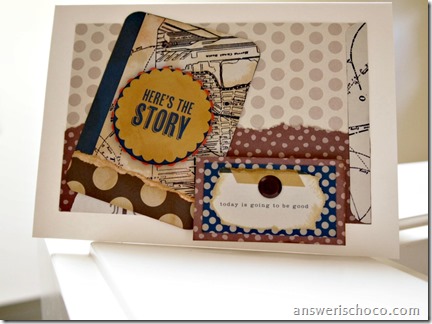
Here's The Story Project Life

You may recall the post I had up last week using the “Vintage Travel” Project Life scrapbooking kit. While it’s designed for easy scrapbooks, I decided to use it to make some cards. The great thing is, since the Project Life kit is  made by American Crafts, it coordinates with American Crafts papers! I love it when a plan I didn’t have comes together.

Vintage Travel Project Life

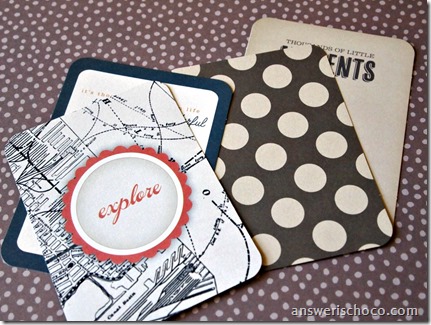
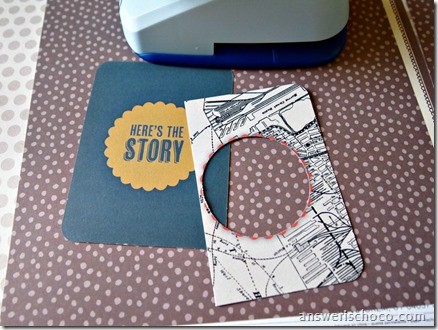
Here are some of the Project Life scrapbook cards I randomly selected along with a piece of scrapbook paper I had in my stash ( Fifth and Frolic collection).  I had fun using designs in the cards as inspiration. For example, I used a circle punch to punch out the middle of one card and used the punched out portion here:

Project Life Greeting Card

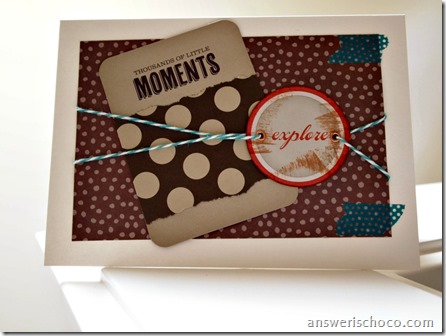
I distressed the cut out circle with some ink, tore another card and adhered it to the “Thousands of Little Moments” 5x7 card and used the scrapbook paper as my background Finished with some coordinating baker’s twine and washi tape.

Project Life Vintage Travel Kit

Here’s the negative from the PL card I punched out. I  trimmed it slightly and layered it over yet another card from the kit. Used more distress ink over the whole thing and used it along with a sentiment from another card to make the card shown at the top of the post.

I was having so much fun I couldn’t stop. So I grabbed even more cards from the kit and decided to make some 4.25 x 5.5  notecards.

Notecards Project Life

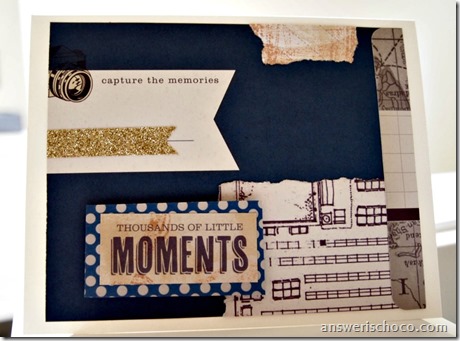
Each of these notecards uses pieces from the PL kit, just randomly paired together, cut up, torn up, etc.

Project Life Camera Card

I finished some with glitter tape and others with washi tape and some with both. And guess what? I’m giving them away! Why? Why not.

Here's the Rafflectopter widget and entry is simple. Leave a blog comment telling me what your favorite back to school supply was as a kid. I loved school supply shopping almost more than back to school clothes shopping. From the days of sharp new crayons to fresh clean paper and notebooks. New pencils with unused erasers! A new box of pens. Nerdalert! 

Monday, July 22, 2013

Make a Card in 10 Minutes


Graphics 45 Sympathy

Sharing a quick card idea , based on a card I needed to make this weekend. Start to finish, maybe 10 minutes and involved two pieces of paper!
For this card I used:
  • Cardstock (Neenah Cream Cardstock)
  • Scrapbook Paper (Graphic45 Bed of Roses)
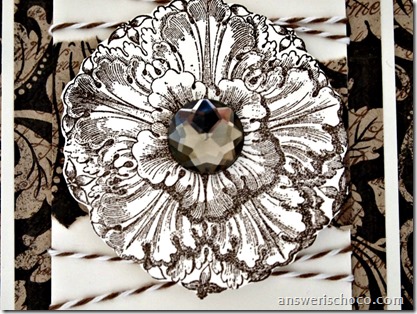
  • Flower Medallion Stamp (Paper Inspirations)
  • Baker’s Twine (Cappucino)
  • Stamp Ink ( I used Fresh Ink Chocolate)
  • Rhinestone Brad
This card is sized a little differently than most I make. Cut cardstock lengthwise 6 inches. Score in the middle for card dimension 5.5 x 6.
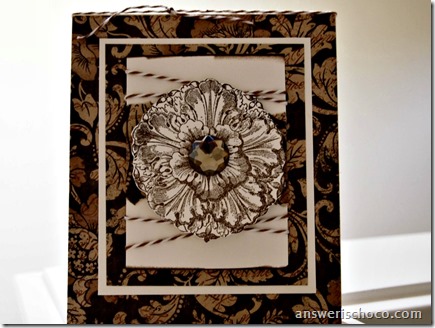
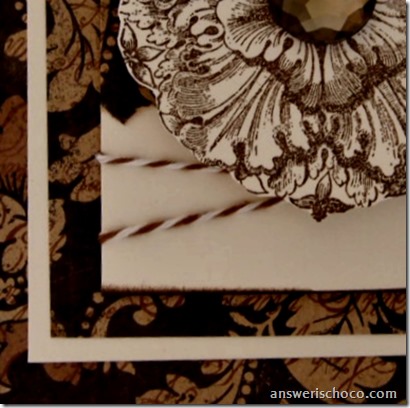
Cover with scrapbook paper, then layer cardstock and scrapbook paper  panels as shown. Edge smallest cream panel with ink.

Paper Inspirations Medallion

Stamp medallion on cream cardstock scrap. Trim closely. Add large rhinestone brad to center and adhere to center of smallest panel with adhesive foam dot.  Wrap with baker’s twine and then adhere to center of card.

Cappucino Baker's Twine

Monday, July 8, 2013

Cardmaking With Diecuts. No Stamps, Inks, or Machines Needed

Kiwi and Turq Cards

As a cardmaker, I love using anything and everything in my cards. I’ve written before that you don’t have to have a fancy schmancy machine to create shapes that add variety and texture to your cards. Heck , you don’t even have to stamp. All you need are pre-packaged die cuts that are available wherever scrapbooking supplies are sold.

For this project I used:
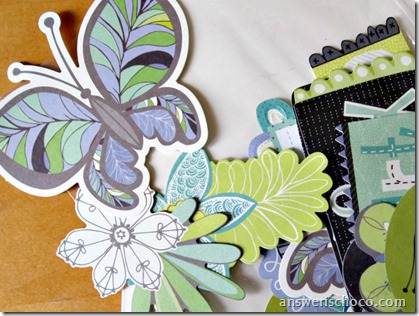
  • Diecuts. I used ones I had in my stash and coordinated my cards around them
  • American Crafts papers: green and white floral, teal and green
  • Coordinating ribbon and rhinestones
Die Cuts

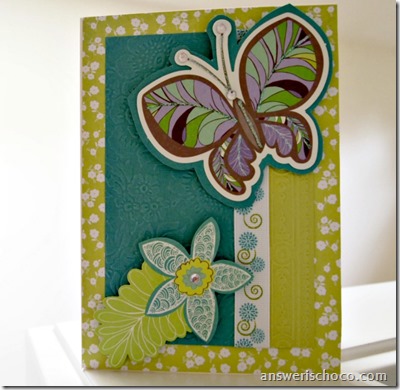
You can use your diecuts as is or you can embellish them. For the card with the big butterfly, I layered in onto the teal paper and trimmed around it to give it a border. Also added some Stickles glitter glue and rhinestones.

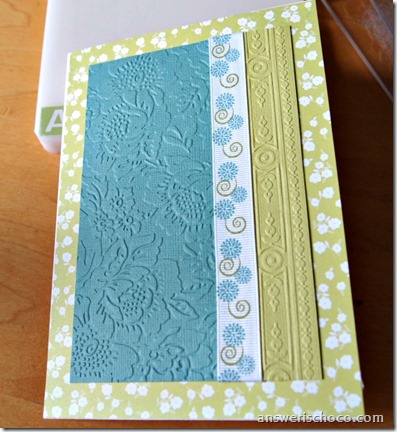
Cuttlebug Embossed Paper

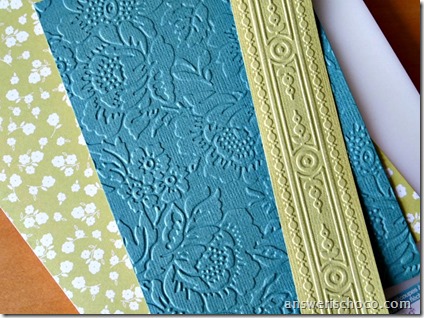
For this card, I also ran a teal panel through my Cuttlebug using an embossing folder but you could also .leave the paper plain.

Cuttlebug Embossed Panel

I added a piece of coordinating ribbon to my embossed panel.

Butterfly Diecut Card

Covered the front of the card with the green and white floral paper and added a floral diecut embellished with a clear rhinestone.

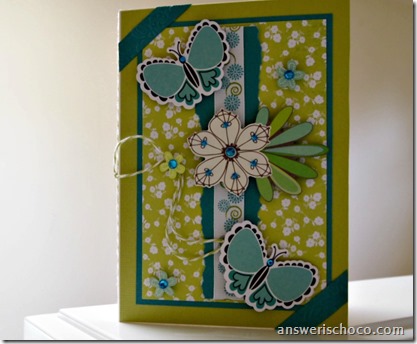
Butterfly Diecuts

For the second card, I layered a panel of the green and white floral onto the teal paper, tore a scrap of the teal and wrapped with the ribbon and added the diecuts which I embellished with rhinestones.  I used my Cuttlebug to emboss paper for the first card, but I also wanted to show you can make cards just using the paper as is.

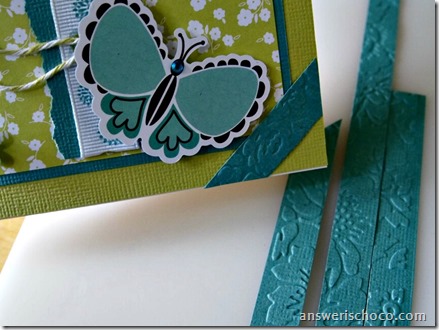
Embossed Scraps

Waste not, want not so for this one I used leftover strips of the embossed paper from the first card to accent the second card.  So see? No stamps , inks, or die cut machines needed!


Sharing At: 


Monday, May 20, 2013

Just The Ticket Card


Happy Monday all. I'm over at the CutCarstock Blog today sharing how I made this fun ticket themed card and matching envelope. Hope you'll drop by!


Monday, May 13, 2013

Tree of Life Sympathy Card

Tree of Life Sympathy Cricut

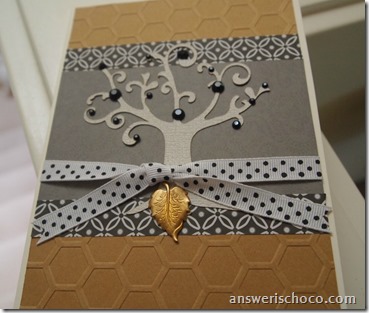
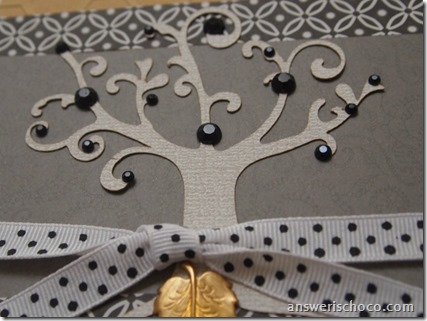
Another Sympathy card. I try to strike a balance recognizing the solemnity of the occasion, celebrating the life of the deceased, and honoring and comforting the living who mourn. This one is for a friend of mine who lost her brother after a long illness.

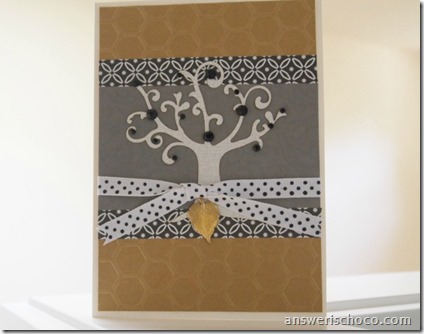
I decided to use a tree in this card, representing the Tree of Life. My Cricut “Wall Décor and More” cartridge has a great tree image so I used that to cut my image from a neutral cardstock. The cardstock is double sided so I ran another piece of it through my Cuttlebug  using a honeycomb embossing folder.

Tree of Life Sympathy

I layered a gray panel across the middle, adhered the tree, bordered the gray panel with coordinating scrapbook borders and tied a black and white polka dot ribbon around the panel before adhering the embossed panel to the card.

Tree of LIfe Sympathy CLoseup

Finished off the card with different sizes of black self adhesive rhinestones and a brass leaf charm.

Sharing At: 


Saturday, May 11, 2013

Mothers Day Cards in Pink and Gray

Mother's Day in Pink and Gray

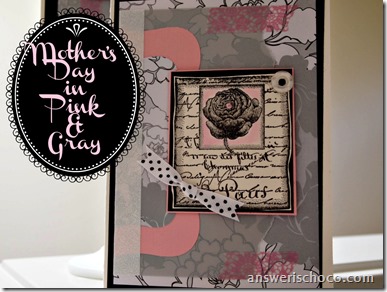
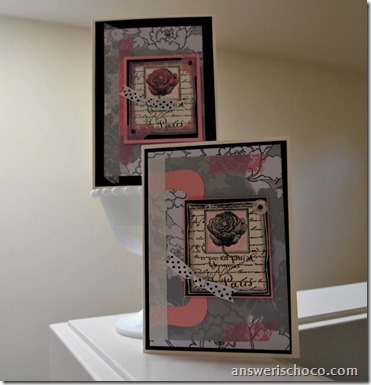
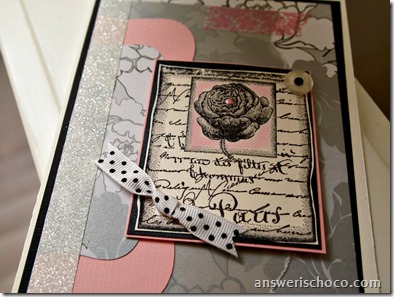
If I could have sent each of my bloggy mom friends a handmade card, I would have. Since I can’t, I’m sharing the ones I made for the moms in my non-bloggy life who have been shocked to see pink coming from me!
Mother's Day Pink Gray

I am not known for being a pink person but for some reason I just felt like using pink.Maybe it was the washi tape I found? OK it was the pink washi tape!

Fresh Ink Pink

I stamped on cream cardstock using a Hampton Arts rose stamp and black pigment ink then embossed with clear embossing ink. Some of the images I colored the area behind the rose with pink chalk ink. For others, I colored in the flower with colored pencil. Trimmed and layered with black and pink papers. I added a drop of pink liquid pearls to the center of each flower. I used  a combination of grey and silver floral papers, pink papers and embellishments including American Crafts glitter tape to finish the cards.

Wishing all the moms out there a very Happy Mother’s Day!

Sharing At: 

Tuesday, May 7, 2013

Blogiversary Giveaway #3: $25 Gift Certificate to CutCardstock.com

Anniversary Banner-001

Hope everyone is having a great week and participating in the giveaway fun. I'm thrilled to be a Design Team member for CutCardstock.com. The wonderful folks there are giving one of my readers a chance to win a $25 gift certificate to their site!

With upcoming holidays like Father's Day ( I'm sure you've all got Mother's Day taken care of by now) , graduation season, prom season and it's always someone's birthday, who couldn't use some notecards or invitation sets?  CCS has got you covered. Flat Cards, Gatefold Cards, Invitation Sets and more, ready for your creativity. 

If you want full size card stock, CCS has a variety of sizes and brands. In case you need some ideas on how to use the variety of products you can find at CutCardstock.com, pop on over to the blog and see what my fellow Design Team members and I are up to each month. 


The Answer Is Chocolate
<div align="center"><a href="http://www.answerischoco.com/" title="The Answer Is Chocolate"><img src="http://i1239.photobucket.com/albums/ff511/AnswerIsChoco/Blog%20Buttons/3rdAnniversaryButton_zps3ac5dd0a.jpg" alt="The Answer Is Chocolate" style="border:none;" /></a></div>


Saturday, April 6, 2013

April Birthdays Continue: Cards in Yellow and Gray

Yellow and Gray Birthdays

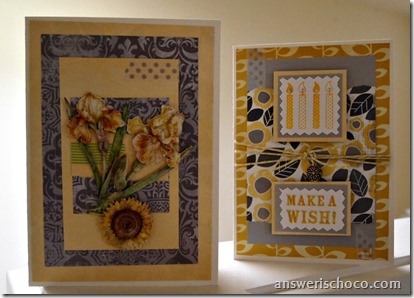
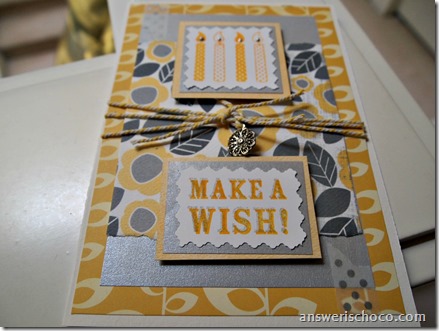
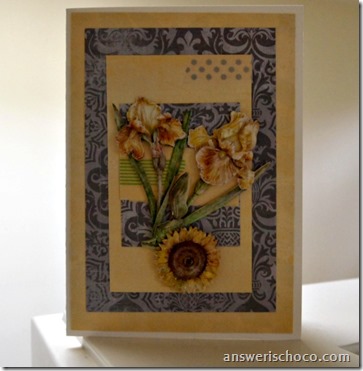
I wasn't kidding about April being birthday month for me. Here are two more cards for April birthdays. These use papers from Teresa Collins, Cosmo Cricket, and Recollections.

On a personal note, today would have been my daddy's 76th birthday so Happy Birthday Daddy.
For the first card I used:

Yellow and Silver Birthday
  • 5x7 white card ( made mine from heavy cardstock)
  • Cosmo Cricket yellow leaf paper
  • Teresa Collins yellow and gray floral paper
  • Silver paper
  • Washi Tape
  • Baker's Twine
  • Charm
I trimmed the yellow leaf paper to 4.75x6.75 then trimmed the silver and floral papers to 4x6 and tore the edges of the floral paper. Wrapped coordinating baker's twine around this panel and tied a small silver charm to the middle.

Stamped the birthday candle and sentiment ( also Teresa Collins) using yellow inks on white paper scraps, trimmed w/ decorative edge scissors and mounted on paper scraps. Assembled card as show using foam dots to add the candle and sentiment panels. Dotted the candles with silver liquid pearls and added coordinating washi tape.

Yellow and Gray Irises

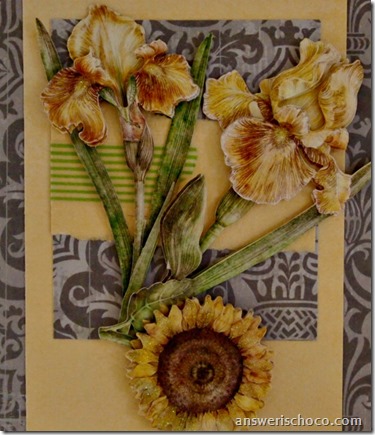
For the second card, construction was the same. This time I used the reverse side of the Teresa Collins paper , a washed yellow, with a damask print gray paper For the focal I used dimensional stickers by K&Co, and a coordinating piece of green washi tape to match the leaves. Finished with silver and white polka dotted washi tape.

Yellow Irises

Sharing At: