Wednesday, July 17, 2013

The Dangers of Being a Jewelry Maker: You Make A Necklace Because It's a Day That Ends in Y


Or, because you're going to a craft show. Or, because you are on a Design Team and you get amazing supplies to play with. Or, all of the above!

There's a twice a year show in Seattle called Urban Craft Uprising. It's filled with lots of indie artists and craftspeople and I'd never been. So Mr. Chocolate and I went to check it out last weekend, and naturally I couldn't go to something like that without making something fun and new to wear right? I looked at my Blue Moon Beads design team supplies and pulled out some urban metal pieces and coordinating beads


The focal piece was this antique gold connector strand. I used most of it in one piece but disconnected two of the links. I also used cream tear drop beads and pyrite stone beads along with some antique silver chain. 


I strung the pyrite and teardrop beads onto a length of beading wire, attached to my metal focal piece with jump rings, and also added two other connector pieces. One hammered metal ovals and the other metal dangly thingies.  


I also added these metal filigree beads since they went well with the theme. Attached the multi strand middle to lengths of antiqued silver chain to complete and vi-ola. 

The event was held at the Seattle Center. This is where our iconic landmark is: The Space Needle


Of course I go to a craft show and what do I buy? Chocolate. Really delicious toffee that is locally made by Hedgehog Toffee


The story behind them will melt your heart as much as their yummy chocolate melted in my mouth! We bought that medium sized bag on the left. ALL gone. YUM. It's a real treat to support a local company that gives back to our community. 


This was my first time at UCU and there were great PNW artisans there. I can't wait to go back for their holiday show! 


Sharing At: 


Monday, July 15, 2013

Christmas in July : 17 Gift and Decor Ideas You Can Start on Now!


Happy Monday everyone. We're halfway through July already and it seems the deeper into the year we get the faster it goes. I have already seen Halloween items in a couple of stores! That got me to once again thinking about getting a head start on the holidays and I asked a few other bloggers to share some of their handmade gift ideas that we could get a jump start on NOW. Many of these are things that are great for Christmas and Hanukkah but can also be adapted for any time of year gifts. 

Decor:


DIY Snow Globes from Domestic Superhero  Start saving your empty jars now!


Use scraps of velvet and mini ornaments to make these elegant napkin rings. Visit Carolyn at homework for the how to. 


Save empty boxes and packaging shred to make groups of frosted paper trees. Also from Carolyn at homework


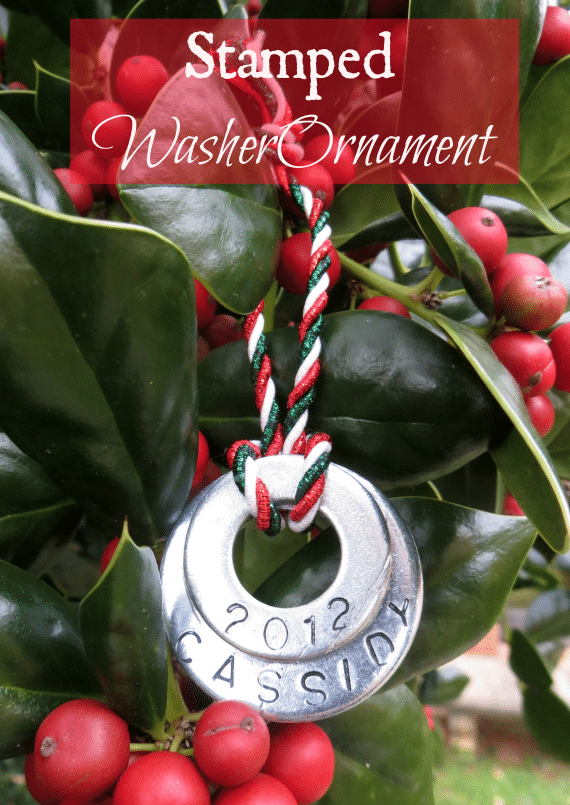
Personalized ornaments are always a hit. These stamped double washer ornaments could from Sweet Pea could also double as package tie ons.  


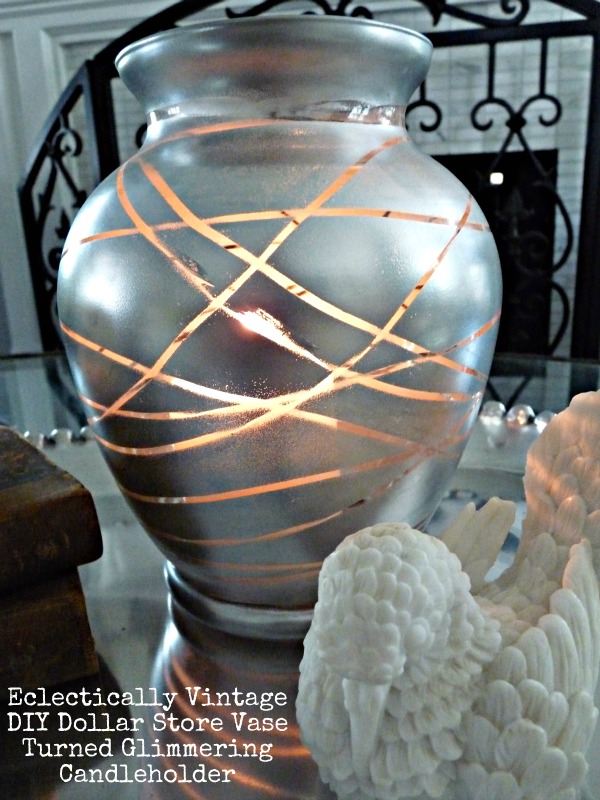
Elegantly transformed Dollar Store Vase Candleholder from Eclectically Vintage. Make some for your own own and some to give as gifts


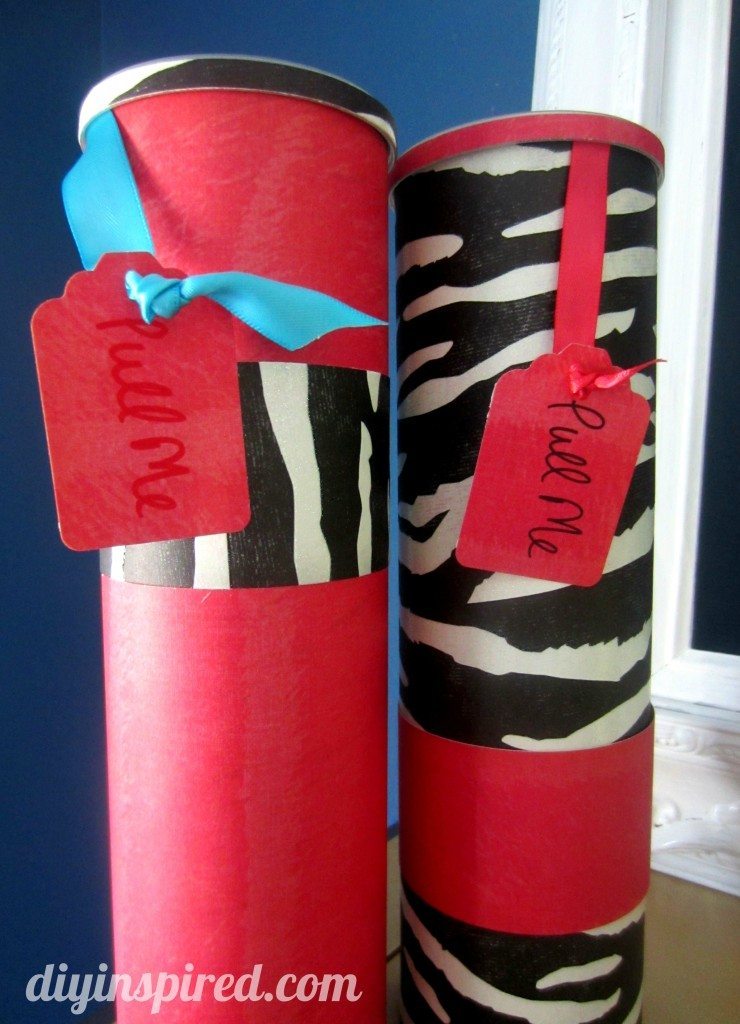
Upcycled Pringles cans either as standalone or like these from DIY Inspired that contain a fun girlfriend gift. Perfect for showers too!


Practical and Personal Gifts: 


Etched beer glasses. You could monogram, spell out the name, or in this case the German word for "Cheers". See Laura at The Shed for the how to. Not that it's only guys who like beer but perfect "Man Craft"! 


This would be a wonderful Christmas gift but could also work for Weddings and Anniversaries. A "Family Tree Mirror" from Becoming Martha.


Or how about some twine wrapped monogram ornaments? You could also spell out a holiday word or family name. Also from Becoming Martha


With all of the patterns and choices of polar fleece, there's sure to be a design for whatever passion your gift recipient has. Get the how to on easy fleece throws from Craft Quickies


In our electronic age, I love the idea of something "old school" that challenges the mind. Jamie over at C.R.A.F.T has an easy but ingenious puzzle you can make to give as a gift. If you're way smarter than me, you might be able to have it spell something out when it's all put together. 


Speaking of blocks, how about customized photo blocks for friends and family. Visit Measured By Heart for instructions. 


Whip up a fun and fashionable apron from a hand towel and coordinating fabric scraps. Head on over to Uncommon Designs to see more.


Scrubs and Soaps:

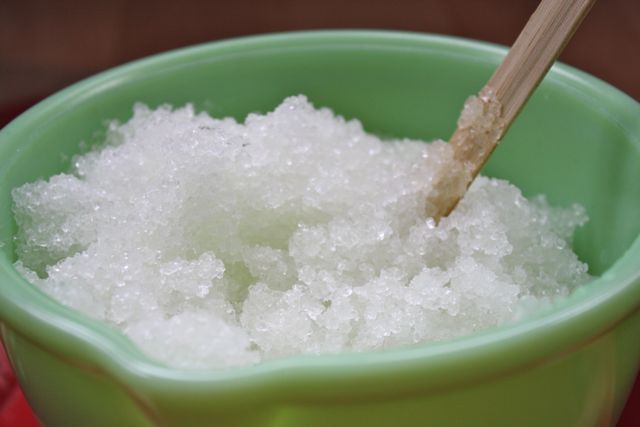
Perfect for holiday  or anytime gifts. From Yesterday on Tuesday 


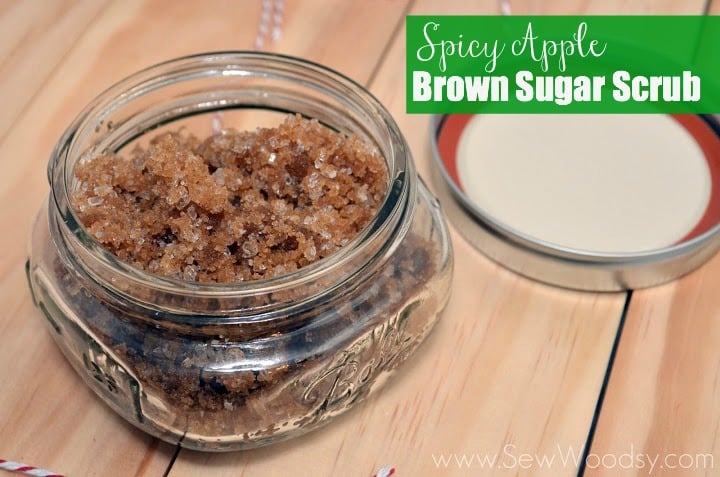
Spicy Apple Brown Sugar scrub from Sew Woodsy


Handmade herbal and botanical soaps from A Nest For All Seasons

I hope you've found some inspiration and ideas to get you jump started on holiday crafting! 


Thursday, July 11, 2013

BFF Open House Link Party #112

The Answer Is Chocolate

Happy Friday Eve all! I hope everyone had a safe and happy Fourth of July. Can you believe the month is halfway over? Let's get back into party mode with some features from 2 weeks ago:


Let's start with this fabulous suitcase table from Artsy VaVa. I'm forever looking at suitcases at flea markets etc. and wondering what to do with them. Problem solved! 


Bethany from Whistle and Ivy shared a great tutorial that every crafter who wants to see their work published should check out.  I definitely plan to follow her guidance!


Mason jars continue to be popular but a mason jar with a book page ruffle? Too cute. Diane from An Extraordinary Day has the deets. 

And you know I have to have a chocolate feature right? The only thing I love as much as chocolate is coffee and chocolate. A batch of these mocha brownies from Sarah Lynns Sweets is definitely in my future! 


Now let's see what everyone's been up to in the past couple of weeks. 


Wednesday, July 10, 2013

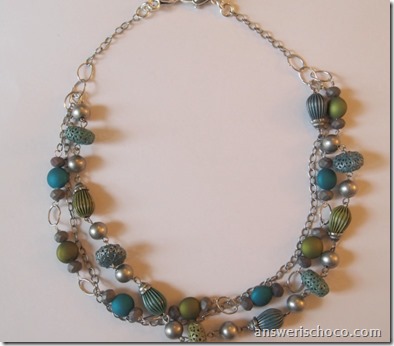
Kiwi Turquoise and Silver Chain Necklace

Blue Moon Beads Kiwi and Teal Necklace

I recently received some design team supplies from Blue Moon Beads. Disclosure: I am a member of the Blue Moon Beads design team and receive supplies to use but no compensation. All designs and opinions are my own

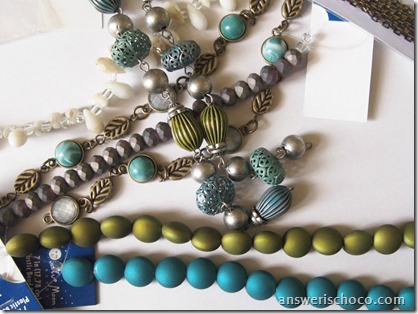
Included in my supplies was a connector piece with metal beads that I fell in love with and immediately wanted to play with. I had a birthday present to come up with and the colors were perfect.
Blue Moon Beads Kiwi and Teal

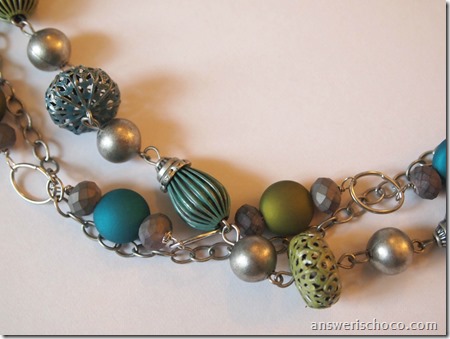
Using the metal connector strand as the focal, I chose some coordinating beads from my supplies. I really liked the kiwi and turquoise combination against the silver.

I left the connector strand as one piece and then used beading wire to make double sided wire wraps from the kiwi, turquoise and stone colored beads.

Blue Moon Beads and Chain

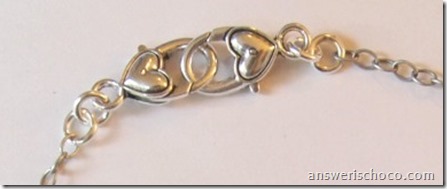
Using oval jump rings , I connected these pieces to lengths of antique silver chain until I had a length equal to my connector strand. I added an additional strand of the silver chain and connected the three strands together with  jump rings which I connected to two heart shaped lobster claw clasps:
Blue Moon Beads Silver Kiwi Teal

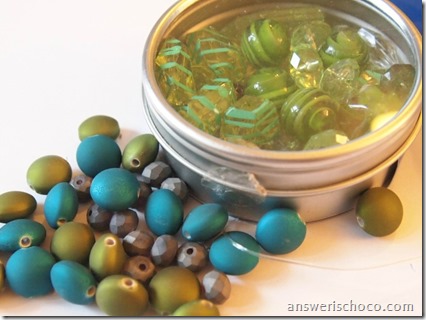
Blue Moon Beads Blues and Greens

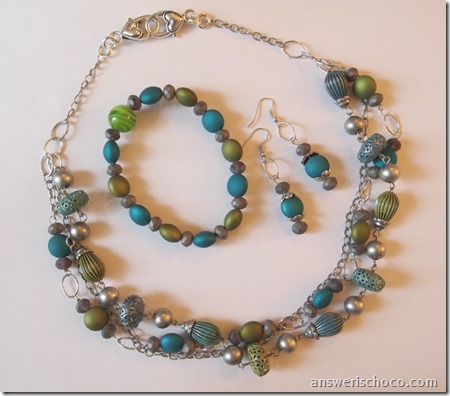
I had some leftover beads and realized they went well with some other beads I had in my stash, so I made a matching bracelet and earrings to go with the necklace.

Blue Moon Beads Silver Kiwi Teal

The bracelet is on stretchy cord and I used the kiwi, turquoise, and stone beads along with a large green focal bead. For the earrings, I used the stone and turquoise beads along with silver bead caps. All supplies by Blue Moon Beads. Most supplies should be available at JoAnn Stores.

Sharing At: 


Monday, July 8, 2013

Cardmaking With Diecuts. No Stamps, Inks, or Machines Needed

Kiwi and Turq Cards

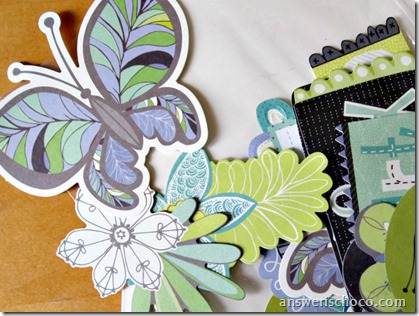
As a cardmaker, I love using anything and everything in my cards. I’ve written before that you don’t have to have a fancy schmancy machine to create shapes that add variety and texture to your cards. Heck , you don’t even have to stamp. All you need are pre-packaged die cuts that are available wherever scrapbooking supplies are sold.

For this project I used:
  • Diecuts. I used ones I had in my stash and coordinated my cards around them
  • American Crafts papers: green and white floral, teal and green
  • Coordinating ribbon and rhinestones
Die Cuts

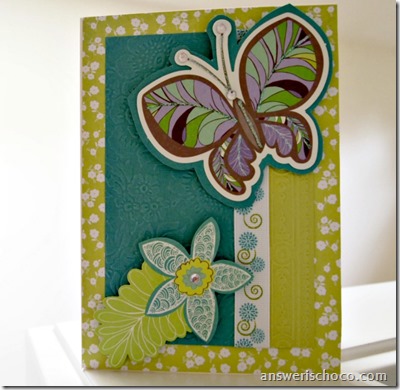
You can use your diecuts as is or you can embellish them. For the card with the big butterfly, I layered in onto the teal paper and trimmed around it to give it a border. Also added some Stickles glitter glue and rhinestones.

Cuttlebug Embossed Paper

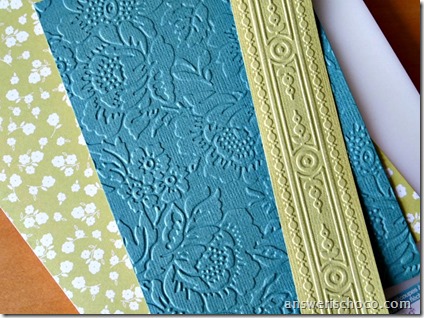
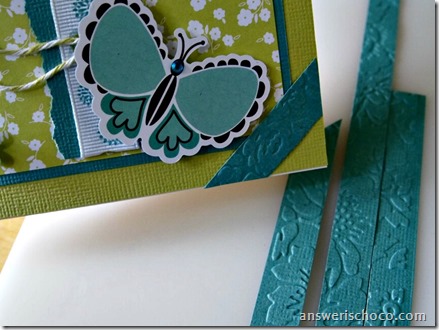
For this card, I also ran a teal panel through my Cuttlebug using an embossing folder but you could also .leave the paper plain.

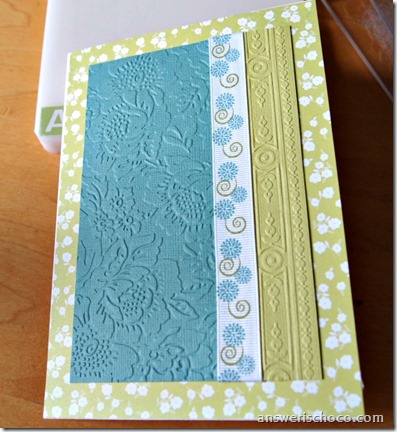
Cuttlebug Embossed Panel

I added a piece of coordinating ribbon to my embossed panel.

Butterfly Diecut Card

Covered the front of the card with the green and white floral paper and added a floral diecut embellished with a clear rhinestone.

Butterfly Diecuts

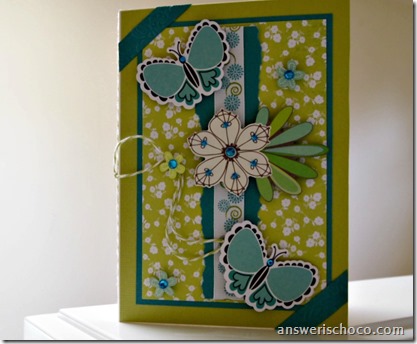
For the second card, I layered a panel of the green and white floral onto the teal paper, tore a scrap of the teal and wrapped with the ribbon and added the diecuts which I embellished with rhinestones.  I used my Cuttlebug to emboss paper for the first card, but I also wanted to show you can make cards just using the paper as is.

Embossed Scraps

Waste not, want not so for this one I used leftover strips of the embossed paper from the first card to accent the second card.  So see? No stamps , inks, or die cut machines needed!


Sharing At: