Thursday, February 7, 2013
BFF Open House Link Party #91
Is it Friday eve again already? Indeed it is. Is it also one week from national chocoholic's day I mean Valentine's Day? Indeed that too. Yikes. Let's get right to it and see what everyone's been up to this week.
Wednesday, February 6, 2013
Valentine's Photo Props and Treats
I knew I wanted to send College Boy some goodies for Valentine’s Day and when I saw these lips and mustache photo props by Amy at Living Locurto , I knew exactly what to do.
I started by downloading the files for the photo props here. Then cut them out and adhered them to bamboo skewers. These were great but I thought they needed a holder.
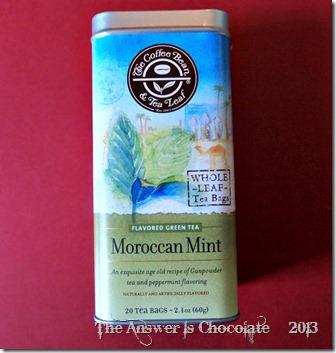
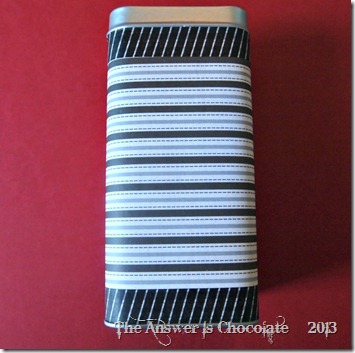
I grabbed an empty tea tin and covered it with scrapbook paper and coordinating washi tape.
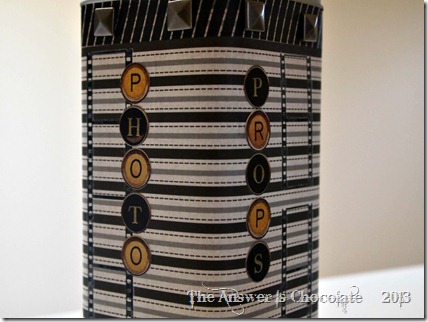
I had some film strip rub-ons in my stash so I applied those and then used up some alphabet stickers I had on hand to spell out “Photo Props”
I figured he and his friends could have some fun posing for silly pictures. This is exactly the kind of thing he and his friens like to do and they mostly hang out as a group. But that was only part of the treats for the goodie box .
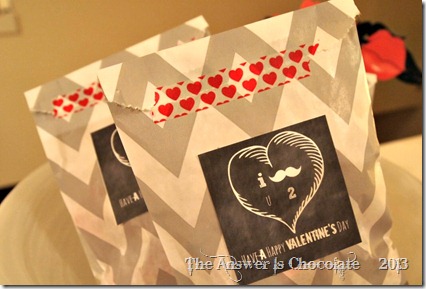
Of course the bags are filled with assorted chocolate hearts, Reeses, Nestle Crunch, Butterfinger ( I didn’t even eat any!) Laffy Taffy, and some Valentine’s themed temporary tattoos.
Monday, February 4, 2013
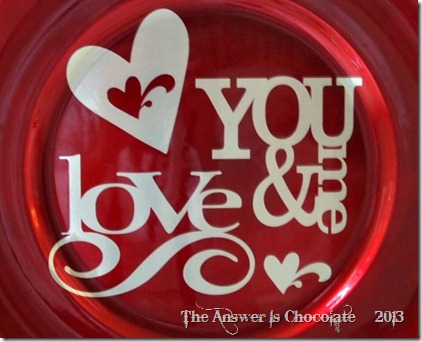
Valentine's Decor: Easy Vinyl Embellished Charger
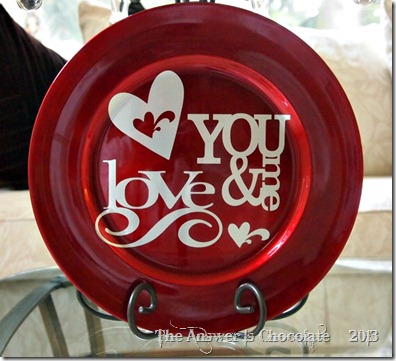
Still in stash busting mode and sharing a project I made last month for the Expressions Vinyl blog. After Christmas 2011 (yes, that’s right 2011) I picked up a couple of vinyl chargers for next to nothing on clearance at Michaels. I thought I might use them this Christmas. Didn’t. But I did use one to make a quick Valentine’s project.
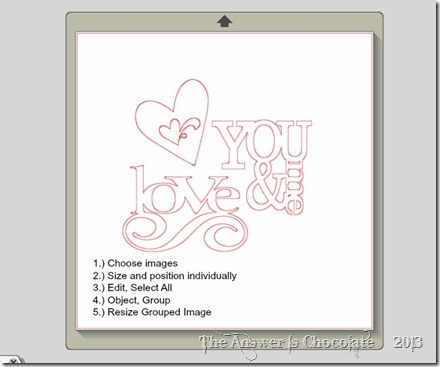
I downloaded a few Valentine’s themed images and phrases from the Silhouette online store. I have had my Cameo for a year now and am still learning everything you can do with it. For this project I used the group function to well, group, all the images I used together enabling me to then re-size one thing vs multiple.
I sometimes use transfer paper and sometimes don’t. This time I did because I was trying to make sure it was centered. I cut my grouped image using a brushed metallic silver vinyl ( Expressions ) and even added the little center heart cutout.
BFF Open House Link Party #90 Wrap Up and Features
Thanks everyone for linking up to Friday's Open House. Since Mr. Groundhog says we're in for an early Spring, I guess that makes me feel less anxious about seeing Easter stuff in the stores before Valentine's Day. OK a little.
So let's see a few of the great ideas that were shared shall we?
So let's see a few of the great ideas that were shared shall we?
I love, love, LOVE , altered bottles and this one from Artsy VaVa doesn't disappoint. Buzz on over to see how she did it.
And what would go great with this? These adorable treat boxes from Sarah at Alderberry Hill for one.
If you're looking for a candy alternative to Valentine's treats, then check out this idea from Tasya from My House and Home:
But if you are looking to share some sweet love for Valentine's day, you'll want to check out this week's chocolate feature from Jessica at My World Made by Hand.
Peanut Butter Chocolate Brownie Bites! Oh yeah.
Thanks again for choosing to make The Answer Is Chocolate part of your weekly party stop. Make it a creative week and hope to see everyone again on Friday.
Thursday, January 31, 2013
BFF Open House Link Party #90
Happy Friday Eve everyone and welcome to this week's BFF Open House. Before we get started, the winner of the Elite Blog Design giveaway sponsored by Kelly of Kelly's Avenue Designs is : Tiffany!
Tiffany, I've emailed you directly and let Kelly know. Now let's party:
Tiffany, I've emailed you directly and let Kelly know. Now let's party:

Wednesday, January 30, 2013
Bejeweled and Altered Mini Composition Book
This is one of those projects that was born of necessity. Just because something has a practical use, doesn't mean it can't be pretty right?
On the personal side, I am supposed to be watching my blood pressure. Haven't been the best at that and with the New Year, I'm trying to be more diligent. I'm sure there's a whiz bang iPhone app that I could use but sometimes you just need to go old school. So I altered a mini comp book to keep right next to my sphygmometer er, blood pressure thingy. It's 4.5 by 3.25 so I can easily drop it in my handbag when I go show my doctor how diligent I've been.
I pulled a sheet of paper from my stash, traced around my book, cut, glued on w/ Mod Podge .
Of course that wasn't nearly enough stuff. I chose this great wood and metal pendant by Blue Moon Beads as my journal's focal point. Its flowery design went well with the paper:
Glued it to the center of one of flower on the front and then added coordinating black and white washi tape from my stash. As a closure for my journal. I slapped some of the washi tape onto a binder clip. See? Practical and pretty!

Sharing At:
Tuesday, January 29, 2013
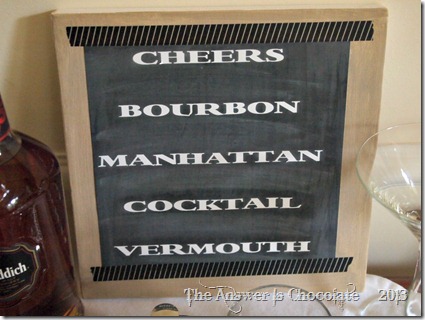
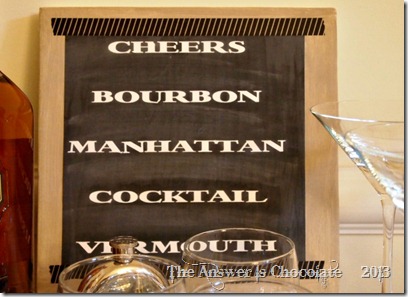
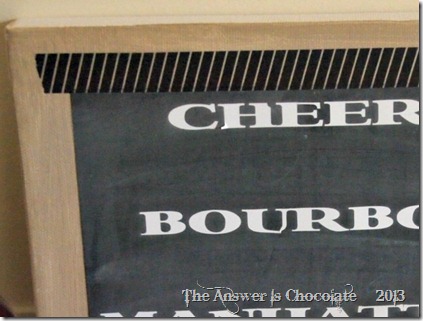
Chalkboard and Vinyl Bar Sign
I debated about keeping it for a Valentine’s present but here’s how that would go:
I’d make it, we’d be out somewhere, guarantee he’d see something and buy it , then what? How do I know? Almost 22 years of marriage. I know. And first thing he said when I showed it to him was “ I was thinking it needed a sign”.
So for this super easy project you will need :
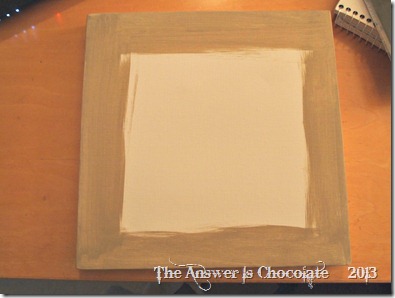
- A canvas ( this one is 10x10)
- Paint in your choice of color
- Chalkboard paper or you can paint a square or you could use chalkboard vinyl. I found self adhesive chalkboard paper in the kids crafts section at Michaels
- Vinyl
- Vinyl cutter or stencils and Xacto knife
Cut my chalkboard paper to 8x8 and even though it’s self adhesive. slapped some Mod Podge on the back to make it extra secure.
On the off chance I’m not the last person in the crafterverse who’s made a chalkboard project, you should “prime” your chalkboard surface by covering it with chalk then wiping off.

Subscribe to:
Posts (Atom)


