Monday, December 19, 2011

BFF Open House Link Party #32 Wrap Up and Features !

Welcome to the home stretch ! With both Hanukkah and Christmas this week, it’s going to be a busy one for sure.

Couple of notes before we get to this week’s features:

I’ll have the link party up on Friday, but will skip a Blog Feature this week. Will resume 12/30.
If you are or know a smaller blog ( crafts, DIY, paperarts, or foodie…500 GFC followers or less) and would like to be featured as a “BFF” in 2012, please email me: theanswerischocolate@comcast.net.

Thank you to everyone who linked up on Friday. This was the biggest party yet and I really appreciate everyone who takes the time to link up and share their creativity here.

This is on my list of things to make this week. Cappucino Fudge! Jocelyn from Inside BruCrew life shared this delightful temptation and I just wanted to jump through the screen! YUM!

Whether you celebrate Hanukkah or not, the ideas that Malia from Yesterday on Tuesday shares with her wonderful Hanukkah calendar are things I think all of us could do.

If you need a super cute idea for wrapping paper or something to do around the table, visit Megan at Polish the Stars for this great word search printable. She used it as wrapping paper. So cute!

You really have to see this amazing wreath that Bethany at A Fish Who Likes Flowers did proving that indeed, she likes flowers. She made this out of 902 hand cut pieces!

And finally, At Home with Mrs. H shares this printable that I have a feeling all of us have someone in our lives we could frame this for:

Please feel free to grab a featured button from my sidebar if you like.

Thanks everyone. Have a very creative week and don’t over do. More easily said than done I know! Hope to see you all again on Friday.

Friday, December 16, 2011

Framed Glitter Ornament

This week's BFF Open House link party is still going on here and will be up through Sunday. 

I thought I'd post an idea I recently shared over at The Scrap Shoppe where Michele has had a wonderful Handmade Holiday series going. This week is recipes so you should definitely check it out! It wraps up tomorrow but there have been some wonderful ideas shared. 


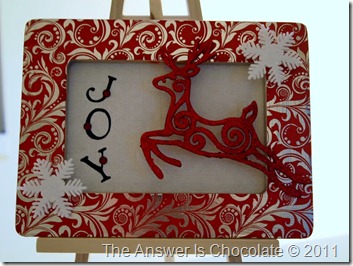
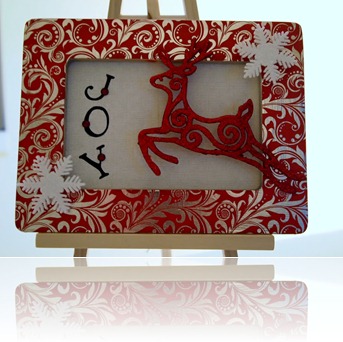
I was excited  Michele decided to do another Homemade Christmas and thrilled to be invite  to share a  fun , easy, and inexpensive piece of Christmas décor : A Framed Glitter Ornament

Dollar Tree Ornament Frame

I really enjoy making things using inexpensive materials. Largely that’s because I can justify buying more supplies, but I’m also a firm believer that you don’t have to spend a lot to have pretty things around you. Like so many crafters, one of my go to places is The Dollar Tree.

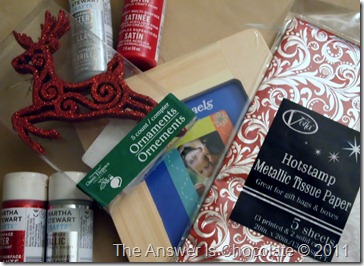
On one of my trips I found a pack of glittered reindeer ornaments. Five for $1! Had to have.Right next to them was  a pack of red tissue paper “hot stamped” with silver. Also a must have!
Dollar Christmas Decor
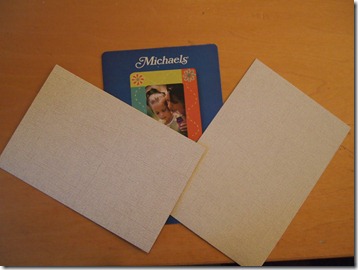
One of my other stash staples are unfinished wood frames from Michaels. Yep you guessed it. They’re $1.

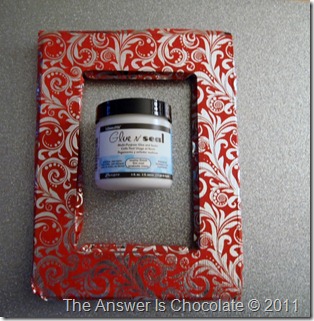
I took one sheet of the tissue paper and traced around the frame and cut out. Covered my frame with Ranger’s Glue N Seal and then put my tissue paper on. You could also use Mod Podge. I chose not to seal the top since I wasn’t sure if it would dull the shine of the silver foil.
Dollar Chrismas Decor
Don’t worry if you don’t get this exactly measured to your frame. Let your adhesive dry and then I file around the edges with a piece of fine sandpaper or a package of emery boards that you picked up at Dollar Tree!

Waste not want not, so I covered the cardboard that came with the frame with some scrapbook paper:
PB173554
I covered both sides because it just gives a nice finished look since there’s no back to the frame.

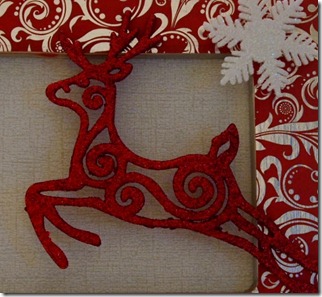
Took one reindeer from my package of ornaments, cut off the string used to hang and then hot glued it to my finished frame, offset so the feet and antlers are glued to the frame vs onto the paper. I liked the dimension this gave.
Dollar Tree Framed Ornament
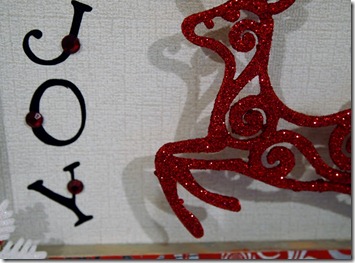
I cut the letters JOY from black vinyl using my digital cutter but if you don’t have one of those, you could easily use alphabet scrapbook stickers or letter stamps.  Embellished those with red self adhesive rhinestones I had in my stash.
Dollar Tree Ornament Shadow
Another reason I like the effect of gluing the reindeer to the frame vs the paper is this shadow effect. The glittered snowflakes I also had on hand and came in a package of 12 for $1.99 at Michaels.

My total cost for the supplies for this project was about $3!
  • $1 frame
  • $1 Tissue Paper ( over 4 sheets left over  so lots more crafting!)
  • $1 Ornaments ( really $.20  for this project since I used one of five)
Let’s say you decided to spend $4 more on frames and make a total of five of these so you used up all your ornaments. Price per project would be around $1.40!! And I guarantee you’ll still have tissue paper left over.
Dollar Tree Ornament Frame

If you're looking for a last minute decor idea or gift, this is a fast an easy way to whip something up.

Sharing At: 


Thursday, December 15, 2011

BFF Open House Link Party #32 and BFF the creative imperative!

‘Twas 10 days before Christmas and all through the blogs, not a crafter was quiet as bumps on a log. The creative were busy, the cooks and the arty, it’s time to link up for our weekly link party!  OK stop groaning; I’ll stop :)

This week I’d like to introduce you to Jamie from the creative imperative. She’s been busy getting ready for Christmas, decking her halls in fine fashion. You may remember her from last week’s party features with her gorgeous ruffled tree skirt:
I also love her “O Holy Night” light. It’s a lamp she re-did ( you have to go see how she did the lampshade) and then wrote the words to the carol “O Holy Night” on the base in dry erase marker!
I don’t know about you, but when I’m waiting for the icing to set on a gingerbread house, I usually just lick the icing off a spoon or something. Jamie does creative things like this marshmallow tree:
And then puts it under a dome! Adorable.

Beyond Christmas, Jamie has done some amazing projects like transforming her son’s room into Spiderman’s lair and many other creative and inspiring ideas, so I hope you will go and visit her. It really is a creative imperative !
Now, time to see what everyone’s been up to….tick tock…counting down!


Wednesday, December 14, 2011

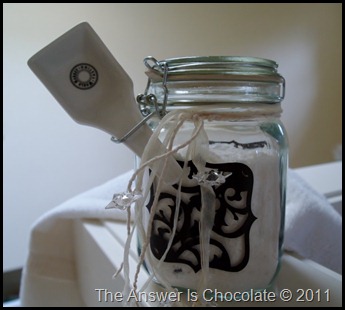
Please Don't Taste The Vanilla Bean Bath Salts

Since I became rather addicted to Epsom Salts this holiday season, I thought I should at least do one thing with them for which they are actually intended. Making homemade bath salts isn’t a new idea but here’s my take on it.
Vanilla Bean Bath Salts (2)
Vanilla Bean Bath Salt

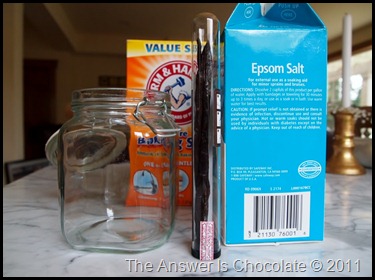
Vanilla Bath Salt Ingredients
I followed basic guidelines I found online. 3 parts Epsom Salt to 1 part Baking Soda ( I found a big box of baking soda at Target with the cleaning supplies). Then I kinda improvised!
I figured if you can infuse sugars with vanilla beans, why couldn’t you infuse bath salts? So I did.
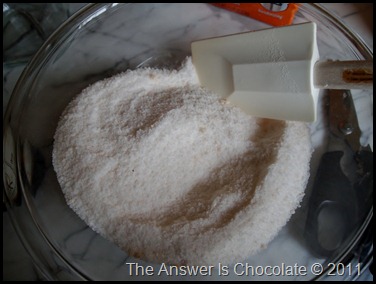
Vanilla Bath Salts Mix
I mixed my ingredients together, sliced open a vanilla bean, plopped it in there and mixed some more. Then I added just a few drops of vanilla extract for good measure.
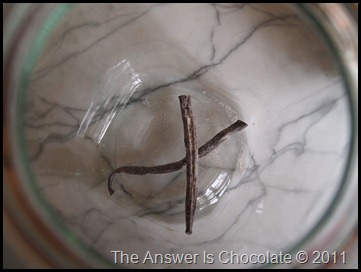
Vanilla Bean  Salts
Fished out my vanilla beans and dropped them in the bottom of the glass jar I bought for my bath salts. I got the jar at Cost Plus where I also got my “scoops”. More on that later.

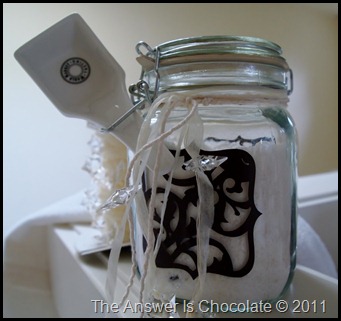
Poured in my salts and done. Well with that part. I wanted to pretty up my jar and since it was going in a bathroom, went with vinyl instead of paper to embellish the jar. Cut some shapes from the Damask Décor Cricut cart on my Expression in brown and gold vinyl.
Vanilla Bean Bath Salts
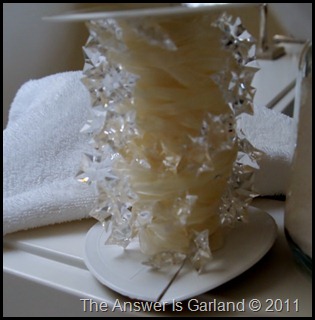
Tied some twine and ribbon yarn around the neck and added a little of this star garland I had in my stash
PC143918
One of those things you pick up because it’s pretty and don’t know when you’ll use it?

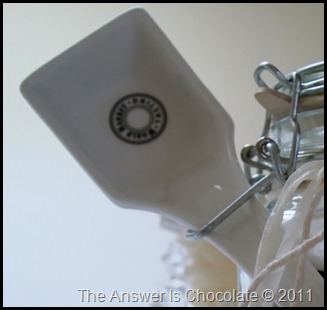
Finished the top off with a gold vinyl cutout and a vintage button. Now for the scoop on the scoop. I was looking for individual spice or coffee scoops (you know how you get an idea in your head about what you want and how dare the store not have it?) and was about to give up and buy a pack of different sizes which I didn’t really want and then found that Cost Plus has a whole section devoted to tasting sized stuff! YAY! Spoons and Forks and Spreaders Oh My. I found these little square tasting spoons that I’m going to use as scoops!
Vanilla Bean Bath Salts
See? I still managed to find a way to use something for other than its intended purpose!
Sharing At: 
A Crafty Soiree
Beyond The Picket Fence


Tuesday, December 13, 2011

Yes Virginia. This Is A Christmas Card!

I could tell from the envelope that there would be a treasure inside. My life longiest BFF ( since 7th grade!) is a true artist. She’s one of those naturally talented people who for as long as I can remember could draw ANYTHING freehand without instruction.

She went on to expand her creative talents into sewing just about anything including her own wedding gown, home décor, art dolls,  gorgeous gifts…you name it. She’s done some very creative Christmas cards over the years but this is my absolute favorite:
PC133902
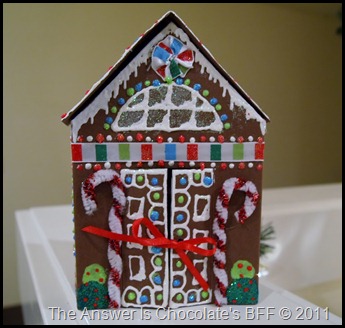
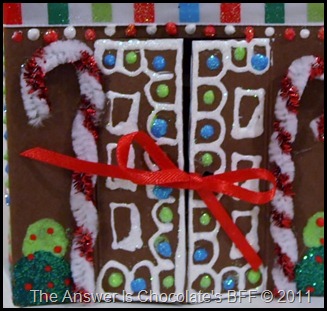
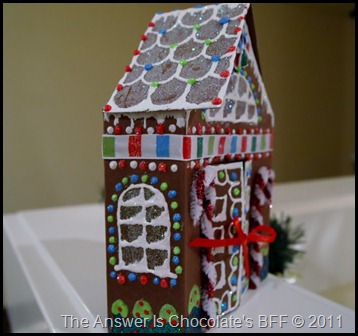
It is a 3-D Gingerbread House! It folds flat to mail but with a easy twist, pops right into shape. I just had to share it. And this is so her…look at all of the details done by hand:
PC133902
Twisted chenille stem candy canes. Ribbon candy trim and puff paint trees and snow!
PC133901
Look at the sides and the roof!

And for privacy, I’m not sharing the inside but if you undo the bow, the doors open and there’s a pic of her gingerbread family complete with Santa hats!

How could I not share this? She’s not a blogger but since I am, what’s the point of having a blog if you can’t show off your BFFs?
PC133904
Love you, you.

Monday, December 12, 2011

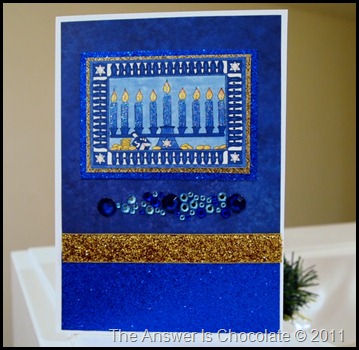
Glitter Is For Hanukkah Too! Hanukkah Card

I’m a glittermaniac lately so I was quite thrilled when I found glittered cardstock that I could use for some Hanukkah cards I wanted to make for friends.

Hanukkah Glitter Card
Michaels had their glitter cardstock 10 (12x12) for $10 last week. It’s hard to capture just how gorgeous this blue is in a picture but trust me it is!

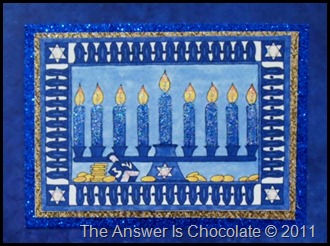
I generated the menorah from my PrintShop program , printed on a textured cardstock, and then went over the candles with an iridescent Stickles glitter glue.
Glitter Hanukkah Card
I also accented the dreidel. Mounted this on gold glitter cardstock and then on the blue.

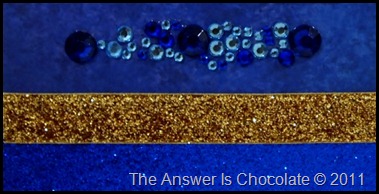
I made the main panel for the card from a spongy blue paper with a strip of the blue metallic and added a row of gold glitter ribbon. Hey, if you’re going to go glitter, go all in!
Hanukkah Glitter
To finish, added a strip of blue rhinestones I had in my stash ( more from last year’s after season Michaels binge).
Hanukkah Glitter Card

Sharing At:
homework

BFF Open House Link Party #31 Wrap Up and Features

Once again, a huge thanks to everyone who linked up at Friday’s BFF Open House. I hope you all enjoyed meeting Lesley from Freaking Craft.

I continue to be inspired by the incredible creativity that’s shared each week. Here are just a few highlights:
Jamie, from the creative imperative shared this gorgeous ruffled Christmas tree skirt.
It’s so pretty, you could just skip decorating the tree!

It would look fantastic in a room with this Nagoya Wreath, shared by Michele from The Scrap Shoppe:
The wreath is named for the stencil she used on the fabric she painted and then in a genius move, she mounted this on a charger.

Since I love ordinary materials transformed into things of beauty, I was stunned to learn that this trendy tree started out as moving boxes:
Go visit Tracy at Screaming Sardine to see how she did this.

The minute Mr. Chocolate sees this, I’m going to hear about it until I make one. Jenn from Rook No.17 shared an AMAZING Restoration Hardware knockoff that has to be seen to be believed:
The original is a wallet busting $995. Jenn estimates her cost at $25. I know which price I like!

And finally, you know I have to include a chocolate feature right? And what goes better with chocolate than peanut butter? And what’s better than FUDGE?! Trick question because the answer is nothing!

When you’re done drooling, go visit Carlee and Alyssa over at LadyBirdLN to get the recipe!

If you were featured, please fee free to grab a button (which for some reason does not want to be centered)


Have a creative week and hope to see you all again on Friday!