Showing posts with label mod podge. Show all posts

Sunday, March 17, 2013

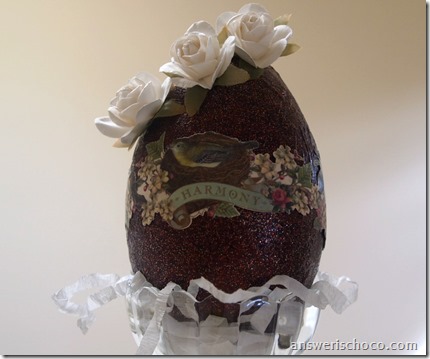
Vintagey "Chocolate" and Rose Egg

Faux Vintage Chocolate Egg

Of course it’s no secret that I love chocolate, and this time of year, chocolate eggs abound. This one is not edible but still delicious I think!

For this project you will need:
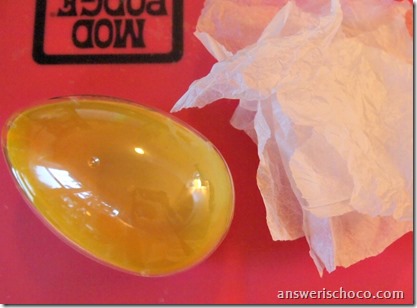
  • 6” plastic egg
  • Tissue paper ( not fancy, whatever comes in a bag when you buy something at the store)
  • Mod Podge
  • Acrylic craft paints ( I used a dark umber and Martha Stewart Glitter paint in “Brownstone”
  • Embellishments ( I used a scrapbook border by K&Co )
Plastic Egg

I first shared this technique in this post: Twine and Tissue Paper Egg. Tear your tissue paper into small pieces, apply to your egg using Mod Podge. Cover all over and let dry. Then paint with you choice of colors.
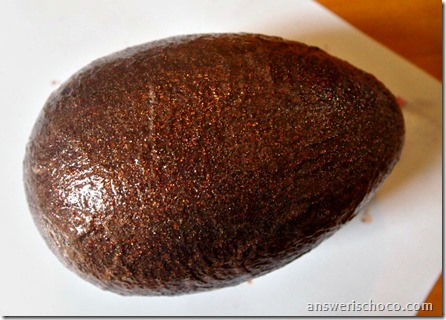
Martha Stewart Brownstone Glitter Paint

I like the unevenness and texture of the tissue paper. I applied one coat of the plain acrylic paint and three of the glitter paint.

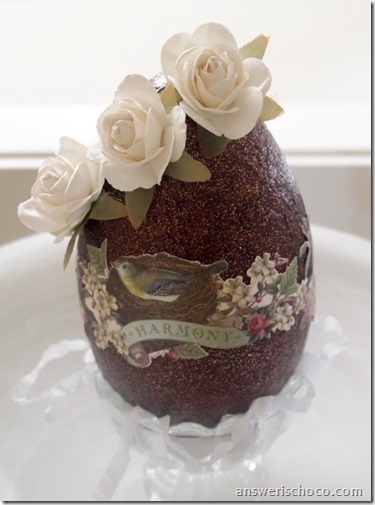
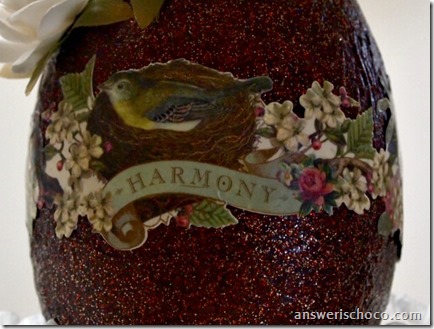
Once my paint was dry, I applied a decorative scrapbook border and sealed it with some more Mod Podge.

Chocolate Rose Egg

I had some paper roses in my embellishment stash and decided to hot glue those to the top of my egg at an angle.
Crepe Paper Grass
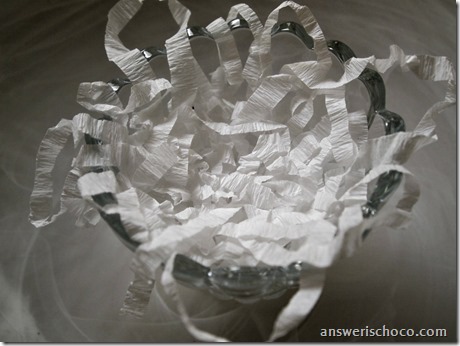
While I was waiting for my Mod Podged border to dry, I  cut a length of  crepe paper streamer ( a roll from the $1 goes a long way!), folded it in half then in half again and cut strips of it and plopped them in an ice cream dish I found at Crate and Barrel for $1.95.

Vintage Chocolate Egg

Thursday, March 7, 2013

Altered Balsa Wood Gift Boxes

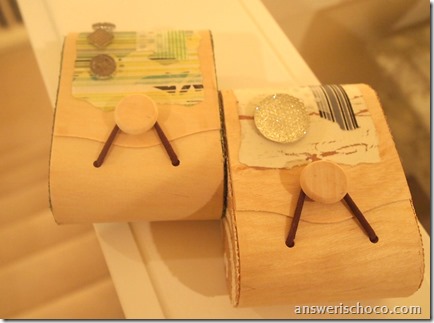
Altered Balsa Boxes

You might recognize this box style from Mr. Chocolate’s birthday. I scooped up a few of them when I got the one for him because they were just too much fun to pass up. And they were $1.

For this project you will need:
  • Balsa Boxes ( Michaels $1.50 towers...when I got mine they were on sale for $1)
  • Burlap and/or scrapbook paper
  • Mod Podge
  • Washi Tape
  • Embellishments

Printed Burlap

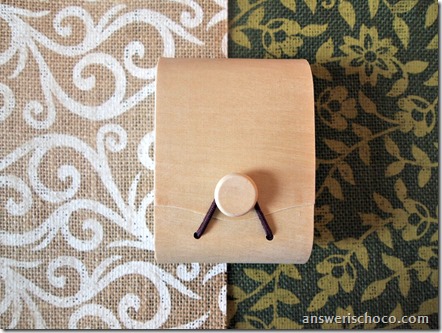
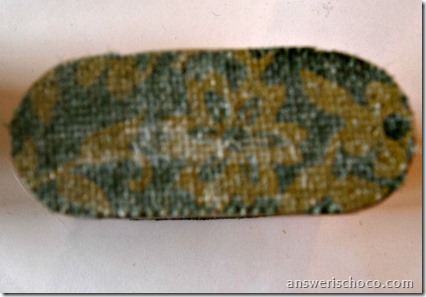
These will hold the girlfriend gifts I shared in my previous two posts, the Garden Lover’s necklace and White Agate Stretch bracelet.  For these, I chose some patterned burlap sold in the paper section and cut to 8.5x11 sheets. I had colors that matched each gift.

P3068179

I traced around the sides of the box and cut out pieces of the burlap . Then I Mod Podged them onto the sides.

Mod Podged Burlap

Looks like a hot mess. Dries clear. When dry, I sanded around the edges to smooth any rough edges.
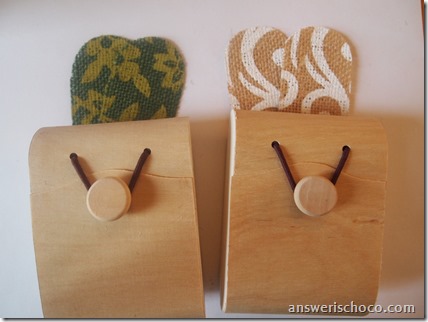
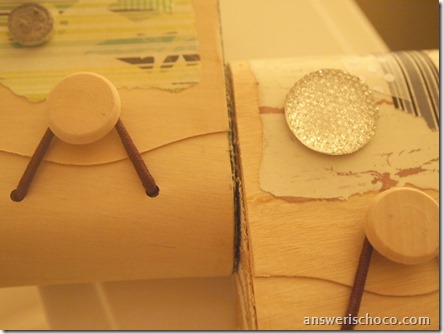
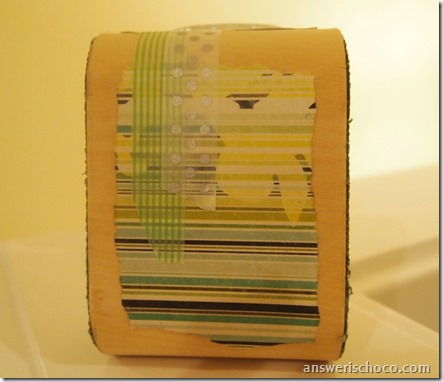
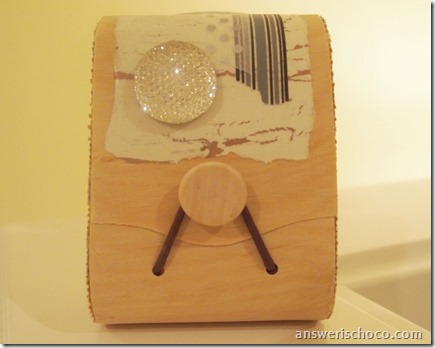
Grabbed some coordinating paper scraps from my scrap stash and added those to the boxes along with coordinating washi tape and finished with some Jolee’s Boutique self adhesive buttons.

Closeup Altered Balsa Boxes

Green Burlap Box

Natural Burlap Box

Tuesday, January 15, 2013

DIY : Upscale a Dollar Store Tray (With Matching Journal)

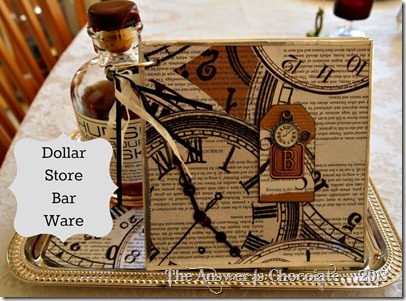
Dollar Store Bar Ware
I might have to start calling Mr. C, Mr. B. He’s become an aficionado of small batch bourbons (not to excess!)

I don’t mind because I get all kinds of cool bottles to play with. He mentioned the other day that he saw an online bourbon journal but it only allowed 5 entries until there was a charge for it, so I decided I’d go old school and make him a hardcopy journal. He’s also into watches and time pieces, and I already had some very cool clock themed paper in my stash. Win-win since I’m working to bust some stash this year.

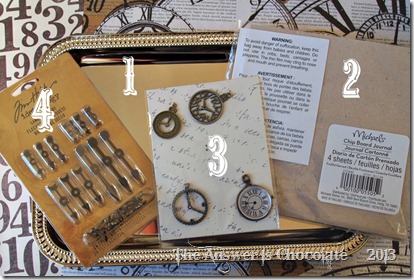
DIY Bar Tray Supplies

For this project you will need:
1.) Dollar Store Silver Tray ( I got mine @ Dollar Tree)
2.) Pre-made (or make your own) chipboard journal….This was on sale after Christmas at Michaels for $.25! A whole quarter. Cheaper than making my own.
3.) Coordinating charms to match your paper of choice. These were NOT on sale at Michaels but they were $2 for the pack and totally justified given the $.25 journal ( which I may or may not have purchased more than one)
4.) Embellishments. In this case I had these Tim Holtz game spinner thingies in my stash. So my total cost was $3.25.

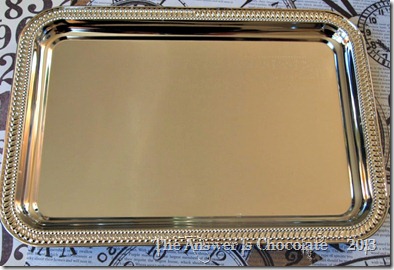
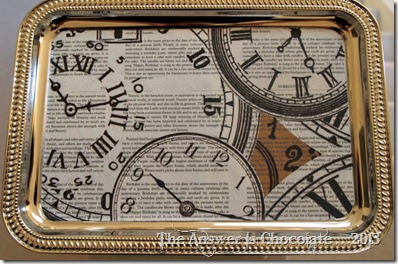
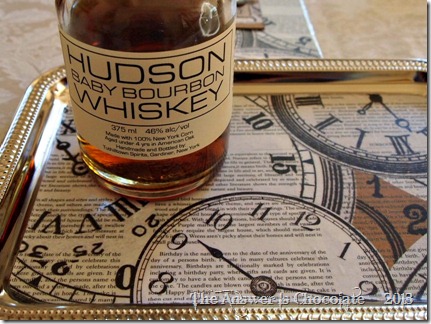
I cut my watch themed paper to fit the inside of the tray. Applied Mod Podge to the tray, applied the paper and finished with two coats of MP.

Dollar Tree Silver Tray

Mod Podged Dollar Tree Tray

Before Christmas we saw some high end barware at Macy’s . Gorgeous, but $$.  I like my price a lot better!

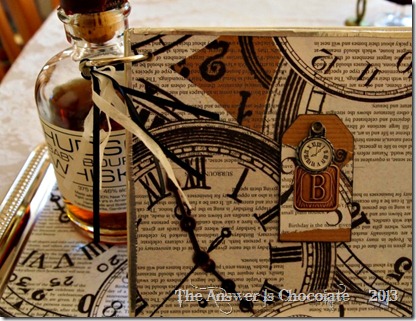
Bourbon Journal and Tray

For the journal, I covered two pieces of the chipboard ( it actually comes w/ four pieces but I’ll use the other two for something else) with the watch paper on one side and some number themed paper on the other. Mod Podged these on. Went around the edges with some aluminum tape.

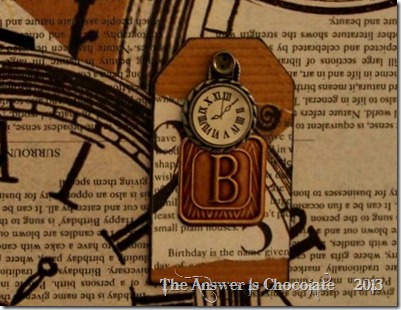
I had a chipboard tag in my stash which I left naked and applied a scrap of the watch paper to, then edged with black ink.  I added one of the watch charms (one of four from my $2 package so this was $.50), and an antique embossed monogram sticker I had in my stash.

Bourbon Journal and Tray

To finish off the journal, I added some of the game spinners to the watch hands on the paper.

Dollar Store Bar Ware

Just gives it a little dimension. I cut the inside pages to size from paper I had on hand, and put on the ring that came with the journal ( added some ribbon on hand just cause) and done.

So now Mr. C or Mr B or whomever I’m married to , has a place to display his current favorite find, as well as keep track of what he likes, doesn’t like, etc. about them.

Barware Tray

If adult beverages aren’t your thing, you could easily adapt this for any kind of theme from coffees / teas, flavored syrups, olive oils, balsamic vinegars or just cause you want to decorate a tray!


Sharing At:


Tuesday, November 27, 2012

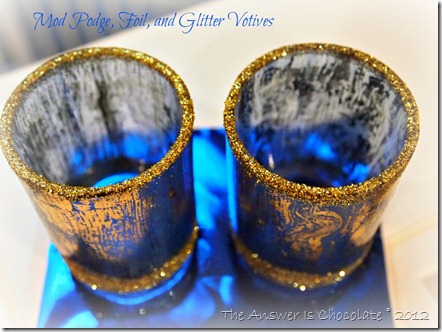
Mod Podge, Foil, and Glitter Hanukkah Votives


Featured On:


Mod Podge, Foil and Glitter Votives


Hanukkah is just around the corner. Since it’s the Festival of Lights, what better thing to make than some fun votives? I made these for a friend.

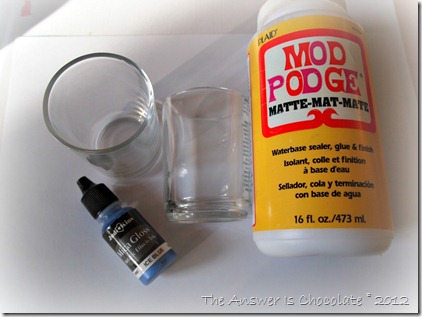
For this project you’ll need:
  • Clear glass votives
  • Mod Podge
  • Tint of your choice, paint, ink etc. I used JudiKins Mica Gloss
  • Foil Transfer Sheets  ( I had some in my stash but I know Michaels carries the ones by Martha Stewart w/ her paints)
Tinted Votives

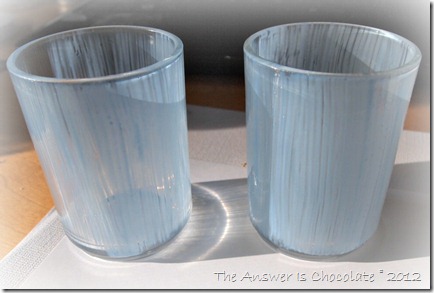
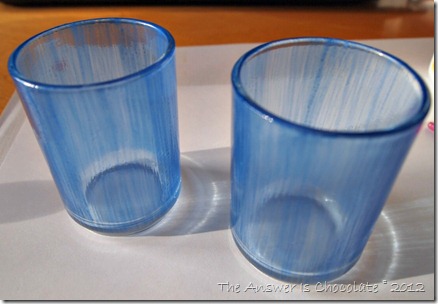
In a small container, mix your Mod Podge and tint to a desired color. I went with a metallic blue for Hanukkah.  Apply your tinted mixture to your votive, let dry, repeat twice more or to desired color.

Tinted Mod Podge

Top pic is the first coat. Bottom pic is after three coats and dry.

Blue Mod Podge Votives

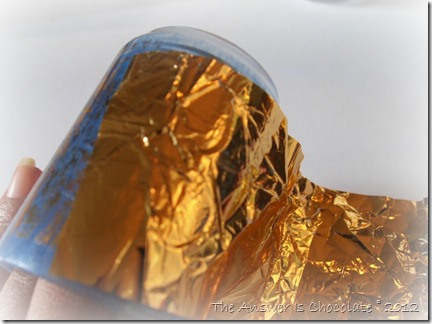
Now it’s time to apply the foil. While your votives are still a little tacky, randomly press your foil onto your votive. I use what I call the leg waxing technique. Lay your foil down, smooth over with your hand and rip off. No pain!

Apply Gold Foil

I tend towards an imperfect look so I crinkled my foil up first and then didn’t try to match up lines or get full coverage.

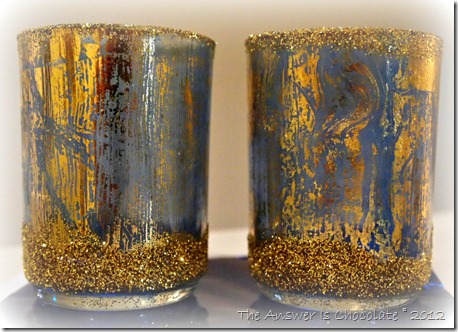
Mod Podged Hanukkah Votives

After you’re done applying your foil, brush some more Mod Podge around the bottom, sprinkle with glitter, Edge the top rim with more MP and dip in glitter .

You could whip up eight of these for an impromptu menorah or you could make them in different colors for your Christmas mantle, or  for everyday decor, or...

Sharing At: 


Tuesday, October 30, 2012

Fall Vinyl Embellished Candles


Sharing a project I did for the Expressions Vinyl blog last week.

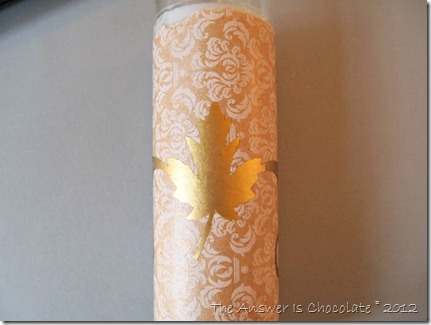
I’m having a long overdue lunch with some girlfriends and I always like to take them a little gift. I love embellishing these tall glass candles . I downloaded the image for the vinyl from the Silhouette online store and cut from gold metallic vinyl on my Silhouette Cameo.


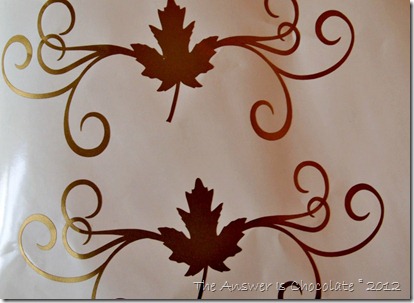
Gold Vinyl Maple Leaf Border

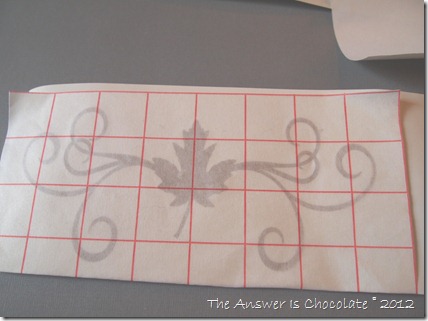
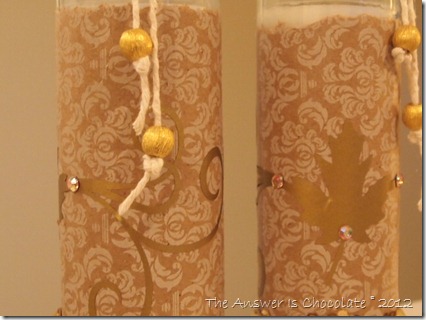
Here are my images after peeling away the extra vinyl. For images with lots of detail, like these swirls, I like to use transfer paper to get my images cleanly off the backing and onto my project.

PA256685

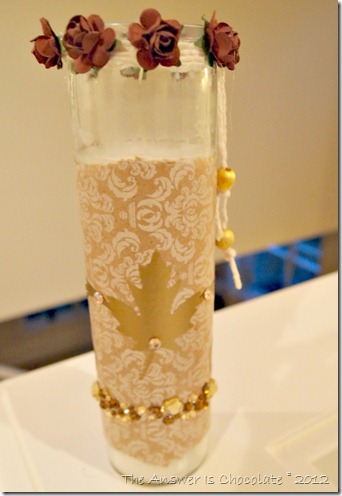
This made it easy to center the image and place it on the candle.  I used a Canvas Corp damask print paper ( white on kraft) and Mod Podged the paper to the candle, then applied the vinyl image.

Leaf Vinyl Candle

Then I just poked around in my stash and embellished with some complementary rhinestones, plain old twine, beads, and paper flowers.

Fall Vinyl Embellished Candle

PA256700

What's a gift without a gift tag? Since I have an abundance of paper scraps, I found a coordinating scrap from another project, covered a plain white tag and finished with a K&Co fall leaf scrapbook border, a giant eyelet, and coordinating baker's twine. 


Tuesday, October 2, 2012

Mod Podge and Vinyl H-OWL-oween Sign

Vinyl Owl

Sharing a post I did for the Expressions Vinyl blog last month. This was a very fast project. The longest part was the Mod Podge dry time. 

I wanted to add some more sophistication to my Halloween décor, and also love metallics. The Silver Leaf  Expressions vinyl fit both of these requirements.

Scrapbook and Vinyl Owl

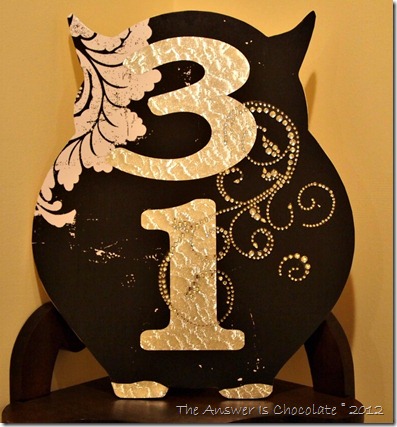
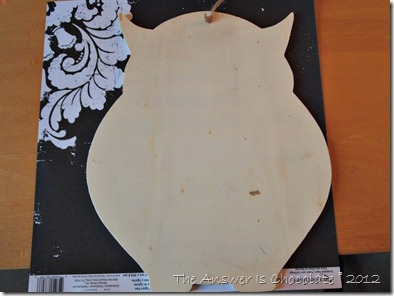
I started with a plain wood owl and a piece of scrapbook paper. I traced the owl on the paper, cut it out, adhered it to the owl with Mod Podge and let it dry.

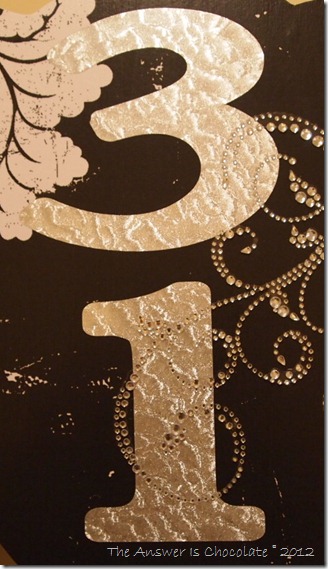
While it was drying, I loaded my Cricut Expression with a sheet of Silver Leaf Expressions Vinyl and cut out the numbers “31” using the Plantin Schoolbook cart.

Once my owl was dry, I added my numbers. I also added some bling by using an oversized rhinestone swirl I had in my stash. I told you this was easy!

Silver Leaf Vinyl

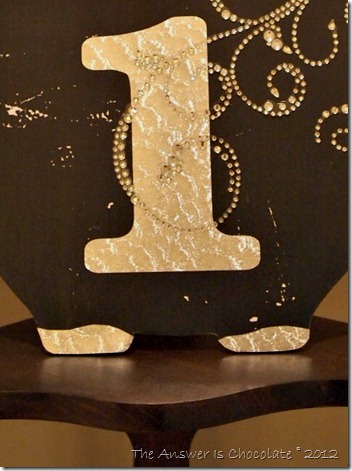
Craft fail save! When I traced my owl on paper I managed to get the border strip that isn’t really part of the paper. Rather than re-cut it I covered over those spots on the owl’s feet with vinyl scraps. Just cut them freehand and done.

I love the texture of the Silver Leaf vinyl. It really catches the light.

Vinyl Owl

P9186413

I hope you enjoyed this easy project ! Happy Howloween.

Sharing At: