Showing posts with label mod podge. Show all posts

Tuesday, November 27, 2012

Mod Podge, Foil, and Glitter Hanukkah Votives


Featured On:


Mod Podge, Foil and Glitter Votives


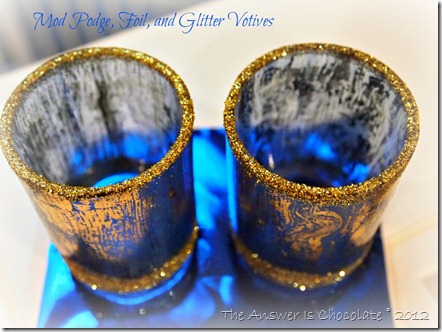
Hanukkah is just around the corner. Since it’s the Festival of Lights, what better thing to make than some fun votives? I made these for a friend.

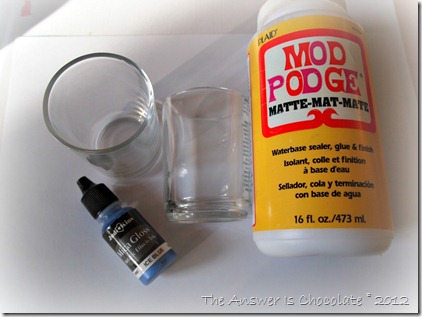
For this project you’ll need:
  • Clear glass votives
  • Mod Podge
  • Tint of your choice, paint, ink etc. I used JudiKins Mica Gloss
  • Foil Transfer Sheets  ( I had some in my stash but I know Michaels carries the ones by Martha Stewart w/ her paints)
Tinted Votives

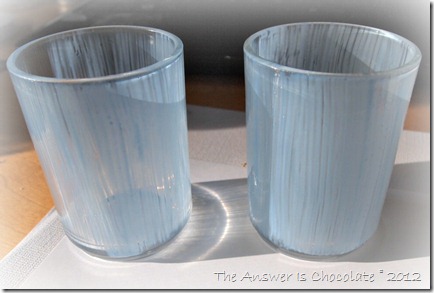
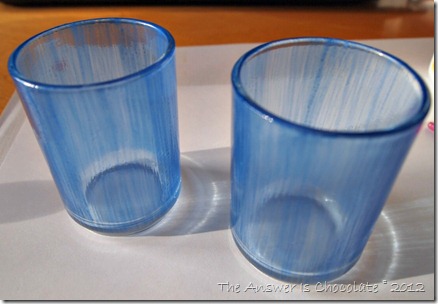
In a small container, mix your Mod Podge and tint to a desired color. I went with a metallic blue for Hanukkah.  Apply your tinted mixture to your votive, let dry, repeat twice more or to desired color.

Tinted Mod Podge

Top pic is the first coat. Bottom pic is after three coats and dry.

Blue Mod Podge Votives

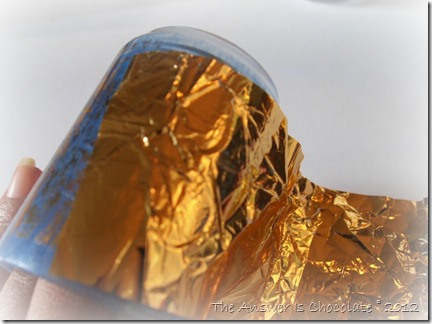
Now it’s time to apply the foil. While your votives are still a little tacky, randomly press your foil onto your votive. I use what I call the leg waxing technique. Lay your foil down, smooth over with your hand and rip off. No pain!

Apply Gold Foil

I tend towards an imperfect look so I crinkled my foil up first and then didn’t try to match up lines or get full coverage.

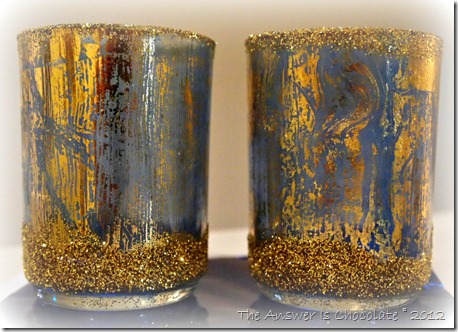
Mod Podged Hanukkah Votives

After you’re done applying your foil, brush some more Mod Podge around the bottom, sprinkle with glitter, Edge the top rim with more MP and dip in glitter .

You could whip up eight of these for an impromptu menorah or you could make them in different colors for your Christmas mantle, or  for everyday decor, or...

Sharing At: 


Tuesday, October 30, 2012

Fall Vinyl Embellished Candles


Sharing a project I did for the Expressions Vinyl blog last week.

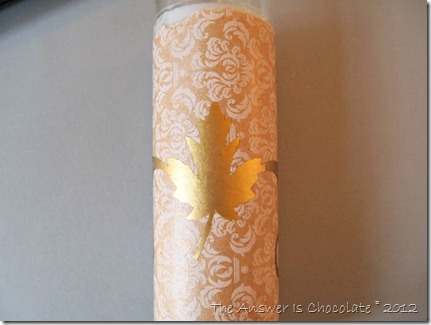
I’m having a long overdue lunch with some girlfriends and I always like to take them a little gift. I love embellishing these tall glass candles . I downloaded the image for the vinyl from the Silhouette online store and cut from gold metallic vinyl on my Silhouette Cameo.


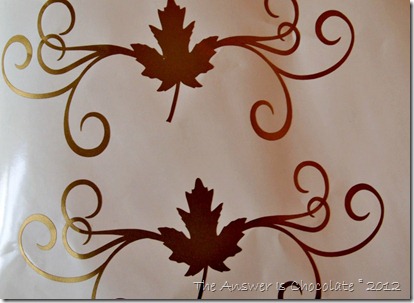
Gold Vinyl Maple Leaf Border

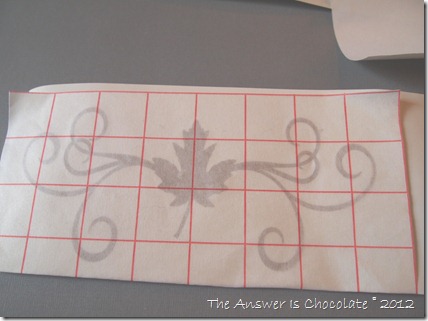
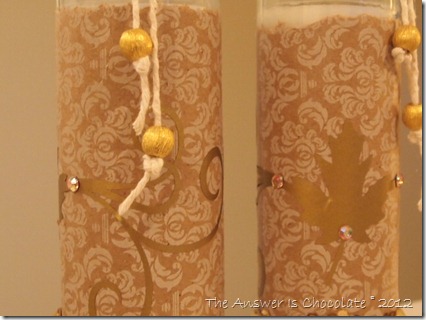
Here are my images after peeling away the extra vinyl. For images with lots of detail, like these swirls, I like to use transfer paper to get my images cleanly off the backing and onto my project.

PA256685

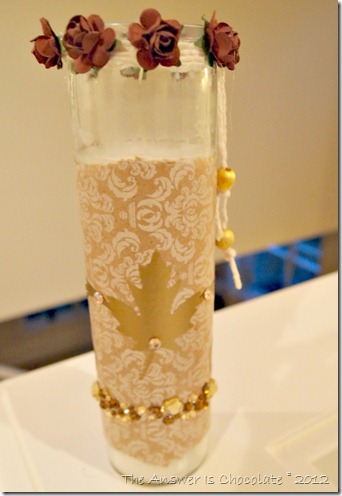
This made it easy to center the image and place it on the candle.  I used a Canvas Corp damask print paper ( white on kraft) and Mod Podged the paper to the candle, then applied the vinyl image.

Leaf Vinyl Candle

Then I just poked around in my stash and embellished with some complementary rhinestones, plain old twine, beads, and paper flowers.

Fall Vinyl Embellished Candle

PA256700

What's a gift without a gift tag? Since I have an abundance of paper scraps, I found a coordinating scrap from another project, covered a plain white tag and finished with a K&Co fall leaf scrapbook border, a giant eyelet, and coordinating baker's twine. 


Tuesday, October 2, 2012

Mod Podge and Vinyl H-OWL-oween Sign

Vinyl Owl

Sharing a post I did for the Expressions Vinyl blog last month. This was a very fast project. The longest part was the Mod Podge dry time. 

I wanted to add some more sophistication to my Halloween décor, and also love metallics. The Silver Leaf  Expressions vinyl fit both of these requirements.

Scrapbook and Vinyl Owl

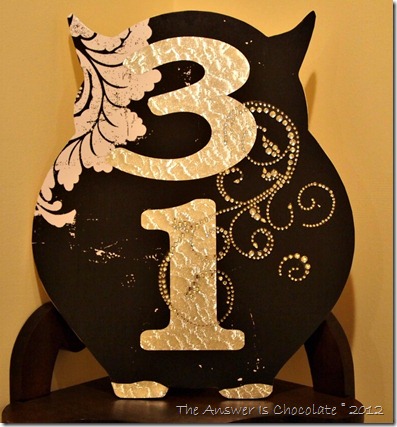
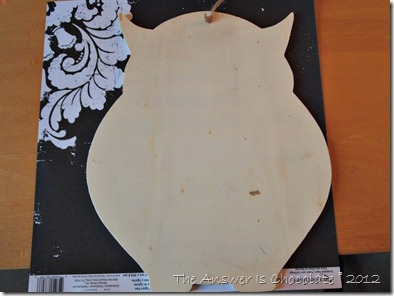
I started with a plain wood owl and a piece of scrapbook paper. I traced the owl on the paper, cut it out, adhered it to the owl with Mod Podge and let it dry.

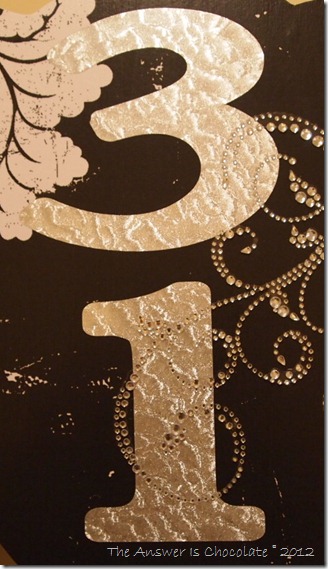
While it was drying, I loaded my Cricut Expression with a sheet of Silver Leaf Expressions Vinyl and cut out the numbers “31” using the Plantin Schoolbook cart.

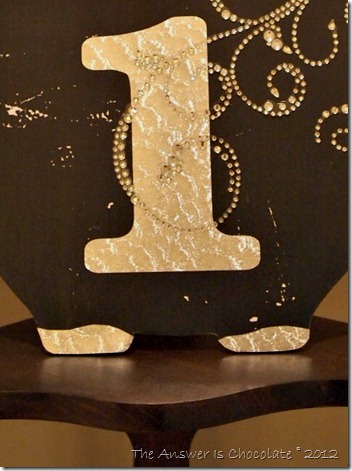
Once my owl was dry, I added my numbers. I also added some bling by using an oversized rhinestone swirl I had in my stash. I told you this was easy!

Silver Leaf Vinyl

Craft fail save! When I traced my owl on paper I managed to get the border strip that isn’t really part of the paper. Rather than re-cut it I covered over those spots on the owl’s feet with vinyl scraps. Just cut them freehand and done.

I love the texture of the Silver Leaf vinyl. It really catches the light.

Vinyl Owl

P9186413

I hope you enjoyed this easy project ! Happy Howloween.

Sharing At: 


Saturday, September 29, 2012

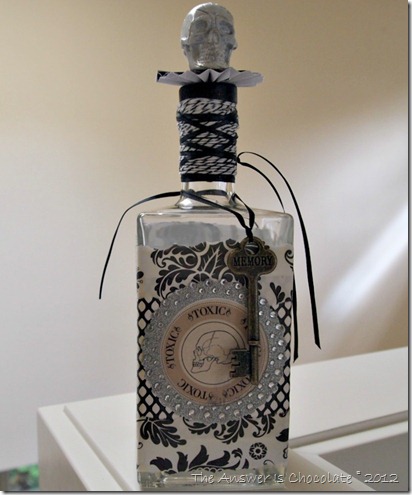
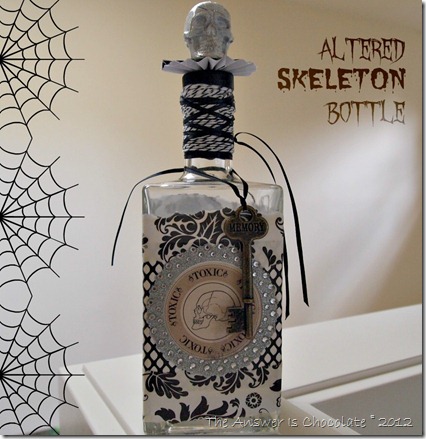
Altered Skeleton Bottle

Altered Skeleton Bottle

I’m always excited when Mr. Chocolate decides to try a new adult beverage because he always chooses stuff that comes in the coolest bottles and eventually they’ll be mine all mine mwaaaaaaaaahhhhhh.

I had fun last year making “Pick Your Poison” altered bottles, that I wanted to make another one.
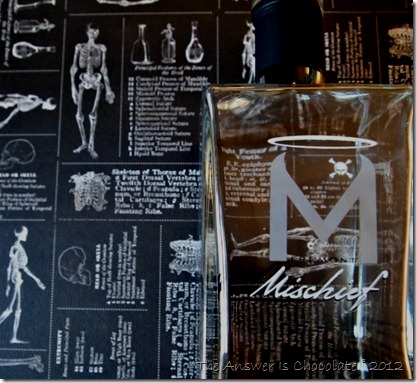
I started with this empty bottle:

Altered Bottle Blank

appropriately called Mischief.

I was going to use the paper you see underneath it then I decided to use this paper instead:

P9266492

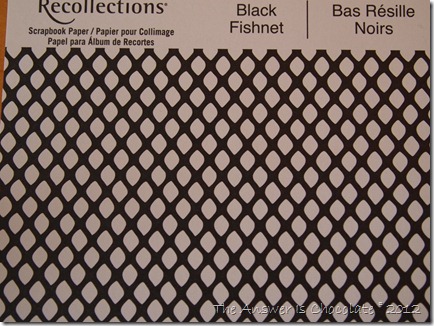
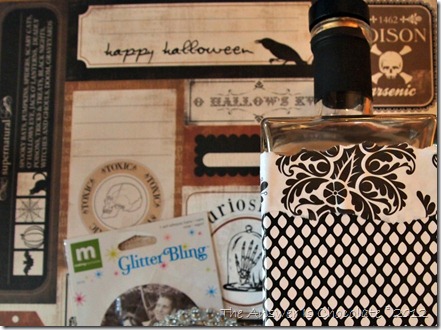
Fishnet! Yes, fishnet paper. I thought it screamed Halloween. Measured around my bottle, cut the paper and applied to the bottle with Matte finish Mod Podge, then tore some strips of black and white damask paper and slapped that on with the MP.

Fishnet and Damask Bottle

Once that was dry, I cut out a circle from the All Hallow’s Eve scrapbook paper shown here, applied it to the bottle with Antique Matte Mod Podge, then applied a rhinestone circle sticker.

Blingy Halloween Bottle

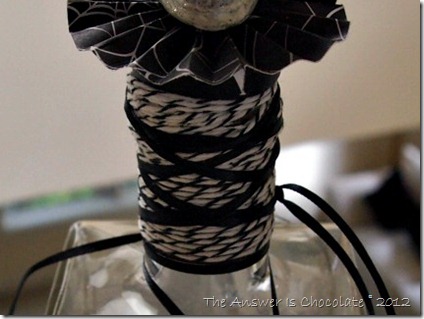
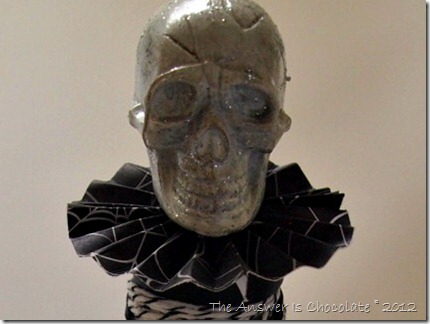
I had a skeleton head left over from my coffin boxes and decided it would make a great bottle topper. First I wrapped the bottle neck with black and white baker’s twine, then kind of zig zag wraped black ribbon on top of that:
Skully Head Bottle

I also had some spider web paper left over from my coffin boxes so I made a pleated pinwheel to make a collar for Mr. Skully Head.

Skully Head Bottle

Carrying on my propensity to pun, I added a key from a package of Tim Holtz keys…a Skeleton Key .I crack me up.
Skully Bottle

Sharing At:


Sunday, July 8, 2012

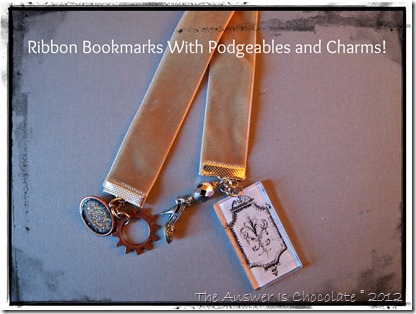
More Podgeables Ideas: Velvet Ribbon Bookmarks
Ribbon and Podgeable Bookmarks

What happens when you have fun stuff to play with, and you get to do a guest post for a wonderful blogger?

Sweet Carolyn, from the blog homework invited me to guest over at her place. If you haven't visited her, you really should because you will find all kinds of amazing ideas from simple materials and done elegantly.

I had so much fun playing with the Mod Podge  Podgeables I used in a recent post. So much so that I had some that didn't quite make it into the necklace I made because I made too many. So guest post + extra fun stuff to play with = win win!


I did some of these last year here and like giving them as gifts. We are avid readers in our house and even though we’ve kept pace with technology and read a lot online and via an eReader, for me, there’s still nothing like an actual book. But what’s a book without a bookmark? 


For this project you will need:
  • Ribbon. I used velvet but anything with some body to it.
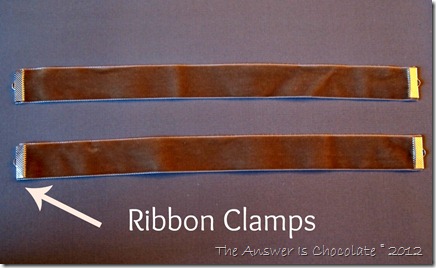
  • Ribbon Clamps. Find these in the jewelry supply section of your favorite craft or bead store. Mine are from Michaels.
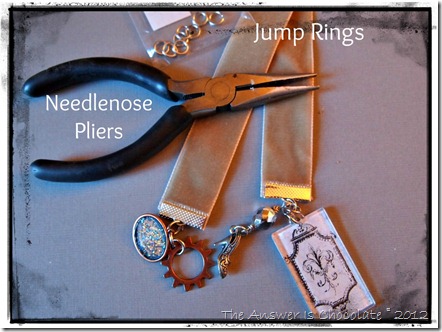
  • Jump Rings
  • Pliers
  • Charms, beads, anything small w/ a hole that will fit on a bookmark!
Measure your ribbon to the length you want. For standard hardback books, this is about 10 inches. Put your ribbon clamps on each end of your ribbon. I’m not coordinated enough to take pictures while doing this but it’s pretty easy. Slide clamp on, pinch it hard with a needlenose pliers.

Ribbon Clamps

Ribbon Bookmarks

Once you have your clamps on, you can add your embellishments. The Podgeables are acrylic shapes that you can decorate. I used Mod Podge  Antique Matte  to adhere paper to the backs of mine. Then added beads and charms from my stash.

Gear Ribbon Bookmark

The little copper charms are ones I made using Mod Podge Dimensional Magic in gold and a bezel I had in my jewelry stash:

Dimensional Magic Charms


Wednesday, July 4, 2012

Christmas In July Workshop Wednesday Blog Hop: Paris In A Box

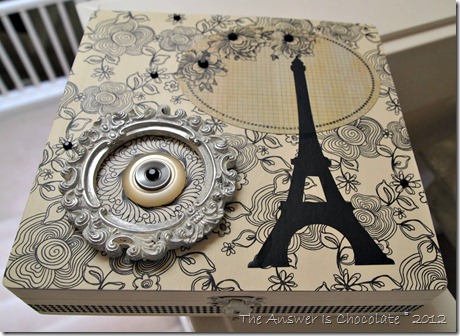
Paris box


Welcome to a fun blog hop called Workshop Wednesday and a special welcome to any new visitors who came over from visiting Kara at Mine For The Making!

Michele over at The Scrap Shoppe had the genius idea to get several of us together to get a jump start on holiday ideas. I know what you're thinking:  it's July. There's plenty of time. That's what I tell myself every year and then I get a big old Emeril "BAM" wake up call. 

I always joke with a friend about running away to Paris. I can’t actually give that to her, so I came up with the next best thing. Paris in a box. Or at least the essence ( to continue my Emeril references)  of Paris in a box.

For this project you will need:
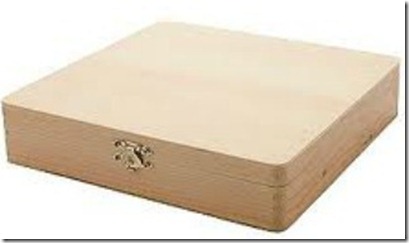
Darice Box
  • Plain wooden box you can get at Michaels, JoAnns, etc. (which if you post a project using, you remember to take a picture of before you start!)
  • Scrapbook paper of choice; I used K and Company black and ivory coordinated papers
  • Mod Podge
  • Acrylic craft paint
  • Embellishments
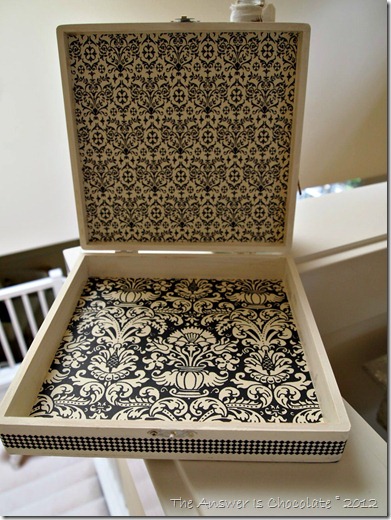
Start by painting the edges of your box ( the parts that won’t be covered w/paper). Cut paper to fit the top and bottom and inside lids of your box.

Paris Box Inside

Apply Mod Podge to surface, lay your paper down, smooth, let dry. Once dry, you can lightly sand off any excess paper on the edges and then seal with another coat of Mod Podge. If you’ve never podged, visit the Queen, Amy Anderson for getting started tips here.

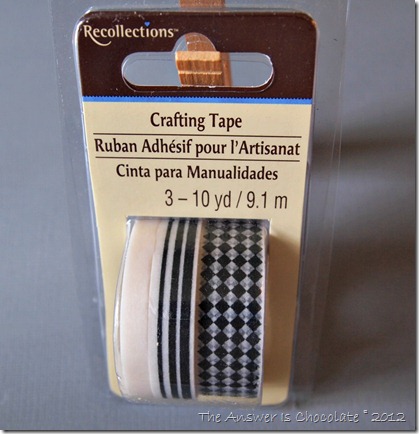
I then went around my box with this fun “Crafting Tape” from Recollections at Michaels. LOVE this stuff which is their version of  washi tape!

Recollections Crafting Tape

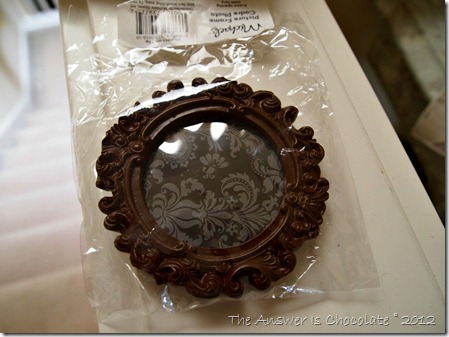
Time to embellish! I cut an Eiffel Tower image from black vinyl using my appropriately named Silhouette Cameo "CoCo". As in Chanel ( ok and chocolate) .  Then went stash shopping for embellishments…self adhesive rhinestones, die cuts, buttons, and one of a couple of little frames I picked up along the way:

Frame

I popped out the plastic “glass” and popped off the back and then painted the frame with cream acrylic craft paint and dabbed on a little silver Rub n Buff.  Mod podged an oval diecut onto the lid and glued my frame and butons on :

Paris Box

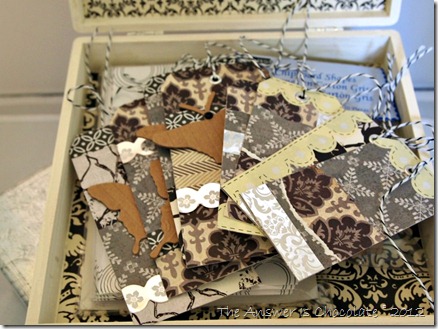
Added black rhinestones here and there and Voila! I’m filling the box with some handmade tags tied with black and white baker’s twine for mon amie. 

Paris Box wTags

I’m terrible at doing cost estimates because I have a lot of stuff on hand and always have a Michaels or JoAnn’s coupon around. If you had to buy the main materials, your total cost would still be around $10. a.) some of this stuff is always on sale  b.) there’s always a coupon and c.) much less than a plane ticket!


Hope you enjoyed this and it’s given you an idea for a plan ahead gift for a friend. Think of the fun you could have with places you and a friend have wanted to run away to. Hawaii? Italy? London? All of the above? Yes please!

Remember, this is a blog hop where you can find some more head start holiday inspiration so next stop is to visit Michele at The Scrap Shoppe! We'll be hopping every Wednesday in July.

Sharing At: