Showing posts with label Recollections. Show all posts

Tuesday, October 11, 2011

Altered Halloween Canvases: Paper and Glitter and Foil Oh My!


Altered Halloween Canvas (12)
I’m having lunch with a couple of girlfriends later this week and always like to take a little something to these. I poked around in my stash and remembered a couple of canvases I bought at Michaels in their then $1 Section. Gathered those and a few other things:
Altered Halloween Canvas
Altered Halloween Canvas (2)
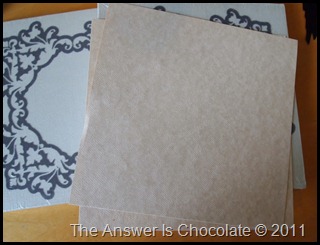
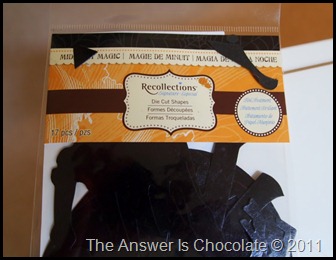
Michaels canvases, Recollections parchment textured paper cut to size, Recollections Die Cut pack:
Recollections Die Cut
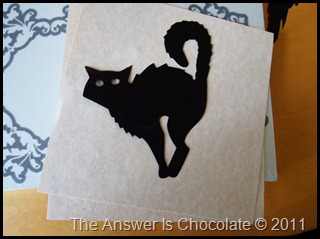
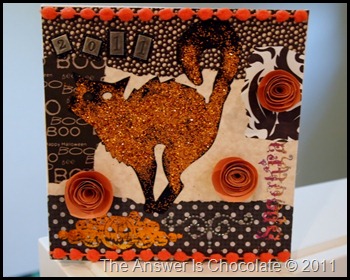
Mod Podged the paper onto the canvases and then grabbed some coordinating scraps from my stash and MP’d those on top. While that was drying, I covered a couple of the die cuts with glue ( any clear drying glue works) and covered ( mostly ) with orange glitter. I didn’t want full coverage…wanted some bare spots.
Altered Halloween Canvas (5)
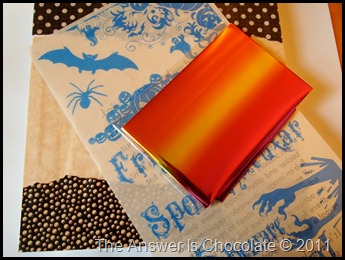
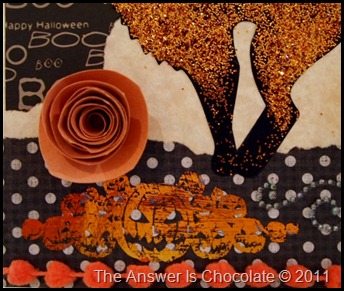
Once my canvases were dry, I applied these adhesive designs ( and threw away the packaging before taking a pic! but I found them at Ben Franklin.)  Just cut the pieces I wanted and applied and then went over them with variegated craft foil.
Altered Halloween Canvas (6)
Altered Halloween Canvas (11)
Once ,my glittered friends were dry, I glued them down to the canvas then went about embellishing with rolled flowers, metal numbers, self adhesive rhinestones and some pom pom ribbon.
Altered Halloween Canvas (8)
Altered Halloween Canvas (10)
Now I need to find some bags to upcycle to put these in !
Linking Up At: 
Photobucket
homework


A Little Knick Knack


Wednesday, October 5, 2011

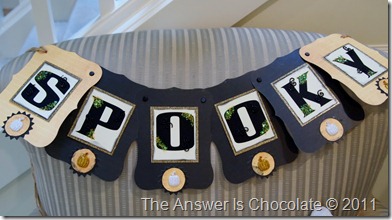
Easy SPOOKY Banner…

See, I already had to make one more Halloween decoration. Who am I kidding? Like it will be the last one!
Spooky Garland
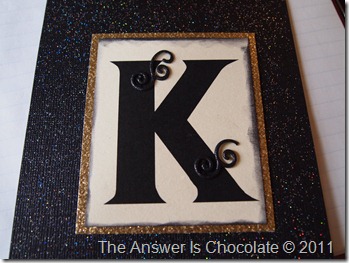
I generated the letters using my PrintShop Deluxe program, printed on cream cardstock, cut out and then went around the edges with black ink.
Halloween Banner Letter
Mounted each letter onto glittered gold cardstock and then added these cute squiggle brads (also glittered) from Recollections @ Michaels.
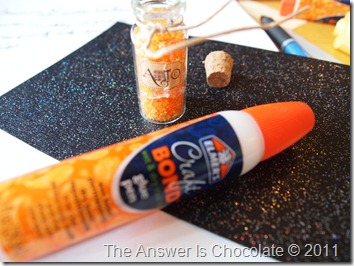
Time to embellish! Remember this glittery stuff I used on my repurposed dress wreath?
I got that out again and embellished each letter:
Elmer's Glue Pen
using this awesome double sided Elmer’s glue pen. I love this thing!
Halloween Garland
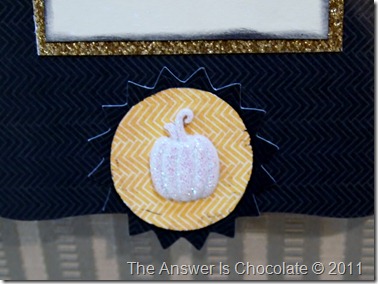
Cut out the banner shapes from DCWV’s “Ghosts and Goblins” stack using my Cricut .  I also used it to cut out the circle and sunburst shaped pieces from the scrap cardstock. Inked the edges of the circles ( I was going for a grungy look so I wasn’t especially careful) and then finished off with glittered pumpkins! These are also from Recollections @ Michaels…a package of 12 ( I still have orange and brown) that were 2 packs for $3.
Spooky Garland Focal
Linking Up At:
A Little Knick Knack


Monday, September 26, 2011

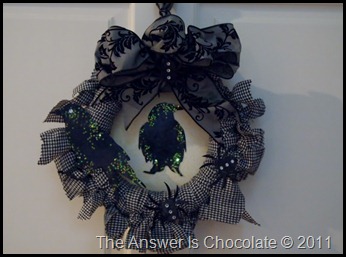
Repurposed Dress Halloween Wreath

Yes, all those words really do go together.
P9263077
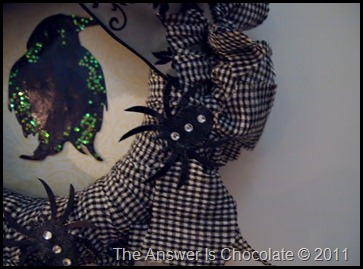
I recently cleaned out my closet and while I donated most things to Goodwill, I saved a few pieces because of the fabric. One was a black and white checked dress . I’ve see tons of cute yarn wreath ideas but know I don’t have the patience for all that wrapping. But I thought hmmmm….maybe strips of fabric? Out came the rotary cutter and I cut strips and strips and strips (I think about 20 total) and tied them around one of those green styro wreath forms from Dollar Tree.

 Since I was not at all sure where this was going, or if it was going anywhere, I didn’t take pics along the way. Once I had my wreath form wrapped, I trimmed the edges with pinking shears . I thought it would be fun to give this wreath a back so I cut a circle of Halloween Cardstock from DCWVs “Ghosts and Goblins” pack and hot glued it to the back.
P9263080
I had a pack of black Halloween silhouette die cuts I picked up at Michaels ( Recollections) . Fingerpainted some glue randomly on my selected images and sprinkled with fine clear glitter and the middle vial of  this stuff I found at Michaels from Art C:

I embellished another bird the same way and went over the spiders with just the glue, glitter and some self adhesive rhinestones.
P9263079
Finished it off with some ribbon from my stash (one of those after Christmas I know I’ll use it sometime finds at 75% off somewhere!)
P9263081
What’s in your closet?
Linking Up At: 


Photobucket
homework

Paper Issues Blog Design


Tuesday, September 20, 2011

Quick Monogram Tile

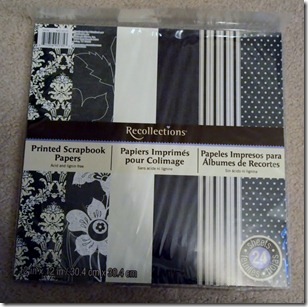
It should be evident by now that I’m a paper addict. While I may gravitate without thinking towards certain brands, I’m not exclusive. For me it’s more about do I like the pattern. Michaels had these paper packs 50% off ( I promise they are not paying me although they could if they wanted…hubs would like that!) :
P9203026
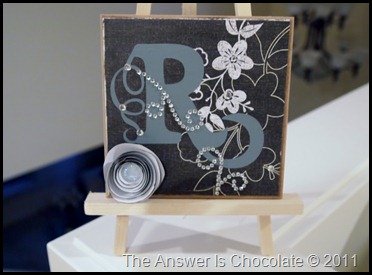
Reg $4.49 so $2.24 after the 50% off, and with 24 pages, that’s less than $.10 per piece. I wanted to make a quick gift so I poked in my stash and pulled out a tile I picked up in a sale bin somewhere made of I don’t know what…MDF maybe…got out my Mod Podge and some embellishments and cut a letter from gray vinyl using the Wall Décor and More cartridge on my Expression.
P9203021
Mod Podged the paper on the tile and roughed up the edges with an emery board. Applied the monogram and embellished with some self adhesive rhinestones.
P9203025
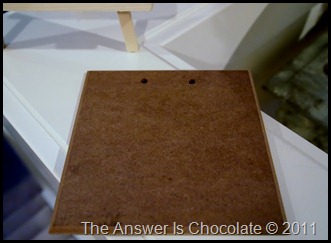
This is the “tile”.
P9203022
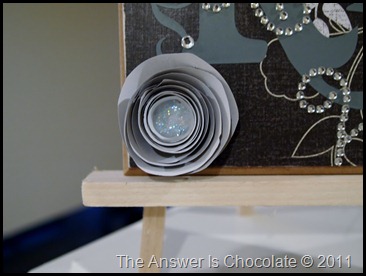
I wanted something else so I decided to try a rolled paper flower …something I never have any luck with but this time I was determined. It still unraveled a little in the middle and I didn’t like the hole it left but I was otherwise happy with it. So I “plugged the hole” with some iridescent Stickles! Just filled it up and now it has a sparkly center.

Linking Up At: 
Photobucket
homework