Showing posts with label Michaels. Show all posts

Tuesday, October 15, 2013

Halloween Crafting With Martha Stewart Decoupage: Glitter Finish Stars and Pumpkin

Martha Stewart Halloween Decoupage

Disclosure: This is a sponsored post by Plaid, Martha Stewart Crafts, and The Blueprint Social. Project ideas and opinions are my own.

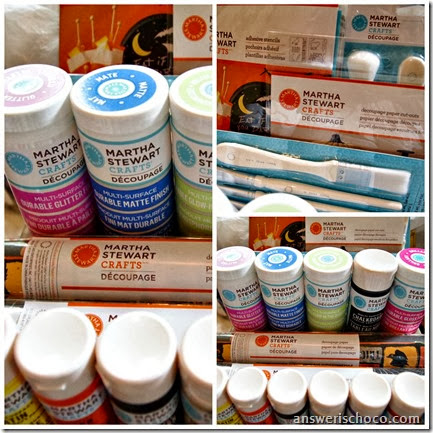
I have three words for you: Martha Stewart Decoupage.  It is no secret that I love to decoupage things. The dog runs away when she sees me with decoupage medium in my hand. Martha and Plaid have taken decoupage to a whole ‘nother level with a new line of decoupage formulas that can be used on surfaces such as glass, fabric, paper, metal and wood to create a lustrous finish and are dishwasher safe, machine washable, non-yellowing, dry hard with no tack, and can be used indoors or out.


I was so excited when the wonderful folks from Plaid sent me some of these new goodies to play with, but I was beside myself with the kind of  joy that usually only chocolate brings when I saw that included in my box was GLITTER FINISH DECOUPAGE. 

Martha Stewart Decoupage Supplies

While the glitter finish caught my eye immediately there are some other mind blowing finishes including glow in the dark, matte and gloss. But back to the GLITTER! I had some wood stars in my stash I’d been wanting to play with and an idea was born.

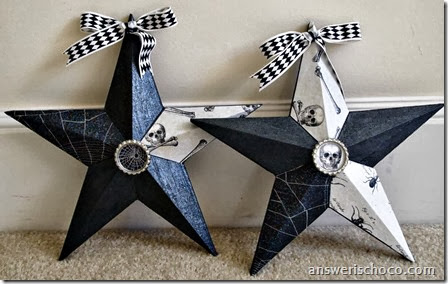
Martha Stewart Decoupage Star

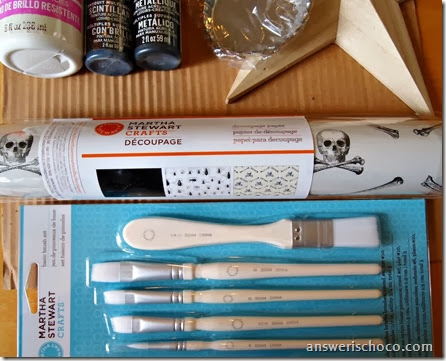
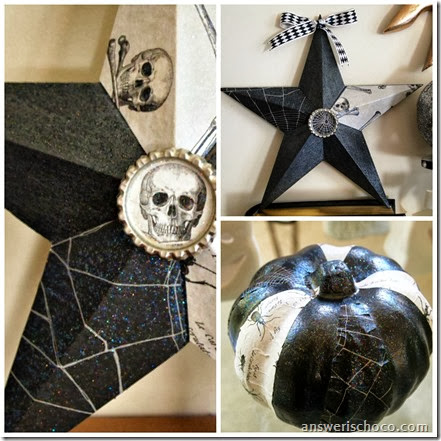
I chose Black Nickel Metallic paint from the paints that came in my box and painted the stars. I went over some sections of the stars with Onyx glitter paint and left others with just the Black Nickel metallic.

Martha Stewart Halloween Supplies

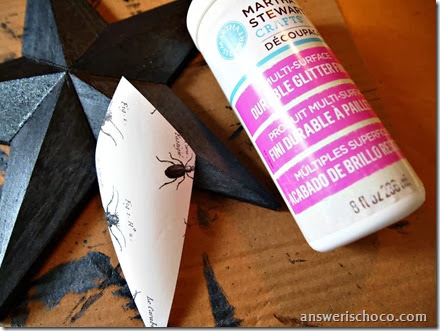
Using some of the decoupage papers that were also included, I cut out pieces to cover some sections of the stars. The papers are a great weight and texture to absorb the decoupage mediums. Since the glitter finish has the glitter mixed in, you just coat your surface, the back of your paper , adhere, and then coat the top of your paper. It works just like other decoupage mediums. Except of course for the fabulous part where it dries all glittery and you’re not covered in glitter! Also with the glitter being part of the medium you get a consistent all over glitter finish without bare spots.

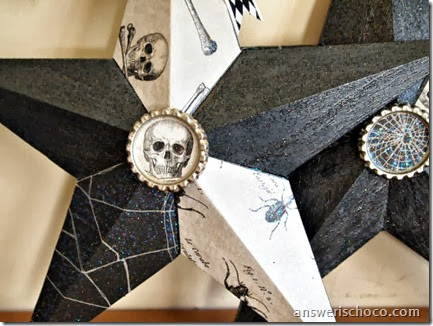
Glitter Stars Closeup

You can do one coat or more depending on what effect you want. I was happy with just one coat. I punched circles from scraps of the paper and using the glitter decoupage glued them into flattened bottlecaps and went over the top with more decoupage medium.

Martha Stewart Glitter Decoupage Stars

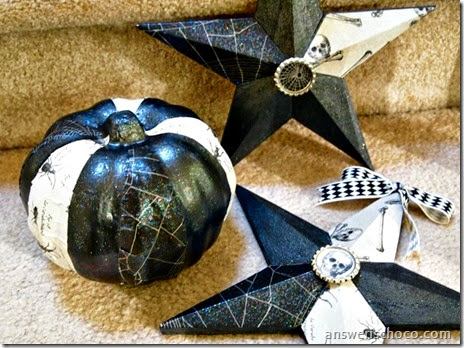
Stars and Pumpkin

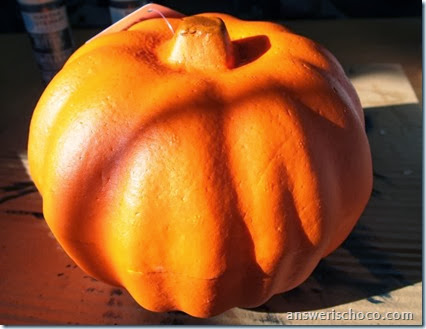
I was having too much fun to stop. Since the products say they are multi-surface, I decided to see what I could do with a foam pumpkin from the dollar store. Guess what? The paints cover EVERYTHING.

Dollar Tree Pumpkin

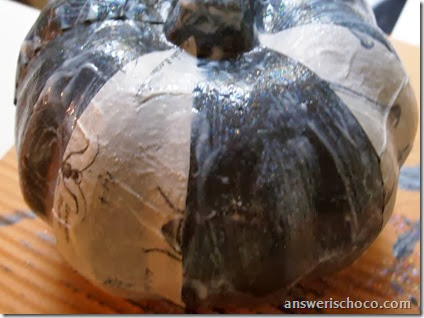
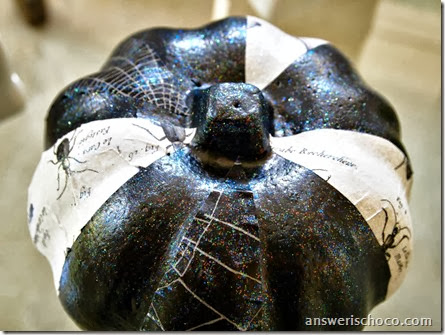
No prep, no primer. Just painted the pumpkin with the Black Nickel, let dry and added one more coat. Then I cut some leaf shaped pieces from more of the decoupage paper and added to the pumpkin using the glitter finish decoupage medium.

Martha Stewart Decoupage Drying

You can see that even before the decoupage is dry, the glitter starts to appear!  I didn’t use glitter paint on the pumpkin but just slathered the whole thing with the glitter decoupage.

Martha Stewart Decoupage Pumpkin

Dries to a clear glittery finish.

Black and White Pumpkin

Sharing At:


I am so in love with this. I can’t wait to play with it some more and put it on everything! The full line is available at Michaels.  In the meantime, be sure to check out these links for more inspiration:


Wednesday, August 14, 2013

Playing Around With Project Life Vintage Travel Kit

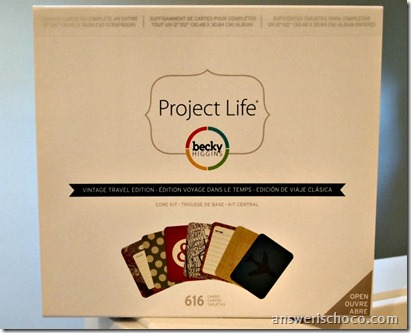
Project Life Vintage Travel

I’d been hearing tons about “Project Life”  an innovative line of scrapbook products by Becky Higgins. I was thrilled when I had the chance to play with one of the newest kits  now available at Michaels: Vintage Travel.

This collection features deep blues, reds, browns and dark neutrals, and as the name suggests, lots of travel themed icons. This post is part of a paid campaign with American Crafts, but all opinions are my own.

I have been an on and off scrapbooker, and Project Life is a great way to scrapbook if you are just starting out or if you are a veteran.

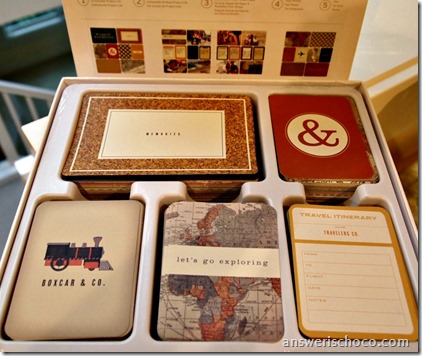
Included in each kit are enough themed cards to complete an entire album. Included are cards with suggested layouts. You don’t need scissors, glue, or fancy tools. The albums support the card sizes from the kits and you can lay things out how you choose.
Project Life Vintage Travel Inside

Everything coordinates with everything else and all of the cards are double sided. But kind of like how life is what happens when you're busy making other plans, I'm a person who doesn’t like to use stuff for its intended purpose so I decided not to make traditional scrapbook layouts with this cool Vintage Travel kit, but a smaller purse sized album that could then become part of a big 12x12 album or simply stand alone.

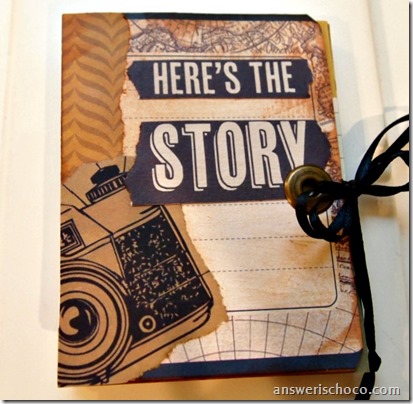
Vintage Travel Mini Album

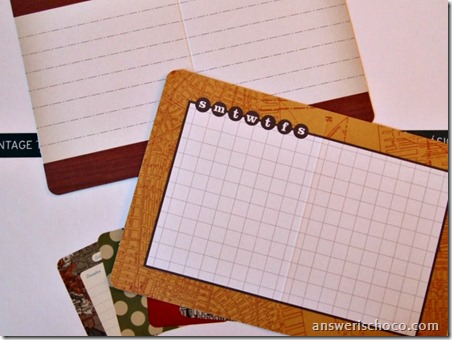
For this album, I selected several of the pre-scored cards from the kit:

Project Life Folded Cards Closeup

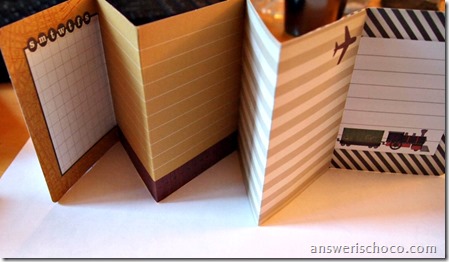
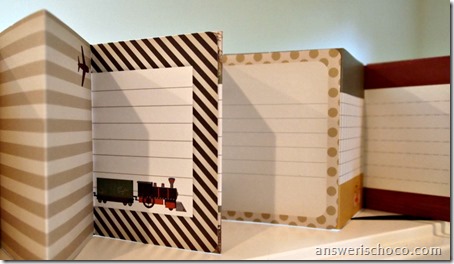
Folded these along the score lines and then made an accordion style album by adhering the pages together with double sided tape:

Project Life Accordion

Since everything coordinates, I didn’t really plan out a pattern. You could easily choose from one color family or use all of one pattern or theme or whatever you want.

Project Life Accordion Album Cover

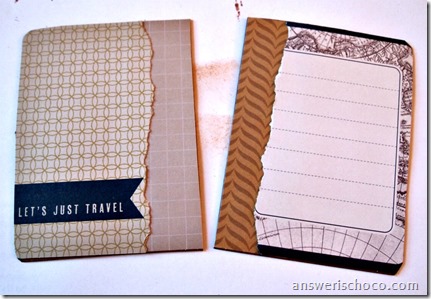
I can’t have paper in my possession without tearing it. Just cannot be done! So I covered two pieces of chipboard with more of the cards from the kit, again, not particularly careful just eyeballed some coordinating colors.
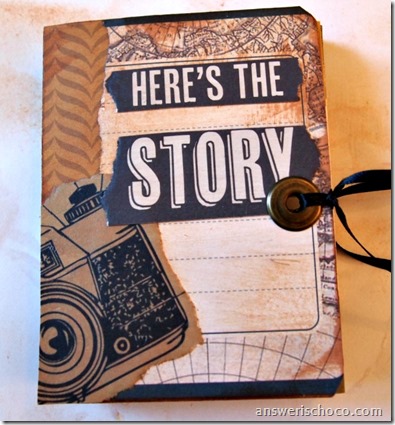
Project Life Vintage Travel Mini Album

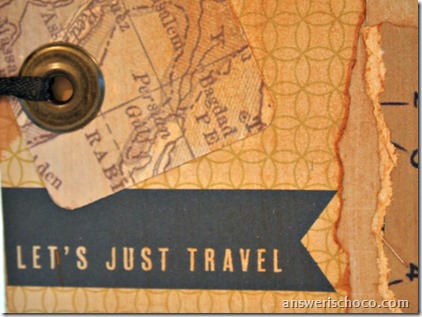
I cut/tore a couple more cards and used PVA glue to adhere them to my album cover, going over the whole thing with some distress inks. Finished with an oversized eyelet on the front and back covers tied off with ribbon.
Vintage Travel Project LIfe

Here’s the inside where I can jot down notes or paste in ticket stubs, receipts, little things I want to keep or remember. I didn’t make it so fat that I can’t tuck the whole thing inside a bigger scrapbook if I want to. Haven’t decided yet!

Project Life Mini Album Back

This is the back cover. You can go check out the the Vintage Travel kit along with the Dear Lizzy 5th and Frolic core kits at Michaels, which carries one of the largest selections of Project Life. The Dear Lizzy collection features light blues, pinks, yellows and neutrals with birds, trees, houses, and keys.

As you can see from the pictures of the kit, there are a LOT of cards included in this kit so be on the lookout for some future projects, and maybe even an actual scrapbook !

Tuesday, August 6, 2013

There's A Michael's Store in Downtown Vancouver BC!

Mr. Chocolate, College Boy and I got away last weekend for a long weekend in Vancouver British Columbia. We love Vancouver and go there whenever we can. Most of the time when we go somewhere, I scout out where the closest craft store is because well, ya know! Knowing that we were going to be in the heart of downtown Vancouver however, it never occurred to me to check. Well what do you know?!


And I didn't even find it. Mr. Chocolate and College Boy did!  We split up while out one day and they came back to the hotel and said " Did you know there's a Michaels on Alberni street" . Since we're always teasing each other, I thought they were being sarcastic. HA! So off I went after dinner. 


Mod Podge supplies? Check 


Wall o ribbon? Check.


Scrapbook paper? Check. Along with everything else you expect to find at Michaels: beads, seasonal decor, paints, EVERYTHING. I guess why this was such a pleasant surprise is the store's located in the heart of Vancouver's "Rodeo Drive". There's an Hermes ( ca-ching) store on one corner, a Tiffany store (more ca-ching) on the other , Louis Vuitoon across the street. along with several high end boutiques and restaurants. 


Not to mention that it's two levels with origami doves going up the escalator. See? Even when I'm not trying to , I can't stay out of a craft store. 

If you ever get the chance to go to Vancouver BC do it. Not just for the Michaels of course ( although c'mon...that helps) but it's a vibrant city with so much to do. Check out this food truck: 


There are a bunch of fun food trucks around the city. Dining options abound and cover any type of food you could want. Drinks too! 


Signature drink of Cactus Club Cafe: Peach Bellini. YUM! 

Tuesday, January 15, 2013

DIY : Upscale a Dollar Store Tray (With Matching Journal)

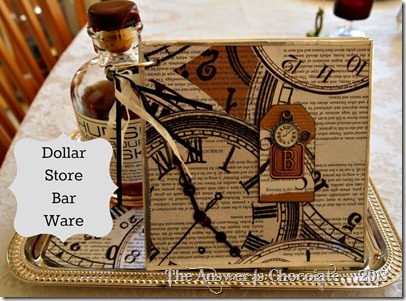
Dollar Store Bar Ware
I might have to start calling Mr. C, Mr. B. He’s become an aficionado of small batch bourbons (not to excess!)

I don’t mind because I get all kinds of cool bottles to play with. He mentioned the other day that he saw an online bourbon journal but it only allowed 5 entries until there was a charge for it, so I decided I’d go old school and make him a hardcopy journal. He’s also into watches and time pieces, and I already had some very cool clock themed paper in my stash. Win-win since I’m working to bust some stash this year.

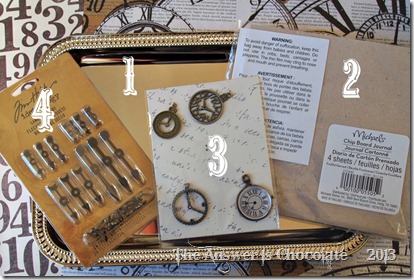
DIY Bar Tray Supplies

For this project you will need:
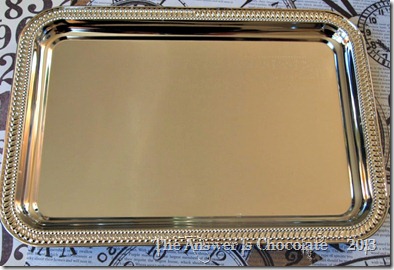
1.) Dollar Store Silver Tray ( I got mine @ Dollar Tree)
2.) Pre-made (or make your own) chipboard journal….This was on sale after Christmas at Michaels for $.25! A whole quarter. Cheaper than making my own.
3.) Coordinating charms to match your paper of choice. These were NOT on sale at Michaels but they were $2 for the pack and totally justified given the $.25 journal ( which I may or may not have purchased more than one)
4.) Embellishments. In this case I had these Tim Holtz game spinner thingies in my stash. So my total cost was $3.25.

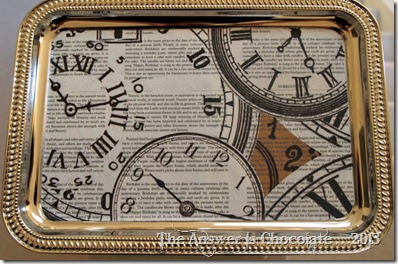
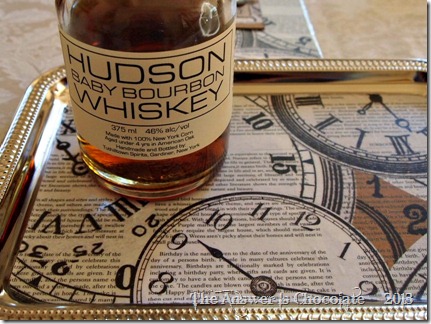
I cut my watch themed paper to fit the inside of the tray. Applied Mod Podge to the tray, applied the paper and finished with two coats of MP.

Dollar Tree Silver Tray

Mod Podged Dollar Tree Tray

Before Christmas we saw some high end barware at Macy’s . Gorgeous, but $$.  I like my price a lot better!

Bourbon Journal and Tray

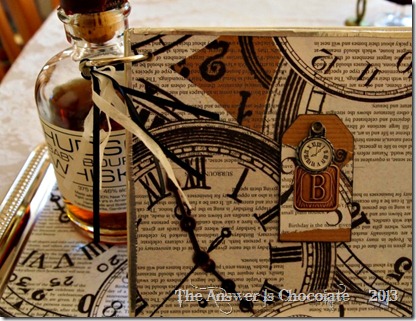
For the journal, I covered two pieces of the chipboard ( it actually comes w/ four pieces but I’ll use the other two for something else) with the watch paper on one side and some number themed paper on the other. Mod Podged these on. Went around the edges with some aluminum tape.

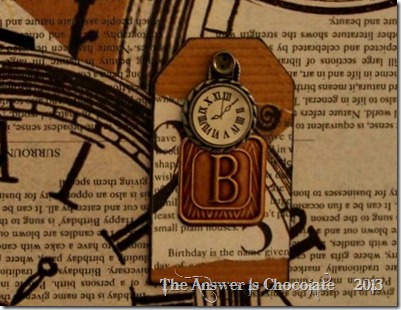
I had a chipboard tag in my stash which I left naked and applied a scrap of the watch paper to, then edged with black ink.  I added one of the watch charms (one of four from my $2 package so this was $.50), and an antique embossed monogram sticker I had in my stash.

Bourbon Journal and Tray

To finish off the journal, I added some of the game spinners to the watch hands on the paper.

Dollar Store Bar Ware

Just gives it a little dimension. I cut the inside pages to size from paper I had on hand, and put on the ring that came with the journal ( added some ribbon on hand just cause) and done.

So now Mr. C or Mr B or whomever I’m married to , has a place to display his current favorite find, as well as keep track of what he likes, doesn’t like, etc. about them.

Barware Tray

If adult beverages aren’t your thing, you could easily adapt this for any kind of theme from coffees / teas, flavored syrups, olive oils, balsamic vinegars or just cause you want to decorate a tray!


Sharing At:


Monday, January 7, 2013

First Cards of 2013

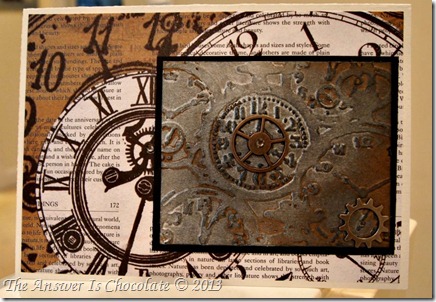
Distressed Watch Card

My first projects of 2013 happen to be my first craft love, cards. I have a few January birthdays. Proud mom moment when your College age child asks when you’ll be making the thank you notes he needs to write for Christmas presents.
I am on a mission this year to,  if not craft SOLELY from my stash ( hear that Mr. Chocolate…I did not say I was not going to my homes away from home so you cannot quote me on that no way no how) but to bust a lot of it.  So everything I’m showing here I already had in my stash.

For the first card ( above) I used a watch themed paper by Recollections. This paper is so great I hardly needed to add anything to it. But we can’t have that now can we? I ran a piece of kraft cardstock through my Cuttlebug using a Tim Holtz Alterations embossing folder.

I distressed my embossed watch panel with Tim’s ( we’re on a first name basis even though we’ve never met) Distressed Inks in Black Soot and some mica gloss inks in silver. Added a couple of sprocket gears , also from Tim’s line.

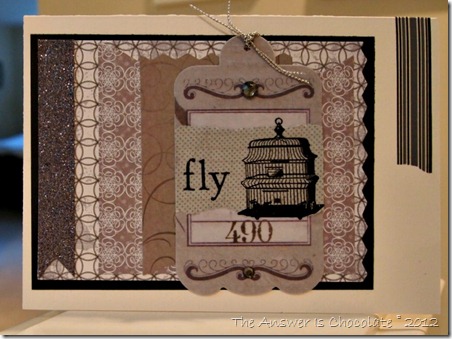
Mixed Ephemera Birthday

For the second card, I used a paper pack from EK Success “Life’s Little Occasions” line. I picked up a bunch few of these at JoAnn’s on one of my trips…they come in coordinated color packs and they also have sticker sets in themes like birthdays, anniversaries, etc. They’re usually in little bins on  the scrapbook paper or sticker aisle (this one’s called Black Punch Pack) and they’re great for bits and pieces or scrapbook journaling. Sorry…forgot to take a pic of the pack!

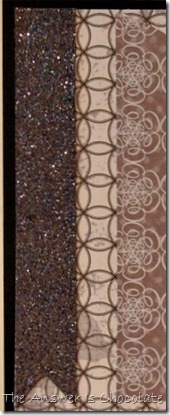
Pulled out three different pieces and added a black mat. The silver ribbon? Recycled from Christmas wrapping.
Mixed Ephemera Birthday
The tag in the middle is by Jolee’s Boutique French General line. Picked up a pack of these last year when they were 50% off. I embellished with another piece from my Life’s Little Occasions pack, and some leftover rub-ons.

Vintage Rub On Cards

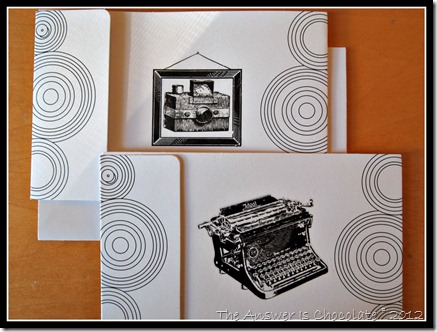
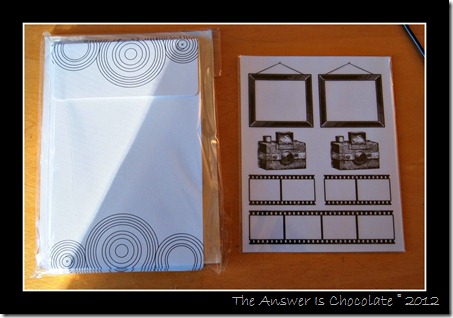
For College Boy’s thank-you notes, I pulled out these fun black and white cards I picked up for $1 at Michaels some time last year. They’re by “Ditto / Studio G” and I know they still carry a bunch of their stuff at reasonable prices because I have had to force myself to keep walking past them! See? I can be good.

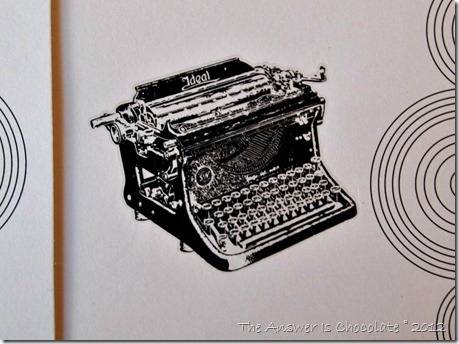
On another prior Michaels trip, I’d scooped up a bunch of vintage rub-ons in their then $1 section. College Boy likes things clean and not fussy so I kept these really simple and just applied them directly to the cards.

Camera Rub Ons

Vintage Typewriter Card

Do you have stash to bust in 2013? Please tell me I'm not alone :)

Sharing At: