Thursday, June 13, 2013
Monday, June 10, 2013
Glittery Gold Graduation and Retirement Cards with American Crafts
Disclosure: I received products from American Crafts but was not financially compensated for this post. Projects and opinions are mine.
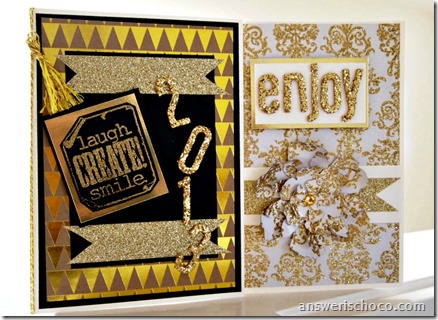
I recently received some glittery gold goodies from the wonderful folks at American Crafts. I love metallics and glitter and the timing was perfect since I knew I had a retirement and a graduation card to make. Both of these occasions just scream gold to me. Yes, I am the paper whisperer.
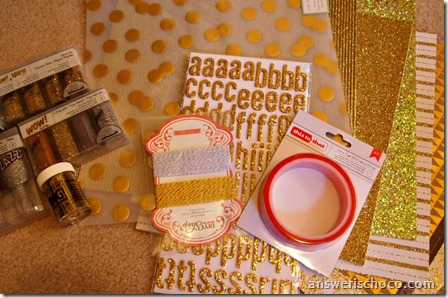
Gold papers, metallic glitter, gold embossing powder, gold baker’s twine!
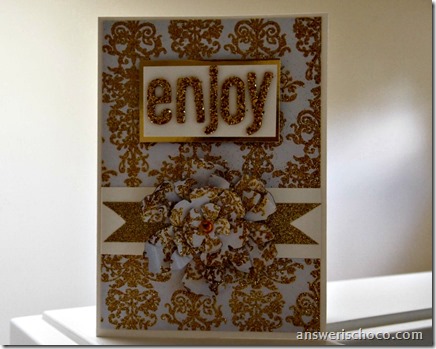
For the retirement card, I made a 5x7 card from cream card stock and then cut a piece of the American Crafts gold and white damask paper to size. I also die cut a layered flower from the same paper and curled the petal edges.
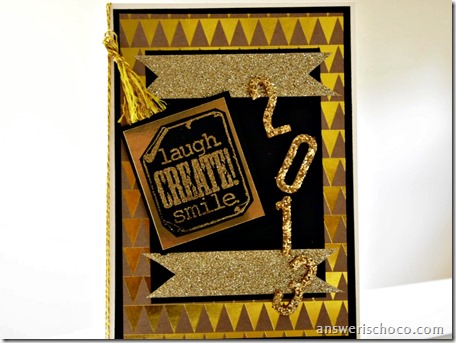
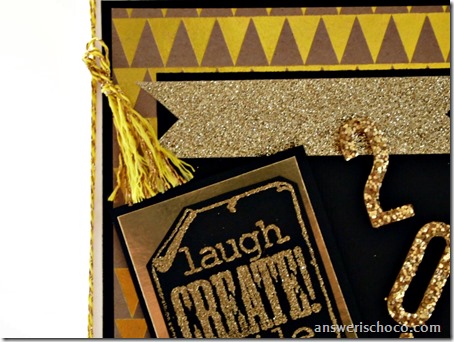
For the graduation card, I used a foiled piece from the American Crafts Atlantic collection along with plain black cardstock, more glitter tape, an embossed image with the American Crafts ZING embossing powder, and the glitter Thickers stickers. I wrapped some of the gold baker’s twine around the card and even made a little graduation tassel with it.
Sometimes working with metallics and glitter you can end up covered in it. I really like the glitter ribbon ( did I mention it’s self adhesive?) because it doesn’t come off on you. Same for the Thickers stickers. The papers are incredible both in the design and the weight. I like making layered, heavy cards ( the post office just loves me) and these work great w/ die cut machines and can stand up to altering etc.
You can see more from the American Crafts line here as well as on Facebook and Twitter.
I recently received some glittery gold goodies from the wonderful folks at American Crafts. I love metallics and glitter and the timing was perfect since I knew I had a retirement and a graduation card to make. Both of these occasions just scream gold to me. Yes, I am the paper whisperer.
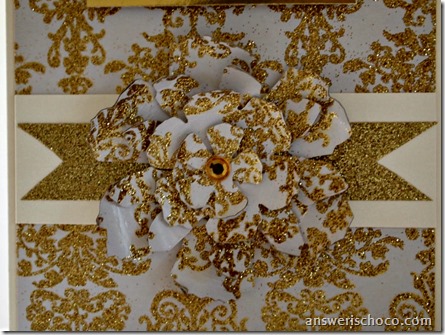
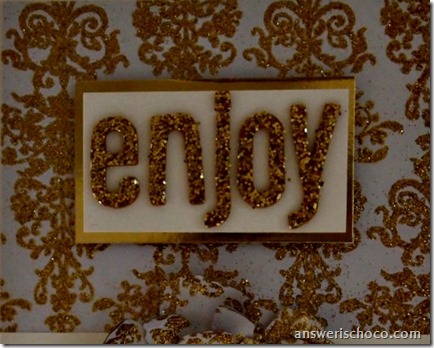
For the retirement card, I made a 5x7 card from cream card stock and then cut a piece of the American Crafts gold and white damask paper to size. I also die cut a layered flower from the same paper and curled the petal edges.
Since the paper is so detailed with the damask pattern and the glitter, I kept this card simple and just used this one paper for the card.
Layered scraps leftover from my card with AC gold glitter tape and spelled out the word “enjoy” using the gold glitter Thickers alphabet stickers I received. Layered these as shown.
Finished with a gold rhinestone in the middle.
Sometimes working with metallics and glitter you can end up covered in it. I really like the glitter ribbon ( did I mention it’s self adhesive?) because it doesn’t come off on you. Same for the Thickers stickers. The papers are incredible both in the design and the weight. I like making layered, heavy cards ( the post office just loves me) and these work great w/ die cut machines and can stand up to altering etc.
You can see more from the American Crafts line here as well as on Facebook and Twitter.
Thursday, June 6, 2013
BFF Open House Link Party #108
Welcome to the first BFF Open House Link Party of JUNE! Say it with me: "JUNE"! YIKES. School's out or getting out, graduation and wedding season, Father's Day (10 Days people!) and before you know it, Fourth of July.
Let's take a peek at some of the great ideas shared at last week's party:
If school's not yet out for you and you need a great teacher's gift, check out this idea from Stephanie at The Silly Pearl. She's even got the printable to go with!
Michele from The Scrap Shoppe shows how easy it is to make your own jewelry with this fab chandelier necklace perfect for Summer.
No it's not your eyes. Yes, it's Halloween! If we can do Christmas in July, why not Halloween in June? Ohio Farm Girl whipped up this great altered piece.
And this week's chocolate feature is from the ladies at Six Sister's Stuff/ My Recipe Magic. ROLO Stuffed Peanut Butter cookies!
Now on to this week's party. Thanks again for spending part of your week here at The Answer Is Chocolate.
 Loading InLinkz ...
Keep Calm and Study On Card: The Graphics Fairy To The Rescue
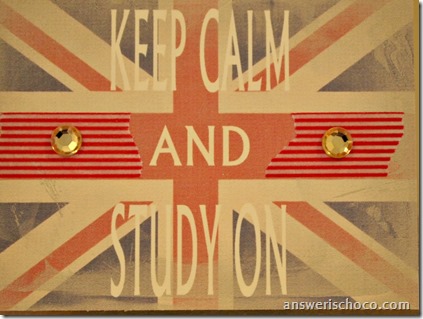
The daughter of one of my besties is off to London for a Summer study abroad program so I whipped up a card to send her off.
I knew I wanted to do a variation of the "Keep Calm" theme but also wanted a British flag so went to my go to source: The Graphics Fairy . I downloaded the image, then aged it using a graphics program which I also used to generate the text.
Made a 5x7 card from red card stock, layered with a vintage looking red and white striped paper from the Union Square stack by Recollections ( Michaels), added two strips of American Crafts white glitter tape and mounted the focal image on gold and cream cardstocks.
Added a couple strips of washi tape, gold rhinestones, and a silver paper crown. She may be there for the birth of the new Royal baby so it seemed appropriate.
Sunday, June 2, 2013
Mumster Special Orders and Field Trip to Melrose Vintage
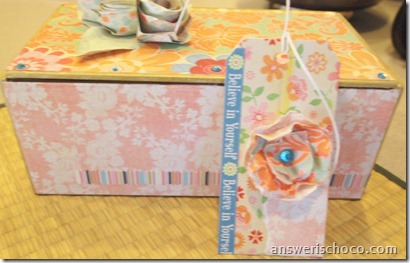
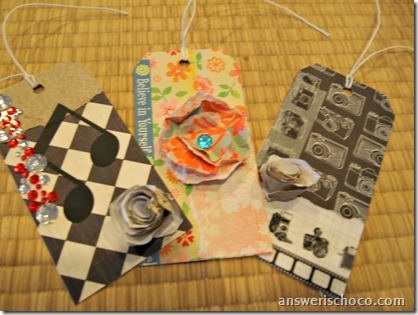
She also wanted some tags to match the boxes I made for her so darn, I had to make tags!
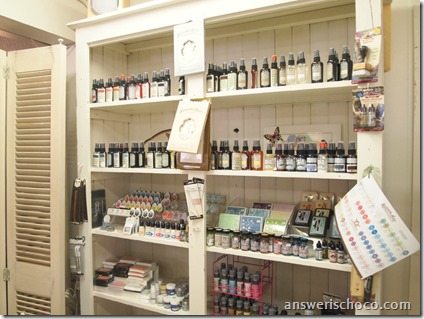
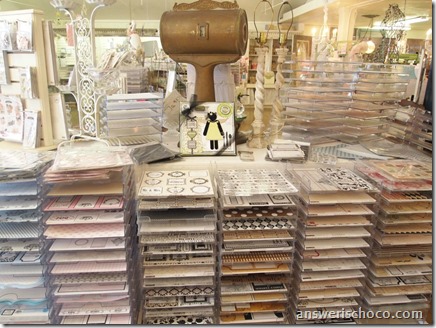
I don’t know about you but wherever I go I have to check out a local craft, scrapbook, or vintage store. I found all three in one in Melrose Vintage in Downtown Phoenix located at 4238 N 7th Ave. It’s in an area appropriately called the Melrose District which is filled with vintage and antique stores. If you visit it’s 7th Avenue between Camelback and Indian School Roads.
It’s a great shop filled with vintage furniture and furnishings and then there’s the whole scrapbook store within a store!
I was tempted by many things but limited myself to things that can fit in my suitcase!
The scrapbook store has everything. A wall o’inks.
Tons of mixed media including 7 Gypsies, Tim Holtz, Teresa Collins to name just a few.
And my downfall: paper, paper, paper!
If you’re a local and you haven’t been here, what are you waiting for?
Thursday, May 30, 2013
BFF Open House Link Party #107
Happy almost Friday all! Hope you've all had a good week. Welcome to another link up of your creative creations. First some features ( I've been a little lax lately).
From The Crafty Lumberjacks, a great upcyle and organization project in one. Paper and washi tape? Yes please!
The always genius Mich in LA shared a quick and easy way to create a chain tassel. Perfect addition to any pendant.
Love this beachy blue tinted netted vase from Stephanie at Simply Dream and Create .
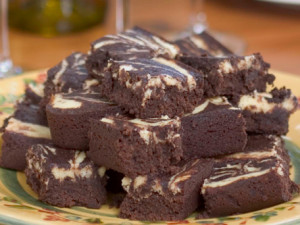
I have two chocolatey features for you this week. The first is a Peanut Butter Coffee Cake with chocolate chips from A Peek Into My Paradise. Doesn't this look scrumptious? You can make this for breakfast and then make these amazing swirled cheesecake brownies from Desperate Houselife for dessert later.
Now on to this week's party! If you're a first time linker upper, please leave a comment ( not that you can't leave a comment if you're a regular linker upper!). Following isn't required but appreciated and I love to find new blogs.
Tuesday, May 28, 2013
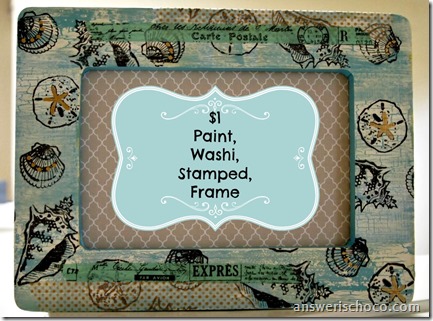
Painted, Washi'd and Stamped Beachy Dollar Frame
I keep a supply of those wood frames you can get at Michaels for $1 because they come in so handy.
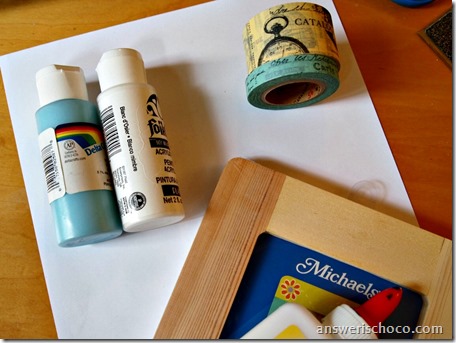
For this project you will need:
- $1 Wood Frame
- Paint
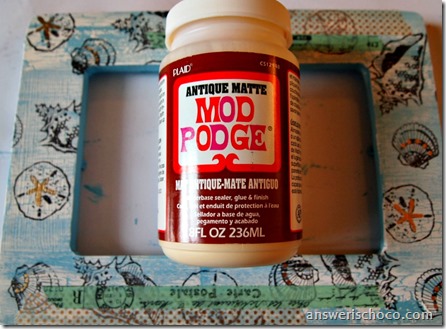
- White Glue
- Stamps
- Pigment Ink
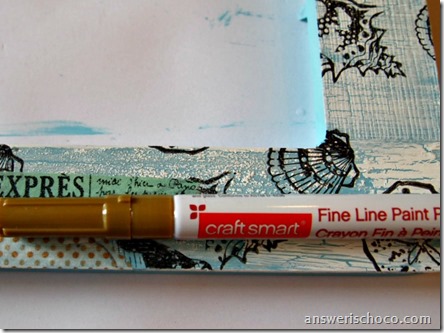
- Paint Pen
- Washi Tape
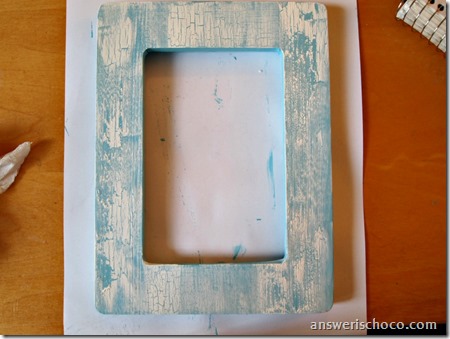
When your glue is almost dry, cover with your top coat ( I used white). You can speed things up with a blow dryer or heat gun which will also enhance your crackle.
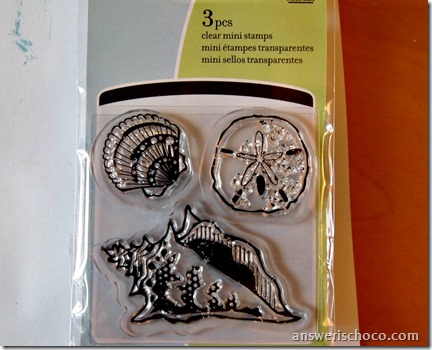
I am the born sucker JoAnn’s and Michaels had in mind with their impulse buys by the register. I love digging through the little bins for $1 stamps and had picked up a package of sea shell stamps on one trip.
These frames come with a cardboard inset and I like to cover them with paper so they look nice when presented as a gift. You can also trim a photo and use the covered insert as a background.
Quick, cheap, easy!
Sharing At:
Subscribe to:
Posts (Atom)

