If you are a reader of my blog, you know how much I love Mod Podge. Well the folks at Plaid just keep adding to the line of already fabulous Mod Podge products and I was so excited to have the opportunity to play with some of the newest. You may have seen these already at
Michaels. Mod Podge
Collage Clay, Mod Molds and Mod Melts.
Disclaimer: Plaid provided the products for this post at no cost to me. Project idea and opinions are my own.
Here are the goodies I got to play with:
The
Collage Clay comes in a tube that looks like frosting, including the tips you use to pipe on the clay so
Collage Clay is not recommended for children ages 12 and under, and the product is not edible. Small parts are a choking hazard for children.” If you choose to show children involved in using the product, please make sure they are over 12 years old since the product is not recommended for children younger than this.
The clay can be painted after it's dry .
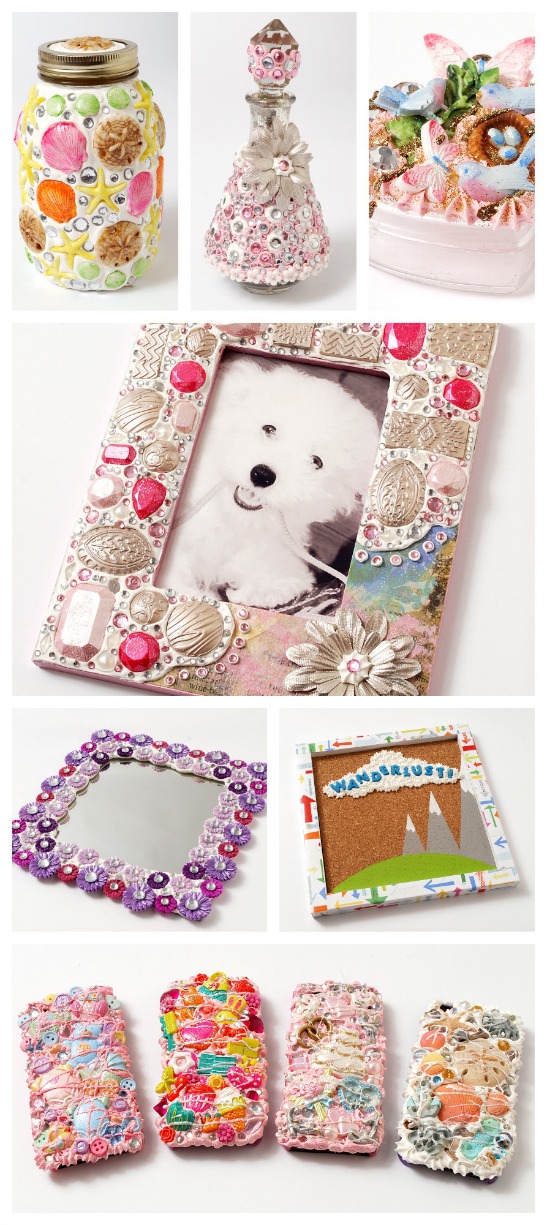
All of these products are great for a current trend called “Decoden” which is the art of decorating anything with trinkets, and "the more the merrier" is the name of the game in designing an over the top look in this 3D collage technique. Use Collage Clay with Mod Melts, trinkets, buttons, rhinestones, and anything else you can think of!
I decided to try my hand a decorating a vase. For this project you will need:
- Plain glass vase
- Vanilla Mod Podge Collage Clay
- Mod Podge Melts Texture Mold
- Mod Podge Melts ( gold)
- Washi Tape
- Rhinestones
- Ribbon
I marked off a border using washi tape so I’d have a guide to apply my Collage Clay:
Using the tip shown above, I went around the vase making “dots” . It’s so much like cake decorating I’m sure you cake masters would love this!
The iinstructions say you should let the clay dry anywhere from 1-5 days. I let mine dry for about 24 hours because I didn’t want it to be fully set when I applied some rhinestones . I also applied the Collage Clay to the bottom of the vase. Once dry, I removed the tape.
While my clay was drying I made the “buttons” using a gold Mod Melt stick ( you can run them through a high temp mini glue gun and filled the mold with the melted well, melt. It takes about 10 min to set and then pops right out of the silicone mold. Any little oops drips come right off of the silicone.
I dry brushed my buttons with white acrylic paint so the detail of the mold would really stand out.
Using some leftover ribbon I wrapped the vase and tied off as shown, then glued my “buttons” on. The Collage Clay was set but not hardened so I was able to lightly press black rhinestones around the top.
You could make sets of these for centerpieces or just one standalone for fun. I had a lot of fun playing with the Collage Clay and the melts and can’t wait to do some more!
Now who doesn’t love a chance to win something?
The folks at Plaid are giving you a chance to win your own set of these fun crafting goodies. Details are at their site
here. You can also learn more about these and other fun Plaid products here:
Follow Plaid on Pinterest: http://www.pinterest.com/plaidcrafts
Like Plaid on Facebook: https://www.facebook.com/InspiredByPlaid
Follow Plaid on Instagram: http://instagram.com/plaidcrafts
Follow Plaid on Twitter: http://www.twitter.com/plaidcrafts
Watch Plaid on YouTube: http://www.youtube.com/plaidcrafts
Follow Plaid on Google+: http://plus.google.com/+PlaidOnline
Sharing At:
Here are what some other creative bloggers are doing:


