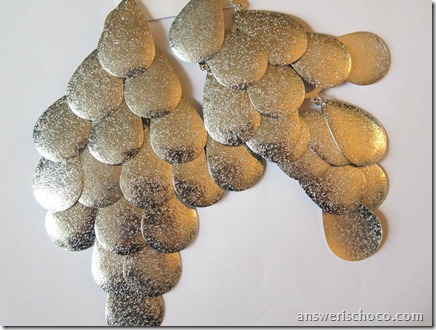
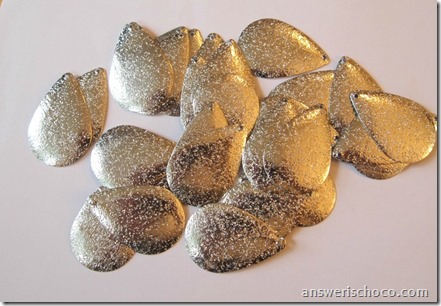
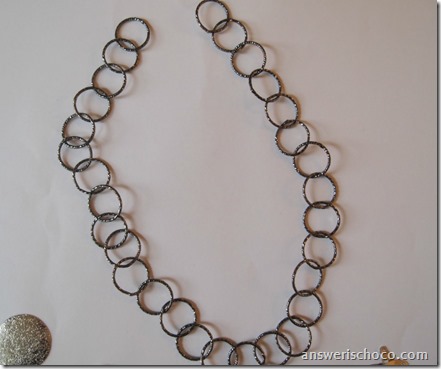
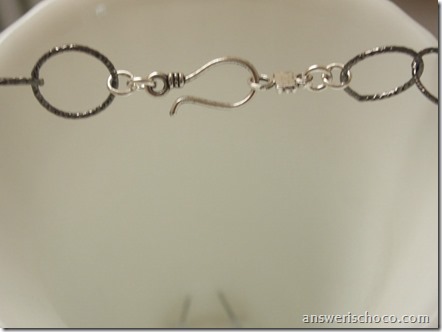
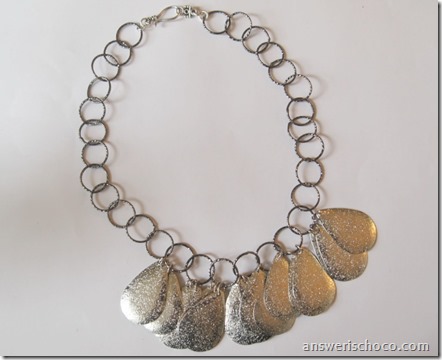
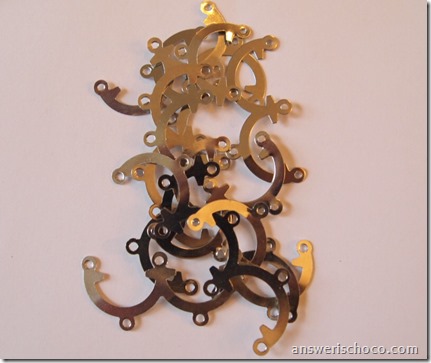
This is the before pic. Aren’t they ginormous? Each earring was made from 16 metal teardrop pieces.
Showing posts with label Repurpose. Show all posts
Showing posts with label Repurpose. Show all posts
Saturday, June 15, 2013
Jewelry Makeover: Clearance Earrings Into An Easy Necklace
This is the before pic. Aren’t they ginormous? Each earring was made from 16 metal teardrop pieces.
Saturday, March 23, 2013
Green Craft: From Chocolate Box to Guest Book
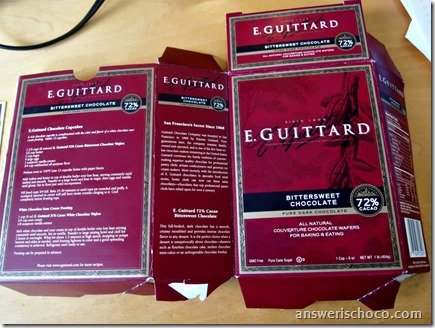
So we have an upcoming family birthday celebration and I was asked to bring a guest book. Doesn’t everyone automatically think of an empty chocolate box as a guest book?
For this project you will need:
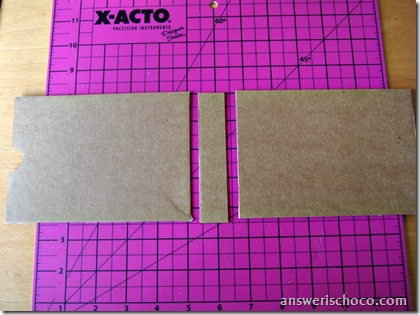
I opened up my box and immediately saw a book in the two main panels and cut them as follows:
The spine was from a scrap piece the same length as the two sides. I covered each of the cover pieces with scrapbook paper from my stash. Sealed the paper with Mod Podge.
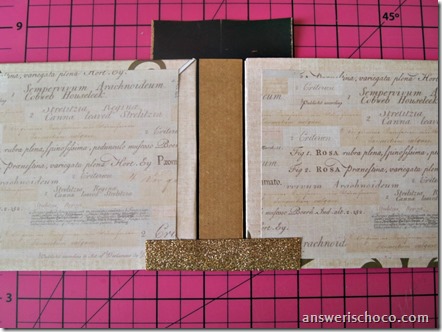
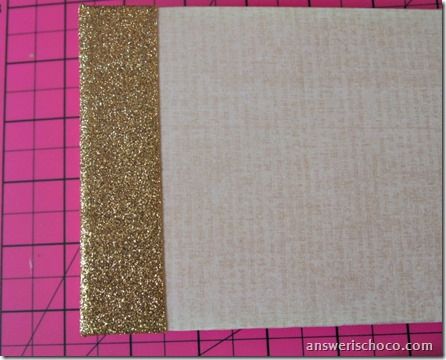
Since I’m a borderline hoarder, I save scraps of everything and had some gold glitter vinyl leftover from a previous project. I decided to use this as “book cloth” to cover the spine. Applied the carpet tape to the underside of the vinyl , then lay the spine piece in the middle, the two cover pieces on each side and then folded the top and bottom of the vinyl. Since I was using up scraps I couldn’t cut my vinyl piece long enough so that when folded over, it met in the middle but I had enough to cut another piece to fill the gap.
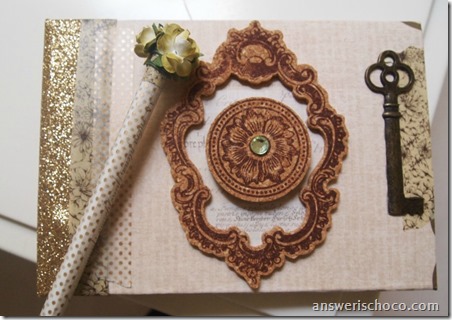
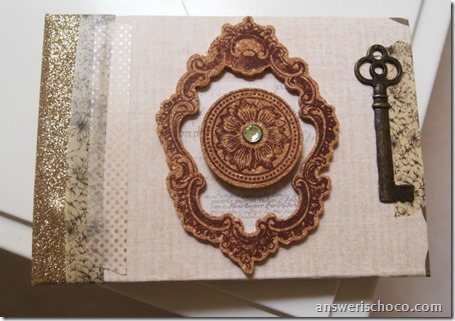
Fold over and this is the front of my guest book before embellishing. I added the washi tape and cork accents ( they were on clearance @ JoAnn) , a metal key sticker, and then College Boy reminded me: “What’s a guest book without a pen” so I made one.
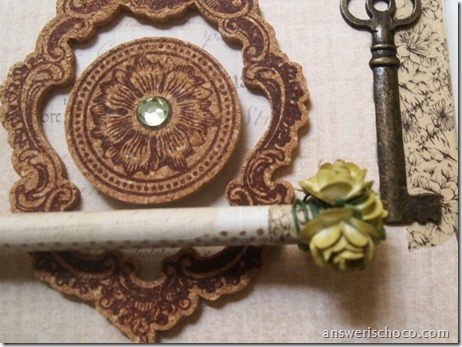
Well I didn’t make a pen but I embellished one. Just a plain stick ink pen covered with a scrap of paper from my book. Mod Podged it on, added a strip of washi tape and then hot glued some paper flowers (you can find bunches of these in bridal aisle) on the top. Left the wire stems on and just wrapped them around the pen.
For this project you will need:
- Recycled cardboard box
- Scrapbook papers
- Strong adhesives ( I used double sided carpet tape)
- Embellishments ( I used vinyl scraps, some corkboard cutouts I picked up for $.97, washi tape, and a key sticker)
- Paper for your pages
I opened up my box and immediately saw a book in the two main panels and cut them as follows:
The spine was from a scrap piece the same length as the two sides. I covered each of the cover pieces with scrapbook paper from my stash. Sealed the paper with Mod Podge.
Since I’m a borderline hoarder, I save scraps of everything and had some gold glitter vinyl leftover from a previous project. I decided to use this as “book cloth” to cover the spine. Applied the carpet tape to the underside of the vinyl , then lay the spine piece in the middle, the two cover pieces on each side and then folded the top and bottom of the vinyl. Since I was using up scraps I couldn’t cut my vinyl piece long enough so that when folded over, it met in the middle but I had enough to cut another piece to fill the gap.
Well I didn’t make a pen but I embellished one. Just a plain stick ink pen covered with a scrap of paper from my book. Mod Podged it on, added a strip of washi tape and then hot glued some paper flowers (you can find bunches of these in bridal aisle) on the top. Left the wire stems on and just wrapped them around the pen.
For the interior, I cut regular copy paper to size , clamped it together with binder clips and coated one of the short sides with PVA glue. Glue to a chipboard panel cut the same size to make a pad and then glue the "pad to the back cover.
Monday, November 26, 2012
Wreath Makeover With Paper and Ribbon Scraps
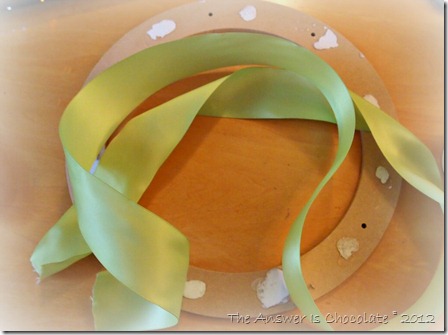
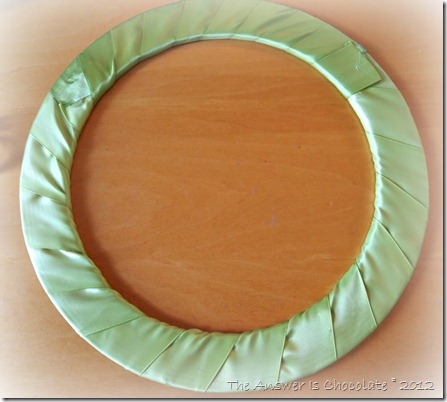
I started off with a pressed wood wreath frame that you can find at most craft stores. I had a wreath from last Thanksgiving that I decided I no longer loved so I pulled all the stuff off of it which is what the white spots are. If people open gifts at my house, guess who hoards the scrap ribbon to re-use? I pulled out a couple of pieces and wrapped my wreath form.
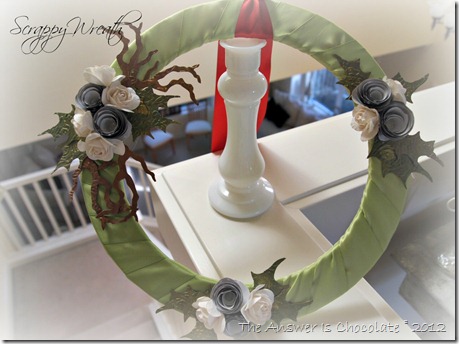
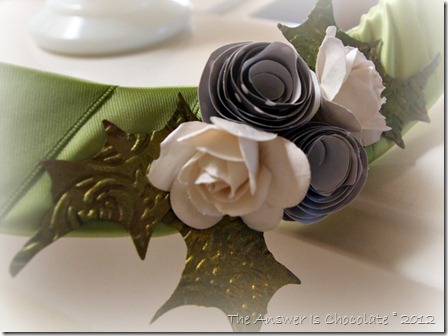
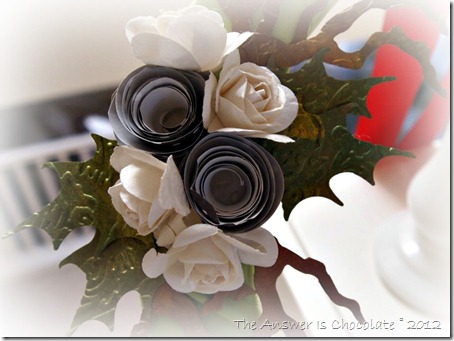
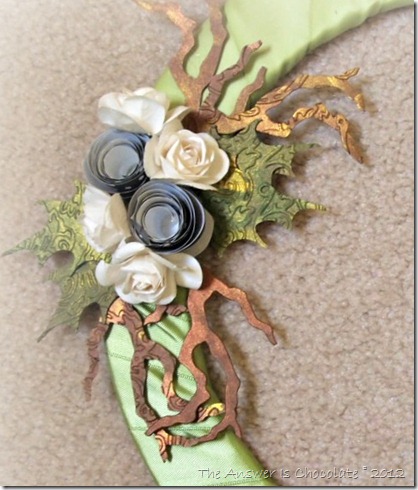
The rough ends where the ribbon joined won’t matter since they’ll be covered up. The next part I thought I tool pictures of and oops. But to decorate my wreath, I used a Tim Holtz die to cut holly leaves, and branches from chipboard. Ran those through an embossing folder to give them some texture and then dabbed on some inks in metallic brown, green, and gold. Went to my paper scraps and pulled out some black and white polka dot papers and made rolled flowers. And then to my embellishments stash and grabbed some off white paper roses.
Sharing At:
Subscribe to:
Posts (Atom)


