Showing posts with label Recollections. Show all posts

Monday, May 7, 2012

Recollections "Fashionably Chic Mother's Day Cards

Glitter Damask Mother's Day PM

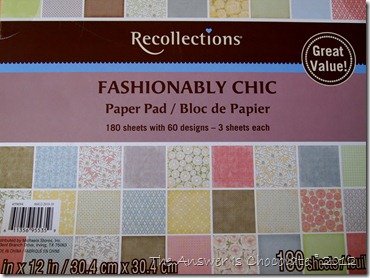
I’ve confessed my paper addiction before. It’s not getting any better. I wasn’t even looking for paper when I walked past the paper stack section at Michaels and Recollections “Fashionably Chic” jumped off the shelf at me. Practically attacked me. It did!

P5064883

The cover doesn’t do it justice. It repeats the same series of patterns in several colors and within a color family, you can mix the patterns.

Glitter Damask Mother's Day
I  made several different cards because I always like to recognize the special women in my life on Mother’s Day.

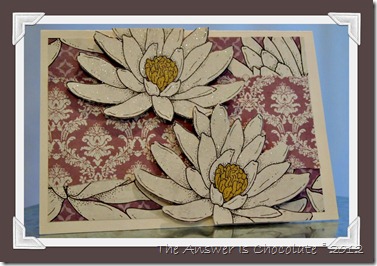
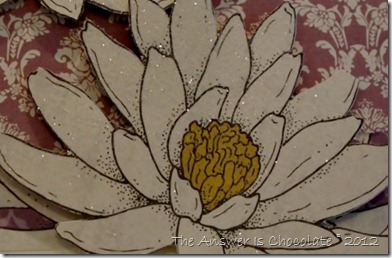
For the first card, I glued the scrapbook paper to a piece of cardstock to give some body, and then cut out the flower, hit it with a spray of adhesive and glittered it.

I used another piece of the same floral paper and a piece with a coordinating damask print for base panel of the card . Used foam dots to adhere the glittered flowers to the card.

Mother's Day Floral Recollections

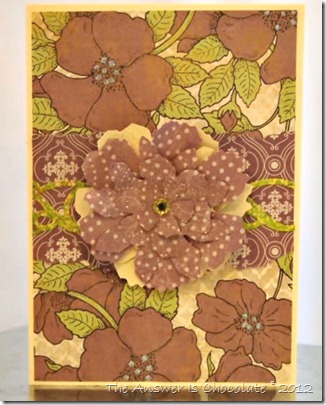
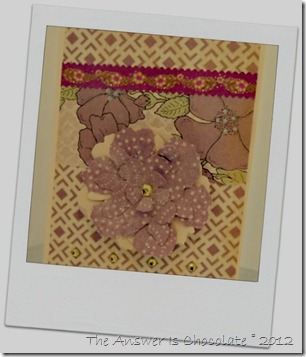
For this one, I used a different floral pattern and dotted the inside of the flowers with iridescent Stickles. For the focal flower, I used Tim Holtz Alterations Tattered Floral die and cut the flowers using my Cuttlebug.

Recollections Fashionably Chic


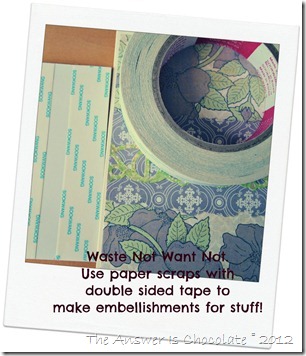
SOOKWANG Tape

I don’t like to waste pretty paper so I use scraps to make embellishments to use in cards and other projects. This double sided tape I got at my local stamp store and is by a company called Sookwang. You can also use this tape to make your own washi tape.

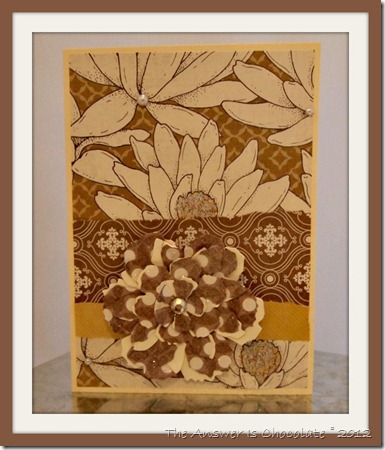
I also played with another color combination from the stack:

Neutral and Yellow Mother's Day

I'm telling you. Paper just jumped off the shelf at me. Really.

Sharing At: 


Tuesday, November 15, 2011

Embossed and Glittered Oak Leaf Banner

Today I'm sharing a project I did for a guest post over at A Glimpse Inside last week. It was actually this project that started me off on my glittery Thanksgiving frenzy!

In case I haven't mentioned that it's exactly ONE WEEK til my son comes home from college, I want to make this year extra special since it will be a first Thanksgiving of sorts. It finally hit me that it's been almost four months since we've seen him. I know. I'm a WIMP.  He won’t care about the decorations but I think he will care that I wanted to make it extra special. Today I’m sharing a banner I made for our dining room.
Oak Leaf Banner

Oak Leaf Banner (2)
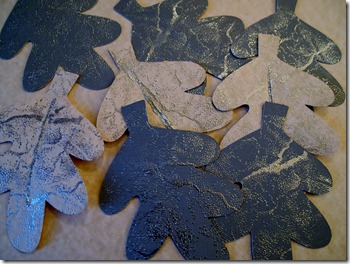
I love all things paper ( OK really, what craft supply don't I love?!) and got the idea to do an oak leaf banner.  I cut the leaves on my Cricut Expression but decided they needed some texture. I grabbed a textured stamp from my stamp supply, inked it up with clear embossing ink and  covered them with detailed silver embossing powder:
Embossed Oak Leaves
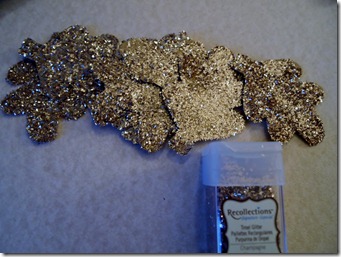
I also knew I wanted this to have some sparkle and needed an excuse, er um a compelling reason to play with tinsel glitter. The beginning of the end! I'm hooked.
Tinsel Glitter Oak Leaves
I cut out more leaf shapes, and covered them with champagne tinsel glitter. I used Recollections brand from Michaels.

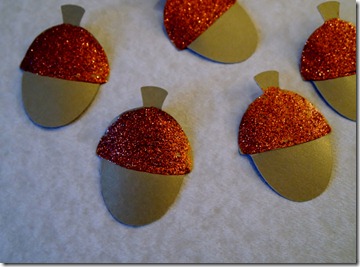
But what are oak leaves without acorns? Using the same Cricut cartridge ( Doodlecharms) , I cut acorns from metallic gold paper and then went over the caps with copper glitter glue:
Glittered Acorns
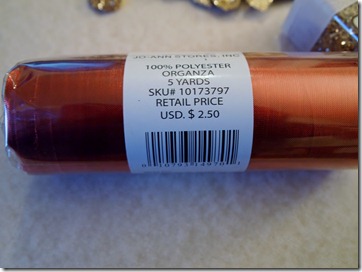
The final piece of my banner was this organza tulle I found at JoAnn’s in their 2 for $5 section. Oh my they have got several gorgeous colors, many of  which I may or may not have bought. Just sayin'
Copper Organza Tulle
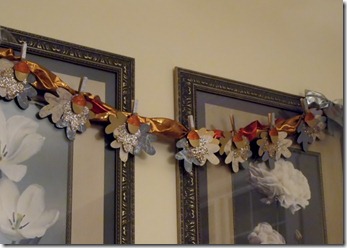
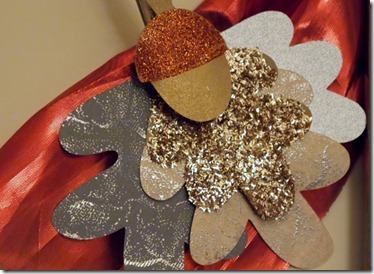
To put it all together, I took a couple of the embossed leaves, a plain leaf, and a tinsel glittered leaf and formed a “clump” of leaves. I covered clothes pins ( my favorite way to hang banners) with some glittered paper scraps and then put my acorns on top using a foam dot.
Oak Leaf Banner Closeup
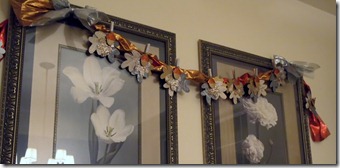
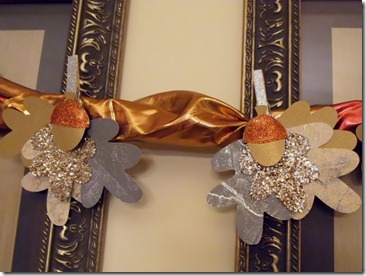
I twisted two colors of the organza tulle together and draped over two framed prints in our dining room and then clipped my oak clusters on. Photos aren't great. One of my 2012 goals is to get better at photographing things where glare is involved. 
Oak Leaf Clusters
I think this will really twinkle in the candlelight of our Thanksgiving meal, along with some of the other glittery Thanksgiving decor.

One week. From TODAY! Not that I'm counting.
Sharing At: 
Photobucket


Paper Issues Blog Design

Tuesday, November 8, 2011

Thanksglitter Place Cards

I am in love with Core’dinations glitter cardstock. It’s what I used in my “All That Glitters” wreath, and as I mentioned in that post, I couldn’t resist buying several other colors. Psssst….it’s on sale this week at JoAnn’s…5 sheets for $.95. That’s a lot of bling for under a buck!

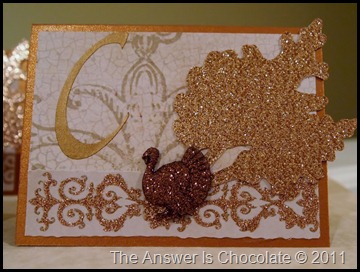
I decided it was time for new place cards this year and a color called Copper Shimmer went perfectly with the project I shared over at A Glimpse Inside today.
Monogrammed Place Card
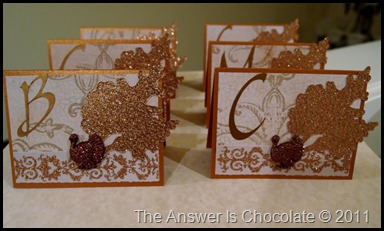
I cut my place cards from copper cardstock (4x6, so they’ll be 4x3 when folded), then panels from K and Company’s Fall Wheat Scroll paper, edged them with coordinating (and glittered) scrapbook borders  from KandCo.

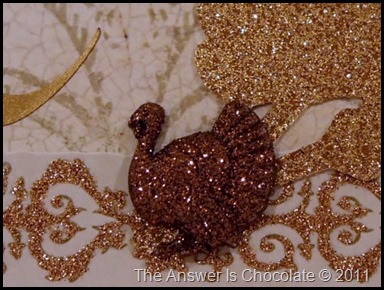
Ran Memory Box’s Fall Leaf Trio die through my die cut machine and cut the leaves from the Copper Shimmer paper. Cut everyone’s initials on my Expression (Jasmine cart) from the same great metallic vinyl I used on my Autumn Lantern, and finished with more of the glittered turkeys I used on my wreath. Is that enough glitter for you? lol .
Monogrammed Place Cards


Monogrammed Place Card
Hello. My name is Carol, and I’m a glitterholic.
Linking Up At: 
Tip Junkie handmade projects
homework
Photobucket
Turkey Daze at Ladybird Ln


Tuesday, October 11, 2011

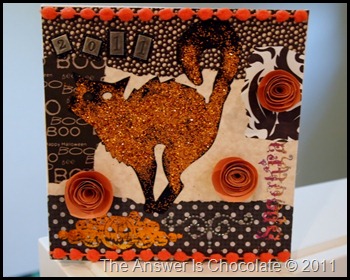
Altered Halloween Canvases: Paper and Glitter and Foil Oh My!


Altered Halloween Canvas (12)
I’m having lunch with a couple of girlfriends later this week and always like to take a little something to these. I poked around in my stash and remembered a couple of canvases I bought at Michaels in their then $1 Section. Gathered those and a few other things:
Altered Halloween Canvas
Altered Halloween Canvas (2)
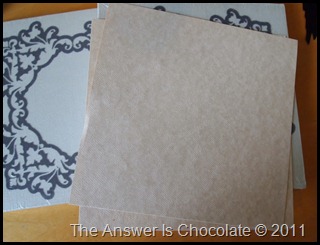
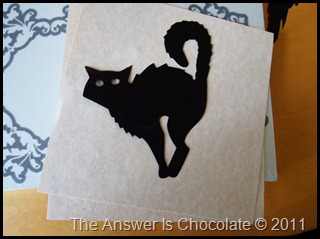
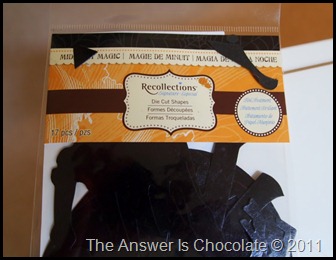
Michaels canvases, Recollections parchment textured paper cut to size, Recollections Die Cut pack:
Recollections Die Cut
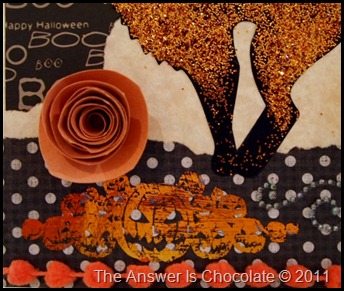
Mod Podged the paper onto the canvases and then grabbed some coordinating scraps from my stash and MP’d those on top. While that was drying, I covered a couple of the die cuts with glue ( any clear drying glue works) and covered ( mostly ) with orange glitter. I didn’t want full coverage…wanted some bare spots.
Altered Halloween Canvas (5)
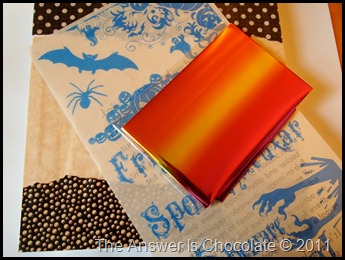
Once my canvases were dry, I applied these adhesive designs ( and threw away the packaging before taking a pic! but I found them at Ben Franklin.)  Just cut the pieces I wanted and applied and then went over them with variegated craft foil.
Altered Halloween Canvas (6)
Altered Halloween Canvas (11)
Once ,my glittered friends were dry, I glued them down to the canvas then went about embellishing with rolled flowers, metal numbers, self adhesive rhinestones and some pom pom ribbon.
Altered Halloween Canvas (8)
Altered Halloween Canvas (10)
Now I need to find some bags to upcycle to put these in !
Linking Up At: 
Photobucket
homework


A Little Knick Knack


Wednesday, October 5, 2011

Easy SPOOKY Banner…

See, I already had to make one more Halloween decoration. Who am I kidding? Like it will be the last one!
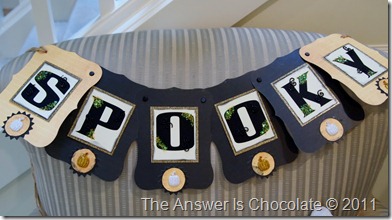
Spooky Garland
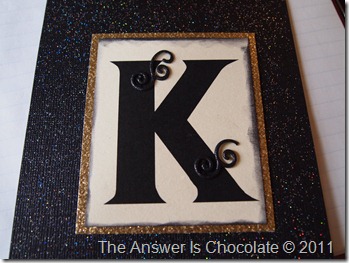
I generated the letters using my PrintShop Deluxe program, printed on cream cardstock, cut out and then went around the edges with black ink.
Halloween Banner Letter
Mounted each letter onto glittered gold cardstock and then added these cute squiggle brads (also glittered) from Recollections @ Michaels.
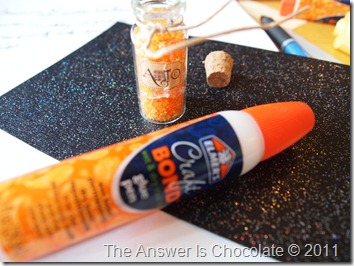
Time to embellish! Remember this glittery stuff I used on my repurposed dress wreath?
I got that out again and embellished each letter:
Elmer's Glue Pen
using this awesome double sided Elmer’s glue pen. I love this thing!
Halloween Garland
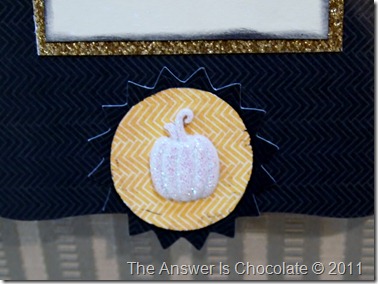
Cut out the banner shapes from DCWV’s “Ghosts and Goblins” stack using my Cricut .  I also used it to cut out the circle and sunburst shaped pieces from the scrap cardstock. Inked the edges of the circles ( I was going for a grungy look so I wasn’t especially careful) and then finished off with glittered pumpkins! These are also from Recollections @ Michaels…a package of 12 ( I still have orange and brown) that were 2 packs for $3.
Spooky Garland Focal
Linking Up At:
A Little Knick Knack