I've been wanting to do a Halloween Tree for a while. Last year I thought I'd be happy with a lighted branch tree and I was but in our new house, it ended up permanently in our bedroom as ambient lighting so I needed a new one right? For once in my brain, I also remembered to look for it early enough and lucked out getting one from Wayfair for 50% off over the Summer. I just went to check for this post and they still have them but they're a little more expensive now. The decorations are all Dollar Tree and I shared the Jeweled Tarot Card Halloween tree skirt last week.
Supplies:
- Thompsontown Slender Black Tinsel Fir Artificial Christmas Tree (Wayfair)
- Dazzle Bright Purple LED Lights (Amazon)
- Black and White Bat Ribbon (Dollar Tree)
- Misc Decorations In Coordinating Colors (Dollar Tree)
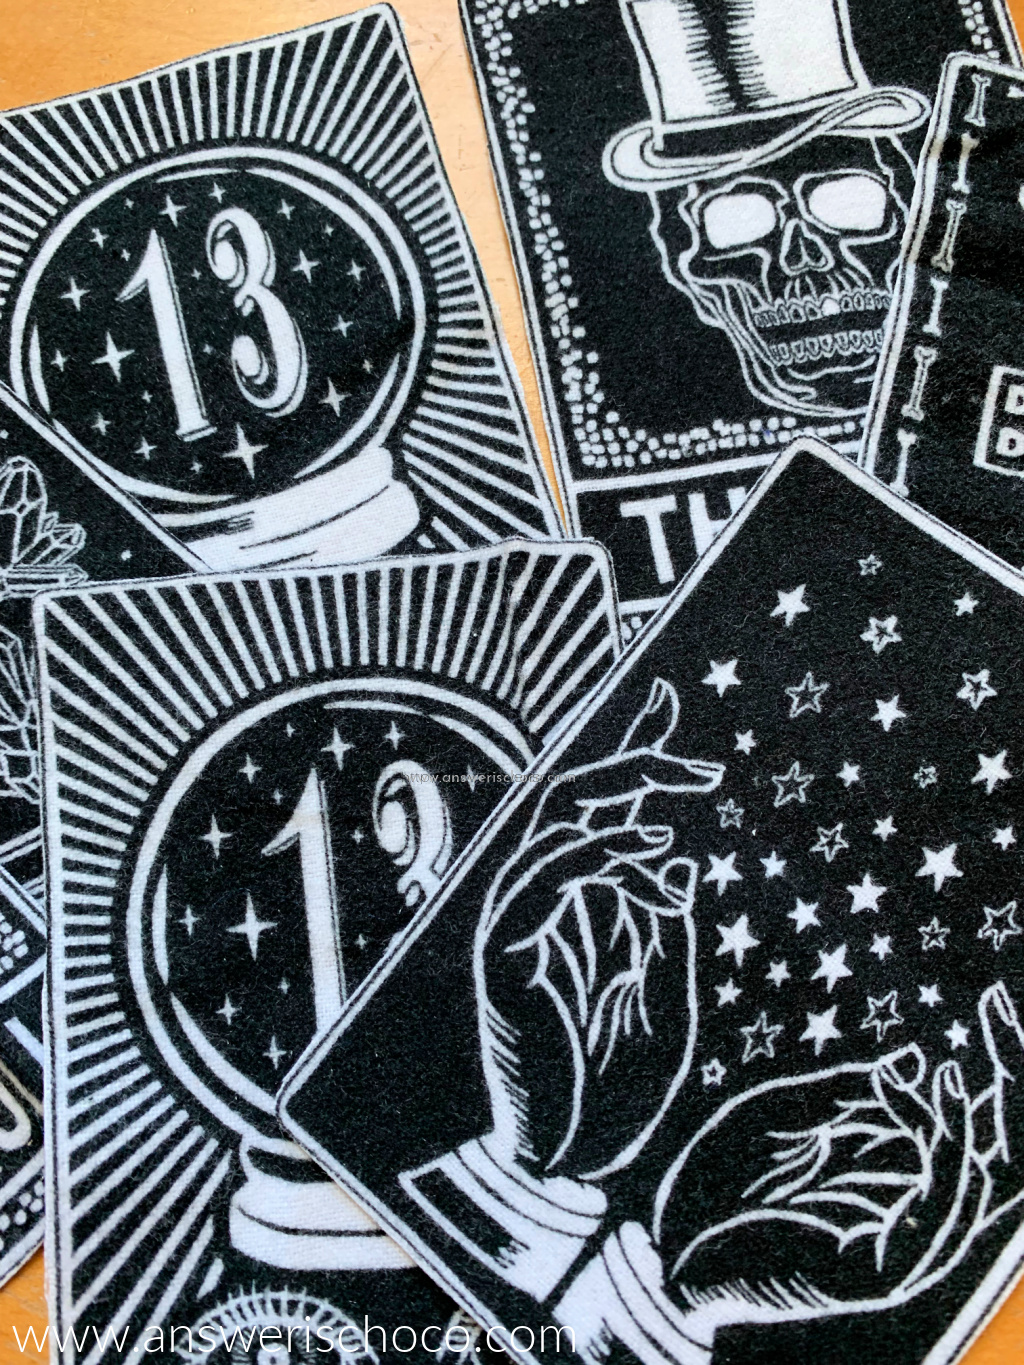
- Jeweled Tarot Halloween Tree Skirt


I also picked up a bunch of these skull treat baskets and glitter spiders that went with my colors.

I wanted a skinny tree and this was perfect. Of course it came in a super skinny box and needed to be fluffed out.

It was also not pre-lit so I found some purple lights on Amazon and didn't even realize until I plugged them in that they have 8 different options. Steady, twinkle, flashing etc. I haven't strung lights on a treee in a few years since I've gotten used to pre-lit trees so that was fun. Once I got the lights on, it was time to decorate. I started with the ribbon after the lights and used pieces of wire to attach to the branches in some places. After that, I added the picks, skull baskets and spiders and to finish, used a creepy doll head I had leftover from a project last year which I wrapped in the black netting one set of the skull baskets came in!

Ooops! Forgot to take pictures of the eyeball and glitter ornaments also from Dollar Tree!

The spiders are just resting on and tucked into the branches.
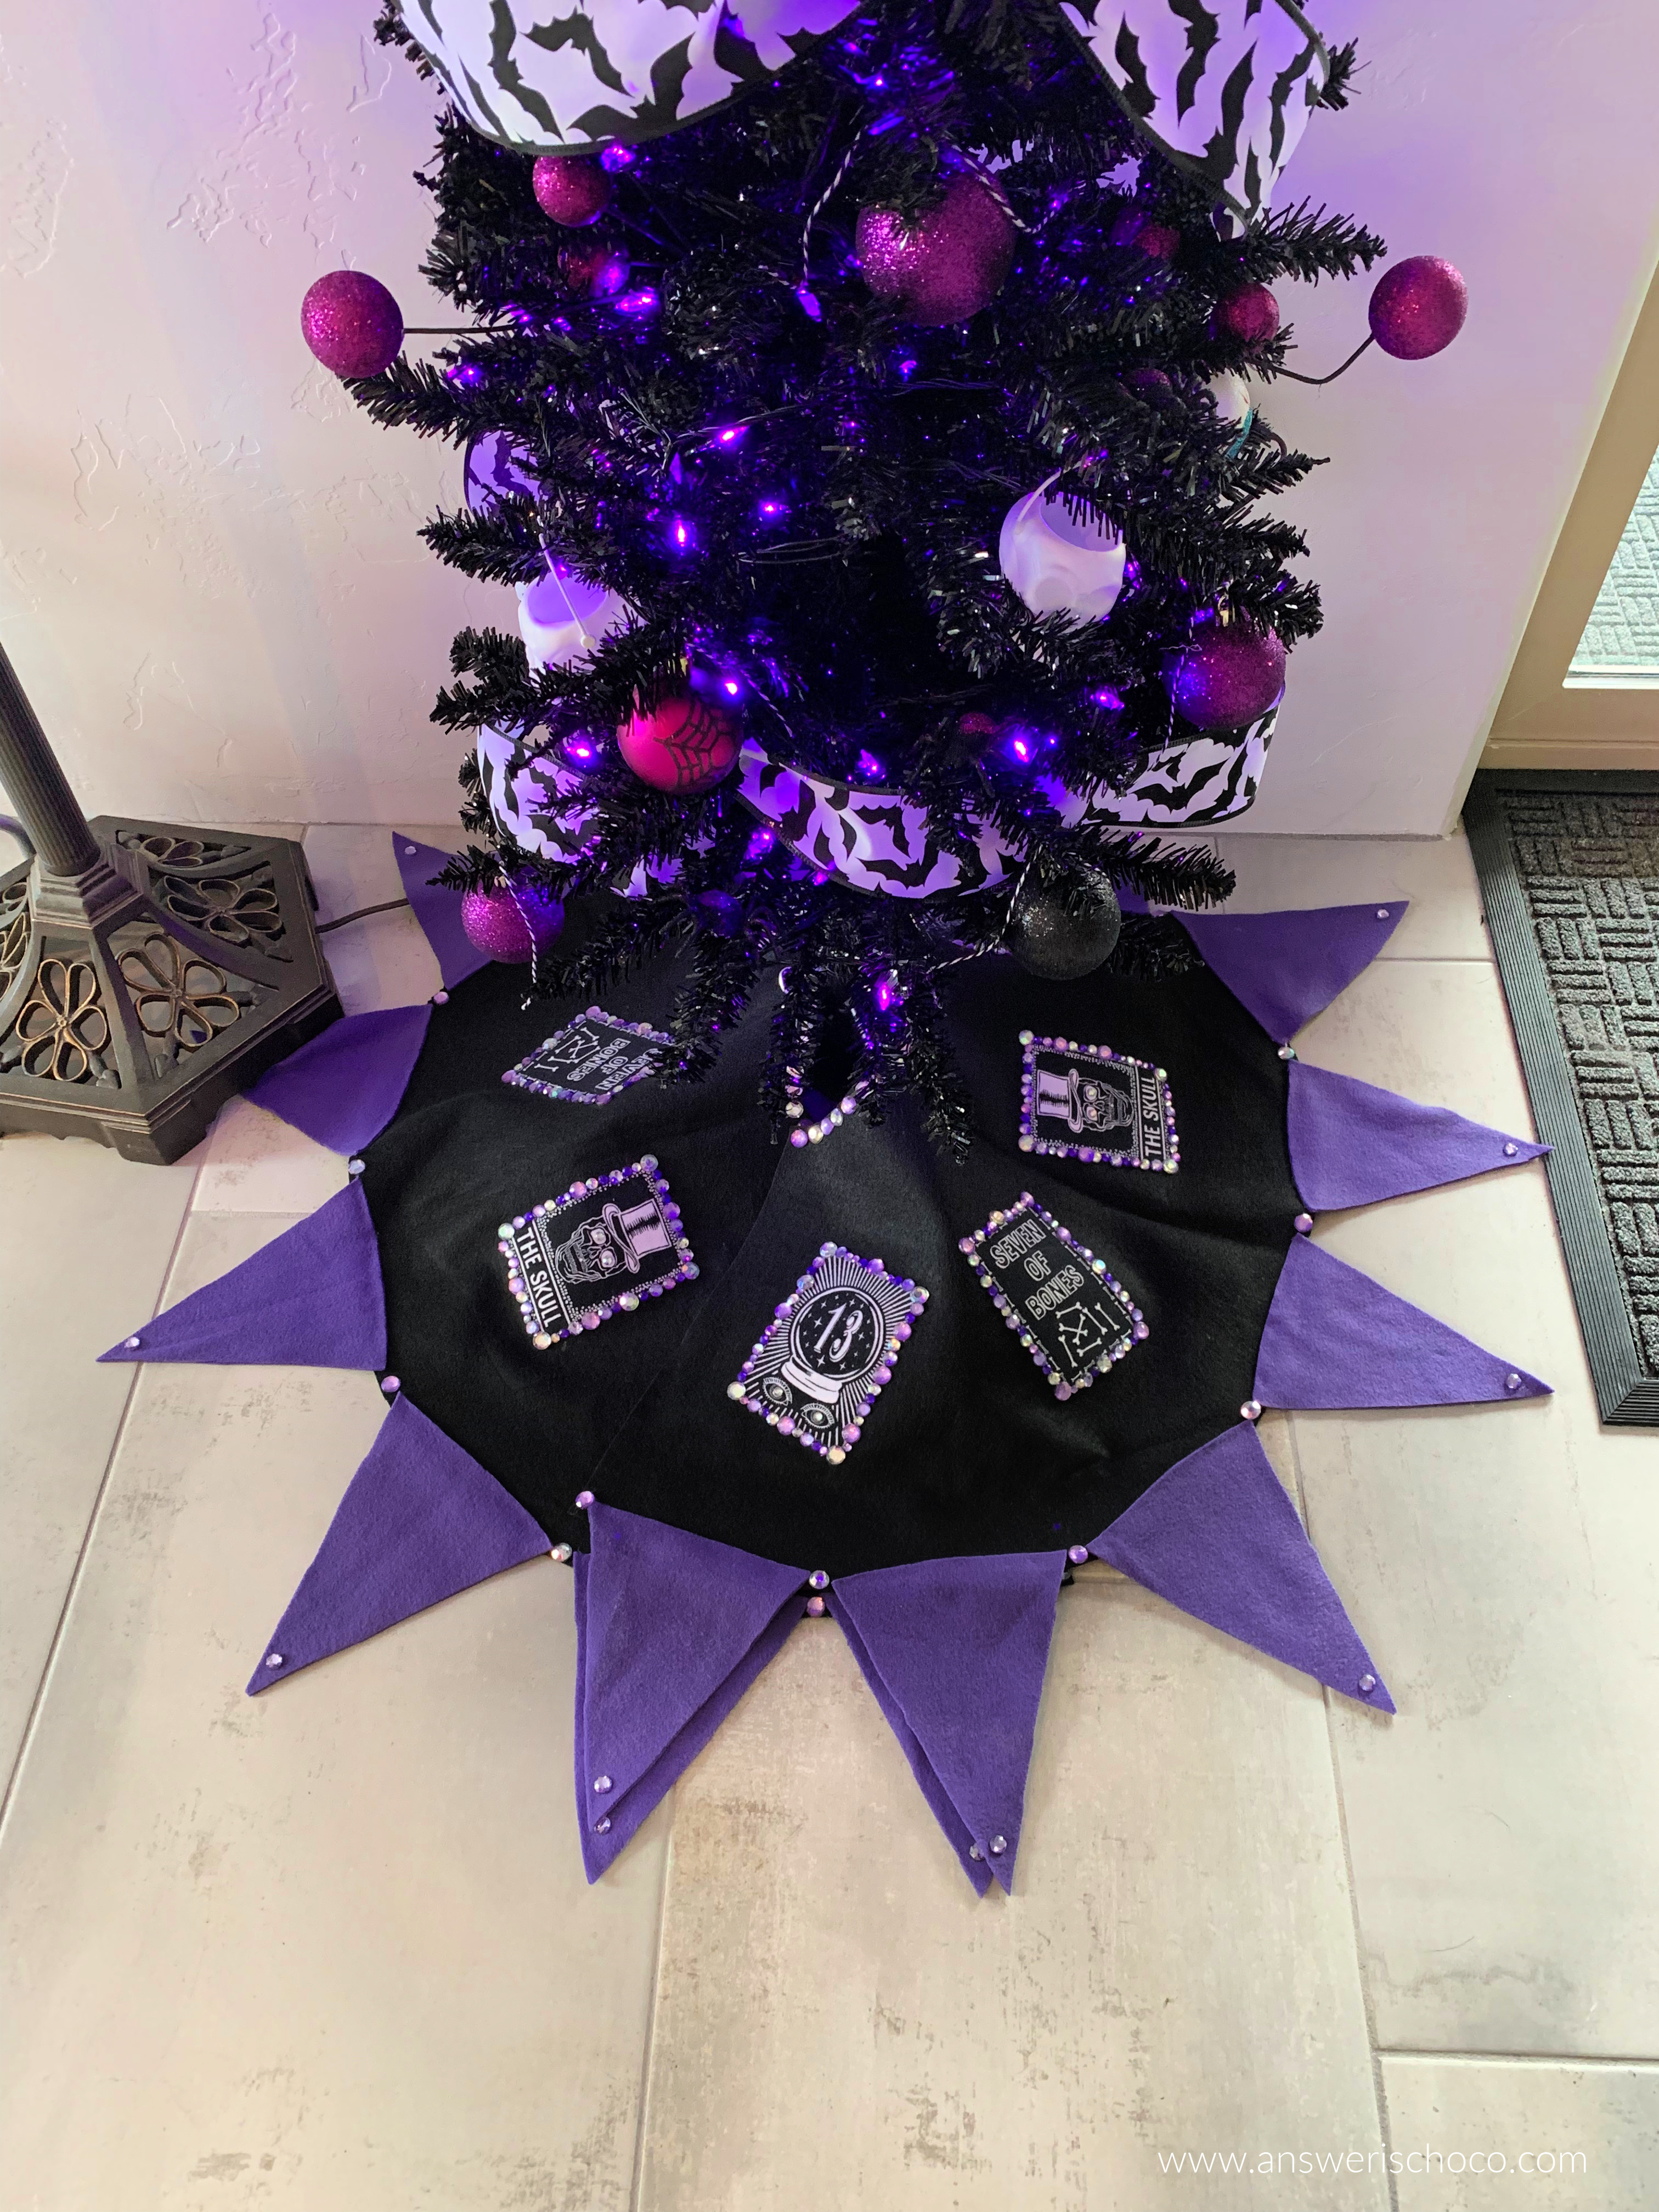
To finish, I wrapped the stand with my Jeweled Tarot Card Tree Skirt I shared last week.


Sharing At: