Showing posts with label Card Making. Show all posts

Tuesday, March 26, 2013

Bird's Nest Easter Cards

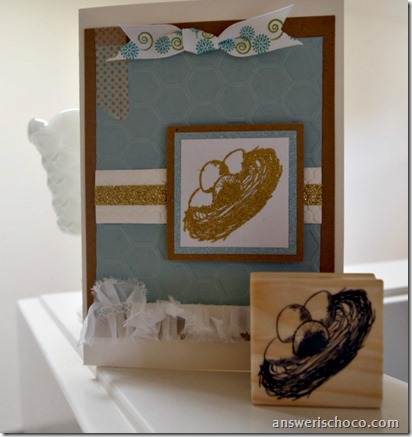
Kraft Blue and Gold Easter Card

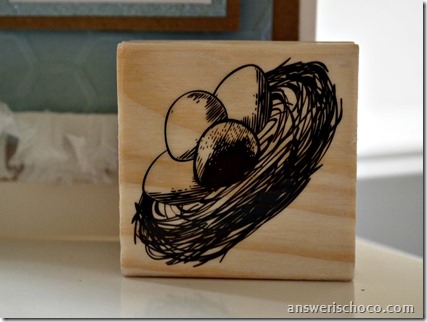
Sometimes the least expensive materials have the biggest impact. I saw potential in this “nest of eggs” stamp I found on sale at Michaels for $1.  It was perfect for my Easter cards.

Bird's Nest Stamp

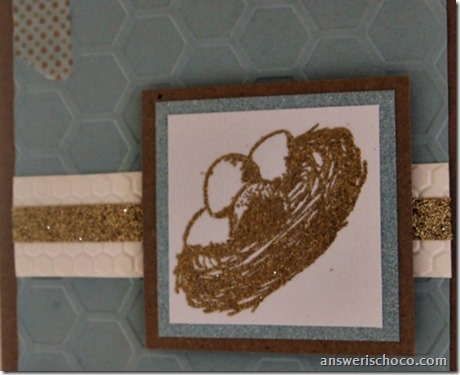
For these cards I went back to my card making roots and stamped the nest on white paper with clear embossing ink and embossed with gold tinsel embossing powder. I went back and forth deciding whether to color the eggs in or ink up some papers before stamping,  but ultimately decided on the simplicity of a white and gold heat embossed image. I wanted a fresh Spring look so decided on Robin’s egg blue and Kraft papers.

Embossed Nest

I cut my 5x7 cards from plain white cardstock, then panels of the blue and kraft. Ran the blue panels through my Cuttlebug using a honeycomb embossing folder and then a scrap leftover from the card through a border folder from the same package. All by Cricut.

I mounted my embossed nests onto matching blue glitter paper by American Crafts , scraps from the kraft paper, and added a strip of gold metallic American Crafts glitter ribbon to the white embossed panel. Layered as shown and finished with a strip of gold and white washi tape.

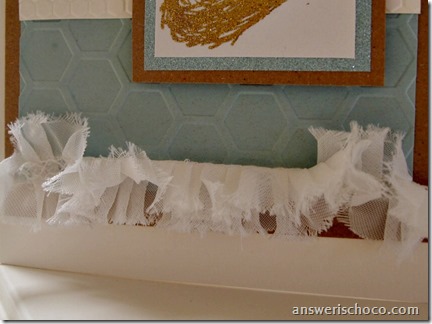
Melissa Frances Trim

I thought my cards needed just one more thing and remembered this fun shabby Melissa Frances ruffled ribbon I picked up at a scrapbook show, and made a bow from some color coordinated ribbon I had on hand.

Bird's Nest Easter Card

Sharing At:


Tuesday, March 12, 2013

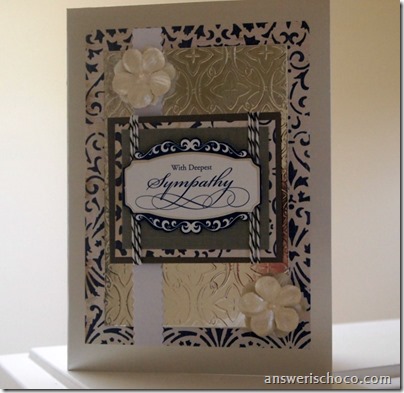
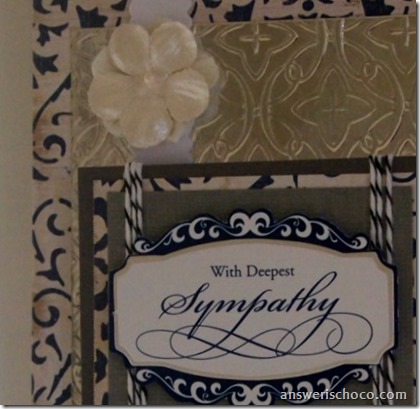
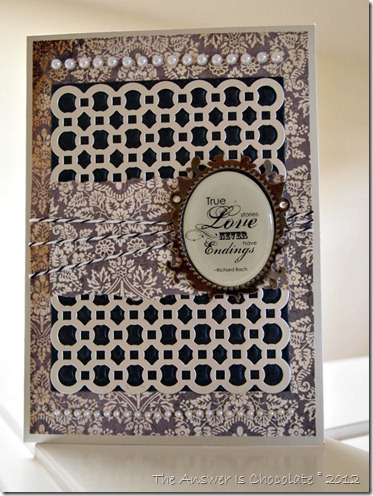
Silver and Navy Sympathy Card

Navy and Silver Sympathy Card

I feel like I’ve had to make too many Sympathy cards lately. Not loving that. But I did need to make one more so here ‘tis and sharing how I did it. 

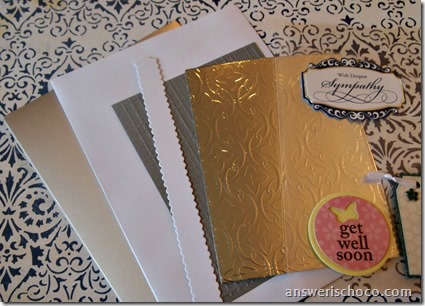
I decided on my card color combo in a backwards kind of way.  I received a bunch of supplies for a sponsored campaign last year (David Tutera Celebrate) which included some decorative phrase stickers like the one I chose as the focal for my card . Then I went to my scrapbook paper and picked a coordinating blue and white paper  (DCWV Tradewinds Stack) to use. Picked a couple more pre-cut pieces from my Celebrate stash. Supplies used:
  • 5x7 silver card
  • Pre-embossed grey panel
  • Pre-embossed silver panel
  • Smpathy focal sticker
  • White Border
  • Decorative paper
Navy and Silver Card Materials

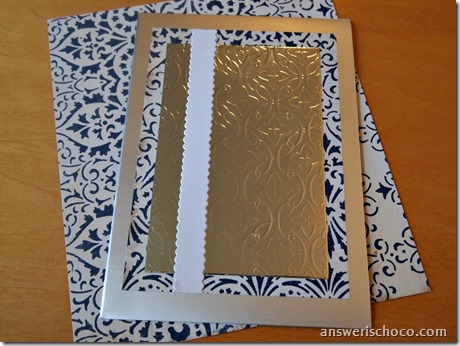
I cut the printed paper to 4.5x5.5, the embossed silver panel to 3x5 and the white border to 5 inches and layered them as shown:

Card Base Layers .

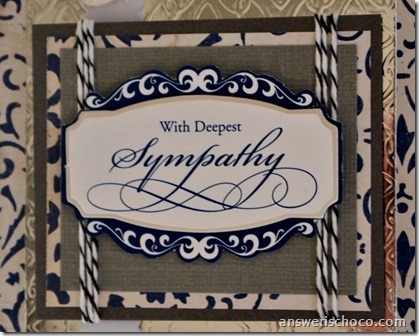
Then I mounted the Sympathy focal to a piece of the grey embossed paper, layered onto a scrap of the patterned paper and layered once more on grey paper. Wrapped black and white baker’s twine around this before adding to the card using foam dots.

Sympathy Focal

Finished off by adding a couple of fabric flowers ( Prima) .

Navy and Silver Sympathy Card

I know a card won’t make up for the loss but hope that the receiver feels the love put into it.

Sharing At: 

Saturday, March 2, 2013

Celebrate National Crafts Month With A CutCardstock Giveaway!


I'm doubly excited today. First, it's National Crafts month which, in addition to being a recognition and celebration of my favorite thing next to chocolate, is also usually a month with lots of wonderful ideas and projects shared by all of our favorite companies. 

But I'm even more excited that March begins my term on the CutCardstock.com design team! I'm honored to be part of a team that includes some very talented papercrafters. 

To kick off the month, CutCardstock.com is hosting a giveaway of some of their products. The giveaway is on now through March 5th. Available to US only. 

Prize pack is valued at $45, and includes:
  • Brown Bag Kraft A2, square flap envelopes (50 pack)
  • Brown Bag Kraft A2 folded cards (25 pack)
  • Flavours Gourmet 8.5 x 11 sampler cardstock (16 pack)
  • Curious Metallic Cryogen White 8.5 x 11 cardstock (25 pack)
  • Mini Dot-N-Go Glue Dots in dispenser (300 count roll)
  • Kraft Print Chiyogami Origami paper (48 sheets)
You can enter to win on Facebook here

Be sure to follow the CutCardstock.com blog  and Facebook pages to see my projects and those of my fellow design team members. This is also where you'll also  find news about specials on some great products. 

Thursday, February 21, 2013

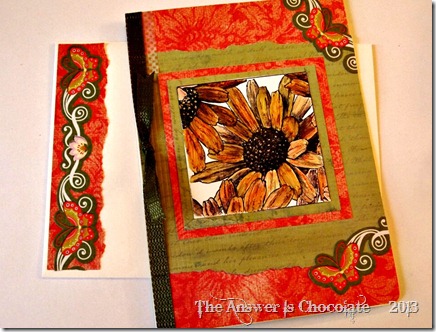
Sunflower Card in Orange and Green

Sunflower and Butterfly Card and Envelope

One of the reasons I like making cards so much is because they’re a  way to show someone you’re thinking about them. I feel like I can send some of myself along with the card and hopefully the recipient feels that.

We have a family friend who’s going through some health issues so I thought this card might brighten her day. I started with a Magenta brand Sunflower stamp which I stamped on white cardstock using black pigment ink.

Magenta Sunflower Closeup

I filled in the flowers with colored pencils and then went over lightly with a complementary alcohol ink pen. I used Spectrum Noir alcohol ink pens.

Sunflower and Butterfly Card

I chose an orange damask print paper and a green script paper, (both Recollections from Michaels) and covered the front of my 5x7 card as shown. I guess tearing paper is my “signature” card style.  Mounted my sunflower panel to scraps of the same papers, and finished with pieces of self adhesive scrapbook borders, coordinating ribbon, and a piece of washi tape.

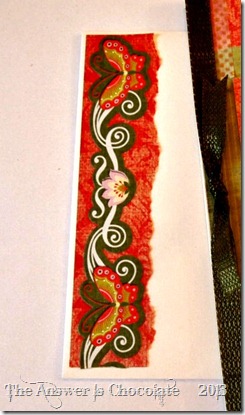
Since I hate wasting pretty paper, I usually add some of it to the envelope. No reason the envelope can’t look nice too right?

Sunflower and Butterfly Card and Envelope

Thursday, January 24, 2013

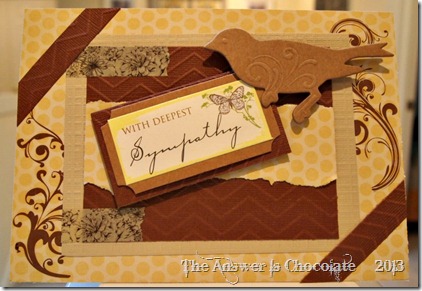
Kraft and Yellow Sympathy Card

Kraft and Yellow Sympathy

Unfortunately, Sympathy cards are a fact of life. I decided that they didn’t necessarily have to be bleak . It’s a fine line to bring some color into them and this muted palette of browns and yellows seemed to work.

David Tutera Sympathy

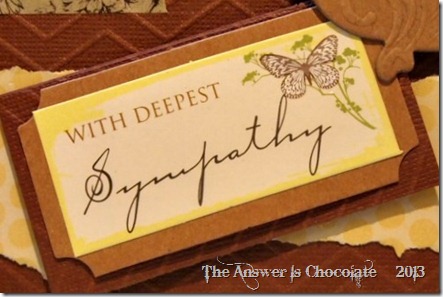
My inspiration for this color combo came from a dimensional sticker from the David Tutera Celebrate It card collection.
Kraft and Yellow Sympathy

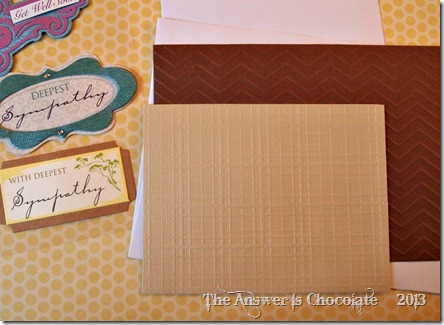
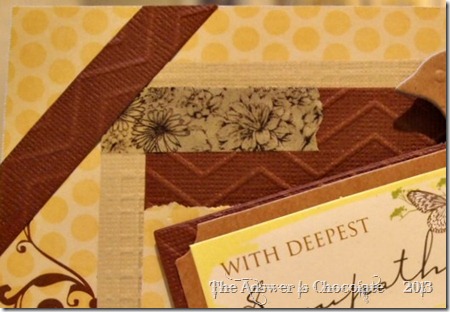
I pulled out a coordinating yellow paper from my stash, and used some more of the David Tutera pieces ( pre-embossed brown and tan panels) and some brown Colorbok rub-ons I’d picked up on clearance for $.97.

Covered a blank card with the yellow panel, applied the rub ons, mounted the brown and tan panels, applied a rub on to the Sympathy sticker, embellished with coordinating washi tape and finished with an embossed chip board bird from my stash. Waste not want not, I also used scraps from the embossed brown panel to decorate the card.

Kraft and Yellow Sympathy

Wednesday, January 9, 2013

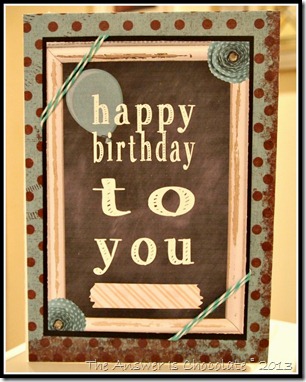
Hybrid Chalkboard Background Birthday Card

Hybrid Birthday card
My cards need to lose some weight. I love embellishments and layers but unfortunately that can create heavy cards requiring extra postage. And since some of my cards need to be sent internationally, that can add up.
So I decided to hybridize this one by making most of the card digitally with just a couple light embellishments.
Hybrid Birthday card
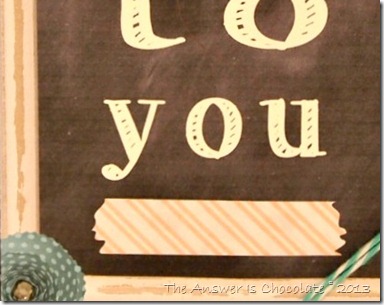
Since chalkboard printables are very popular right now, I decided to go with a chalkboard background. added a chalky font for the sentiment, added a shabby frame, paper flowers, a balloon and even a strip of digital washi tape. I used My Memories Suite digital scrapbooking software to make this.
Then all I needed to do was print, trim and mount. I used a coordinating polka dot background paper to cover the front of my 5x7 card. Added two rhinestones and some baker’s twine and done.
Here’s the image I used if you have a birthday card you need to whip up quickly.
Blue Balloon Birthday-001 
It’s sized 4x6 but you can make smaller in any photo editing program.

Sharing At: 

Monday, January 7, 2013

First Cards of 2013

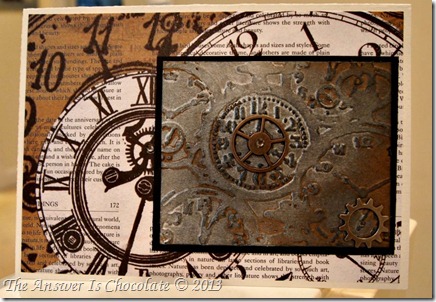
Distressed Watch Card

My first projects of 2013 happen to be my first craft love, cards. I have a few January birthdays. Proud mom moment when your College age child asks when you’ll be making the thank you notes he needs to write for Christmas presents.

I am on a mission this year to,  if not craft SOLELY from my stash ( hear that Mr. Chocolate…I did not say I was not going to my homes away from home so you cannot quote me on that no way no how) but to bust a lot of it.  So everything I’m showing here I already had in my stash.

For the first card ( above) I used a watch themed paper by Recollections. This paper is so great I hardly needed to add anything to it. But we can’t have that now can we? I ran a piece of kraft cardstock through my Cuttlebug using a Tim Holtz Alterations embossing folder.

I distressed my embossed watch panel with Tim’s ( we’re on a first name basis even though we’ve never met) Distressed Inks in Black Soot and some mica gloss inks in silver. Added a couple of sprocket gears , also from Tim’s line.

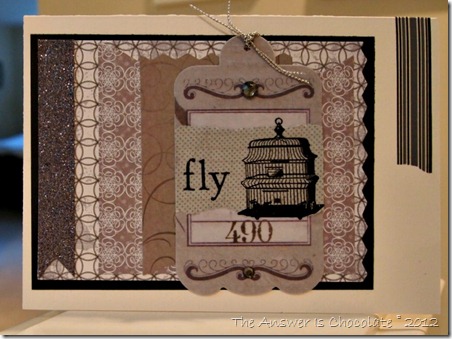
Mixed Ephemera Birthday

For the second card, I used a paper pack from EK Success “Life’s Little Occasions” line. I picked up a bunch few of these at JoAnn’s on one of my trips…they come in coordinated color packs and they also have sticker sets in themes like birthdays, anniversaries, etc. They’re usually in little bins on  the scrapbook paper or sticker aisle (this one’s called Black Punch Pack) and they’re great for bits and pieces or scrapbook journaling. Sorry…forgot to take a pic of the pack!

Pulled out three different pieces and added a black mat. The silver ribbon? Recycled from Christmas wrapping.
Mixed Ephemera Birthday
The tag in the middle is by Jolee’s Boutique French General line. Picked up a pack of these last year when they were 50% off. I embellished with another piece from my Life’s Little Occasions pack, and some leftover rub-ons.

Vintage Rub On Cards

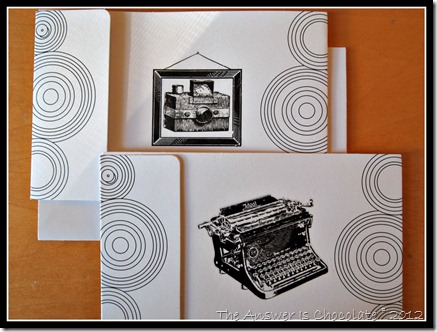
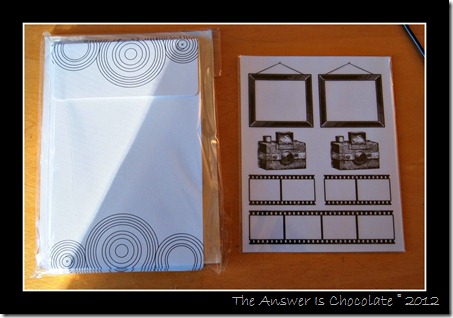
For College Boy’s thank-you notes, I pulled out these fun black and white cards I picked up for $1 at Michaels some time last year. They’re by “Ditto / Studio G” and I know they still carry a bunch of their stuff at reasonable prices because I have had to force myself to keep walking past them! See? I can be good.

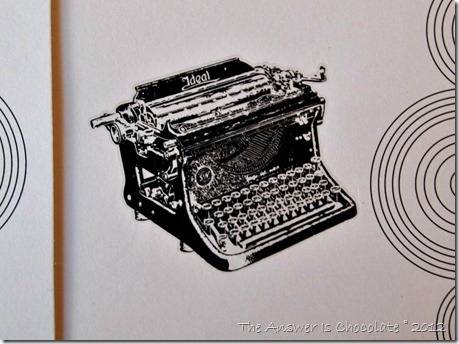
On another prior Michaels trip, I’d scooped up a bunch of vintage rub-ons in their then $1 section. College Boy likes things clean and not fussy so I kept these really simple and just applied them directly to the cards.

Camera Rub Ons

Vintage Typewriter Card

Do you have stash to bust in 2013? Please tell me I'm not alone :)

Sharing At: 


Wednesday, November 14, 2012

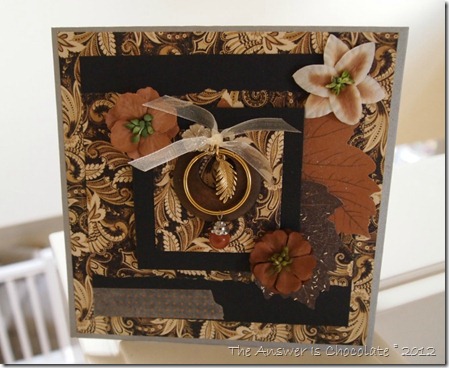
Giving Thanks Card with Pendant Focal

Thanksgiving Card Pendant

This will be a very different Thanksgiving for us because it will be the first one we’ve spent without our son. College Boy will stay at school for the holiday because it’s just too crazy for him to fly back and forth for such a short time, especially when just over two weeks later he'll be home for a month long Winter break.

We’re thankful though that he was invited to his Academic Adviser’s home for Thanksgiving. I’m sending along a token of our thanks and made this card for him to give to his hosts.

Blue Moon Pendant Card

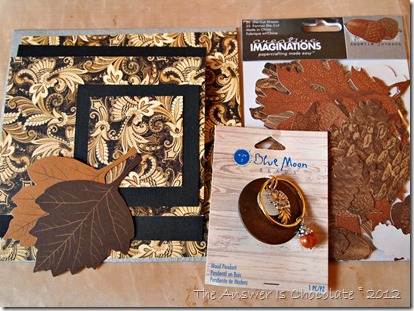
I had this fun brown and black floral paper in my stash , along with these die cut leaves.
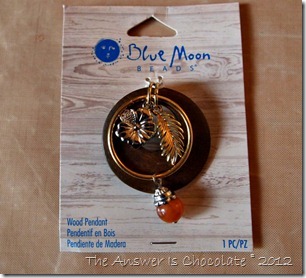
Included in the design team supplies I received from Blue Moon Beads was this beautiful wood pendant.

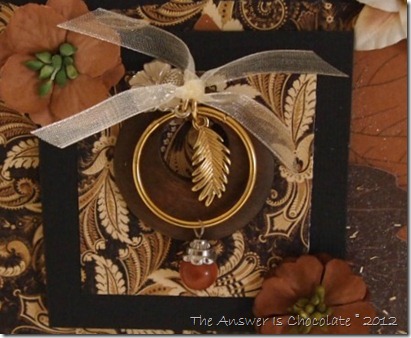
I was debating what to do with it and it just went perfectly with my card so it became the focal.

Blue Moon Wood Pendant

The colors, the feather and flower charms all just tied together with the paper.

The card is 6x6 so I cut the papers to fit and layered them together as shown. Then I glued the pendant to the center panel and embellished my card with paper flowers.

Thanksgiving Card Pendant

Sharing At:

Tuesday, October 23, 2012

More Fun With Tutera Celebrate Including A $50 Giveaway!

Tutera 60th

A sweet couple, friends of The Mumster, are celebrating their 60th Anniversary this month. 60! I hope when we celebrate our 60th Anniversary we’re as energetic and on the go as they are.

Tutera Anniversary Card

You might remember last week, I posted about the new David Tutera Celebrate line at JoAnn’s? Well they sent me so much fun stuff to play with you’ll probably see several future cards made from this line. I used it for this card along with some other stuff I had in my stash.

Here’s the even more fun part. The wonderful folks at Core'dinations who sponsored my post last week are giving one of my readers the chance to win a “Celebrate” prize pack of their own, valued at $50. I’ll be using Rafflecopter for this giveaway which will run from today through October 30, winner announced on Halloween. Kind of a reverse trick or treat! Like I said in my post last week, ANYONE can be a cardmaker with this line.

a Rafflecopter giveaway


Core'dinations_CardsNov
Good luck!

Tuesday, May 29, 2012

Sympathy In Brown and Gold

Basic Grey Sympathy Card

I’d love it if I didn’t need to make a sympathy card for a long while, but unfortunately, that need arose again .


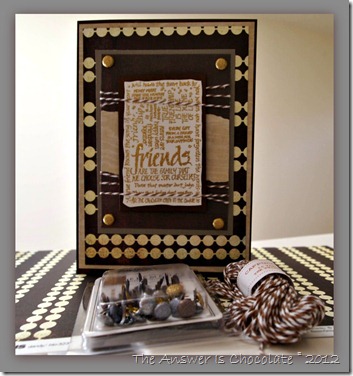
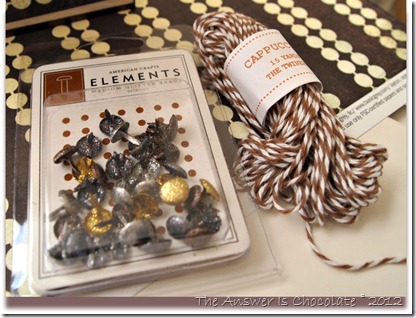
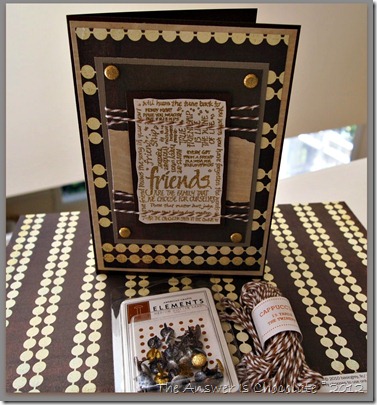
For this one, I used a Stardreams brown metallic pre-made card , and Basic Grey’s “Hello Luscious”  paper along with American Crafts Brads and cappuccino baker’s twine from The Twinery.

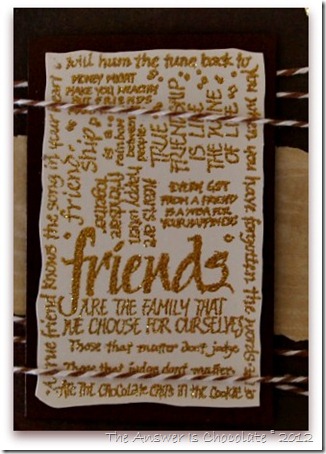
The paper is reversible so I used both sides along with some coordinating paper scraps. Stamped the focal on white cardstock and embossed with gold glitter embossing powder.  Matted it on a brown scrap. The stamp is by Magenta:
Magenta Friends

I used the glittered gold brads from the package to coordinate with the glittery gold embossing powder, wrapped the twine around one of the panels and slipped the stamped focal between the twine.

American Crafts Brads Twinery Cappuccino

The card is for my brother in law who just lost a good friend. I thought the “Friends” stamp was a good fit for this.

Basic Grey Hello Luscious

Saturday, May 26, 2012

Memorial Day Birthday Card


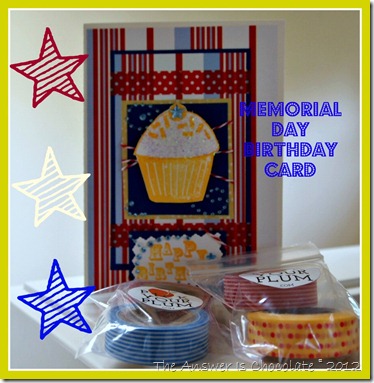
Memorial Day Birthday Card

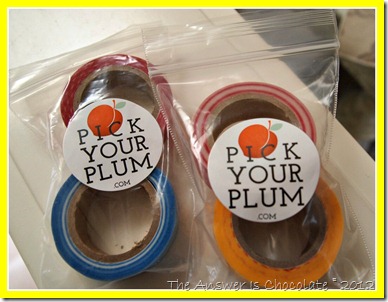
One of our nephews celebrates his birthday this Memorial Day weekend, so I decided I’d make him a Memorial Day themed card. It was also the perfect reason to use some washi tape I recently ordered from Pick Your Plum!

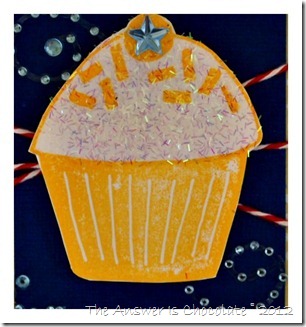
I grabbed some striped red white and blue paper from my stash along with some matching blue cardstock, and stamped  cupcake on white cardstock w/ yellow ink. I stamped the cupcake again on a scrap piece of paper and cut out the bottom to make a mask. I sprayed the top of the cupcake w/ Elmer’s spray adhesive and “frosted” it with Recollections tinsel glitter.

Stamped Frosted Cupcake
What’s a cupcake without frosting? I trimmed the cupcake image and mounted it on blue cardstock wrapped with red and white baker’s twine and added some rhinestone swirls.

Washi Tape

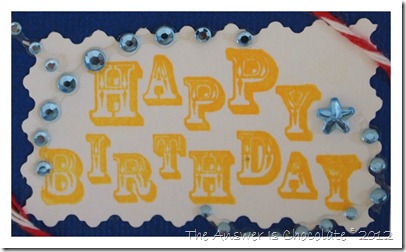
I used the red and white polka dot washi tape from my recent purchase to add to the card and then stamped “Happy Birthday” in the yellow ink on a white scrap, trimmed with deckle edge scissors and framed with a blue scrap.
Stamped Happy Birthday

Finished off with the rest of the rhinestones and baker’s twine.