HAPPY EASTER
Showing posts with label Easter. Show all posts
Showing posts with label Easter. Show all posts
Sunday, April 8, 2012
Thursday, April 5, 2012
Easter Scrapboxsket: Easter Basket In A Box
So, even though College Boy aka Chocolate Chip aka our son will spend his first Easter away from home ( sniff sniff, waaaaah) , he still needed to have an Easter “basket” right?
Shipping costs being what they are, I had to get creative. I wasn’t about to ship an actual basket. I looked around and had an old box from some photos I ordered from Snapfish. Perfect. Re-use, re-purpose, recycle…especially during April which is “Earth Month”.
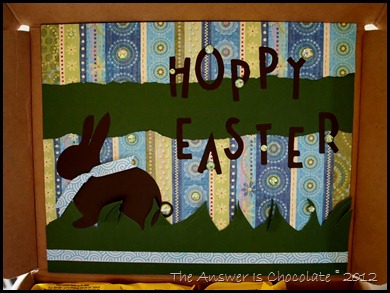
Of course I couldn’t just leave it plain, so I scrapped the inside of the lid!
I took a piece of green Core’dinations cardstock and some coordinating paper from my stash and measured to fit inside the lid. Then tore the patterned paper and adhered to top and bottom as shown. What’s an Easter basket without a chocolate bunny?
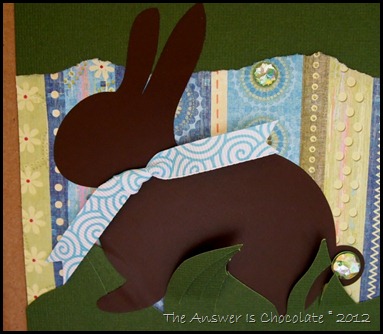
This bunny is melt proof since it’s from chocolate colored vinyl. I found a bunny image in the Silhouette online store and dressed him up with a swirly ribbon bow tie, and a rhinestone tail.
I took a scrap of the green cardstock and freehand cut some “grass” for the bunny to nestle in.
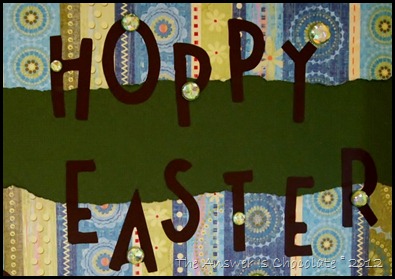
I cut the words “Hoppy Easter” from the same chocolate vinyl and embellished with more rhinestones. Son will understand that when it comes to his mom “it don’t mean a thing, if it ain’t got that bling”.
Oh and what’s inside?
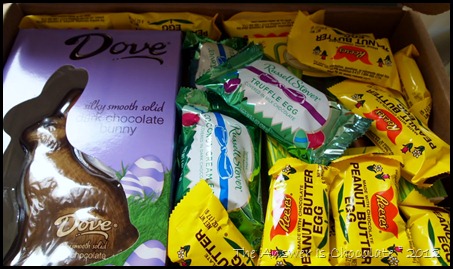
A real chocolate bunny, and lots and lots of “eggs”.
Tuesday, April 3, 2012
Gold, White, And Sparkly Bunny Easter Cards
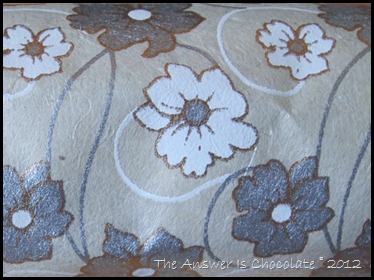
Back when my favorite paper store was going out of business, I found this gorgeous handmade paper that I knew immediately I would use for either Easter or Mother’s Day cards.
The pic doesn’t do this justice but it’s a gorgeous rough silk like texture with metallic painted flowers.
So that was a couple of months ago when I thought I had tons of time until either of these holidays, then the calendar sped up and life happened and EEEK! It’s time to make Easter cards!
Thankfully, printables can be re-sized so I used my HOP printable as my card focal.
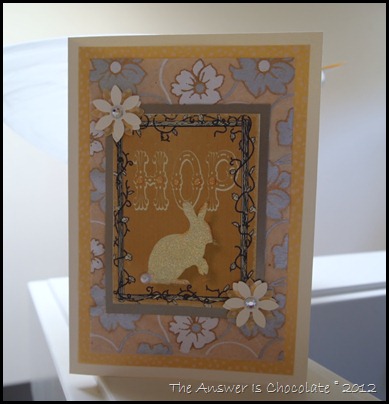
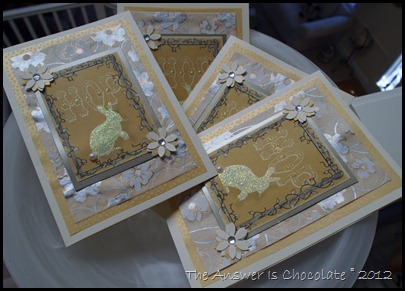
I used a cream cardstock for the card, then a gold speckled vellum for the background paper. Layered my handmade paper on top and then my re-sized printable, mounted on a coordinating panel.
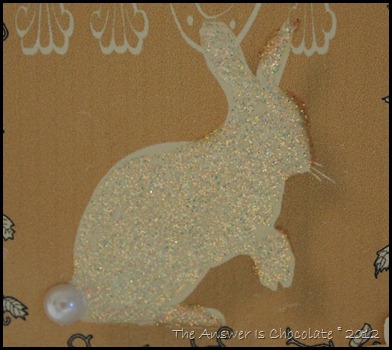
Since everything looks better with glitter, I went over my little bunny with Stickles glitter glue so Mr. HOP would pop.
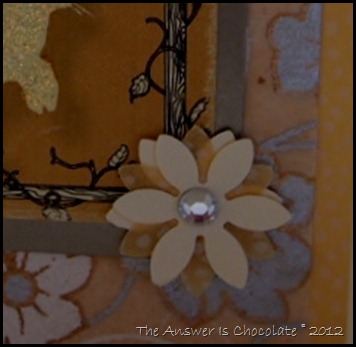
What’s a bunny without a little adhesive pearl cotton tail? Other embellishments include punched flowers and more Stickles dots of glitter.
So that was a couple of months ago when I thought I had tons of time until either of these holidays, then the calendar sped up and life happened and EEEK! It’s time to make Easter cards!
Thankfully, printables can be re-sized so I used my HOP printable as my card focal.
What’s a bunny without a little adhesive pearl cotton tail? Other embellishments include punched flowers and more Stickles dots of glitter.
Saturday, March 31, 2012
Easter Decor: HOP Printable
I have done absolutely nothing for Easter. True confession time. I still had my St. Patrick’s Day printable in the frame that I change out each month / holiday! What can I say? Life is what happens when you’re busy making other plans to decorate for Easter.
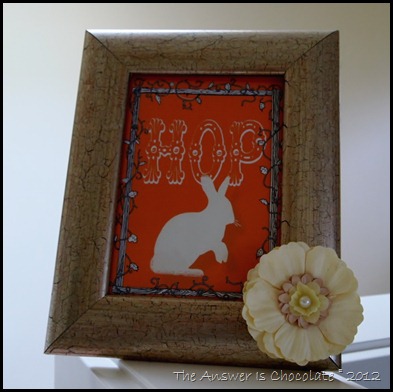
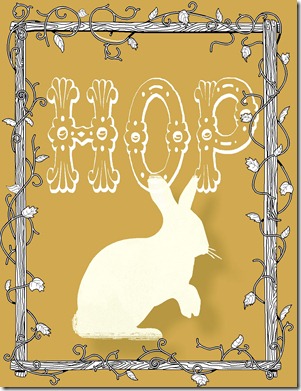
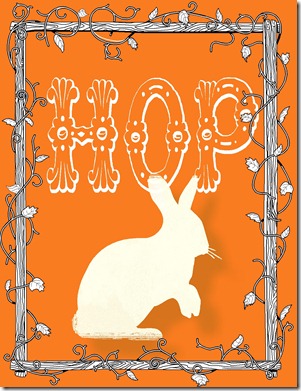
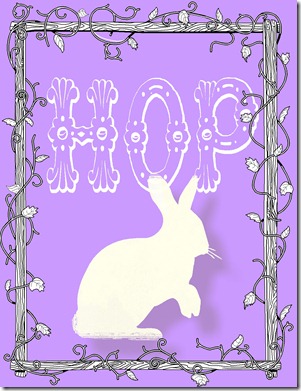
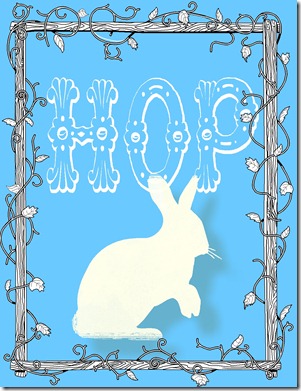
I couldn’t let it go another day so I made a new Easter printable :
The font I used is called Grolier Beveled which I downloaded free here.
And what’s the fun of making a printable if you don’t share? I went with the orange version here because I usually go so neutral and Mr. Chocolate likes orange. Plus what's a bunny w/out a carrot so he has a carrot orange background! True to form, I made a neutral version just because ….
Natural:
Orange:
Lavender:
Robins Egg:
Sunday, April 24, 2011
Thursday, March 24, 2011
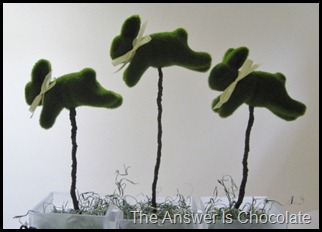
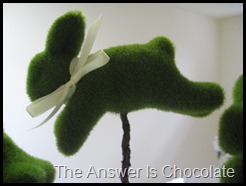
Those Pier 1 Bunnies…I Haz Them
If you haven’t seen them yet, you will. They’re making their way around blogland. I first saw them on Haley’s blog, The Autocrat, and then again at Jenn’s blog, Rook No. 17 ( where she may or may not be giving some of these away but you’ll have to go to see!) .
Had. To. Have. Them.
I went to one Pier 1 only to find they hadn’t yet unpacked theirs and of course they were in the bottom box of a ceiling high stack of boxes and the stock people weren’t in yet. Curses. They called another store that had unpacked theirs. Had to wait a day. Not patient. I explained to the first store that craft bloggers are going to be looking for these and they better get busy. “Oh OK crazy craft lady…whatever you say”
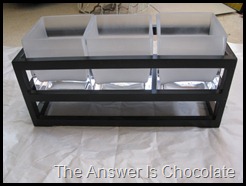
Jenn did hers in painted clay pots that sit in a crate. I was going to copy then I remembered a container Mr. Chocolate had given me flowers in ( awwwww) that had three frosted glass short vases and sat in a crate like thing. Knew I saved it for a reason. I say that a lot but you really have not seen me on an episode of “Hoarders”.
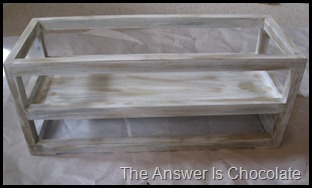
Wanted it lighter and less contemporary so I slapped some white paint on it ( not perfectly…going for a shabby look) and then dry brushed it with taupe:
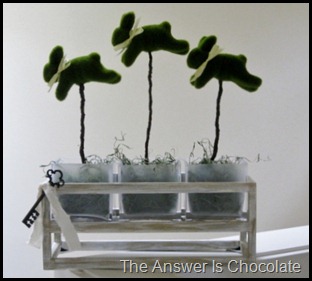
Much better I think. Filled each of the vases with Spanish Moss and floral foam and plopped the bunnies in. I bent the stems of the ones on the end so the middle bunny would be higher. I also tied pale yellow ribbon around their necks. Not too tight. I’m not mean!
I decided to keep things simple, but remembered I had a key I’d picked up in Michael’s dollar section ( now their $1.50 section grrrrr) so I tied that to one end of the crate with a torn piece of scrap muslin. Why? Dunno. Maybe the bunnies will get locked out and need a key. Probably on a watch list at Pier 1 now.
Linking Up At:
Tuesday, March 22, 2011
Pottery Barn Inspired Easter Egg
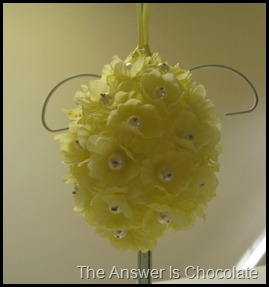
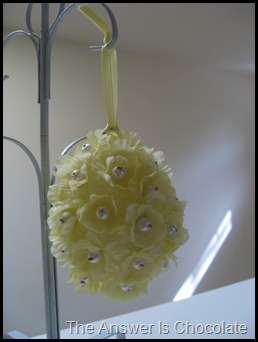
I hate it when I start to question my sanity. Like when I assume that something I see at PB will be on their website and it isn’t and then I start thinking well maybe that’s not where I saw it! I know I saw some floral eggs at PB last week. I was short on time so I just figured they’d be on their website and I could take a closer look. Well no. But I wanted to make them! (insert big stamping foot pout here). Here’s my take on a “I Know I Saw This @ Pottery Barn / Don’t Have A Picture to Show You Egg”:
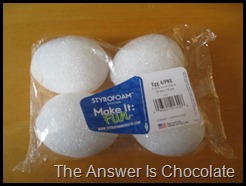
I started with a package of styrofoam eggs from Michaels. $4.49 before 40% for a package of 4.
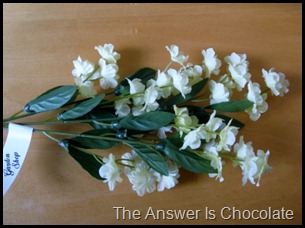
And a stem of these silk cherry blossom things for $1.49
Other materials, straight pins and a ginormous bag of “pearls” from my bead stash.
I inserted a screw eye into the top of the egg. Then I popped one of the blossoms (they’re two layers each) off of the stem and threaded it onto a straight pin with a pearl and stuck it into the egg. Went around the whole egg until it was covered and threaded a coordinating ribbon through the screw eye.
So the next time I’m in PB I will remember to sneak pics on my phone! And even though I don’t remember how much PB wanted, I know it was more than the $1.86 my egg cost me to make!
Subscribe to:
Posts (Atom)

