EEEK! (Wrong holiday, I know). It's CRUNCH time, and I'm not talking about Nestle's. We have one week until Christmas! Insert Buddy the Elf scream here. Everyone ready? HA!
To simplify, since Christmas falls on the day of the week my weekly party starts, I'm leaving this party open for two weeks, and we'll start 2026 with a new party. Sound good?
For my last projects of 2025, this week I shared:
Now, let's take a look at some of the wonderful ideas shared at last week's party with a focus on those there's still time to do!
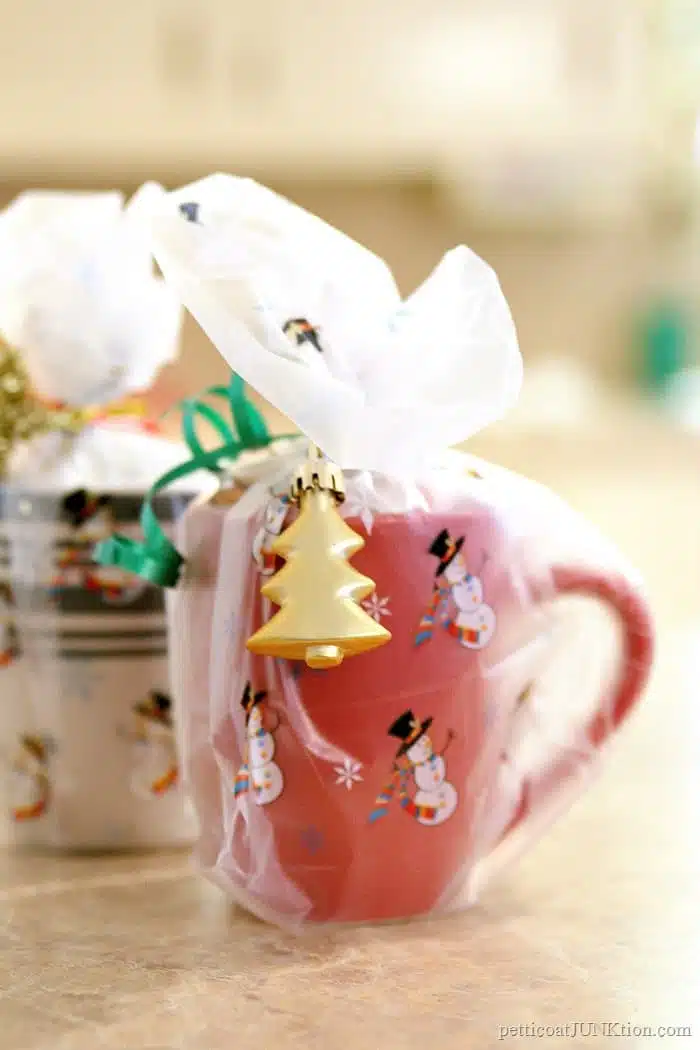
Pettikoat Junction is back with thoughtful and festive Nursing Home Staff Gifts. My mom spent 10 days in a physical therapy rehab facility that also has a nursing home wing and these are the hardest working people. #kindness
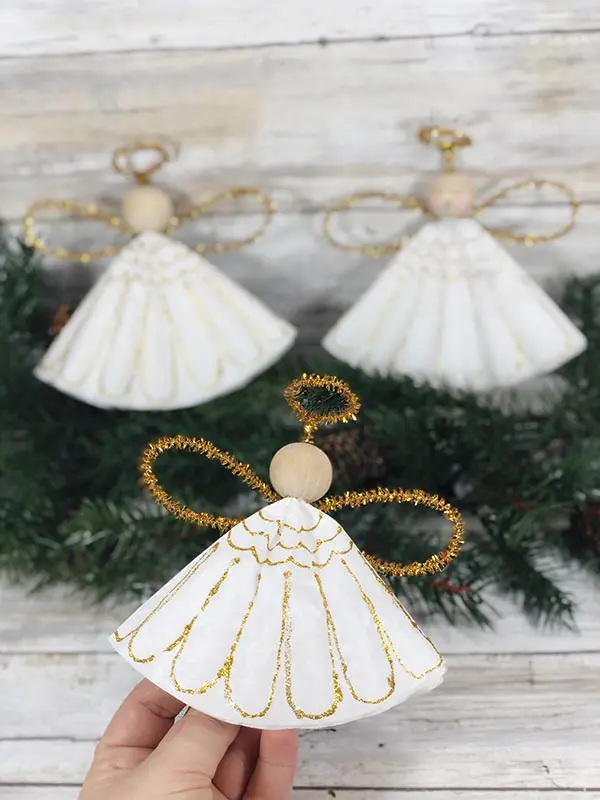
Darcy and Brian shared these Coffee Filter Angel Ornaments. If you've got littles at home for break, these could be a great way to keep them occupied. Likewise they make great package toppers, or to set at place settings, a garland... So many possibilities!

Save those wrapping paper scraps! Steph Creates shared a great use for them with this beautiful Mini Wooden House Upgrade.

And wouldn't these Gingerbread Pancakes make a wonderful Christmas Breakfast? YUM! From Mommy Hates Cooking (but does a great job, clearly!)
THANK YOU ALL who've shared your talents here this year. Here's looking forward to a peaceful holiday and making 2026 a year of Creativity and Joy! Wishing all celebrating a very Merry Christmas.