Thursday, October 28, 2021

BFF Open House


Happy Friday Eve and Hallo-weekend! We may actually get a few trick or treaters for the first time in forever so anxious to see. Is everyone ready? More wonderful ideas shared at last week's party. There may not be time to make but definitely there's time to pin for next year! 

Shared my 2021 Halloween cards here. OK let's take a look at some of the ideas from last week's party! 

Wishing everyone a safe and Happy Halloween! 


How cute is this Halloween Gingerbread House from Saved From Salvage?! I planned on making one this year but definitely saving this for next year! The Cheez-It roof is brilliant!

If you're going to "BOO" your neighbors or friends or have a gift to give, this adorable bag from I Teach Stamping is perfect! 


And if you need a card to go with your gift bag on with Thanksgiving coming, this one from Paper Seedlings just screams Fall! 


Finally, if you are looking for one more treat for your Hallo-Weekend dessert table, check out these Marshmallow Cream Filled Coffin Cupcakes from Cindy's Online Recipe Box

Have a BOOtiful weekend all! 


You are invited to the Inlinkz link party!

Click here to enter

Wednesday, October 27, 2021

Halloween: Haunted Mansion Inspired Cards


"Welcome foolish mortals". I miss Disneyland so much, especially when it's decorated for Halloween. We'd hoped to go this year but COVID...

Anyway, one of my favorite rides any time of year is the Haunted Mansion. I love all the detail they put into the attraction and at Halloween it's totally decorated with a Nightmare Before Christmas theme. If you ever get a chance to do Disney for Halloween, it's so much fun! So when I saw this collection of layered cut files at Creative Fabrica included a "Haunted" Castle, I had my theme for this year's Halloween cards. Disclosure: I am an affiliate so if you buy this file here, I do get a small benefit. 

Supplies: 
  • Halloween Background Paper (I used the Spook Hill collection from Michaels)
  • Metallic and Glitter Scrapbook Paper
  • Black Cardstock (Recollections 110 lb)
  • Halloween Words ( Tim Holtz )
You can buy pre-made cards or cut your own. I cut my own from the Recollections Black cardstock measuring 7x10 to create a 5x7 card. Score down the middle. 

Cut background papers 6.75x4.75. Attach to cards. 

Download cut files and import design of choice into your electronic cutter's software. I used my Cricut Explore 2 and the Design Space software and deleted a couple of the layers, leaving 3 layers to cut. 

I did a combination of colors and mirror and glitter papers. 


Once you have your "houses" assembled, then layer onto prepared cards. Add the chipboard words. I also embellished with a couple of self adhesive rhinestones which the post office just loves! 


Enter if you dare! 


Thursday, October 21, 2021

BFF Open House


Happy Friday Eve all! This week's been a blur since I had a couple of procedures this week and glad they're OVER! Hoping that's it for me and Mayo clinic this year. We're in the final countdown to Halloween and then it always seems like the rest of the year goes by in a flash. Let's take a look at some of the great Halloween themed ideas from last week's party. 

I'm envious of this fabulous find and transformation shared by Penny's Vintage Home. If you're ever lucky enough to find an "old rusty 5 gallon gas can" look at the gorgeousness you can create with it like this Jack O'Lantern transformation! So cute! I also love the vintage Halloween dolls. Did I mention there's a festive fall cocktail recipe in the same post? 


 While not Halloween per se, I could not get over these incredible Crocheted Lampshades from Howling Liz. Crocheted! Aren't they amazing?! I could not believe they were crocheted. Still can't!


If you need a costume idea for yourself or a little one, it doesn't get any easier than this no sew Woodland Deer Felt Mask from Creatively Beth. Adorable! 


Finally, if you are a Candy Corn lover then you want to check out this post from The Kitchen Is My Playground because Tracey has the details on how to make your own! No need to wait for it to be in season anymore, and since it's made in your own kitchen, you can make it any color combo you want for any season! 

Once again, thanks to all who linked up and can't wait to see what you've all been up to this week! 


You are invited to the Inlinkz link party!

Click here to enter

Thursday, October 14, 2021

BFF Open House


Happy Friday Eve all. We are officially within the two week window countdown to Halloween if you can believe it. It's finally feeling like Fall here in the desert getting down to the low 70s even 60s.  Love it. Lots of inspiring ideas shared at last week's party with still enough time to try so let's take a look at a few!


This Skull themed tablescape from Whispers of the Heart is right in my style wheelhouse! Love the elegance of the black and white with the pops of purple! 


A dollar store pumpkin and flowers and some woven spider fabric combine to make this easy and pretty Halloween Pumpkin! From The Apple Street Cottage


This piece of Halloween gorgeousness started out as a child's dollhouse! I'd been looking for one to turn into a haunted house but I think I started too late this season. What a gorgeous transformation! From Studio 27 by Jennifer Adams!


Tis the season for all things pumpkin so definitely put these Baked Chocolate Pumpkin Swirl donuts on your list of recipes to try. From Cindy's Online Recipe Box!

Thank you as always to all who linked up!

Now let's see what everyone's been up to this week!


You are invited to the Inlinkz link party!

Click here to enter

Tuesday, October 12, 2021

Halloween: Supercalifreaking Easy Dollar Tree EEK Sign


I love these whatever they're made of seasonal signs I find at Dollar Tree. You can paint them, decoupage them, glitter them, vinyl them or do whatever your imagination comes up with. I chose paint and dots! 

Supplies: 

  • Eek Sign (Dollar Tree)
  • Black and White Acrylic Paint ( Craftsmart, Michaels)
  • Dotting Tools ( See Below for Pic)


This is the unfinished sign. I did the insides of the letters and the edges with a small brush first, then painted the front and the back in a couple of coats of flat black Craftsmart paint. 


You want to make sure you get all of the nooks and crannies of the letters so it just takes a little patience. Spray paint would also work. 


Once you've got your sign painted, time to "dot it up". I bought a set of Ball Stylus dotting tools on Amazon and they really are great for making consistent dots. I also love that the paint wipes easily off the metal. From here, just go with whatever your flow us. I used different sizes and eyeballed my pattern. These are great for mandalas too. 


I started with larger dots and then filled in using smaller ones, filling in the exclamation point the most. 

Et voila!


Sharing At: 


Thursday, October 7, 2021

BFF Open House


Happy Friday Eve all and welcome to another gathering of creatives showing off what they've been up to. We're in full on Halloween and Harvest mode now with Christmas starting to make its appearance in all of our favorite stores. 


Candy Corn has become the Peeps debate of Fall. Either you love it or hate it when it comes to eating it but for decorating, it screams Fall and Halloween so check out this wonderful garland from Artsy Va Va!


Fall is the perfect time for Caramel Apples and would you believe these are FAUX Caramel Apples? See Fresh Vintage by Lisa S for the details! 


More fun ways to decorate with faux fruit can be seen at Master Pieces of My Life with Ways to Decorate with Pears! 


This is such a fun idea for a Fall party "Donut Be Tricked" from Satsuma Designs!

Thanks to everyone who linked up and let's see what you've been up to this week! 


You are invited to the Inlinkz link party!

Click here to enter

Sunday, October 3, 2021

Halloween: Jeweled Doll Head Pumpkins


This week's BFF Open House link party continues here

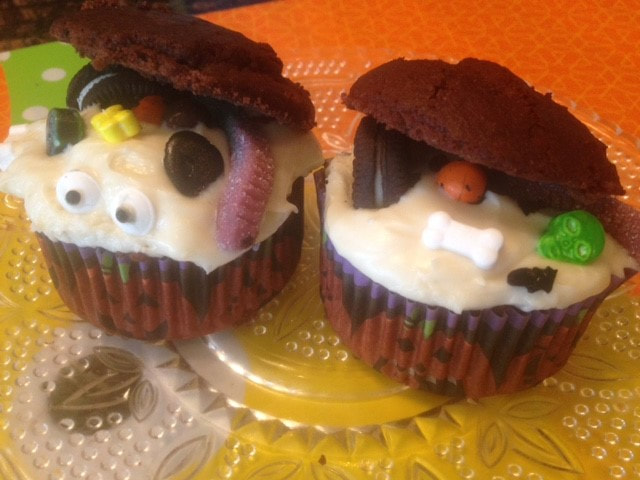
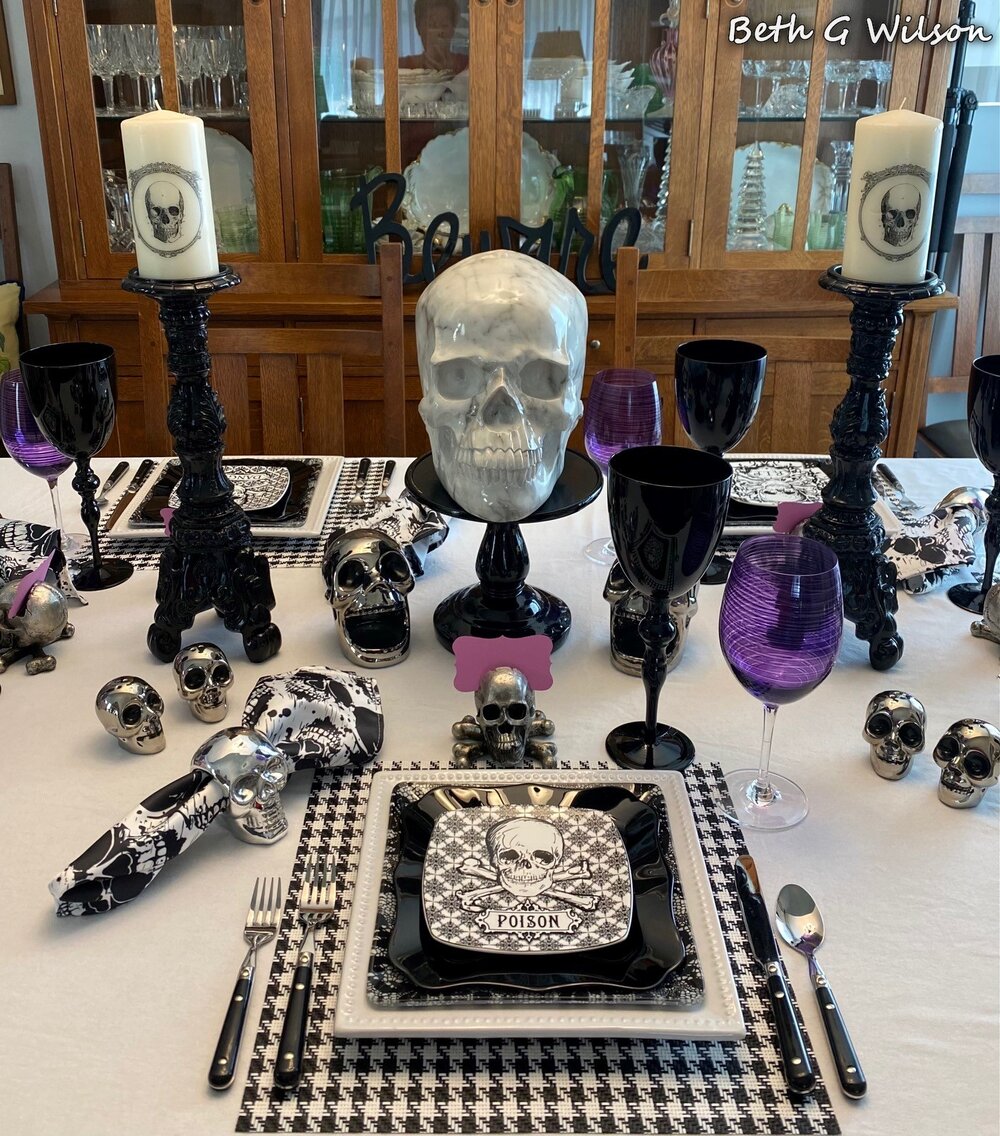
Since our nest has been empty, my Halloween decor has become much more "Gothelegant" which is a word I just this second made up to combine gothic and elegant. Lots of jewels and metallics. Less whimsical ( although I do have some of that too!). But let's just say about the Darth Vader meme "Come to the dark side, we have cookies" is a perfect fit for me! I've wanted to do something with an old doll head but my thrifting trips the past few years haven't yielded the kind of doll head I want so I'm still on that particular hunt BUT I found some creepy plastic doll heads in the Halloween stuff at Walmart and they just spoke to my deep dark little Wednesday Addams heart! 


Supplies 

  • Doll Heads ( Walmart, $4.88 pkg of 3)
  • Foam Pumpkins ( Dollar Tree, while things are still $1)
  • Glass Candle Holder (Dollar Tree, ibid)
  • Craft Paints (Apple Barrel Gloss Black, Craftsmart White)
  • School Glue (Elmers)
  • Glue gun / glue and strong cold bond glue ( eg E-6000, I used Beacon 3 In 1)


"They're creepy and they're kooky, they're altogether spooky". 


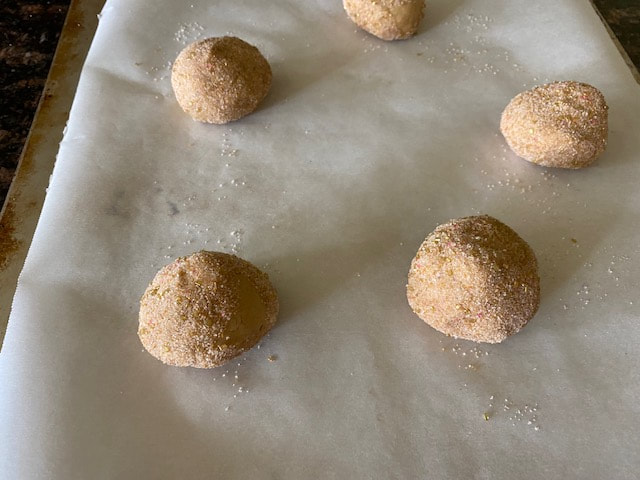
Dollar Tree has these foam pumpkins every year and they're great. You can paint them. You can cut them. You can wrap them in fabric. So many possibilities. For this project I painted them. 


They take paint really well and this Apple Barrel Gloss only needed one coat. Then I did my go to glue crackle. 


To finish the pumpkins, I went over the glue with white paint and then used my craft room blow dryer to hasten the crackling. 


The doll heads were already pretty perfect but what fun is that? I got out my silver Rub N Buff and just added some spots of it here and there. 


This highlighted the scars already on the heads and then I dry brushed and wiped off some black paint so it would get in the cracks. 


Creeptastic! Now it's time to glam them up. I had some clear flat backed jewels in my collection so I randomly glued them onto the skulls and finished with smaller self adhesive rhinestones. Glamtastic! 


Once you're satisfied with your jewels it's time to assembler. I used hot glue to attach the skulls to the painted pumpkins and then the Beacon 3 In 1 to attach the pumpkin to the candleholder. I have found that hot glue doesn't always last on glass but it will work, just may come loose after a while. 


It's so good to be back! 


Sharing At:

Featured At: