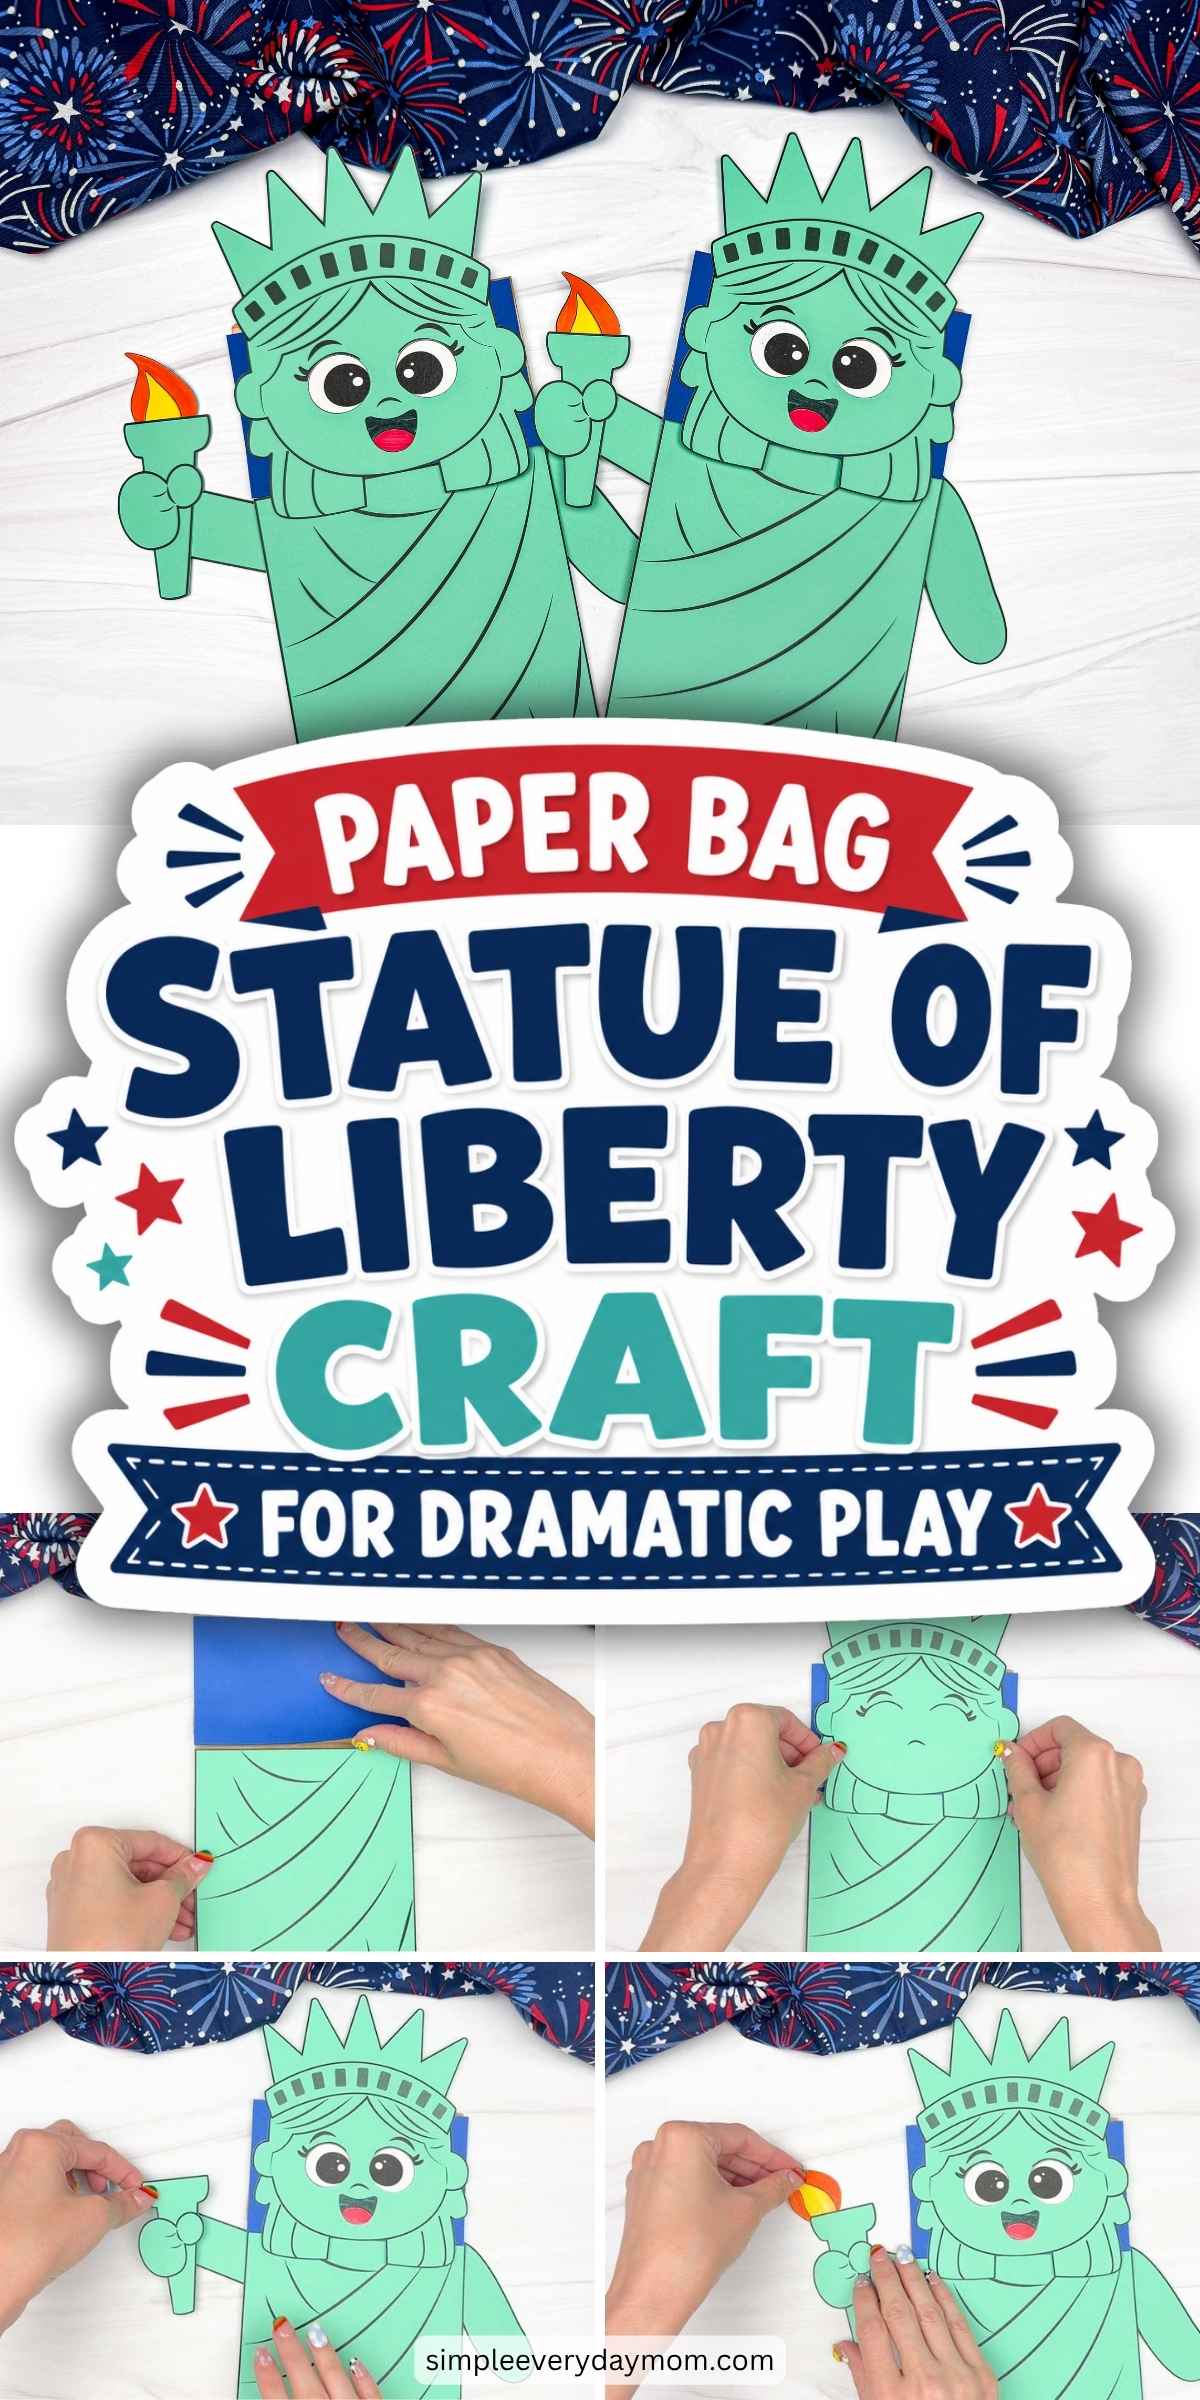
Happy Friday Eve, all. I hope everyone had a safe and happy Fourth! Ours was blissfully quiet. Our big worry is not the noise, but fire danger since we live in a tinderbox, and I still can't believe we sell fireworks everywhere, but we do. Fortunately, nothing scary went down.
Summer is chugging along, but it always seems that from July on out, it's full speed ahead to Fall and December holidays, and there's no time like the present to start getting ready. For example:

If you've ever wanted to make your own Vanilla Extract for your own baking needs or to put in pretty bottles to give as gifts, the time to start is NOW, so it has time to do its thing. Fresh Vintage by Lisa S has the how-to!

Have any Toy Story fans to celebrate? The latest movie was so cute! Hunny I'm Home DIY has not only this Woody Pudding, but a whole Toy Story Party she shared.
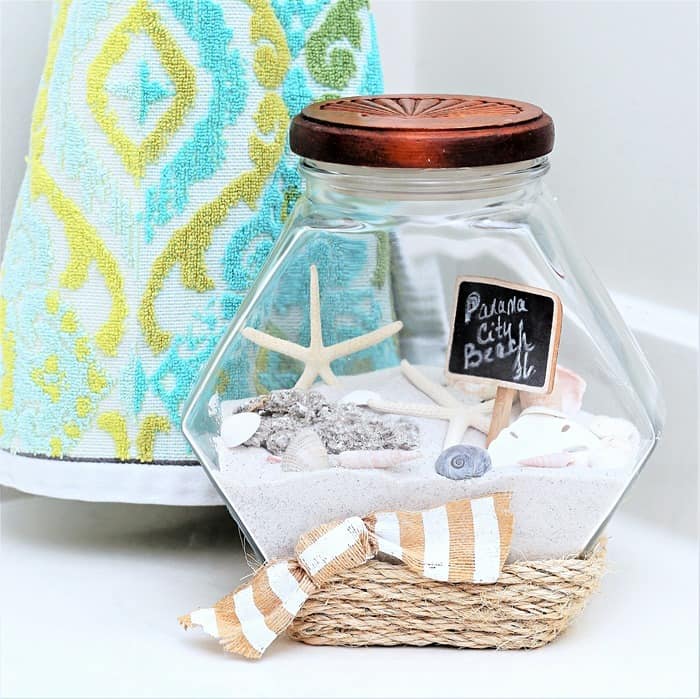
Summertime is beach time in many places, and Petticoat Junktion has a perfect way to preserve those beach memories with this Sand and Seashells Beach Jar!
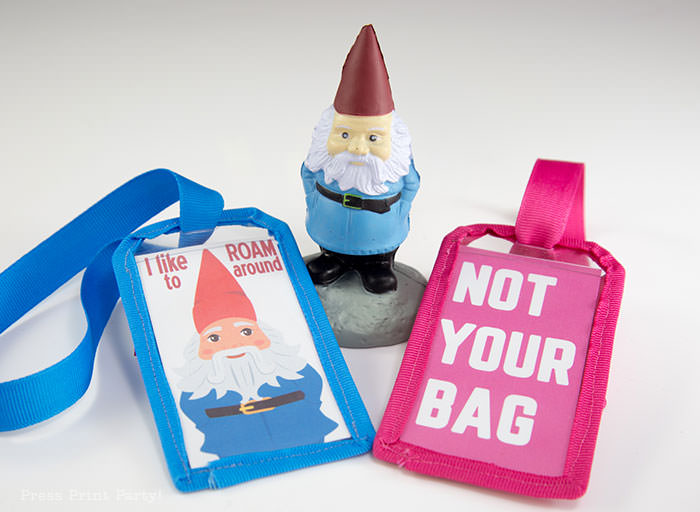
Finally, since Summertime is also travel time, to the beach or otherwise, and finding your bag on the baggage carousel is so much fun (NOT!), these Printable Luggage Tags from Press Print Party will help make it easier!
Whether you're doing staycations or vacations, I hope you continue to have a great Summer!