Thursday, December 29, 2016

BFF Open House Link Party Goodbye 2016!!!


As much as I cannot believe we are at the end of another year, I won't lie and say that I will be unhappy to say goodbye to 2016! Don't let the door hit you on the way out.

However, what better way to say goodbye to the year  than with a party? 


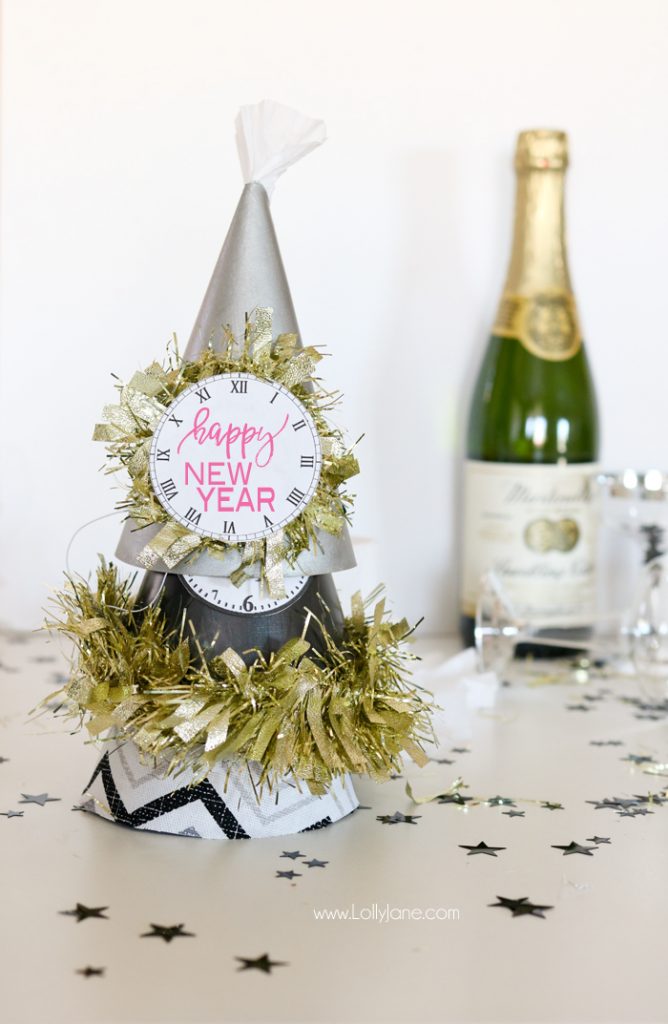
What says party more than New Year's Eve and the gals at Lolly Jane have some wonderful ideas like this party hat tutorial which comes with a free clock printable! 


These festive Times Square Ball drink stirrers from Crafty Lumberjacks pair perfectly with the party hats don't they? 


What better time for a makeover than a New Year ? Grandma's House DIY has a gorgeous one. 


Finally, what's a New Year's celebration without a festive and of course chocolate dessert? 

These Peppermint Patty Brownie Cupcakes from Sugar Spice and Family Life are perfect! 

Now on to this week's party. Happy Happy New Year all!!


Monday, December 26, 2016

Adventures in Beginner Bead Embroidery : Handmade Gifts


I hope everyone had a wonderful Christmas. Can't believe another one has come and gone already. But now that gifts have been given and opened, I can share a couple of gifts I made. 

One of my BFFs and I went to an Art Fair earlier this year and there was a fantastic booth with the most incredible bead embroidery. I immediately became fascinated with a new medium and wanted to try my hand at bead embroidery. It was instantly addicting. 

Bear in mind that these are beginner projects without any training beyond a few You Tube videos! But the recipients seem to like their gifts. I made a couple of beaded cuffs ( and since I wasn't sure how this was going to go , I didn't take pics along the way) using felt scraps as my base and random patterns that just kind of unfolded as I went along. I also incorporated some coordinating ribbon scraps from my stash. 


This was the first one I made using my Mom's favorite colors. I did actually draw somewhat of a pattern on the felt. Once the top of the cuff was done, I stitched  heavy jewelry wire to the back then finished the back with a piece of ultra suede.  You can find lots of tutorials on You Tube and Pinterest to get you started. 


For the Blue Cuff  the process was the same only I added even smaller seed beads which now I'm even more addicted to. I like the combination of different sizes and types of beads. 

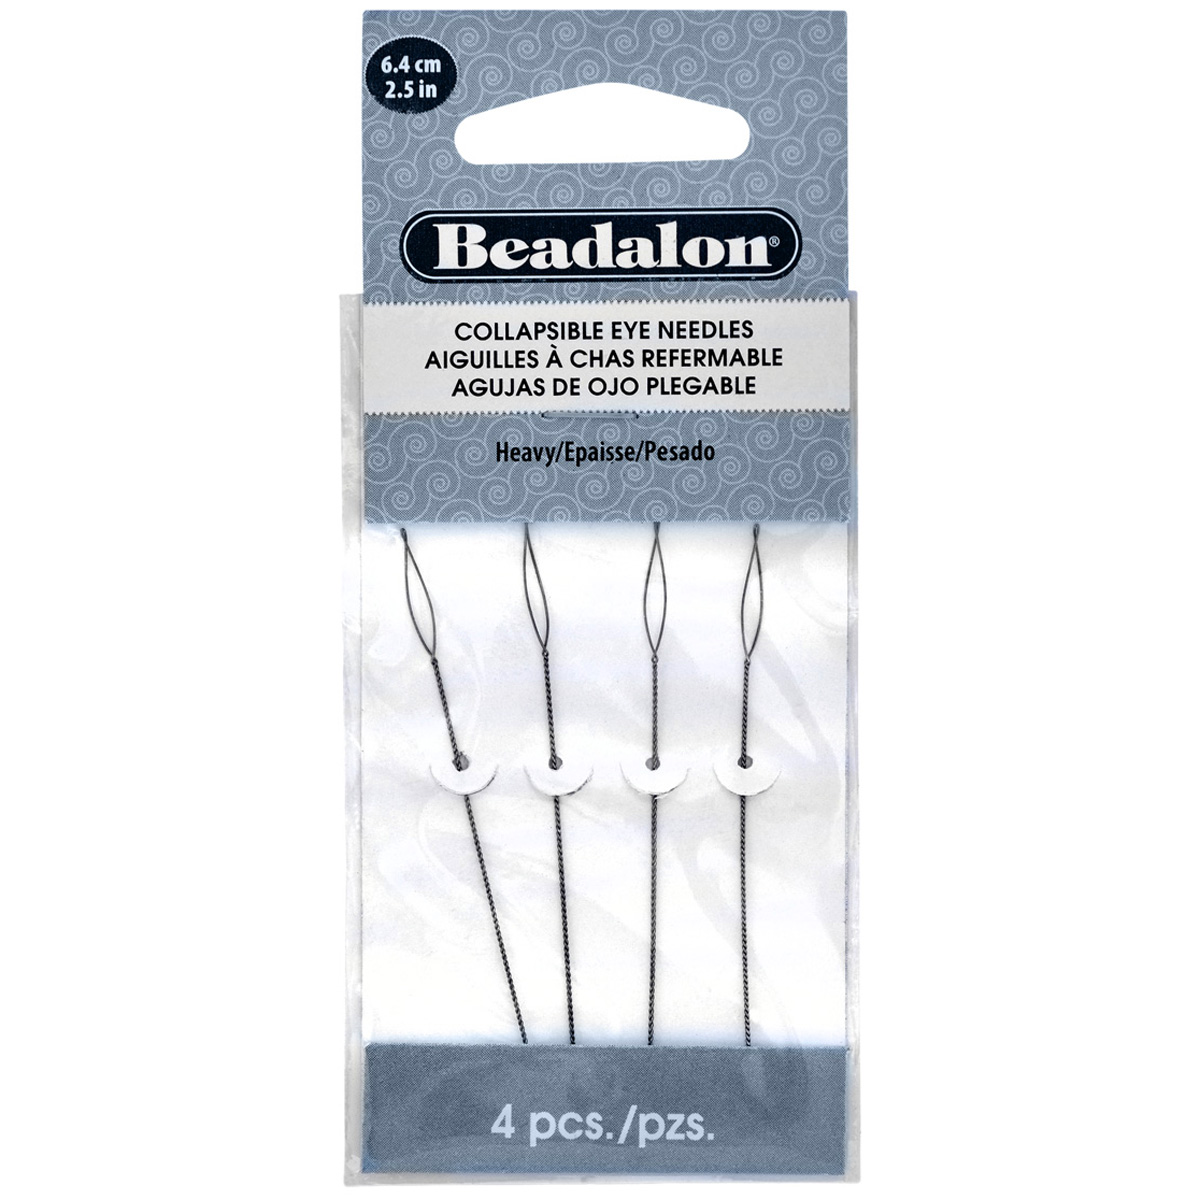
I quickly discovered ( especially for the smallest beads) that this is my favorite bead needle. They look delicate but they are very strong and when working with curves etc. so much easier to use than a traditional straight needle. You can get these at bead stores or craft stores. I got mine at Michaels. 

I couldn't stop once I got started so I also made this pendant which I used as the focal for a necklace: 


Before I added the backing, I glued a bail to the heart and then used a combination of bright and antique gold chains ot make the necklace. 

And while not bead embroidered,  I made these earrings to go along with the Blue Cuff: 


Thursday, December 22, 2016

BFF Open House Christmas Party !


Apologies for being MIA last week. My computer crashed and I was not able to get a party up . 
Back up and running now so this will be a party only ; no features. Hopefully I didn't lose too many of you!

Wishing you all a Very Merry Christmas and a Happy Hanukkah which also starts this weekend!! 


Tuesday, December 20, 2016

Hanukkah Card and Tags


Ack. I've been without a computer for almost a week which is a lifetime in blogging years. Backup your stuff people because we always think it can't happen to us and then boom, new hard drive. 

In the meantime, made Hanukkah cards and tags for a couple of friends. I'm tickled that the tags I started making a few years ago for one friend get asked about by her relatives "Is she making any this year". 


I've always loved shiny and glittery things so I had a lot of fun working with gold foiled and glitter papers found at Michaels. The foiled papers are a combination of Recollections, Craft Smith, and DCWV stacks. Add to that my weakness when Michaels has their specialty papers 10 for $10 and I'm in paper hoarder heaven. 

For the card, I cut a menorah on my Cameo ( image found in the Silhouette Online Store) and then just hand cut the candles and flames freehand. I double cut the menorah and gave it depth using foam dots by layering one piece atop another. Blue and gold glitter papers were layered on top of a foiled piece. Simple but I am really happy with the outcome. 

For the tags, I just like to play around with bits and pieces with no particular plan. I just want the colors to work with each other so when I package them, they look like a set. 

My signature paper style is tearing things. I just can't not have some ragged edges! 

With freaking out over my computer crash, would  you believe I forgot to take pics of this year's Christmas cards? I did manage to take pics of a set of Christmas tags I made as a gift! Whew. 


Papers used here are from the Traditional Christmas paper pack from Oriental Trading Company along with some of my glitter and foil stash. 

Tuesday, December 13, 2016

Rustic and Glam: Layered and Gold Leaf Christmas Slat Sign


This is  a sponsored post. Materials were provided to me. Project idea and comments are mine. 

The team at Oriental Trading Company provided me an opportunity to play with some of their great products to come up with a Christmas project and needless to say I had too much fun. 

I created this layered piece using a plain slat board , a wood tree shape , a plain frame and Christmas themed scrapbook paper but the most fun part of this piece was the gold leafing! Foil and shiny is so popular right now ( wouldn't matter if it wasn't, I love shiny things). I also love marrying the most basic and  rustic supplies and the glam (for example, my Christmas tree includes Swarovski crystal ornaments and a tree topper made using a toilet paper roll). 

Here's what I started with: 

Plain Slat Sign
Unfinished Christmas Tree
Traditional Christmas Scrapbook Paper Pack
Gold Foil Leaf
Acrylic Craft Paints
Gold Leaf Sizing ( I used Mona Lisa brand I had on hand)

The unfinished tree is actually meant to stand up but since I never use things as intended, I glued the stand to the back of the tree to give it some dimension. 

I painted the sign using black craft paint and then dry brushed it with cream paint. I did the same for the unfinished frame. 

I traced the tree onto a piece of the scrapbook paper , cut out, and used Mod Podge to apply it to the tree. Once dry, I lightly sanded the edges.  

I cut the "Love Peace Joy" sentiment with my Silhouette from gold glitter vinyl  and applied it to a slat board piece I had in my stash ( also painted black and dry brushed cream. 


Now for the fun part! If you've never worked with gold leaf before don't be intimidated. Do be prepared that it's messy. It's like glitter and once you start to brush it off it gets everywhere so plan accordingly or plan to walk around picking tiny flakes of leafing off of yourself. But, there's nothing like it so it's worth it. 

You need a good glue and I've had success using Mod Podge or PVA glue but really you should use a glue made for gold leaf which is what I used.  I didn't want complete coverage so I just randomly dabbed my glue here and there. It sets up in about 30 min. 


You can see here the random way I did the gold leafing. When your glue is set you lay a sheet of the leafing on top and then use a stiff brush ( stencil brushes work well) to pounce it onto the glue. It will adhere to wherever the glue was and then pieces of it will break away. I save my excess to use for other projects. 


I did the same to the frameand then used more of the scrapbook paper under the glass as shown and cut a gold glitter vinyl reindeer to go on top of the glass. Once all my pieces were ready I glued them to the sign and done. 


Stay tuned! I will have a couple more projects using the supplies I received!


Thursday, December 8, 2016

BFF Open House Link Party


Happy Friday Eve all. Hunkering down here in the PNW on snow watch like so many parts of the country. I'm a busy elf working on handmade presents and finishing up decorating.  And then I see more awesome ideas linked up at my party and my head spins even faster! Here are some ideas that may or may not make it yet this year but definitely pinned for next! 


Let's start with these printable but originally hand lettered gift bags by My 3 Monsters courtesy of Lolly Jane. LOVE and who can't use extra bags this time of year? Post includes a tutorial on how to easily print on paper bags. 


Speaking of getting your jingle on, leave it to Mich in LA to see this brilliant idea in a jingle bell! I want to spend the night in her brain sometime. And they're not just for earrings. You have to see what else she did with them. 


These sparkly polymer clay Snowflake Ornaments from My Busy Beehives would be a great addition to your tree or to make and give as gifts. Beautiful! 


I'm on the hunt for a new dessert for Christmas. I make one of two of the same cakes each year and want to try something new.  This Chocolate Raspberry Forrest Cake  from Chocolate and Carrots looks wonderful and the chocolate trees don't look too hard. What do you think? 


Now, on to this week's party! Stay warm. 


Thursday, December 1, 2016

BFF Open House Link Party


OK let the countdown officially begin. Twenty-four days until Christmas and twenty-three days until the first day of Hanukkah! Rev your engines. It's crunch time people! 


Let's start with a tour shall we? Now we know why Heather from Woods of Bell Trees always impresses with elegant projects. Look at her creative space all decorated for Christmas! Gorgeous! My office decorations consist of leftover supplies on the floor lol. 


Love this decorating idea from My Busy Beehives. A Jingle Bell Monogram! 


Also loved these "Ho Ho Ho" Vinyl Lettered Pots from White House Crafts. Simple, clean, fresh! 

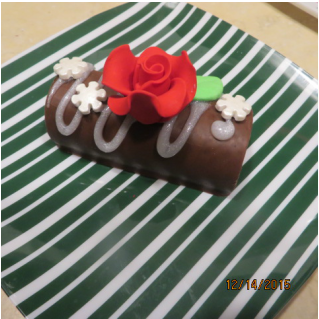
I've always wanted to make a Yule Log and every year I say I'm going to try and every year.... Well this may finally be that year with this idea from 3Winks Design! How about a platter of these? Genius idea. 


Now, on to this week's party: