Sunday, August 17, 2025

Halloween: Glam Pinkoween Ghost


This week's party continues here through today. 

Pink has become a core part of Halloween in recent years and is on display EVERYWHERE in craft and home decor stores. I'm even planning to include my pink tabletop tree I used for Valentine's and Easter this year, into my Halloween decor. 

I'd bought some pink glitter HTV (heat transfer vinyl) to use for Valentine's Day, but life got in the way. There's no such thing as wasted craft supplies, though, so I grabbed it for this project. 

Supplies:
  • Ornate Frame (Dollar Tree)
  • Waverly Chalk Paint (White)
  • Decoart Acrylic Paint (White Pearl)
  • Vinyl (Doesn't have to be HTV)
  • Embellishments


NOTE: I was originally going to do the frame in black but, I ended up not liking it and didn't re-take pics. I used Waverly Chalk paint in white instead. Paint your frame (I picked up a few of these ornate frames from Dollar Tree because...you know!) and set aside. 


Remove the backing and dry brush with paint of choice. I used Deco Art white pearl which I got at Dollar Tree. 


I wanted a simple background. 

I chose a ghost image from Cricut Design Space and cut using the pink glitter HTV (Michaels). You don't need HTV but it's what I had in the right color. You can use regular vinyl. If you do use HTV, remember to mirror your image!


Since I did use the HTV, i needed to heat press it onto the background. I used my Cricut mini press. Once my ghost was pressed down, the fun began! 


Here's the white frame and you can see I let some of the gold peek through. Reassemble, then decorate! 


I grabbed some clear and iridescent gems from my stash, using black rhinestones for the eyes, and then went around the bottom of the ghost with large gems and dotted the background and frams with smaller ones. 
 

The iridescent gems look like dimensional drops on the ghost, and it's hard to see in pics, but they add just a little oomph to the frame. To finish, I added a bow of iridescent tulle. Easy. Peasy. 


Happy Pinkoween! 

Thursday, August 14, 2025

BFF Open House


Happy Friday Eve, all! Our monsoon season seems to be going out like a lion. Living in the desert, we don't follow "traditional" seasons. It's been a mild one but whew, last night was everything by me. Lightning, thunder, rain, wind. I was looking for the Wicked Witch flying by. 

It felt great to be in my craft room this week and started on some Spooky Season projects! This week I shared: 


Busy working on a few more things to share. 

OK! Let's take a look at some of the fun ideas shared at last week's party!


Back to school calendars are all over the place so if school hasn't yet started (or even if it has) Creatively Beth has a wonderrful Clay Pot Apple for Teacher project! 


My Thrift Store Addiction shared this beautiful Vintage Headboard to Trellis transformation. 


Press Print Party shared this amazing DIY Coral Reef! Perfect for a Little Mermaid theme or any party celebrating the sea! 


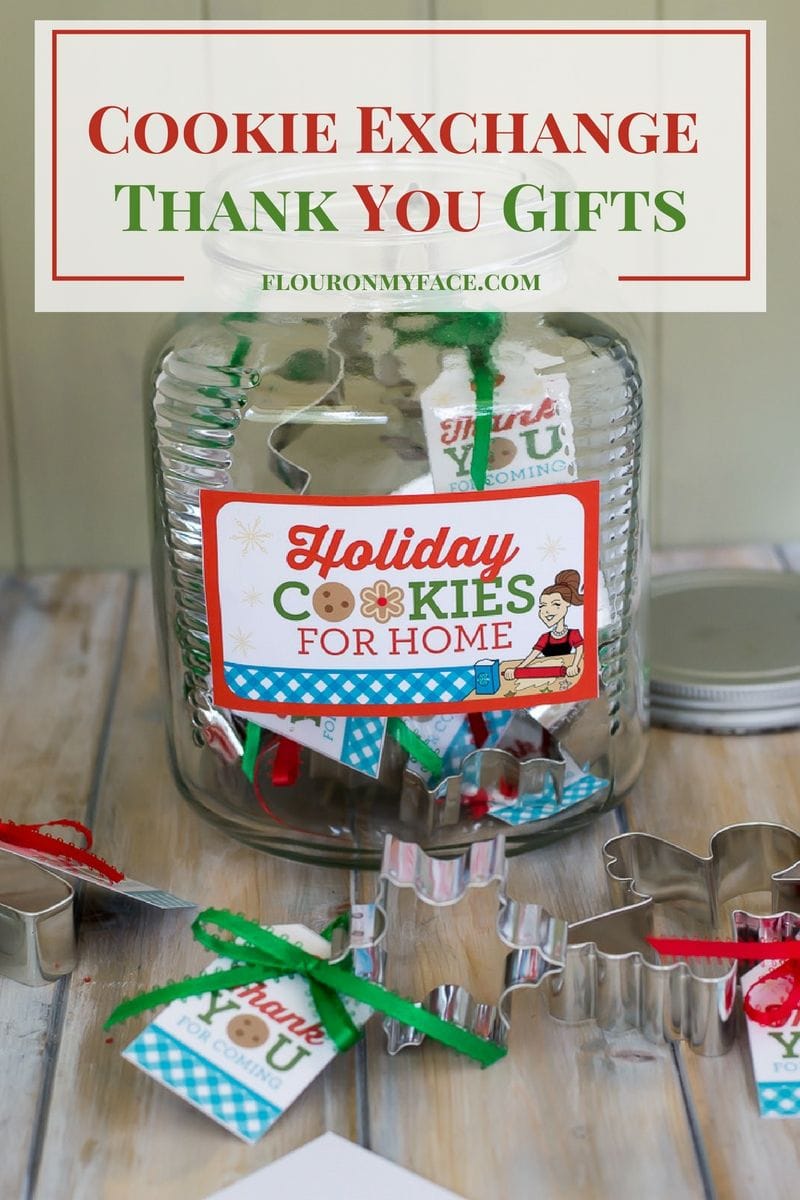
Finally, it's never too early to start thinking of holiday and host/hostess gifts, right? Flour on My Face has you covered with DIY Rosemary Salt


Thanks to everyone who linked up and can't wait to see what you've been up to this week! 


You are invited to the Inlinkz link party!

Click here to enter

Wednesday, August 13, 2025

Halloween: From Dollar Tree Fairy Houses to Glam Witch Cottages


Last year, I went looking for these little Fairy Houses at Dollar Tree too late in the season, so when I saw them in the Spring, I grabbed up a few. I was thinking ahead to Spooky Season and decided they'd make great Witch Cottages. You may still be able to find them now or use any little ceramic houses from there or thrift shops. 


Supplies: 

  • Ceramic Fairy Cottage (Dollar Tree)
  • Black Spray Paint (Rustoleum)
  • Silver Acrylic Paint (Craft Smart)
  • Embellismhments (Michaels)

I forgot to  take pics of them before I started so this is from their website. This is the design I used for these. 


I spray-painted them with the black Rustoleum I used for my Haunted Mansion. It's amazing how different they look, isn't it? I got a different style I'm going to use for Christmas.


I used a bright silver acrylic paint (Craft Smart Multi Surface Ultra Bright Silver, Michaels) to dry brush the roof, stones, windows etc. 

I love scoping the kids crafts sections of Michaels because I always find some goodies like these gems from Creatology. They're iridescent and faceted and can go with anything! 


I used a quick-drying glue to attach the gems along the roofline, door, and plants, and added a few self-adhesive rhinestones as shown. 


I picked up these charms last year (Michaels), which I ended up not using, so I chose the pumpkins to add to the front. 


And there you have it! From Fairy Houses to Glam Witch Cottages! Can't wait to show you what I did with some of the Fairy House accessories I also picked up. Stay tuned! 


Monday, August 11, 2025

Halloween: Dollar Tree Dollhouse to Haunted Mansion


Boo! I might be late to "Summerween" but I'm here, and it felt SO good to be back in my craft room really getting to play with some stuff now that things have settled down a bit at Casa Chocolate. I have a few projects I'll share this week and next, getting ready for one of my favorite times of the year: Spooky Season! And no, I will not be climbing on any countertops this year. The scar from last year's Humpty Dumpty fall is the only reminder I need, but trust...friends and family have been a united chorus. 

Supplies: 
  • Dollar Tree Doll Houses (2)
  • Rustoleum Black Spray Paint w/Primer (Black)
  • Acrylic Paints in Silver and White
  • Silver Paint Pen
  • Embellishments (Details Below)

If you see these at Dollar (Fifty) Tree, don't wait to get them because they come and go! So of course, I got more than two because...

I picked up this matte black Rustoleum paint specifically because it bonds to plastic. As much as I hate spray paint, this covers like a dream. I saw where someone popped out the windows and doors to paint separately. I did one. NOPE. More of a pain (to me) to put back in. NEXT! Those suckers can stay put. You may also be wondering why I used two. Because they're a facade, and half a house with the back open. I wanted a whole house, so...two!


They do come with little hinges so you can attach them in a row. I decided to remove them. I thought my craft knife would work. Ended up using some heavier snips...tin I think...I had in my scissor stash. Snipped right off. 


I ran glue around the back of one house and glued the two together using Loctite Super Glue Gel after I dry-brushed white acrylic paint on the roof. 

Once my house was built, I went over the raised areas with a silver paint pen (Craft Smart, Michaels) and a little more dry brushing. 


I had this sheet of self-adhesive rhinestones in my stash, left over from a Design Team I was once on. I cut a strip of it and adhered it across the roof line, using a little hot glue for extra adhesion. 


On one of my DT excursions, I found these sheets of "Disco Tiles" and used a strip of them on each side of my Haunted Mansion. 


I had some Tim Holtz embellishments on hand that were PERFECT for this project, so I used the canes and buttons to embellish, along with some charms I picked up last year at Michaels, and of course, some bling! 


Displayed here on an as yet unconstructed stand which is a DT mirror and candleholder. Since I haven't actuall started decorating yet, I haven't glued these together, but you get the idea. 

Squeeeeee! I'm in my happy place! Stay tuned...


Friday, August 8, 2025

BFF Open House


Happy August and Friday Eve, Creative Peeps! This year's been a blur, but I've actually had time this week to organize my Halloween craft supplies and start a couple of projects I look forward to sharing next week. Back to school is underway around me, as I was reminded when we saw the parade of school buses yesterday while out and about. 

Here are some of the fun ideas shared at last week's party to Pin, Share, and Try!


Crazy Little Lovebirds shared this Tiered Metal Tray that's easy to DIY. I love tiered trays for holding and displaying collections of things and this is perfect for Fall! 


Steph Creates shared this fun Coffee Canvas Tutorial. I pretty much run on iced-mochas or hot-mochas or mochas, period...you get the drift. 


If back to school hasn't started for you yet, here's a very Sweet BTS M&M Teacher's Gift from Hunny I'm Home DIY


Finally, how fun are these Lego Brownies from 24 Hour Family? Perfect for lunchboxes or after-school snacks! 

Thanks to everyone who linked up and can't wait to see what you've been up to this week! 


You are invited to the Inlinkz link party!

Click here to enter