Showing posts with label Earrings. Show all posts

Wednesday, February 15, 2023

Jewelrymking: Galentine's Gifts


Best laid plans...I was supposed to have an annual Galentine's lunch with friends but work got in the way for one so we had to postpone. Nonetheless, I'll have their gifts ready for when we meet! Used up more of the two strands of Hildie and Jo Silver Beads from the earrings and bracelet I made for myself and enjoyed making things for friends that coordinate us all!anding 

Supplies:
  • Hildie and Jo Silver Heart Beads (JoAnn)
  • Black Czech Crystal Beads (Stash)
  • Bead Landing "Fish Hook" Ear Wires
  • Jump Rings and Head Pins
  • Black Cardstock
  • Black Organza Bags


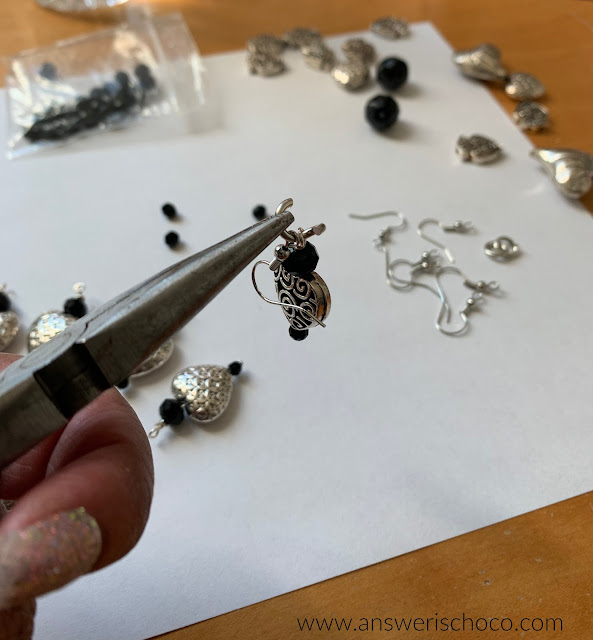
Strung a small black bead on the headpin, a silver heart, then the larger black bead and closed the loop. Then using a jump ring, attached the fish hook. 


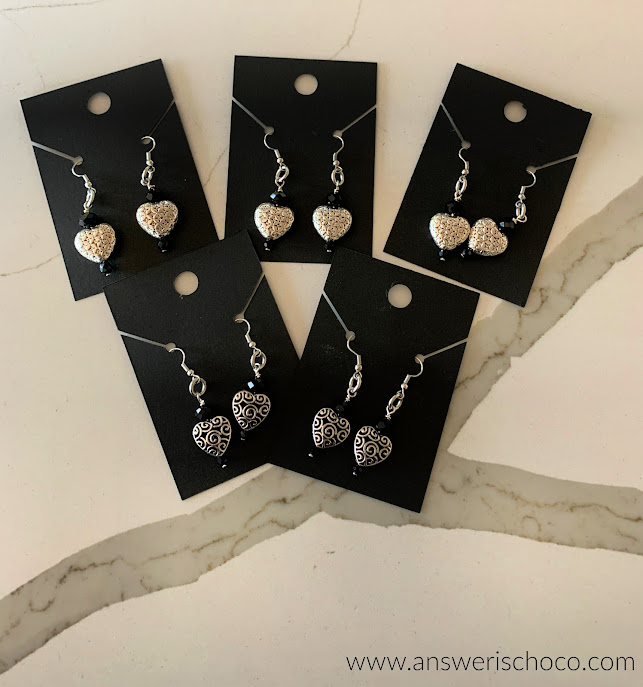
The process is the same for all earrings. As Makers, gift presentation is important, right? Using my Cricut Design Space subscription and my Cricut Explore Air, I cut out Earring Cards for the earrings. 


I like using 110lb cardstock for these since it doesn't bend easily.


TIP: To keep the earrings in place on the card use a piece of washi tape on the back to hold them in place. 


I wasn't quite finished! My go-tos for packaging jewelry gifts are Organza Bags. You can find them at craft or jewelry supply stores and sometimes, at Dollar Tree. 


All ready to go! 
Sharing At: 


Wednesday, November 2, 2022

Jewelry Making: Copper and Silver Chain Earrings


I have a bunch of jewelry supplies left over from a stint on a design team. Of course, that doesn't mean I haven't or won't continue buying more but I wanted a pair of earrings that were "Fall" now that it's actually feeling like it here in the desert. I primarily wear silver but decided to branch out and use some copper. I was in Michaels (see...impossible not to add new supplies!) and saw some copper earring pieces ON SALE and remembered some chain I had in my stash. 

Supplies: 
  • Copper Earring Components (Michaels)
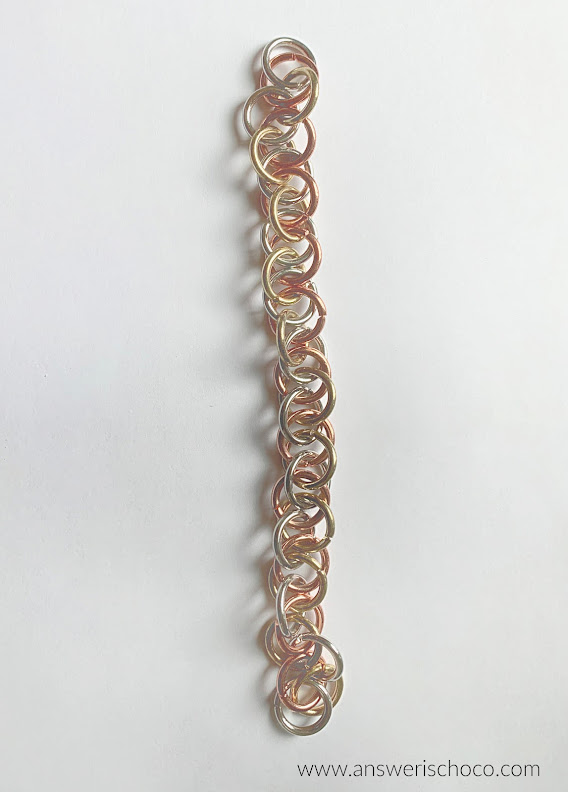
  • Copper and Silver Chain (Stash)
  • Clip Earring Backs (Michaels)
  • Silver Floral Charms (Shipwreck Beads)
  • Jewelry Glue or Super Glue (Aleene's Jewelry Glue, Walmart)


NOTE: I don't have pierced ears, hence the clip on backs. To get the same look for pierced ears, use post style findings to glue to the floral charms. 

The chain I used also had gold links. Since I don't really wear much gold, I removed these and set them aside for other projects. 


After taking off the gold links, I separated six sets of three links using just the copper and silver. 


Each earring component can hold three sets so I did silver, copper, silver for the ends and copper, silver, copper, for the center. 


The earring components came with their own jump rings which I used to attach the trio of links. 


At this point you could attach fish hook ear wires. 


With the earring backs glued to the charms, I attached these to the earrings using a silver jump ring from my stash, et voila!

I love the copper for "Fallvember" especially since I always associate Fall with copper. 


Sharing At: 


Tuesday, May 25, 2021

Hammered Silver Earrings...Thanks Michaels


When you make jewelry, you set yourself up for "Really? You needed another pair of earrings?" Yes. I do so there. In my defense, I went to Michaels because I really did need new trimmer blades for my paper trimmer. But what kind of Maker would I be if I went in and didn't walk around the store? I'm no poser! And "see, what happened was"...I was in the Bead and Jewelry section and a bunch of these earring components said rescue me like when the Tin Man in the Wizard of Oz calls out for his oil can. It couldn't be helped! These were just my style since I love big, bold, earrings. 


As you can tell, more earrings will follow but since I'm also preparing to move, maybe not right away. 

Supplies: 
  • Bead Landing Silver Earring Components
  • Silver Beads
  • Head Pins
  • Jump Rings
  • Jewelry Pliers
  • Clip Backs or Ear Wires
  • Loctite Gel Glue

Since I bought um "several" , the hardest part was deciding which package to play with first but I chose the hammered silver ones. I had some silver beads in my stash along with my clip earring backs ( for pierced ears use ear wires) and I love the Loctite Super Glue Gel.


Since the main component had three holes I decided to make three beaded dangles using three beads for the middle and two beads for either side. String onto a Head Pin (these are the ones with flat ends vs Eye Pins which come with a pre-formed loop) and then finish with a wrapped loop

For clip wearers like me, glue the clip backing to the piece to a flat back pendant shown in the supplies. 


Attach the beaded dangles to the Hammered Silver component using jump rings. See How To Open and Close A Jump Ring here.  Follow the same process to attach to the earring base or ear wire. And then you're done and you have another pair of earrings easy peasey! 


Maybe I'll call them my Moving Earrings. Ha!