Showing posts with label Christmas Decor. Show all posts

Tuesday, December 16, 2014

MERRY and Bright Wreath

Merry Wreath DCWV

While taking down our Christmas decorations last year, I had to concede that the evergreen ( faux) garland I’d been using to decorate the railings had seen its last Christmas. I needed to come up with something to do this year and came up with this wreath idea that hangs on the railing you see when you enter the front door.

For this project you will need:
  • Wreath form ( I used one from Dollar Tree)
  • Fabric scraps (I used drop cloth scraps from a never ending painter’s drop cloth)
  • Hot glue and glue gun
  • Paper ( I used DCWV Sparkling Holiday Stack)
  • Glitter cardstock
  • Black Cardstock
  • MERRY die ( Savvy Stamps) or letters
First, prepare your wreath:

Dollar Tree Wreath

I cut strips from my never ending painter’s dropcloth I bought at Home Depot a few years ago. Using as you would ribbon, wrap your wreath form until covered.

Drop Cloth Covered Wreath

If you end up with an ugly spot well there’s where  you’ll glue your focal!
Here’s the stack I used. DCWV’s Sparking Holiday which I fell totally in love with and picked up at Michaels even before I knew I’d be guest designing for them. LOVE this beyond measure!
DCWV Sparkling Holiday

About 1/2 the papers are foiled. Pretty!
I chose a couple of papers for the medallion ( rosette, pinwheel, fan thingy) that would be the focal.

DCWV Sparking Holiday Rosettes

Cut into 6x6 sections and scored 1/2 inch folds using my scoring board. I found an image for the angel wings online, printed and cut a template from cardstock, and traced and cut from glittered paper in my stash.

DCWV Sparkling Holiday Medallion

I used four sections of the grey paper for the larger medallion and two of the gold paper for the smaller one. Layer as shown and use hot glue to assemble and adhere to wreath.

For the banner, I cut the shape from black cardstock , and die cut the MERRY letters. To make this really pop, I added these mirrored stars from DDCWV:

DCWV Adhesive Mirrors

They twinkle so much more than this picture shows.

Merry Banner

Where this hangs isn’t conducive to a great photo shoot ( and of course I forgot to take pics before I hung it …bad blogger) but I love seeing it twinkle as I go up and down the stairs.

Merry Wreath DCWV

Sharing At:


Tuesday, December 10, 2013

Dollar Store Decor: Chalkboard JOY Sign

Chalkboard JOY Tray

Sometimes you have a project in mind and you go in search of the supplies. Other times, you pick up something for your stash knowing that you’ll use it someday. And yet other times, you stumble upon something that gives you the spark to use stuff you already had on hand (because you picked it up knowing you'd use it someday) .  I know I'm not alone.

For this project you will need:
  • “Silver” oval tray from Dollar Tree
  • Chalkboard paint (I used Martha Stewart)
  • Chalk
  • Ribbon
  • Hot glue
I have a few of these Dollar Tree silver trays in my stash. I mean they’re $1 so they're useful for something right? Maybe even to serve food.

Dollar Tree SIlver Tray

What I didn’t have (and still don’t know what they’re for) are the mini silver trays that coordinate. Tea bag holders? Dunno. I stumbled upon them at an antique store and for a few dollars, thought “there’s a project here somewhere and oh hey, tray stash at home” which turned out to be adding some additional decorations to my dining room for Christmas.

First the big tray:
Chalkboard Painted Tray


Paint the inside of the tray with chalkboard paint. Let dry completely between coats. I did three coats. I also learned by the third coat that a foam brush works better than a bristle brush. The instructions said to let the paint cure for at least 24 hours. Patient crafting is not my thing but I did it.

Chalkboard Conditioned Tray

To condition your chalkboard before you write anything on it, cover the surface with chalk. This is a good way to let your inner child out. Especially if you’re in a bad mood. Scribble that mood away! Wipe the surface with a clean cloth then do your thing.  I kept it simple and just wrote JOY. I’ll probably change it to 2014 for New Year’s. See…décor mileage!

Hot glued gold ribbon the the back and made a bow and glued it to the front and washi taped it to two pictures in our dining room. 


Holiday Lampshade


Holiday Decor Lamps

I decided that the mini trays would be a fun way to decorate our dining room light fixture. This is one of those idea that make Mr. Chocolate say “ What goes in in that head? " This is also when I know he likes a project.

Process is the same only after I conditioned my chalkboard, I used a paint pen to write the words. Glued a satin ribbon the back of each and then tied to each of the six lamps on my fixture.

Mini Chalkboard Trays

I could also see these as place cards, or buffet food markers or used to embellish a glass jar candle….or yep that’s what goes on in this head. Of course I have no idea what they’re supposed to be used for and no intention of finding out!

Since I already had the paint and chalk on hand, cost was around $5.

Sharing At: 

Monday, July 15, 2013

Christmas in July : 17 Gift and Decor Ideas You Can Start on Now!


Happy Monday everyone. We're halfway through July already and it seems the deeper into the year we get the faster it goes. I have already seen Halloween items in a couple of stores! That got me to once again thinking about getting a head start on the holidays and I asked a few other bloggers to share some of their handmade gift ideas that we could get a jump start on NOW. Many of these are things that are great for Christmas and Hanukkah but can also be adapted for any time of year gifts. 

Decor:


DIY Snow Globes from Domestic Superhero  Start saving your empty jars now!


Use scraps of velvet and mini ornaments to make these elegant napkin rings. Visit Carolyn at homework for the how to. 


Save empty boxes and packaging shred to make groups of frosted paper trees. Also from Carolyn at homework


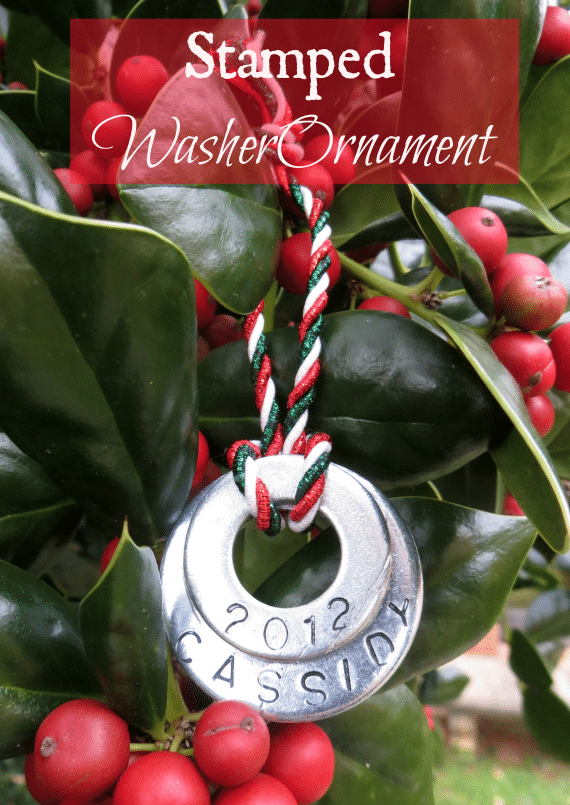
Personalized ornaments are always a hit. These stamped double washer ornaments could from Sweet Pea could also double as package tie ons.  


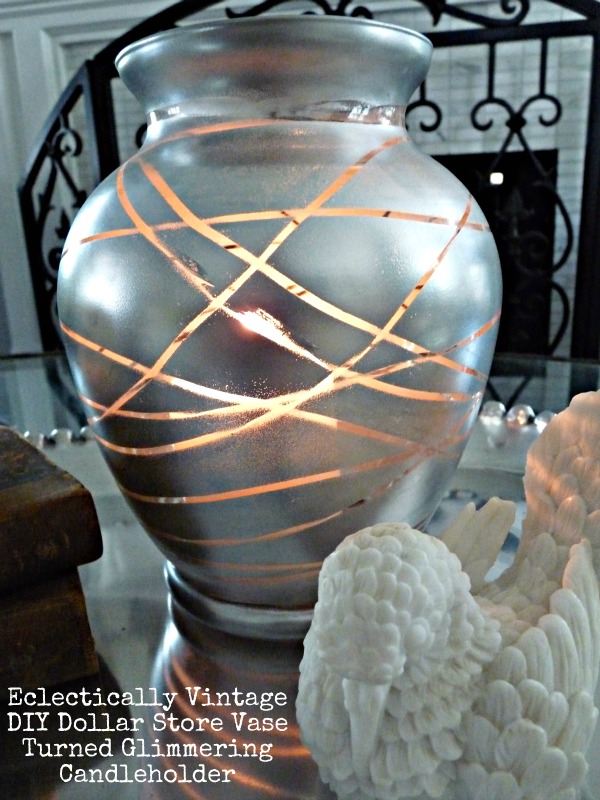
Elegantly transformed Dollar Store Vase Candleholder from Eclectically Vintage. Make some for your own own and some to give as gifts


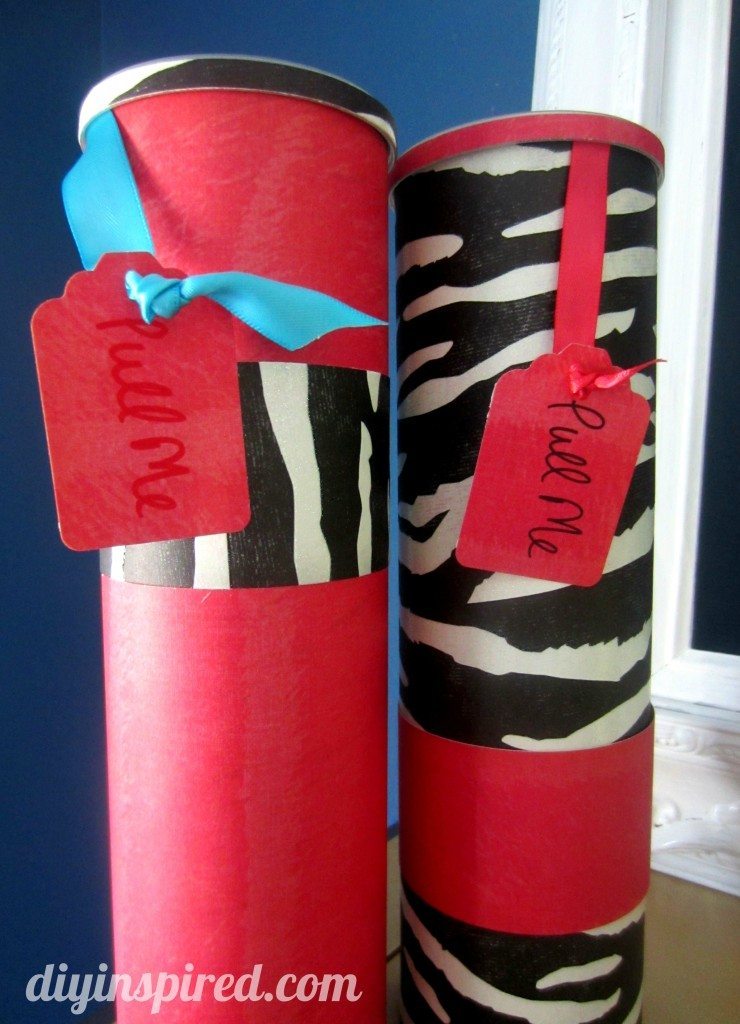
Upcycled Pringles cans either as standalone or like these from DIY Inspired that contain a fun girlfriend gift. Perfect for showers too!


Practical and Personal Gifts: 


Etched beer glasses. You could monogram, spell out the name, or in this case the German word for "Cheers". See Laura at The Shed for the how to. Not that it's only guys who like beer but perfect "Man Craft"! 


This would be a wonderful Christmas gift but could also work for Weddings and Anniversaries. A "Family Tree Mirror" from Becoming Martha.


Or how about some twine wrapped monogram ornaments? You could also spell out a holiday word or family name. Also from Becoming Martha


With all of the patterns and choices of polar fleece, there's sure to be a design for whatever passion your gift recipient has. Get the how to on easy fleece throws from Craft Quickies


In our electronic age, I love the idea of something "old school" that challenges the mind. Jamie over at C.R.A.F.T has an easy but ingenious puzzle you can make to give as a gift. If you're way smarter than me, you might be able to have it spell something out when it's all put together. 


Speaking of blocks, how about customized photo blocks for friends and family. Visit Measured By Heart for instructions. 


Whip up a fun and fashionable apron from a hand towel and coordinating fabric scraps. Head on over to Uncommon Designs to see more.


Scrubs and Soaps:

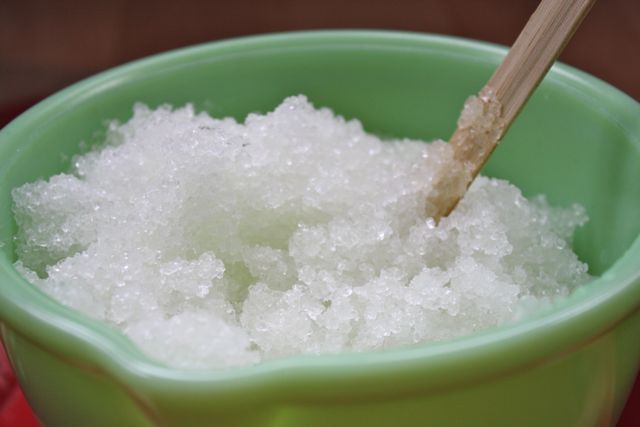
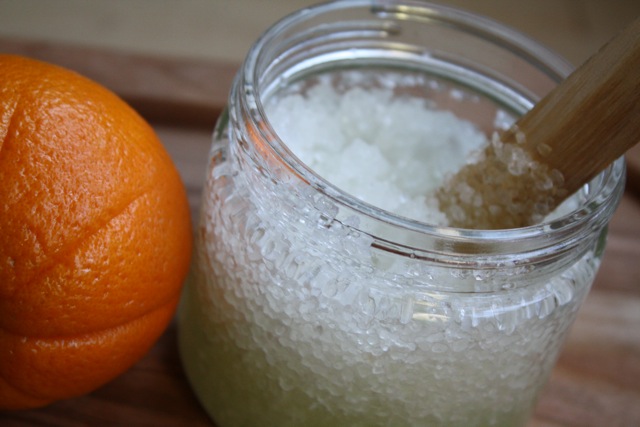
Perfect for holiday  or anytime gifts. From Yesterday on Tuesday 


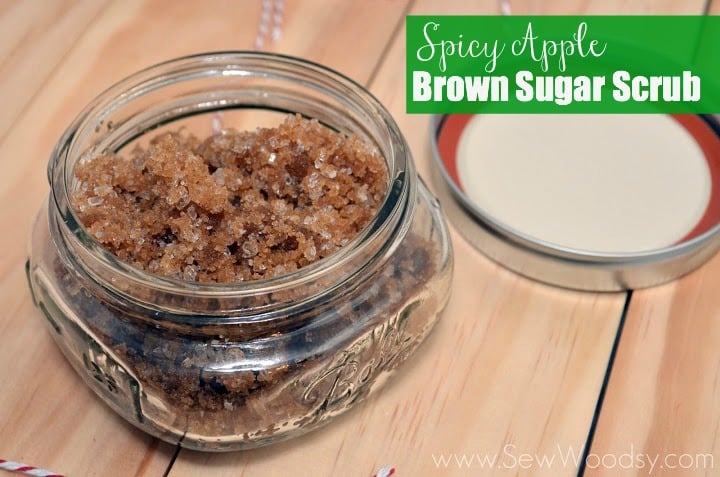
Spicy Apple Brown Sugar scrub from Sew Woodsy


Handmade herbal and botanical soaps from A Nest For All Seasons

I hope you've found some inspiration and ideas to get you jump started on holiday crafting! 


Saturday, November 26, 2011

A Furniture Leg And A Finial Walk Into A Craft Room And Turn Into The North Pole

Hope everyone survived Black Friday. I got a few things at JoAnn and Michaels and I’m going to be a hermit today hopefully busting out a chunk of my Christmas cards!  Didn’t know what to title this post because it was one of those things I made that I had no idea what it was going to be until I did it.
Christmas Pole
There’s an architectural salvage place in Seattle called Earthwise. I love wandering around there and finding who knows what to play with. They have a whole section of just furniture legs!
Peppermint Post
I also had a finial in my stash from a trip to Lowes. Ignore the snowflake thingy…didn’t end up using it.
I glued the finial to the leg and then painted with Martha Stewart “Wedding Cake” craft paint, followed by a coat of ivory pearl.
PB213609
While that was drying, I made a polka dot paper medallion and cut out the numbers 25 from red glitter card stock.
Martha Stewart Scoring Board (2)
I love my Martha Score Board which I use for my cards all the time but it’s great for making accordion folds for things like medallions.
Christmas Medallion
One 12x12 paper cut in half then score each 6x12 piece at one inch intervals. Fold in half to make a fan shape, and hot glue together. Repeat then glue the two halves together. Cut a circle from plain cardstock and adhere numbers.
PB213629
I added a little Epsom Salt frost to the top of my final.
PB213626
Went around the top and bottom with some patterned tissue paper.
PB213627
Added a glittered reindeer ornament from a pack of them I got at Dollar Tree.
Christmas Pole (2)

Sharing At:


Link Party
My Crazy Beautiful Life