Thursday, May 29, 2025

BFF Open House


Happy Friday Eve and almost Summer. I know we consider it Summer as soon as Memorial Day hits but then officially it's not for a few  more weeks...Sprummer?  I hope everyone had a good week and long weekend. 

Getting over some crud that got me. A couple more days of antibiotics. The saying "If it's not one thing, it's another" remains true!

I did get a chance to play with leftovers this week. I shared how I used the paper towel I'd used to absorb excess dye from my Dyed Coffee Filters, as its own craft supply! 


Now let's take look at some of the great ideas shared at last week's party!


Steph Creates shared a wonderful DIY Sweet Summer Sign to welcome the season! 


Summer screams popsicles and Creatively Beth shared a fabulous Hand Drawn Printable. 


Master Pieces of My Life shared how to combine Fern Fronds, Cloches, and Thrifted Trays to make a BEAUTIFUL Summer display. 


Finally, if you ever chanted "You scream, I scream, we all scream for ice cream" then you need this Swiss Roll NO CHURN Ice Cream from The Kitchen Is My Playground

Thanks to everyone who linked up and can't wait to see what brilliance you have to share this week! 


You are invited to the Inlinkz link party!

Click here to enter

Tuesday, May 27, 2025

Papercrafting: Happy Accident Paper Towel Flower Core


I had so much fun with the Dyed Coffee Filter Flowers I shared last week. As I was drying the coffee filters I dyed, I laid them on some paper towel to absorb the excess water and it resulted in one of my favorite things: a happy accident! 

Supplies

This is the paper towel that absorbed the excess liquid from the dyed coffee filter flowers. It was too pretty to just throw away. I get giddy about being able to use things like this. Waste-not, justify more craft supplies, is my motto! 


Besides, I had some leftover filters to use up. I had just enough paper towel to use to make two flower centers. I folded in quarters, then cut and snipped the edge into a fringe. After cutting my coffee filter layers, I assembled as shown in last week's tutorial. 


I poked the stamen bunch through the center, added a few drops of glue (I used Glossy Accents by Ranger) and then pinched around the base. 


Side view.


I'm giddy! And will absolutely be repeating this as I make future flowers. 


Thursday, May 22, 2025

BFF Open House


Happy Friday Eve once again all! I hope you've had a creative and not too chaotic week. Happy Memorial Day weekend too. Full speed ahead into Summer!

This week I shared a two-part project about something that's become one of my favorite things to do!


Now, let's take a look at some of the wonderful ideas shared at last week's party! 


What a happy coincidence that these beautiful Coffee Filter Flowers were shared by Fun A Day! What a great project to do on your own, with friends, with kids! 


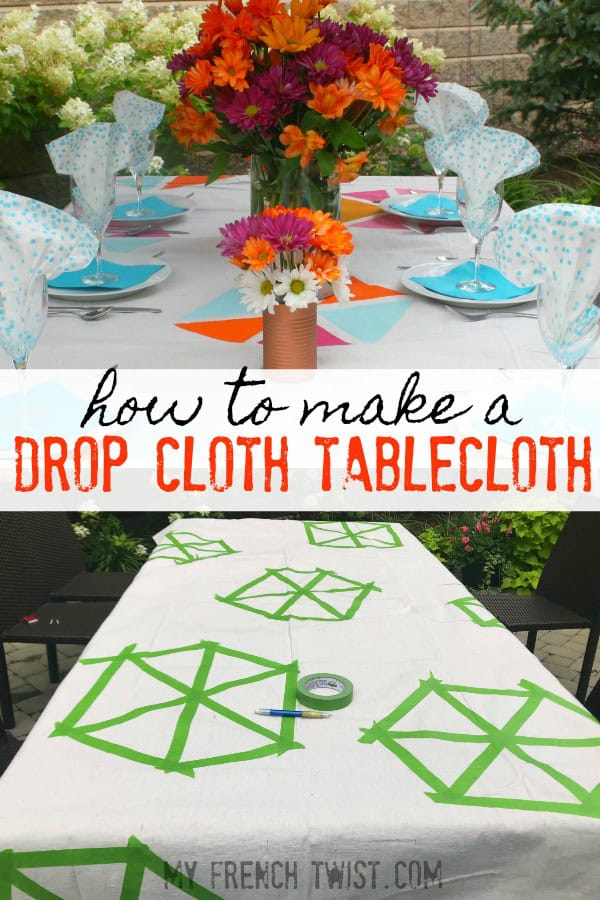
My French Twist shared this fun and festive DIY Drop Cloth Tablecloth that's perfect for Summer entertaining. 


Within a World of My Own shared how she made Paper Bead Bracelets to coordinate with her dusky pink and orange outfit color palette. 


Finally, these Bronuts (brownie donuts) from Yummi Haus are not only a perfect chocolate feature, but they also went so perfectly with the color scheme that emerged in these features! 

Thank you all for sharing your creativity and can't wait to see what's in store this week! 


You are invited to the Inlinkz link party!

Click here to enter

Tuesday, May 20, 2025

Papercrafting: Dyed Coffee Filter Flowers Part Two


In Part One, I shared how I dyed the coffee filters used to make these flowers. In this, I'll share how I made the actual flowers!


Supplies:
  • Coffee Filters (I got a 100 pack at Dollar Tree)
  • Acrylic Paints (Craft Smart from Michaels)
  • Water
  • Bottles (Dollar Tree)
  • Shallow Tray (Dollar Tree)
  • Stamens (80% off JoAnn after Christmas!)
  • Dimensional Glue

Once your coffee filters are dyed and dried, it's time to start making flowers. You can do these with or without stamens, or you can use a bamboo skewer to build your flower. The first thing you'll need to design is what petal shape you want. I went with a shape that reminds me of the various cactus flowers we have.


I folded in half, then half, then half, and finally, half! 


Then I cut from each of the corners, and then a point in the middle as shown. 

To build the flower, I grabbed a stamen cluster and pierced the center of one coffee filter.

Add a dot or two of glue (I used Glossy Accents by Ranger) around where the stamen goes through the filter and  push the filter up around the stamen, I just kid of twisted it and then added more glue before adding another layer.


How many layers you use is up to you. I think mine were 5-6. The thing I like about having crumpled the filters is it adds dimension and bulk. WIth each layer added the process is the same. Add a little glue, twist and position, add another layer. 


Once you're all done just eyeball and fluff as needed. I made these to add to my Summer display shelf with my Painted Llamas


Monday, May 19, 2025

Papercrafting: Dyed Coffee Filter Flowers Part One


I've seen so many Reels pop up in my social media feeds showing how to dye coffee filters for projects and I was excited to try my own. Once you start playing, it's very addictive! It's also a fun and inexpensive craft that is only limited by your imagination. 

Supplies:
  • Coffee Filters (I got a 100 pack at Dollar Tree)
  • Acrylic Paints (Craft Smart from Michaels)
  • Water
  • Bottles (Dollar Tree)
  • Shallow Tray (Dollar Tree)
  • Stamens (80% off JoAnn after Christmas!)
  • Dimensional Glue


First, gather your supplies. I chose these colors of acrylic paint (Craft Smart, Michaels) and Dollar Tree has these three-compartment plastic trays that are PERFECT for this! They also carry the small bottles shown which are great for mixing colors. 


I squirted some of the paint into the bottles as shown. Then added water. There's no right formula. I wanted a more watercolor look vs intense colors so I mixed to a thin consistency. Shake well to blend. 


I then prepped my coffee filters and filled the tray with a little bit of water. I tend to crumple my coffee filters to disguise the fluting they come with and give them an even overall texture, plus I have this theory that "working" paper, scrunching, crumpling, etc. strengthens the paper. 


I did the colors standalone in two of the three sections of the tray and mixed them in the third. 


Then I added the coffee filters to their dye bath. I didn't time how long they took to absorb the dye...it's the kind of thing you can do in between other projects. When I was happy with them, I took them out and lay them on some cardboard to dry. 


And here they are all done! Now you're ready to make flowers and I'll show you how in Part Two tomorrow! 


Thursday, May 15, 2025

BFF Open House


Blink, and it's Friday Eve again! I hope everyone who celebrated had a wonderful Mother's Day! We did. With a Mom who's getting up there, I don't take these for granted. 

Had a chance to play with some things this week. Few things make me as happy as playing in my craft room. I get cranky when I can't create. Anyone else? 

This week I shared: 

Glam Fairy House from a Dollar Tree Fairy Cottage


Painted Llamas 


Now let's take a look at some of the inspiration shared at last week's party!


I've been really focused on incorporating reusable components in my crafting this year. Steph Creates shared how to make a BEAUIFUL Upcycled Metal Storage Tin. Who can't use more storage?


It's Graduation and Wedding season so what better gift for both of those than cash?! Cindy's Online Recipe Box shared a creative and tasty way to give that kind of gift with this Money Roses and Chocolate Pretzel Bouquet


My French Twist shared this incredible Macrame Hanging Herb Garden. Pretty and functional! 


Finally, and I love but haven't yet tried this trend, K'Mich's Wedding Soiree share a post filled with Focaccia Art! GORGEOUS. I want to learn! 

Thanks to everyone who linked up and as always, looking forward to this week's shares. 


You are invited to the Inlinkz link party!

Click here to enter