Showing posts with label Altered Art. Show all posts

Thursday, March 7, 2013

Altered Balsa Wood Gift Boxes

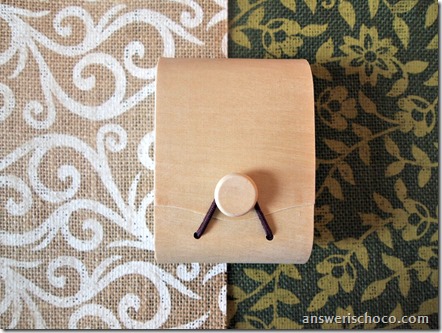
Altered Balsa Boxes

You might recognize this box style from Mr. Chocolate’s birthday. I scooped up a few of them when I got the one for him because they were just too much fun to pass up. And they were $1.

For this project you will need:
  • Balsa Boxes ( Michaels $1.50 towers...when I got mine they were on sale for $1)
  • Burlap and/or scrapbook paper
  • Mod Podge
  • Washi Tape
  • Embellishments

Printed Burlap

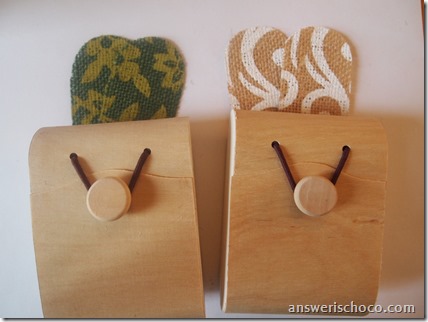
These will hold the girlfriend gifts I shared in my previous two posts, the Garden Lover’s necklace and White Agate Stretch bracelet.  For these, I chose some patterned burlap sold in the paper section and cut to 8.5x11 sheets. I had colors that matched each gift.

P3068179

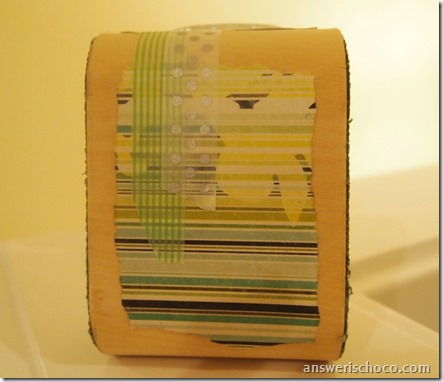
I traced around the sides of the box and cut out pieces of the burlap . Then I Mod Podged them onto the sides.

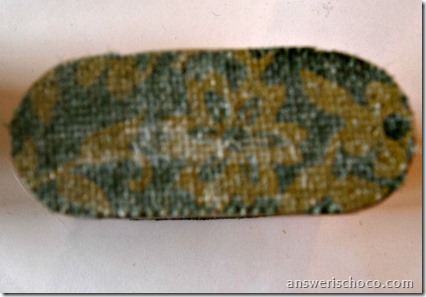
Mod Podged Burlap

Looks like a hot mess. Dries clear. When dry, I sanded around the edges to smooth any rough edges.
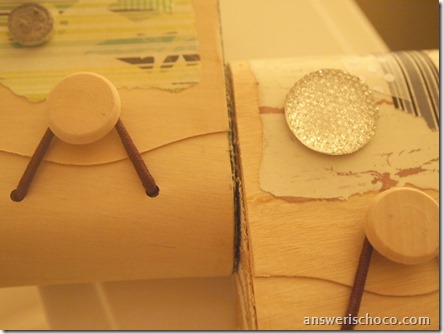
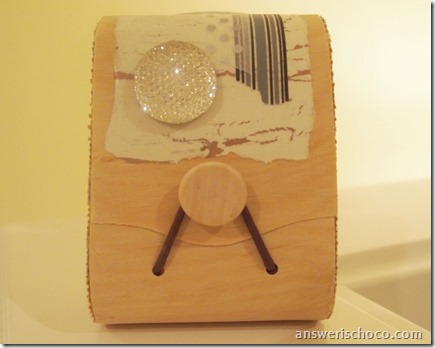
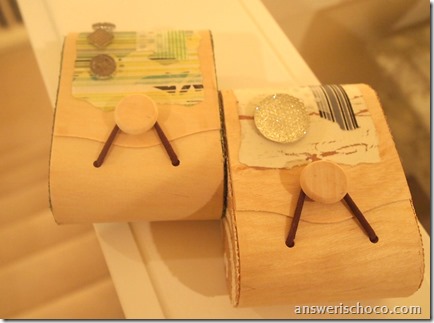
Grabbed some coordinating paper scraps from my scrap stash and added those to the boxes along with coordinating washi tape and finished with some Jolee’s Boutique self adhesive buttons.

Closeup Altered Balsa Boxes

Green Burlap Box

Natural Burlap Box

Tuesday, February 26, 2013

More Birthday Fun With Tim Holtz Stamps and Embossing Folder

Geared Up Card and Altered Box

I’m sharing a couple more things I made to celebrate Mr. Chocolate’s birthday. As we get older, we’re less about giving each other “things” and more about experiences. So for his birthday this year, I planned a day filled with stops at some favorite spots as well as a couple of places he’s mentioned wanting to check out.

Since he’s a good sport and comes with me on some of my crafting stops, I’ve discovered that he likes Tim Holtz designs. So Tim helped me out with my birthday plans.

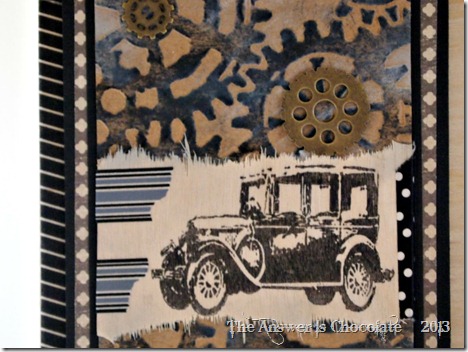
Geared Up Birthday Card

You might recognize the stamped car on the front of the card from the altered cigar box I recently shared. That box held the card, along with the little altered box shown above.

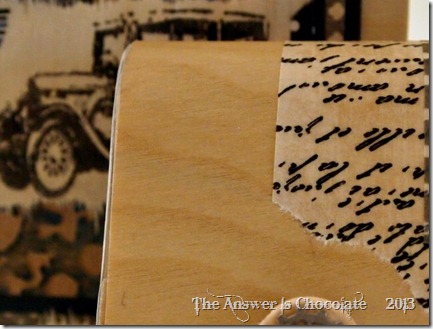
For the card, I covered a blank 5x7 card with a piece of “wood paper”. It’s actual wood veneer over cardboard. I picked it up at one of my favorite stores before they went out of business. I added strips of paper from the Tradewinds collection by DCWV to the top and the bottom.

I ran a piece of chipboard through my Cuttlebug using a Tim Holtz gear embossing folder. Went over that with Ranger Distressed Ink in black and Fresh Ink pigment ink in grey, leaving some of the chipboard exposed.  Layered this onto more of the DCWV paper, alternating with black cardstock,  and added some gear charms by Bead Landing. I stamped the car and sentiment ( both Tim ) onto scraps of the wood paper and tore the edges. Finished with some coordinating washi tapes.

Tim Holtz Vintage Car

The other part of this present was a little altered “clue” box I made. I created vintage themed clue cards for  the places we’d go during the day (breakfast at a favorite spot, a tour of a local small batch distillery, a fun little 20’s / 30’s style tavern with a secret room, and a favorite restaurant for dinner)  numbered them and tucked them inside the box. I told  Mr. C. throughout the day when it was time to look at the next clue. In between our "scheduled" stops we had fun roaming around new neighborhoods and places we just stumbled upon. Including a CHOCOLATE FACTORY! More on that next month.

Altered Clue Box

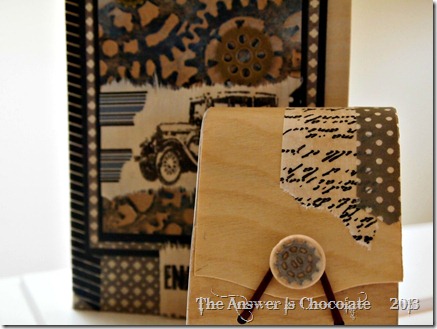
The box ( see how it matches my wood paper!) I found in the  $1 bin at Michaels. You know I had to buy a few of these right? I decided not to cover the whole thing but went over parts of it with printed tissue paper and washi tape, sealed with Mod Podge. I forgot to take pictures of the sides but I traced around them and used up the last of the DCWV paper from the card and Mod Podged them to the box.

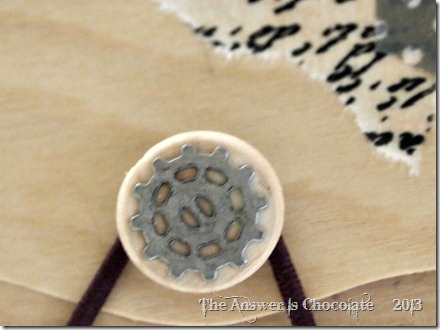
Bead Landing Gear Charm

Accented the button closure of the box with another of  the gear charms.

Geared Up Card and Altered Box

We had a wonderful day and even had cooperation from Mother Nature with the Seattle weather! 


Sharing At::


Sunday, February 24, 2013

Mr. Chocolate's Birthday: Altered Cigar Box

Altered Cigar Box

Mr. Chocolate recently had a birthday and I made him an altered cigar box as part of his gift. He actually contributed to his own present because one day he came back from Total Wine with a bunch of cigar boxes he’d found there for $1.50 ea. I was thrilled since when I’ve tried to buy these at different places they’ve been anywhere from $5-$10 ea. Ridic.


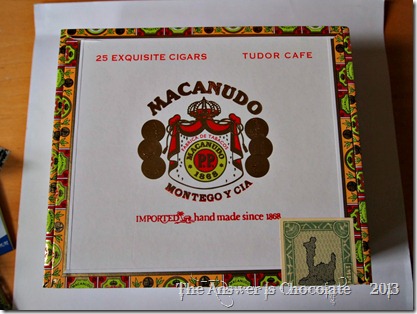
Cigar Box

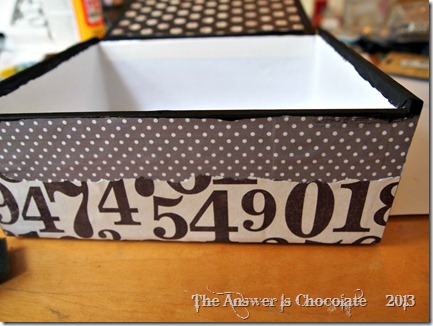
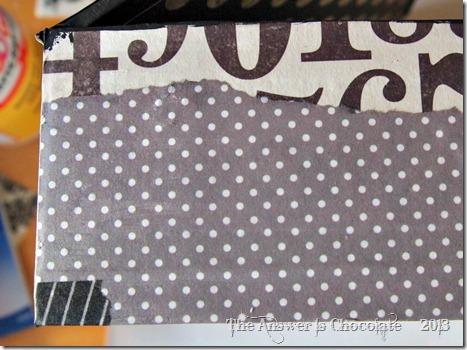
Here’s my “before” cigar box. Can’t stand the smell of cigars, but love the boxes. Luckily the empty boxes don’t smell.  I panted the edges of my box in black and then Mod Podged coordinating papers onto the box.

Mod Podged Cigar Box

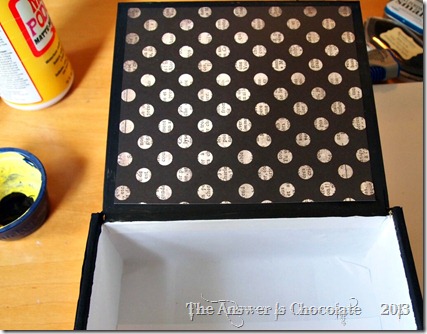
I used a different paper for the inside of the lid.

Cigar Box Lid

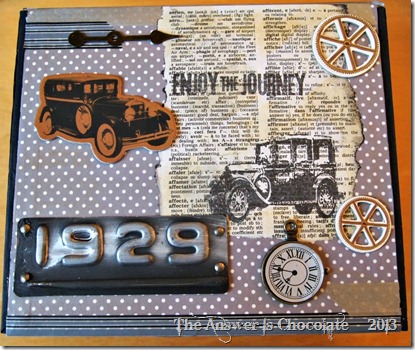
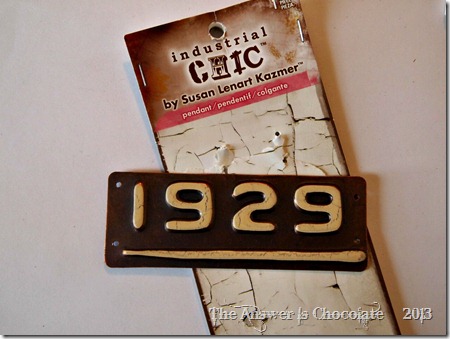
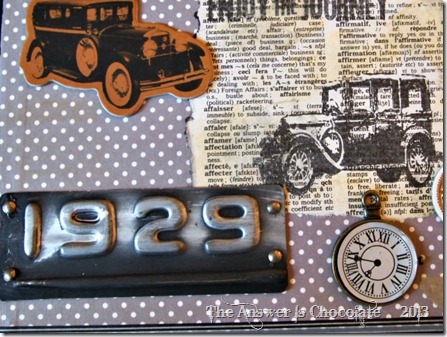
And went around the edges with coordinating washi tape. I wanted a vintage 1920’s feel and was thrilled when I found this Susan Lenart Kazmer antique license plate pendant on sale for $2.99 at Michaels.

Susan Lenart Kazmer Pendant

I loved it as it was but wanted it to coordinate better with my color scheme so painted it with black acrylic paint and then went over it with silver Rub n Buff .

Altered Cigar Box Top

I stamped an antique car and sentiment (Tim Holtz) onto a torn dictionary page and distressed it with Ranger Distress inks. Mod Podged that onto the lid and added some coordinating chipboard stickers I’d found at Michaels (Recollections). Added a watch charm I’d also found at Michaels.

Altered Cigar Box Top

Altered Cigar Box Corner

I’ll share the other parts of his present in an upcoming post.


Friday, March 25, 2011

Altered Vintagey Bottle Tutorial

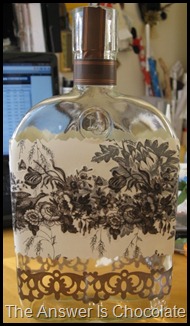
Altered Bottle (3)
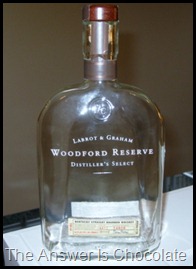
Most of the time I like upcycling things to use for for something like storage. But sometimes the shape of an item just intrigues me and I want to play with  it like a blank canvas. Bottles for instance. Like this one:
Altered Bottle
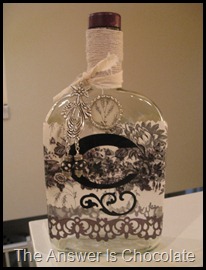
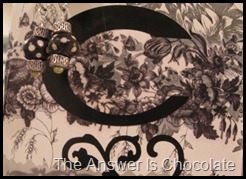
I loved the shape which is kind of square and flat. The writing is painted / etched on so I covered the bottle with some of the contact paper I’ve been having fun with from Dollar Tree. I also had a pack of K&Co scrapbook borders called “Flora and Fauna” . These are vellum and somewhat transparent. I layered one of the borders over the contact paper and another on the bottle itself:
IMG_5224
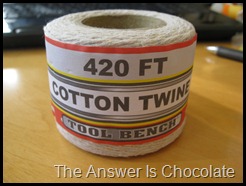
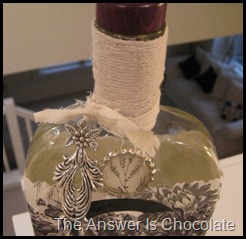
I didn’t feel like scraping the label from the neck of the bottle so I covered it with this cotton twine I got from Dollar Tree:
Dollar Tree Twine
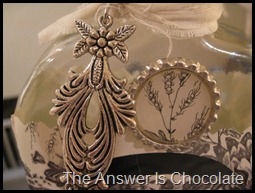
I had a vinyl monogram that I picked up at JoAnn’s on clearance a while ago for like $.25 and that went on the front. The bottle also had a seal that was part of the glass that I wanted to cover up so I punched a piece of the contact paper and put it in a flattened bottle cap which I then covered in Diamond Glaze:
Bottle Cap Diamond GlazeDiamond Glaze
Finished the whole thing with a pendant thingy from the jewelry section ( also one of those poking around the clearance bin finds) to which I added some beads and tied to the neck with a scrap of torn muslin:
Altered Bottle Closeup (2)
Altered Bottle
Altered Bottle Closeup
While function is nice, sometimes so is just looking at something pretty. I hope this is that.
Linking Up At: 
UndertheTableandDreaming 


Wednesday, July 7, 2010

Time In A Bottle

I'm no Michelangelo, who saw things in a block of marble, but when my husband finished off a bottle of his favorite adult beverage, I saw this idea in the bottle. No, I hadn't been helping him finish it off when I started seeing things!
I've been intrigued by bottles and this one was both old looking and had a great shape and made a fun backdrop. Keeping with the "time" thing ( which is perfect since Mr. Chocolate loves watches and clocks so "time" is a theme in our house). 
I started out with the bottle, Mod Podged some sheet music and painter's masking tape around it:


You know how you get into a project and then you forget to take pictures? Yep. I went looking in my stash o stickers and found a sheet of time themed ones by Kelly Panacci, one of which I used for the focal and then fought with, I mean super glued, the copper K&CO frame to it. A couple of weeks ago, I bought a jar full of chandelier crystals at an antique shop ( used some of them on my bird cage) and made a "stopper" from one. Wrapped the top of the bottle w/ twine and a muslin scrap ( this is usually the kind of thing Mr. Chocolate asks "What made you do that?" and I answer "No clue, next question").

A couple of months ago I picked up a magical bag of watch parts so I pulled one out and glued it to one of the containers I picked up at the same time, and then glued that to the front of the bottle. I took another piece from the bag, put it in a bottle cap, filled it with "Diamond Glaze"  and once dry, glued that to the bottle. Last but not least, I inked a vellum tag with black and linen ink, used some more of the "time" stickers, and glued some small keys to the tag, attached a bead and tied it to the bottle
Now the funny part. I picked up the most recent copy of "Somerset Studio" and lo and behold, what do they have featured? A "Time In A Bottle" project. So clearly I'm not the only one with visions of time and bottles :)

Linking Up At:
Photobucket