Thursday, December 11, 2014

BFF Open House Link Party #188

The Answer Is Chocolate

Hi all, welcome to another party here at The Answer Is Chocolate. The countdown to Hanukkah and Christmas continues . Hope those of you dealing with Northeast storms are holding up. We here in the PNW are bracing for a doozy of a windstorm tonight so hoping the power stays on! 

Here are some features from last week's party! 


I love paper. I love roses. I love paper roses...you get the picture. So does Kelly at The Moon and Me who made these gorgeous rolled paper rose trees. So pretty. 


These vintagely delicious Altered Readers Digest Books from Artsy VaVa would go perfectly with Kelly's trees. 


The always genius Mich in LA has a fantastic idea using vintage brooches. You'll have to visit her blog for the secret ingredient she used for the background of these fun ornaments. 


This week's chocolate feature looks good enough to eat but is not edible...Chocolate candles! How cute are these? Cost is even better. Head over to The Pin Junkie to find out more. 

Now on to this week's party! 


Monday, December 8, 2014

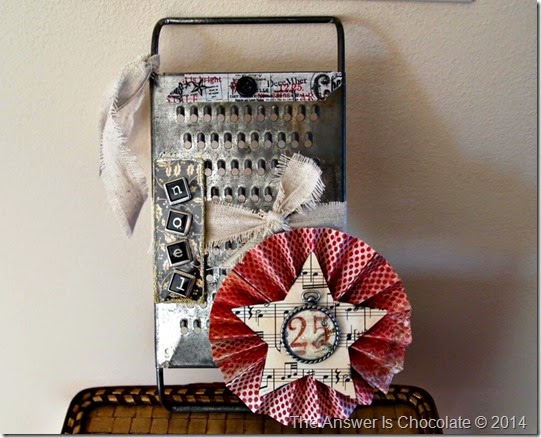
Altered Vintage Grater Christmas Decor

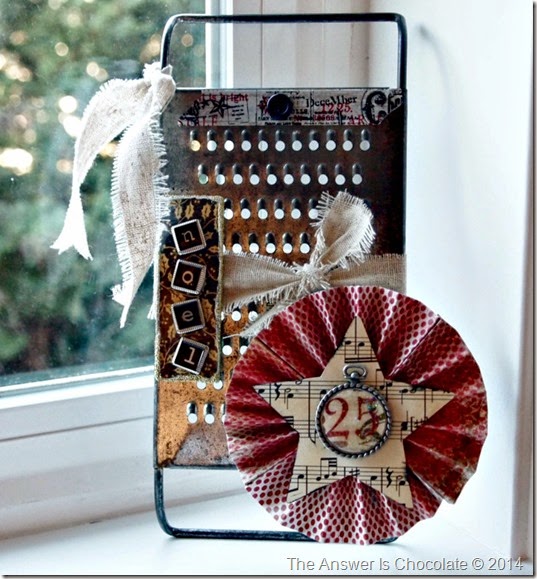
Altered Grater

While walking through an antique store looking for a pair of ice skates ( no joy) I stumbled upon this old grater. Along with the ice skates I was actually looking for a box grater ( also no joy).  I had no idea what I was going to do with it (it’s not like I knew what I was going to do with the box grater either) but I knew I’d regret not getting it.

Dimensional Mod Podge Charms

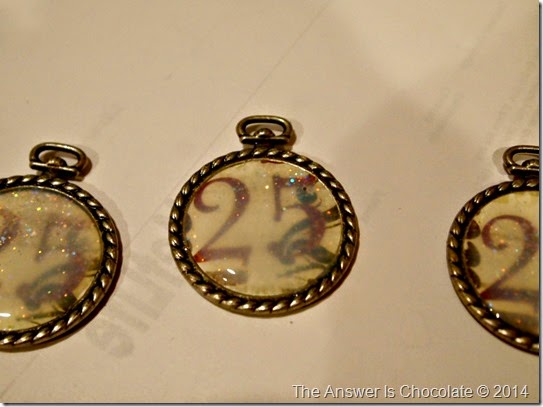
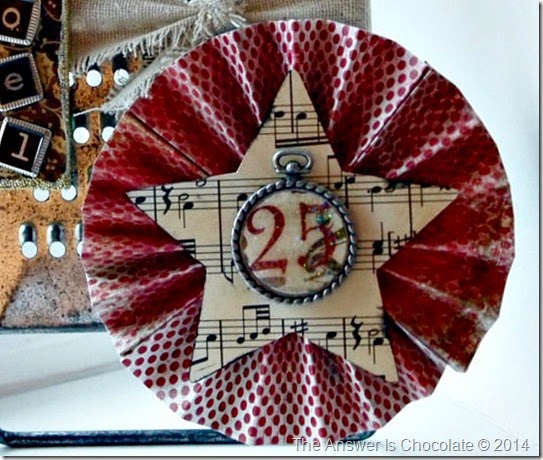
The focal for this is actually the “25” charm which is what I’ll show you how to make.

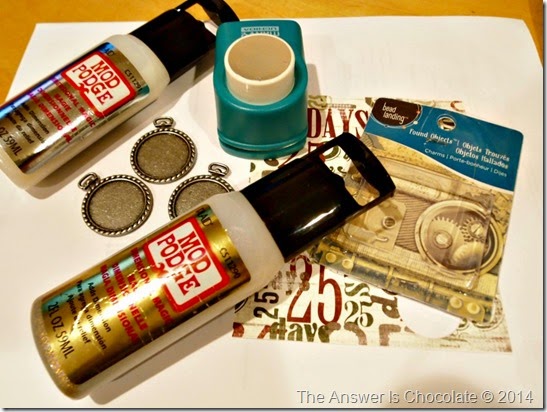
For this you will need:
  • Dimensional Mod Podge ( I used silver glitter)
  • Mod Podge Matte
  • Jewelry bezels (Michaels)
  • Scap of scrapbook paper
  • Punch (my 1” punch fit the bezels perfectly)
This is one of those easiest projects ever that people will think is a lot harder than it is. Let them. Also, you can use one of the pendants for actual jewelry!

Mod Podge Charms 1

Here’s how difficult this is:
  • Punch circles from paper
  • Adhere circle to bezel w/ Mod Podge Matte
  • Flood bezel with Dimensional Mod Podge, let dry
25 Charm

For the grater itself? Easy peasy. Wrap the grater with a scrap of dropcloth or fabric scrap. Make a pinwheel from more paper scraps. Add a star and the “25” charm. I added another charm I made from microscope slides. Finish with a strip of washi tape and a button.  Mine sits in my kitchen because it’s a grater and even though I alter them with all kinds of non-kitchen stuff….duh!

Altered Grater 1

Sharing At:


Thursday, December 4, 2014

BFF Open House Link Party #187

The Answer Is Chocolate

Happy Friday Eve and end of the first week of December. Time's flying by and hope everyone's getting their decorating / baking / shopping / wrapping done for Hanukkah and Christmas. 

Here are some features from last week's party and can't wait to see what everyone's been up to this week! 


OK so Mariah from Giggles Galore  linked up the very cool deer mugs she included in her very cool hot chocolate basket, BUT I had to include the whole c basket for full effect because it's a totally awesome gift idea. She used her Cricut Explore ( Aren't you seeing lucky bloggers everywhere sharing awesome things they've made with this new machine? Can the Cricut people feel my mental telepathy sending out pick me to try one out vibes? Oops I digress)


Michelle from Fitting In Life doesn't think she's creative but I have to disagree. In this season of thinking of other people she put together a gift to cheer up a friend . Hers uses an adult beverage but if the harder stuff isn't your thing, you could easily do sparkling cider, soda, etc. Both thoughtful and creative. Sorry to break it to you Michelle, you are creative and you are going to have to get a glue gun now. It's in the bylaws. 


Jenna from 24 Cottonwood Lane is back with a super easy DIY wreath. Supplies from the Dollar store. I love how the pattern repeats and is so crisp and clean!


This week's chocolate feature is from Mama of 3 Munchkins : Hot Fudge Sundae Cake Pops. Yum!

OK on to this week's party!


Wednesday, December 3, 2014

Coffee Can Snowman Hat

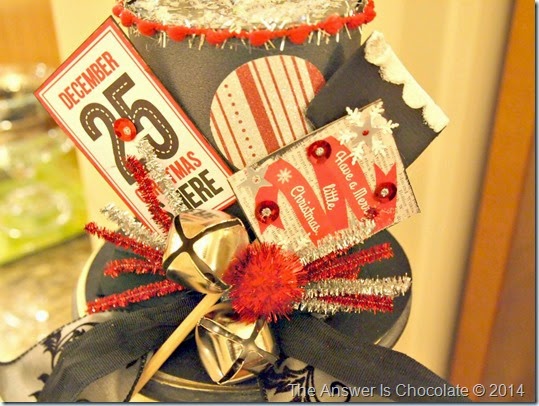
Coffee Can Snowman Hat

I am convinced that Frosty the Snowman drinks a lot of coffee ( iced of course) in order to keep up with everything during the holidays. He left me an empty can to prove it so in his honor, I decided to make a hat out of it to add to my Christmas décor.

I’m also excited that this project is my first as a Guest Designer for DCWV (Diecuts With A View)! I have loved their papers and products for years and to get to design with them? Priceless!


For this project you will need:
  • Empty Coffee Can
  • Chipboard or cardboard for brim
  • Craft Paint
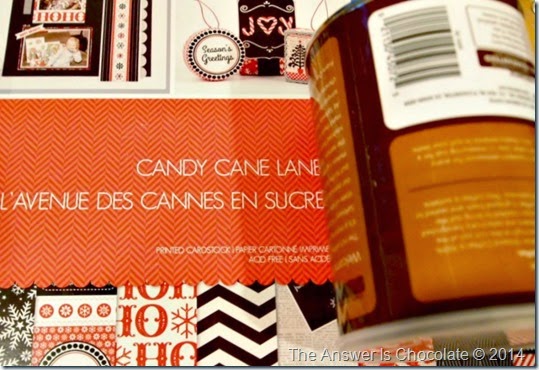
  • DCWV Candy Cane Lane Stack
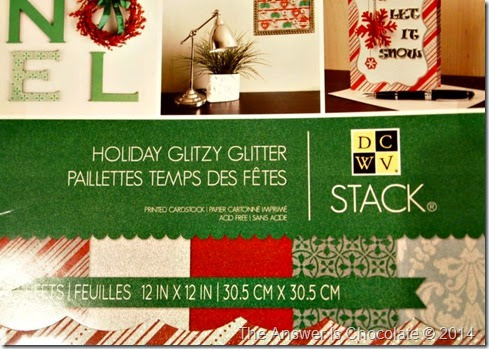
  • DCWV Glitzy Glitter Stack
  • Embellishments
DCWV Candy Cane Lane

The Candy Cane Lane stack is so much fun filled with black and white ( my fave!) and bright red papers.

Coffee Can Snowman Hat Prep

Step 1:
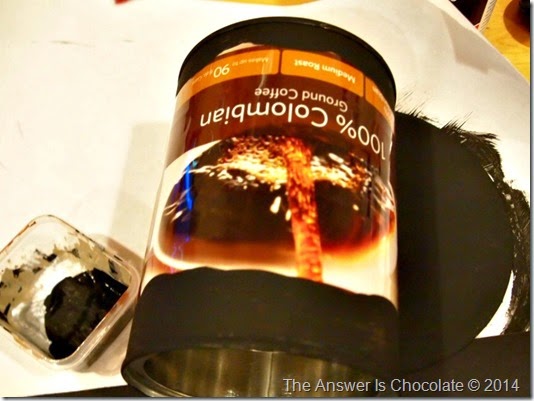
Prep your can. You could paint the whole thing but I just painted the edges and then cut plain black paper to fit around the can. I did the same with the bottom of the can which became the top of my hat. Apply paper with strong double sided tape or glue.

Coffee Can Snowman Hat Prep 1

Step 2:
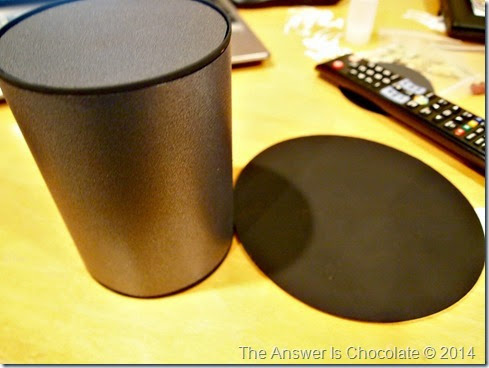
Cut a circle larger than your can. This will be the brim. I used chipboard and painted it black. Once your “brim” is dry hot glue your can ( bottom side up) to the brim. Now comes the fun part. Now comes the fun part! Decorate!

DCWV Holiday Glitzy Glitter

Step 3:
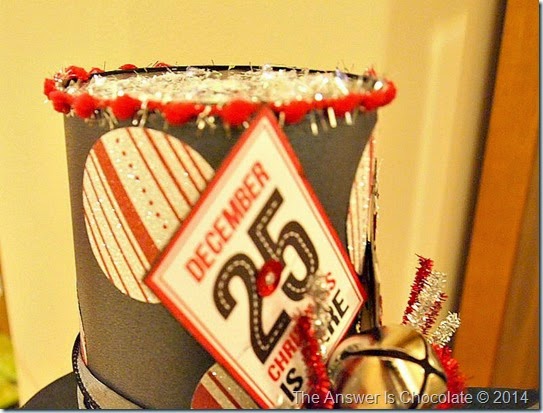
One thing I love about the DCCWV products is that the colors of the different stacks and papers often coordinate so you can use papers from different collecttions together. To decorate my hat, I punched circles from the Holiday Glitzy Glitter Stack using a red and silver glittered candy cane striped paper.  Apply these with strong tape or glue ( I broke my Xyron…Santa?)

DCWV Candy Cane Lane Tags

Step 4:
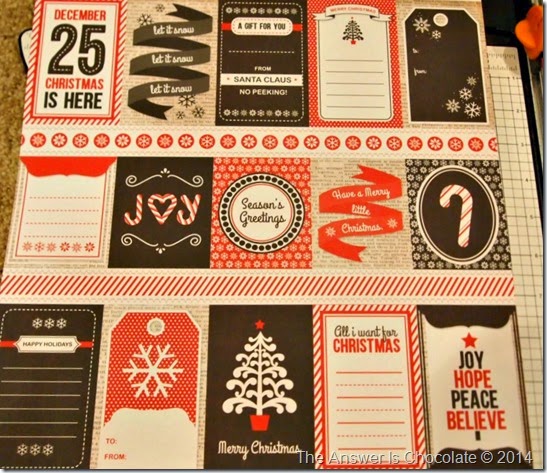
Back to the Candy Cane Lane Stack, I chose a sheet of tags and cut a couple of them to use for my hat. I mounted these on scrap chipboard and embellished with sequins and glitter glue .


At this point I was having fun with my hat and didn’t take pictures ooops!  I grabbed some ribbons from my stash and wrapped around the brim as shown ( so don’t worry if you have glue showing...use a wide ribbon and no one will know).

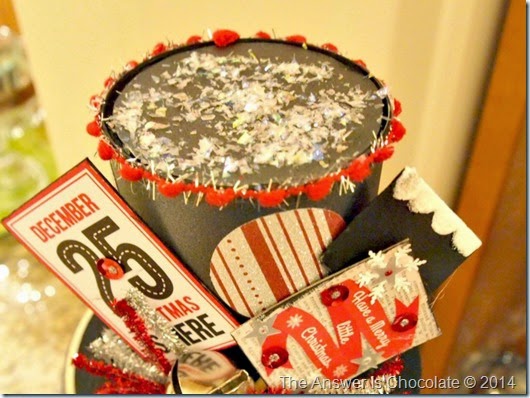
I had some pompom and silver ribbon that I hot glued around the top of the brim. I added some metallic pipe cleaners, a snow shovel, and large jingle bells, and gave the top of my hat a dusting of snow using glue and large glitter flakes.

Coffee Can Snowman Hat Top

DCWV Holiday Glitzy Glitter Circle

DCWV papers are available at JoAnn's and Michaels. I was provided with materials used in this project. Project idea and opinions are my own.  For other great DCWV ideas, please stop by the DCWV blog !

Sharing At: 
Monday, December 1, 2014

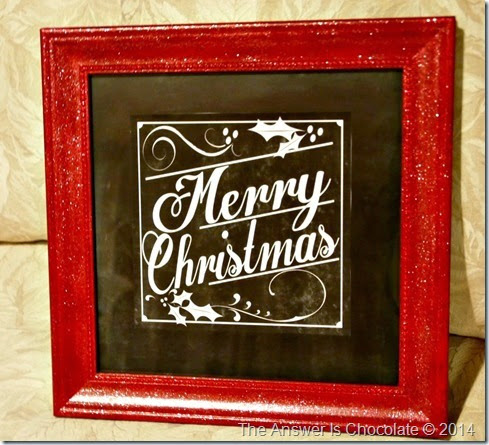
Pottery Barn Merry Christmas Knockoff

Pottery Barn Merry Christmas Knockoff

I think I’m one of the last people in the world or at least in the blogosphere who doesn’t decorate for Christmas until December. The first weekend in December has always been our tradition. Of course that doesn’t mean I don’t work on some things before that!

Everyone’s favorite place to find knock off ideas, Pottery Barn, had this very cool and very expensive “Merry Christmas” sign. I think it was $99 and it’s also no longer available.


Loved everything about it except did I mention the price and that it’s no longer available? And theirs was 30x30 which would have been too big anyway.

So, doing what all creative bloggers do, I went looking to see if any like minded creative types had already created a printable and voila, Kristy from The Diary of Dave’s Wife had done just that.  Because she’s awesome you can get the printable from her for free and she’s also got a project idea you should check out.  Thank you Kristy!

For my version you will need:
  • 12x12 frame  (re-purposed one I had on hand)
  • Red craft paints ( I used red and glitter red by Martha Stewart)
  • Printable
  • 12x12 black scrapbook paper
  • Chalk

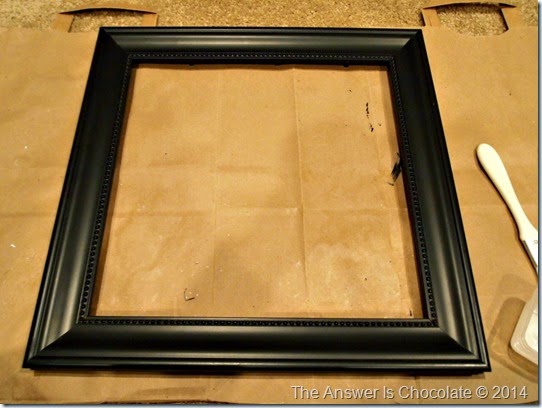
I started with my plain frame:

Pottery Barn Knockoff Sign Frame

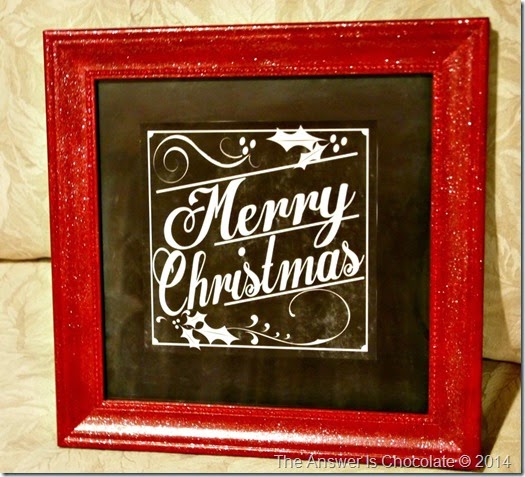
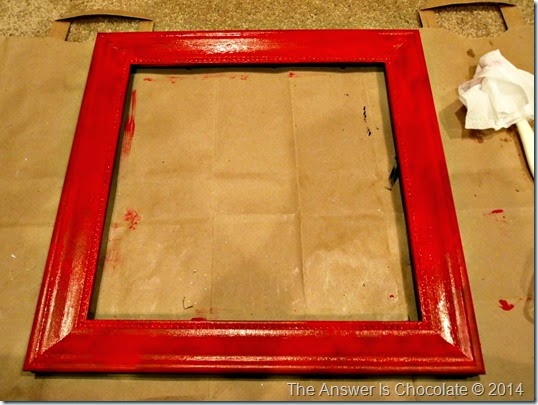
and gave it a couple of coats of flat red and a couple of coats of the glitter red paints.

Pottery Barn Sign Knockoff Painted

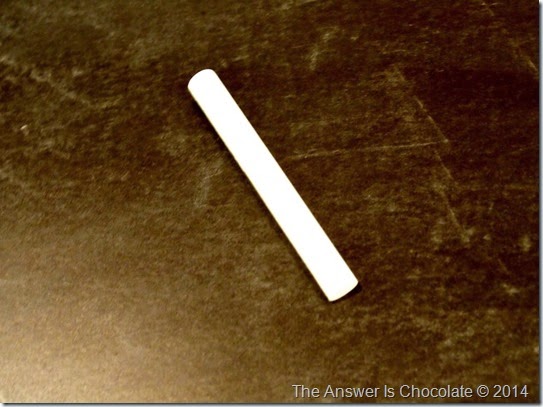
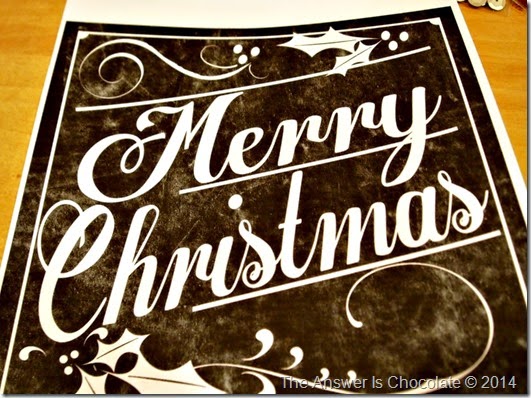
I don’t have a 12x12 printer (and was too impatient to send the printable somewhere that prints 12x12 prints) so I sized it as big as I could (8.5x8.5) and printed it out. Still, I needed to fill my 12x12 frame so lightbulb moment, mounted it on some 12x12 scrapbook paper. To make it blend, I chalked up the black scrapbook paper background:

Pottery Barn Knockoff Sign Background

Just rubbed a piece of chalk all over like you would to prime a chalkboard.  Then I trimmed my printable and did the same thing to it:

Pottery Barn Knockoff Sign Printable

Centered and taped it to my primed background and done and done.

Pottery Barn Merry Christmas Knockoff

Cost to me: $0. I like my price!

Sharing At: 


Thursday, November 27, 2014

BFF Open House Link Party #186

The Answer Is Chocolate

Welcome to the post turkey naptime edition of the BFF Open House. Hoping everyone had a fabulous feast, and those of you braving the crowds tomorrow are well rested and fortified. 

We are in full on December holiday mode now. Here are some features from last week's party. 


I want this chair that Artsy Va Va made over. I wanted the chair it was before she made it into a Christmas chair. I love everything from the ornaments to the shabby chic goodness of the legs and arms! 


Loving this woodland wreath from Made In A Day using embroidery hoops. 


For a new twist on snowglobes made from jars, put a car in it. Visit 24 Cottonwood Lane for the details. 


Gather miscellaneous votives or jars and tie them together with gold leaf to make a festive display perfect for Christmas or Hanukkah. See the guys at Crafty Lumberjacks to learn how. 

This week's chocolate feature is courtesy of  The Pin Junkie


You're welcome !

Now on to this week's party : 


Happy Thanksgiving

From our home to yours, wishing you a very


Enjoy the day with family and friends, filled with lots of love and good food. 

Sunday, November 23, 2014

Metal Embossing: Fired Copper Plaque

Embossed Metal Plaque

Sharing a a gift / décor idea using one of my favorite techniques that looks a lot harder than it is:heat fired  embossed copper.

For this project you will need:
  • Embossable copper (you can find at art supply stores, Michaels, JoAnn etc.)
  • Die or image to trace
  • Heat source ( pencil torch, micro torch, something w/ a flame)
  • Wood plaques
  • Paper scraps
  • Mod Podge
  • Washi Tape
  • Stamps, colored pencils, ink
  • Embellishments
Painters Masking Paper

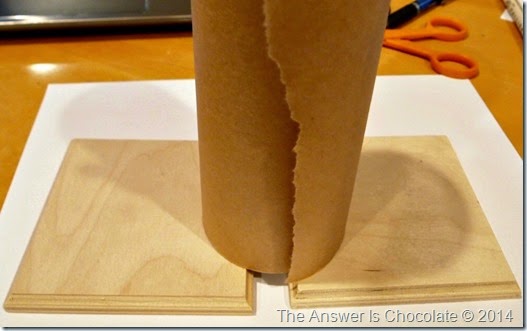
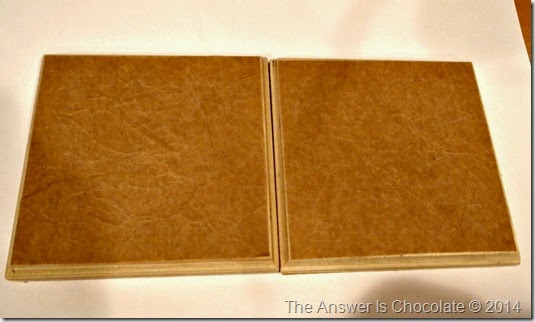
First step is to prepare the plaques. I have a roll of this masking paper in my stash that I use in a number of projects. It’s thin, accepts Mod Podge and/or paints easily and most of all is cheap. Look for it in the paint aisle of your HW store. Measure to fit your plaque, cut to size and then crinkle to give it texture before applying.

Paper Covered Plaque

You now have a canvas you can play with. I used some paper scraps, inks and washi tape to make my background.

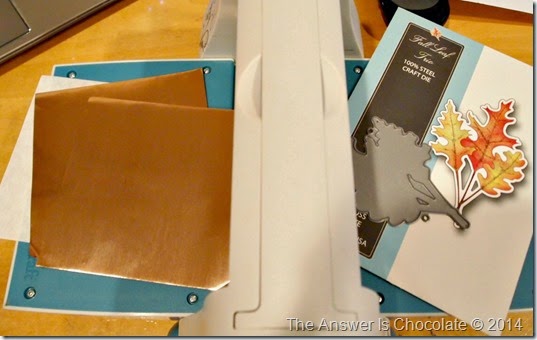
Diecut Copper Sheets

I used a Memory Box die to cut the oak leaves. Run through a die cutter ( I used a Cuttlebug). TIP: If you don’t have a die cutter, print out an image that you want, lay it on top of the metal sheet ( put a magazine or rubber mat under the metal) trace on top of the image with a stylus and then cut with scissors.

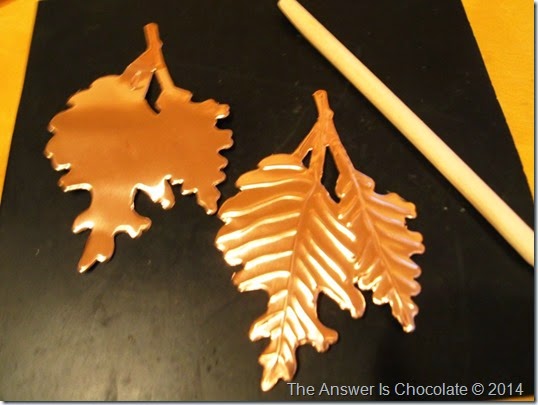
Embossed Copper

Once you have your shape you can use a stylus to draw lines, details etc into it. I just did this freehand.

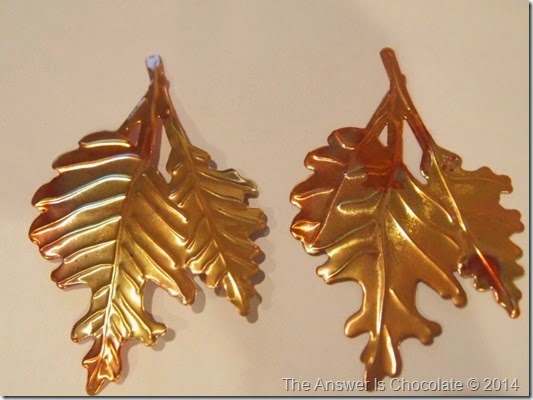
Heated Copper Leaves

Using your pencil torch ( you can find these at the hardware store) apply flame to your copper pieces. USE LONG TWEEZERS NOT YOUR FINGERS TO HOLD METAL! Here’s a video that shows the basic process.

If you have a gas stove you can also hold the metal over a lit burner.  The thinner the sheets, the faster the process so watch closely until you get the effect you want. If you don't want to play with fire, you can skip this part and/or use a different metal.

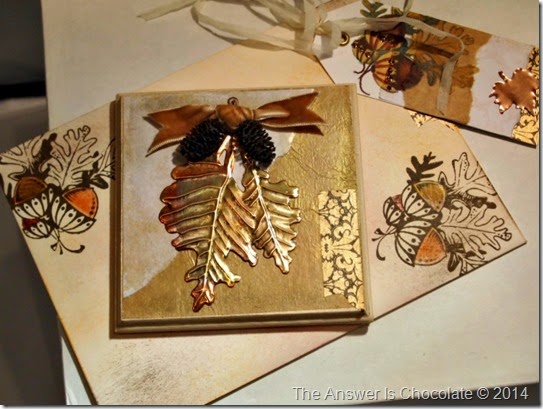
Since I like to age things, I dry brushed my finished metal pieces with black craft paint and then wiped off just to dull them a little. Once done, glue to your prepared plaque with a strong adhesive ( I used Liquid Fusion) and embellish.  I used scrap velvet ribbon tied in a simple bow and some pinecones I found on a walk.

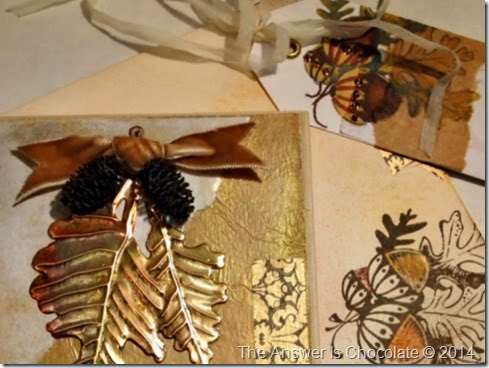
Oak Leaf Acorn Plaque and Tag

Now that you’ve made a lovely gift, the presentation should match don’t you think? I used a stamp with acorns and oak leaves on the envelope for the card and the gift tag and stippled inks on the envelope.  I also used some of the masking paper and scap paper from the plaque for the tag.

Here are some other metal embossing projects you might like:

Embossed Metal Snowflake Tile

Embossed Metal Christmas Ornaments

Sharing At: