Wednesday, February 4, 2015

Valentine's Day Easy Heart Canvas


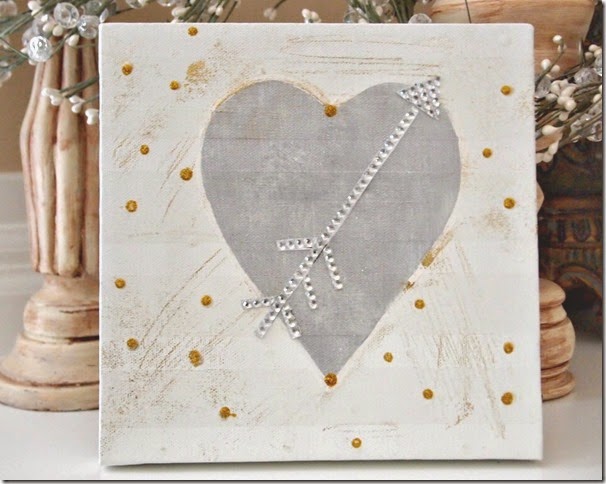
Valentine Canvas Bling Arrow

I had some of the jeweled adhesive left over from my Valentine letters and even a little goes a long way. I had a canvas in my stash and made this piece to add to my mantel.
For this project you will need:
  • Framed canvas
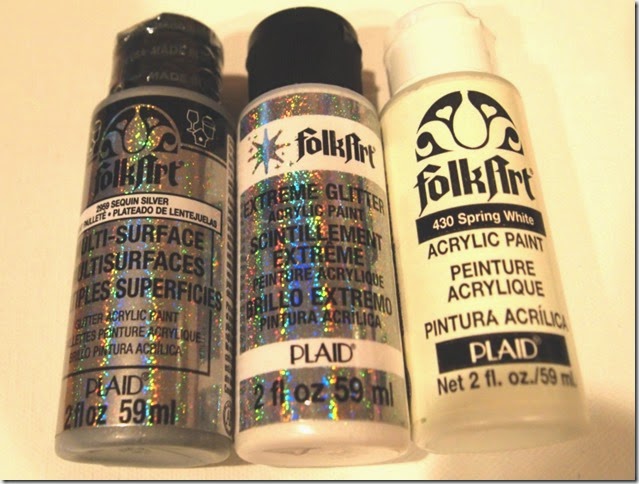
  • Craft Paints (  I used Folk Art Acrylics Spring White, Hologram, Sequin Silver)
  • Washi or other low tack tape
  • Clear Contact paper
  • Glitter glue
  • Craft foil
  • DCWV Self Adhesive Jewels

Valentine Canvas

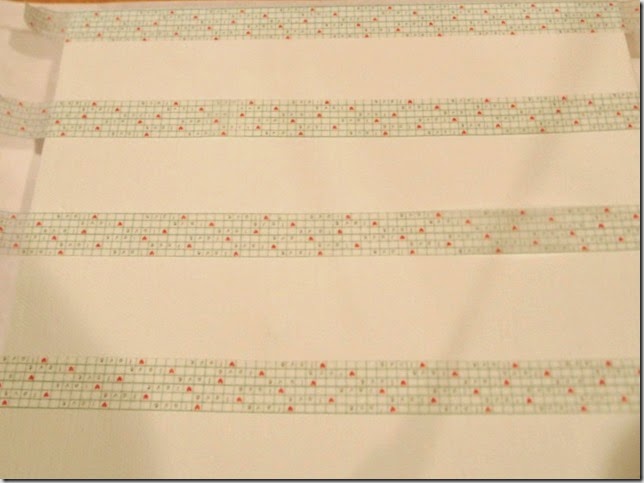
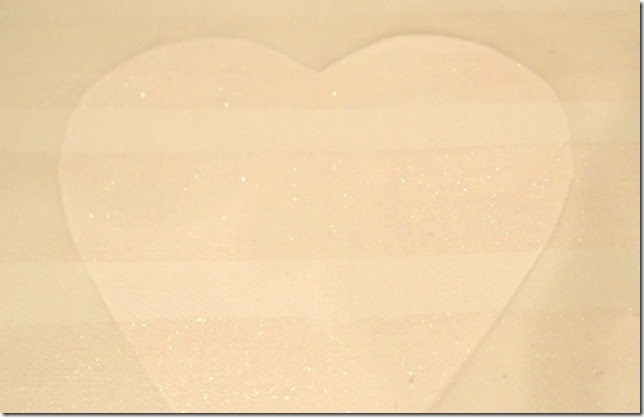
To start, paint canvas white (Folk Art Spring White). When dry, tape off and then paint with white glitter paint ( Folk Art Hologram).  When dry remove tape.

Folk Art Glitter Paints

Using clear contact paper ( thank you Dollar Tree!) cut a heart stencil, apply, and paint heart with a couple layers of Sequin Silver.

Valentine Canvas Contact Paper Stencil

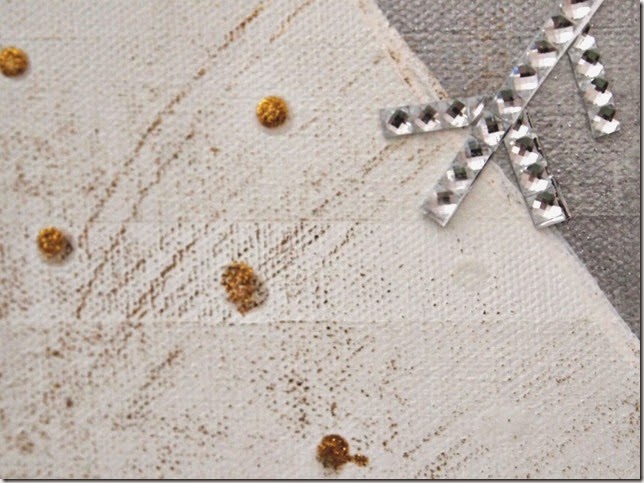
Once the heart was dry I “distressed” the canvas using craft foil. The paint was still tacky enough to pick up the foil so I just laid it down and scribbled randomly. Where it took it took since I wasn’t going for complete coverage.

Valentine Canvas Foil

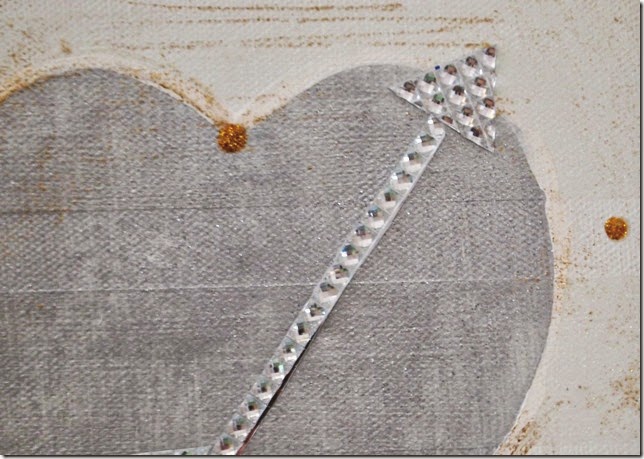
To finish, I cut an arrow from leftover pieces of Jeweled Adhesive. I just did this freehand using the grid lines on the adhesive as a guide. Embellish with dots of glitter glue and done!

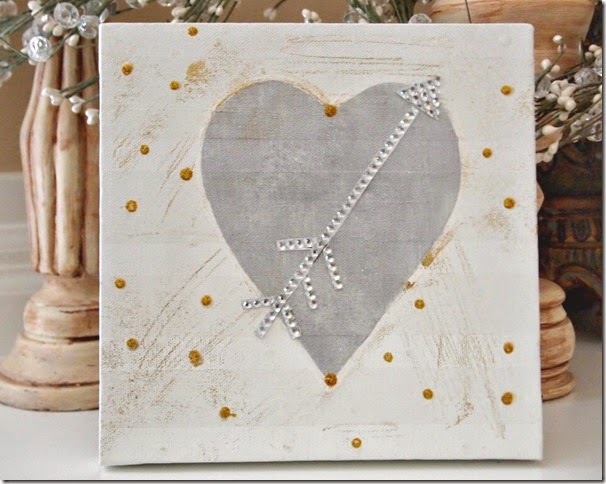
Valentine Canvas Foil


Valentine Canvas Bling Arrow

Hugs and Kisses Sig

Monday, February 2, 2015

Easy Blingy Valentine Letters

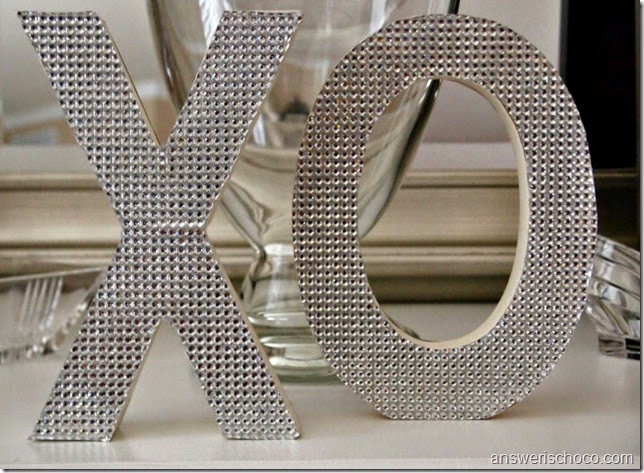
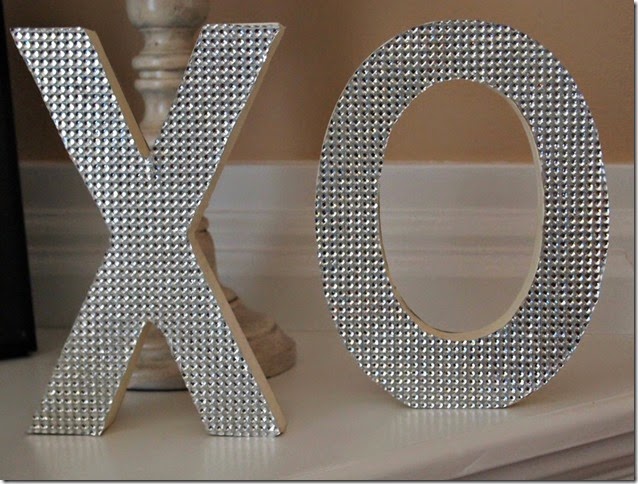
DCWV Bling XO Letters

Happy Valentine’s month! Why stop at just the 14th? Love should get a whole month don’t you think? Not saying I’ll have a month’s worth of projects but I do think I will leave things up for the month ( attn Mr. Chocolate).

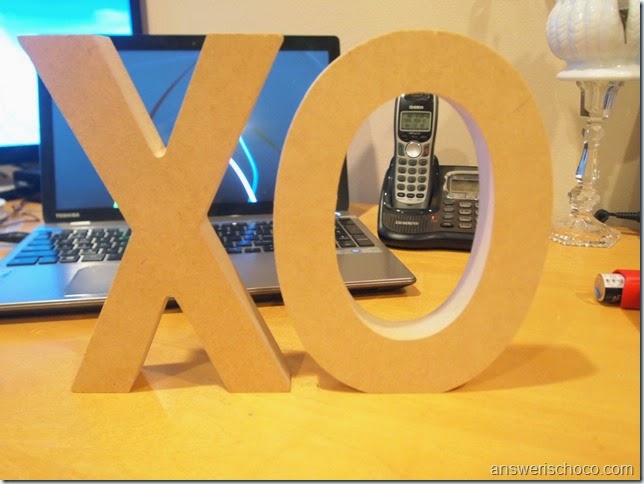
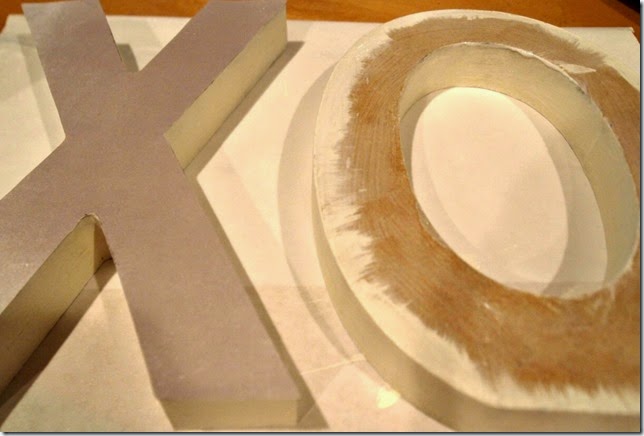
I was tired of my previous Valentine’s decor so set out with no particular idea in mind to change it up this year. While on a  stroll through Michaels I stumbled upon these letters in the clearance aisle and thought they’d be perfect for VDay.  They’re MDF or chipboard or something.

P1013344

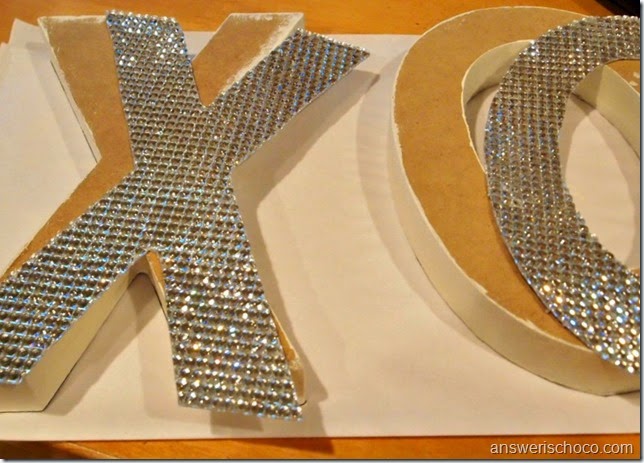
In my DCWN stash, I had some self adhesive bling sheets that can be cut into different shapes and which I thought would be perfect for these letters:

DCWV Bling Sheet Letters

Trace the letters on the back and then cut out using plain old ( but sharp) scissors. Before I put the bling on, I painted the sides and edges of the letters and applied  scrapbook paper to the back with Mod Podge.

DCWV Valentine Letters

I like that I can mix up my letters by showing both blingy, or one blingy and one paper or both paper or….

DCWV Bling Letters 1

Then easy peasy, peeled off the backing from the bling sheet letters, applied, and trimmed with a craft knife.

DCWV Bling XO

Supplies used in this project:
  • Letters to decorate ( can use wood, paper mache, etc.)
  • DCWV Adhesive Jewel Sheet
  • Scrapbook paper ( I used DCWV Decor Noir Stack)
  • Mod Podge ( I used Matte)
  • Craft paint, scissors, craft knife

Sharing At: 


Thursday, January 29, 2015

BFF Open House Link Party #194


The Answer Is Chocolate

Happy Friday eve and welcome to the last BFF Open House of January. I'm hardly what you would call a football fan, but hometown pride is contagious so I'm excited to watch the Seahawks in the SB ( sorry Pats fans...gotta root for the hometown team). 

Valentine's Day will be here imminently so this week's features have a theme. Let's start with these gorgeous treat bags from Bonnie at The Pin Junkie:


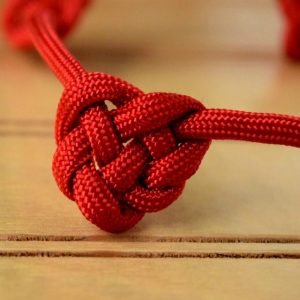
Sarah from Ruffles and Rainboots shared how to make a Celtic knot using paracord, something that has so many possibilities from using it in a jewelry piece, or as an embellishment on a pillow or as she did in a garland. 


I recently saw a big glass growler and resisted it because I wasn't sure what I'd do with it ( not a beer drinker !) but Heather from Woods of Bell Trees has solved that. See her take on a Ballard Designs inspired project: 


And how could I not feature these brownies which are perfect for this weekend? From Simple Recipes Club:  Victory Brownies ! Whichever team wins, these will be a hit. 


Now onto this week's party !


Tuesday, January 27, 2015

Say Cheese: Mini Insta Photo Fun Album


As I mentioned during Friday's party, I have not been very creatively active lately. Part of that is because I wanted to maximize time w/ College Boy while he was home on Winter break. So now that he's been back in school and all of the Christmas craziness has been put away ( yes you read that right...we keep it up until he goes back!) I had time to play with some fun new goodies from DCWV.


Disclosure: I am a guest designer for DCWV. Supplies were provided to me. Design and opinons are my own. 

College Boy has become quite the coffee connoisseur so while he was home we made quite the tour of indie coffee shops. I also got a new phone so was having fun taking pics everywhere we went. These days I don't do a lot w/ my pics so I decided this mini album would be a perfect way to capture the memories of his visit.  I like these small album sizes 6.25 x 5.5 and there are 4x4 photo sleeves that fit the 4x4 cardstock that coordinates with the album colors.


Since CB is an old soul who likes old things, I decided to do all the photos in black and white and kind of retro using photo corners. I mixed and matched the papers from the pack which all coordinate. 


I kept the pages pretty simple letting the papers and the photos speak for themselves but added some camera and film strip themed washi tapes and journaling stickers. 


For the cover, I used a page from the Chalk Art stack and cut it to size to fit the front of the album. I also had some camera charms in my stash that went perfectly with this project: 


Forgive the blurry photo! I added these to the front along with some of the washi tape, again keeping it simple and letting the paper speak for itself. 


I haven't decided yet whether I'm sending to him or keeping it but either way, memories saved! 

DCWV products used in this project: 
DCWV 4"x4" Insta Photo Fun 2 ring album: Blue, , hi-resDCWV Insta Photo Fun 4"x4" Printed Cardstock Stack: Blue and White, , hi-resDie Cuts With A View Chalkboard Premium Stack, , hi-res

Sharing At: 


Thursday, January 22, 2015

BFF Open House #193

The Answer Is Chocolate

Happy Friday Eve and Happy Birthday to College Boy! We are the ones who got the best present ever when he was born. I have not done a whole lot in the way of creative things this week ( OK I've done zip, nada, zilch!) so was excited to see what you all had been up to. Here are a few highlights: 


Black and white and glitter? Yes Please! Love this Valentine's canvas from Her Organized Chaos. Sorry Mr. Chocolate ...like the Terminator, the glitter "will be back". 


This fabric flower lampshade would look great alongside that Valentine canvas or on its own. Visit The Heathered Nest for the how-to. 


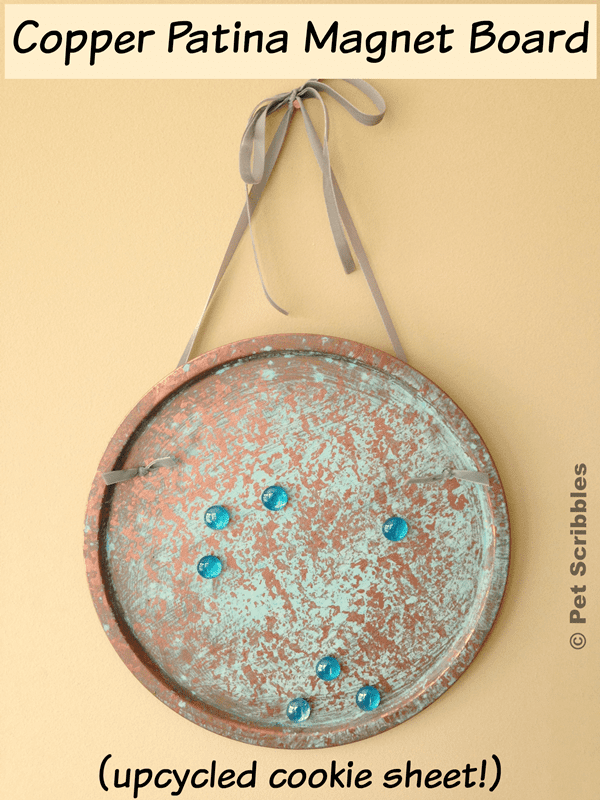
Maybe you got some new baking pans for Christmas? Don't throw out the old ones ( or hit up a thrift store for some inexpensive ones). See what Pet Scribbles did with an old cookie sheet! 


This week's chocolate feature is from Gator Mommy: Snickers Brownies. Snickers are yummy. Brownies are yummy. Snicker Brownies? 'nuff said. 


Time to see what you've been up to this week! 


Thursday, January 15, 2015

BFF Open House Link Party #192

The Answer Is Chocolate

Happy Friday Eve all even though I'm a little pouty since College Boy will leave tomorrow to go back and finish up his last semester of college! It's been a great visit and hard to believe he'll graduate this year! 

Lots of great shares at last week's party. Here are just a few: 


Let's start off with this faux patina monogram from A Creative Princess. Love the combination of paint and distress inks. 


How about this gorgeous metal stamped bracelet from Pitter and Glink? Perfect Valentine's gift. 


Plastic water bottles. I know we're supposed to hate them but they are a necessary evil in my life and I'll bet I'm not alone. I try to minimize and re-use and Mich in LA has a great way to keep track of yours on the go with this gorgeous beaded strap holder! 


The name of this week's chocolate feature from Her Organized Chaos speaks for itself doesn't it? 

Now on to this week's party! 


Monday, January 12, 2015

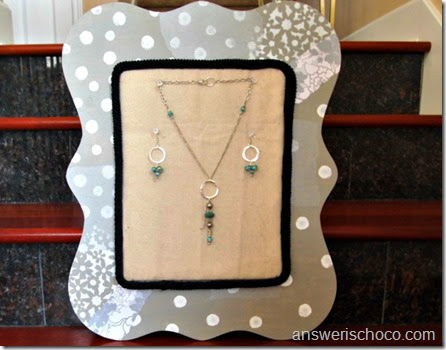
Spring Wood Fun With Michaels: Gray and White Photo Prop Board


Michaels Spring Wood 2015 Photo Prop Board

Disclosure: I wrote this post as part of a paid campaign with Plaid Crafts, Michaels and Blueprint Social. The opinions in this post are my own.

I have been meaning to make something to help me with taking pictures of jewelry projects and when I recently had the opportunity to work with Michaels, Plaid, and The Blueprint social, this idea came together. Michaels has a wide assortment of unpainted Spring wood pieces that are a perfect blank canvas.

For this project I used:
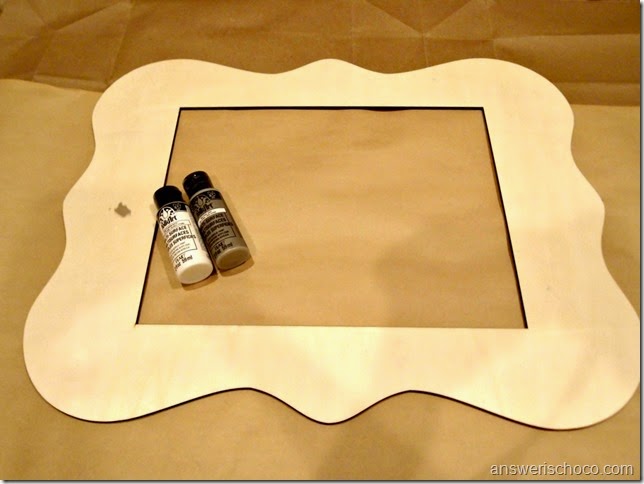
  • Large scallop edge frame ( 11x14 opening)
  • Plaid Folk Art paints in Steel Gray and Titanium White
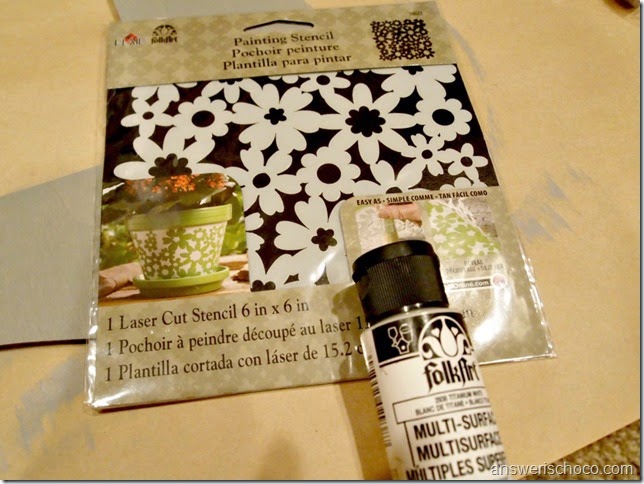
  • Plaid Folk Art stencil “Ditsy Floral”
  • Paintbrush
  • Paint Spouncers
  • Recollections Gray and White Floral scrapbook paper
  • Washi tape sheets
  • Mod Podge ( Matte)
  • Foam Core
  • Fabric
  • Cotton Batting
  • Trim
The washi tape sheets, fabric, batting and trim I had on hand. All other supplies are available at Michaels.

Michaels Spring Wood 2015

Step 1:
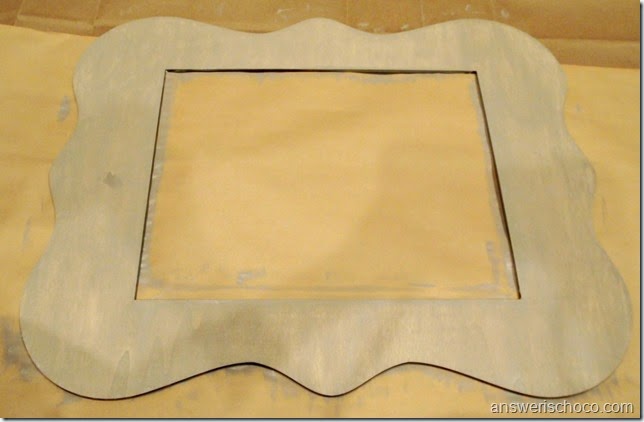
Paint surface with two coats of Steel Gray paint. The picture below shows one coat and I debated about whether to add the second because I liked the almost stained effect of one.

Michaels Spring Wood 2015 Folk Art Steel Gray

Step 2:
After applying the second coat, I used the floral stencil to add some detail on opposite corners of the frame with the white paint using the spouncers :

Michaels Spring Wood 2015 Folk Art Stencil

Step 3:
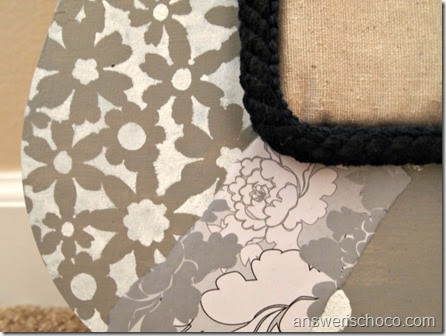
Using the spouncers, I randomly added dots of white around the frame and tore pieces of the scrapbook paper and applied as shown with Mod Podge.  I added torn pieces of the watshi sheets and then sealed the whole thing with another coat of Mod Podge.

Additional Steps:
To fill the center of the frame I cut foam core to size, covered with cotton batting and canvas drop cloth. I probably should have ironed the drop cloth but I’m sure the wrinkles will smooth out :)

Michaels Spring Wood 2015 Photo Board 1

I adhered this to the frame from the underside, attaching with strong carpet tape. To finish, I hot glued upholstery trim around the covered foam core.

Michaels Spring Wood 2015 Stencil and Paper Corner

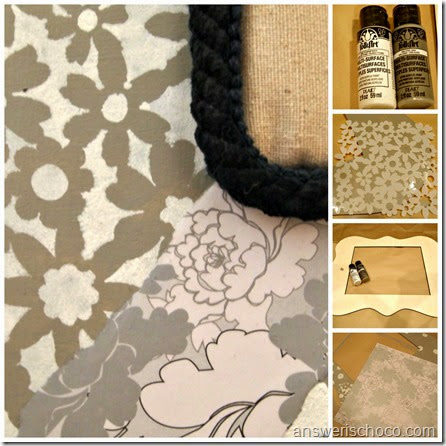
Michaels Spring Wood 2015 Collage


You can keep up with the latest products  offerings and ideas from Plaid via the following:

Plaid Website
The Plaid Palette Blog
Newsletter Sign up for Plaid’s email newsletter for special coupons, project ideas and more!
Plaid's YouTube channel
Pinterest
Facebook
Instagram
Twitter
Google+

Here are what some other crafty peeps have been up to: