Monday, October 20, 2014

Halloween: BEWARE Banner and Ghosts of Projects Past

Beware Banner

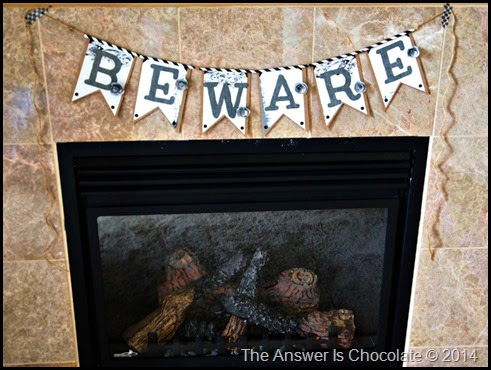
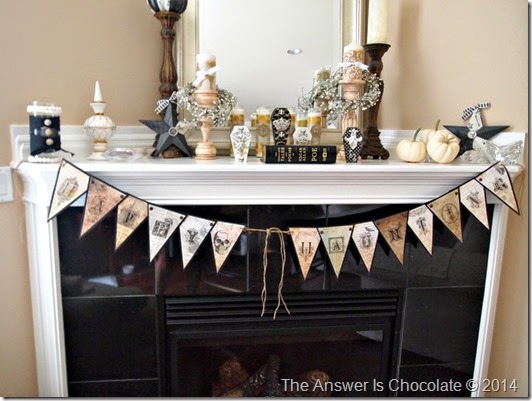
We have a 2nd  fireplace without a mantle that was sitting there all naked and bare and I decided it needed a Halloween banner.

For this project you will need:
  • Chipboard
  • Scrapbook paper ( I used a black and white pack from Oriental Trading Co)
  • Textured Cardstock ( Core’dinations)
  • Paper Straws ( Oriental Trading Co)
  • Glitter Tape
  • Self adhesive rhinestones
  • Jute twine
  • Adhesive
Bewarer Banner 1

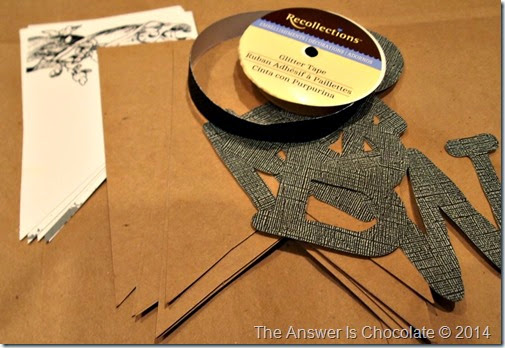
For the banner, I cut the letters from a textured cardstock using my Cricut.  Cut the pennant shapes from chipboard (4.5 x 6.5) . I did these the old fashioned way using math and everything! Determine the center point of your rectangle ; draw lines to the bottom corners to make a triangle and cut. Same for the scrapbook paper layer reduced by 1/4”. Layer scrapbook paper pennant on chipboard , cut photo corners from glitter tape and apply, adhere letters and finish with rhinestones.

Beware Banner 2

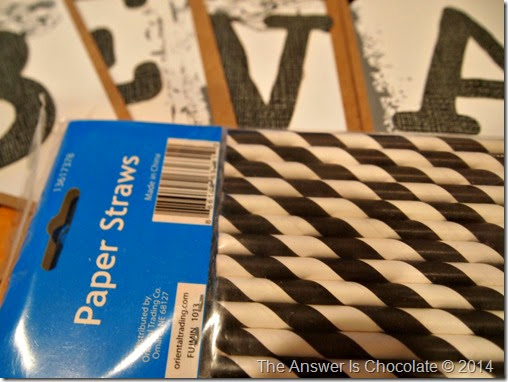
I got the idea to use the paper straws both to embellish each piece of the pennant because that's how I roll.

Cut straws to width of pennant pieces and attach with hot glue.

Beware Banner 3

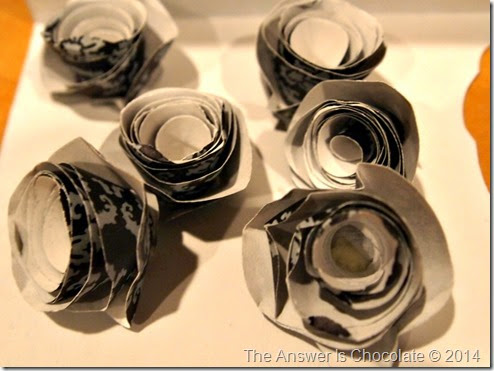
Using another piece from the scrapbook paper pack, I made rolled paper roses for each of the letters. To hang, thread jute through each straw and attach with washi tape.

Also sharing some of this year’s Halloween décor using past projects (active links go to tutorials):

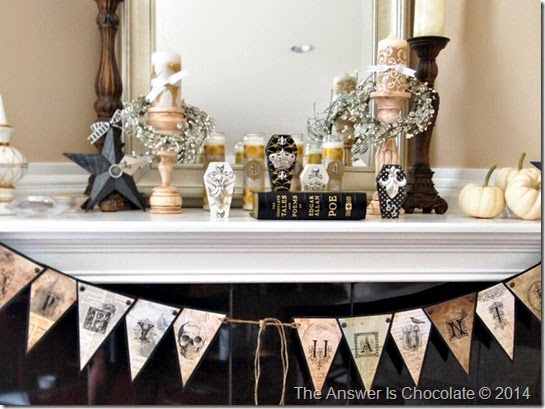
Haunted Mantle

Haunted Mantle 2

Halloween Decor
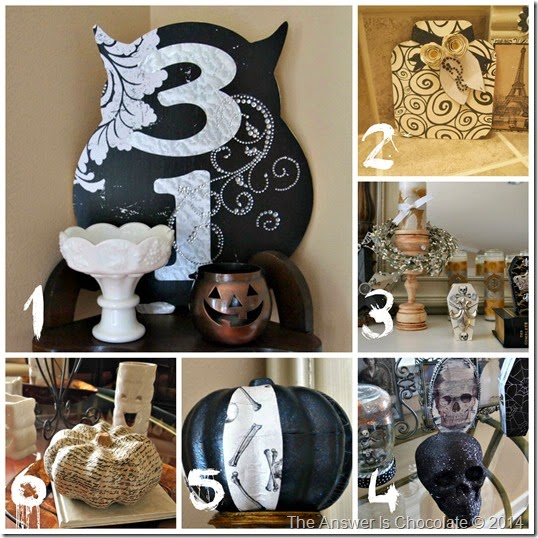
  1. Paper and Vinyl Owl
  2. Pressboard and Paper Pumpkin (I didn't do a post on this but it's a leftover pressboard "page" from a shaped album, covered in scrapbook paper using Mod Podge)
  3. Gothic Coffin Boxes
  4. Halloween Snow Globe (Halloween take on Christmas snow globes; old jar, Halloween figure, glitter )
  5. Glitter Decoupage Pumpkin
  6. Tissue Paper Pumpkin


Sharing At: 

Thursday, October 16, 2014

BFF Open House Link Party #180

The Answer Is Chocolate

Welcome back to another party here at The Answer Is Chocolate! TWO WEEKS! Halloween is two weeks from tomorrow people! Whether you're already set or just getting started, there's still time to whip up some things. Here are a few ideas.


Rachel from Holy Craft has devoted an entire week to Halloween projects and I love each and every one of them, a couple of which easily carry forward through Thanksgiving. 


Dana over at This Silly Girls Life shared some fantastic Halloween makeup ideas. 


I love the simplicity but high impact of these scrap wood ghosts from The Pin Junkie.

This week's chocolate feature is another that would be great for a Halloween dessert table. Mini Oreo Cheesecake from TitiCrafty:


Now on to this week's party! 


Tuesday, October 14, 2014

Halloween: Beaded Spider Web

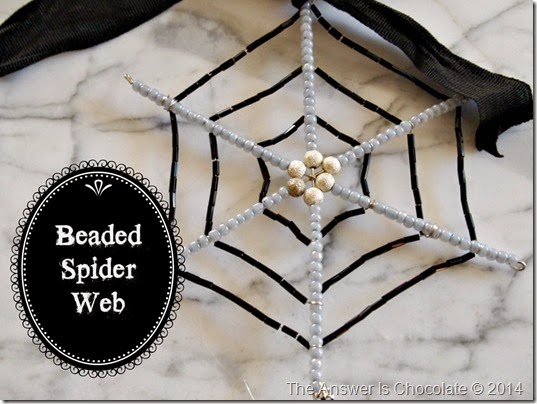
Beaded Spider Web

Oh what a tangled web we weave as the saying goes. Only with this project, the deceiving part is how easy this project is to make. Now I know not everyone loves spiderwebs or spiders (including College Boy who is very happy he’s safely away at school nowhere near my “pretty but evil” creation…his words).

For this project you will need:
  • Wire Snowflake Form
  • Seed Beads and Bugle Beads
  • Misc beads for center
  • 26 Gauge Wire
  • Needlenose pliers
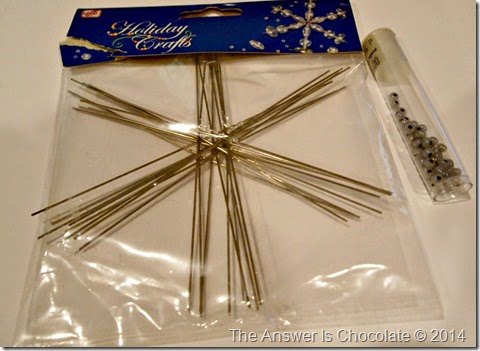
I had the snowflake forms in my stash but you will find them with the Christmas supplies at your local craft store:

Beaded Spider Supplies

Starting with one of your “misc beads” ( I scrounged around in my leftover beads and found enough that matched)  string onto one spoke of the wire form. String seed beads until almost full, leaving enough exposed wire to make a loop for the end. Use the pliers to bend a loop. Repeat until your wire form is covered.

I started with about a two feet of the 26 gauge wire and wrapped the starting end around one of the beaded wire spokes enough to secure it. Work from the middle out and string enough bugle beads to get to the next spoke. Wrap that spoke with wire, string more bugle beads. Rinse. Later. Repeat until you’ve gone around the whole thing.  Eyeball where you want the next row of your web to be and repeat the process two more times as shown.

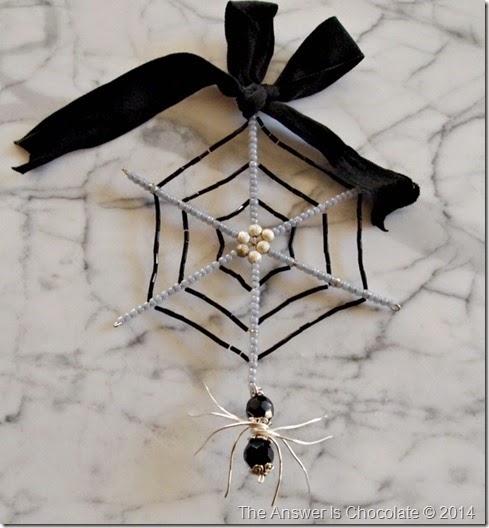
Beaded Spider Web 1

I finished my web with a bow of scrap grosgrain ribbon I saved from a package of curtains. Left it all wrinkly because of the creepy factor.

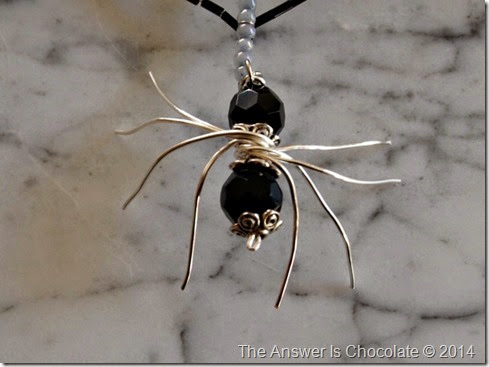
But what’s a web without a spider? The basic construction is two beads and some wire. There are tutorials on Pinterest and You Tube you can follow to get the basic construction. I decided not to bead my legs because I liked the wire legs plain.

Bead Spider 
I also used the same size beads (10mm) vs two different sizes that a lot of the tutorials show. And I added some beadcaps. Attach your spider to its web using a jump ring.

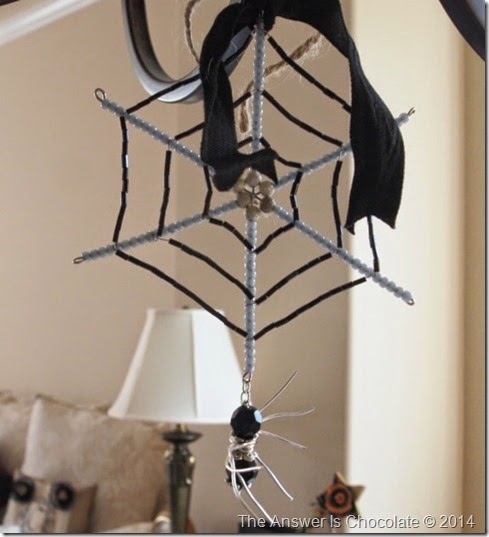
I hung mine from our dining room light fixture ( "Hi welcome to dinner don’t mind the spider hanging above you”) using some jute twine.

Beaded Spider Web 2

They’re creepy and they’re kooky
Mysterious and spooky
They're altogether ooky
My beaded spider webs

You're welcome for the Addams Family theme song ear worm.

Sharing At: 

Monday, October 13, 2014

Silver, Leather, and Pearls: Bold Necklace and Coordinating Bracelet

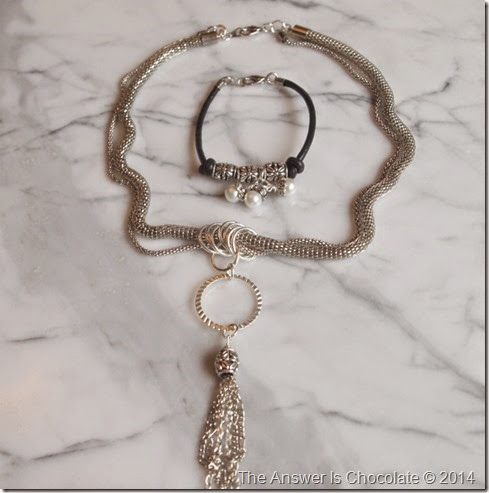
Double Chain and Leather Bracelet

I can post this now that I’ve given it to the recipient. I made these recently for a friend. Supplies except for leather : Blue Moon Beads.

The thick chain and bold silver beads remind me of some very high end designed silver lines but for much much less! 

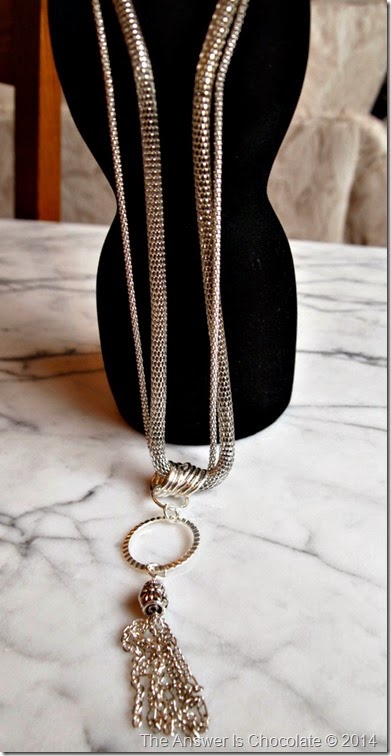
Double Chain Necklace

For the necklace, I used two sizes of silver snake chain ( 9MM and 3MM) measured to 20 inches. Finished the ends with end caps adhered with jewelry glue, and finished with a lobster claw clasp attached with jump rings.

I had some oversized jump rings in my stash and strung both strands of the chain through them, then used one more looped through them to hold them together. 

The pendant was made using a connector link, focal bead and leftover chain from other projects.

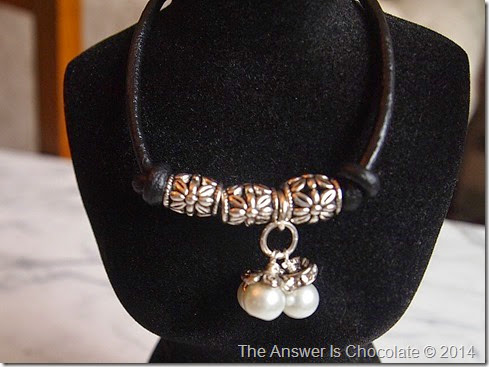
Leather and Pearl Bracelet

For the bracelet, I used a 7 inch length of 8MM leather cord to which I attached the same type of glued on jewelry caps and clasp as the necklace. Tied a knot about 1/3  into the bracelet then strung three focal beads and tied another knot. For the dangle, I wire wrapped three pearls strung on head pins and finished with bead caps. The beads in the bracelet and the beads in the pendant match so these can be worn together or separately.

Thursday, October 9, 2014

BFF Open House Link Party #179

The Answer Is Chocolate

Happy Friday Eve all! Welcome to another party here at The Answer Is Chocolate. Some wonderful ideas linked up at last week's party. I hope when you link up you're visiting each other. Here are some highlights: 


From Crafty Journal, make a mini Halloween themed Pocket Book using just one sheet of scrapbook paper. 


Heather from Woods of Bell Trees has a wonderful series going called  "Party In A Box" . So many ways to adapt this from parties, showers, housewarming, just because. It is a great idea for prime gift giving season!


Over at ArtsyVaVa, you'll see that the creative apple didn't fall far from the tree. Check out this table that her son made! How cool is this?

This week's chocolate feature is perfect for your Halloween dessert table. Best of all there's absolutely no way to mess it up!


Halloween Cookies and Scream bark from Life With The Crust Off


Now, on to this week's party! 


Monday, October 6, 2014

Halloween: Flying Monkeys Printable


I saw a similar quote on Facebook about Flying Monkeys that inspired this printable. I have love The Wizard of Oz since I was little including watching it every year it was on TV, then owning the VHS, DVD and Blu Ray editions.  Then I fell in love with the book "Wicked" , have seen the musical live , and know most of the songs by heart.

Being the weird kid ( ask The Mumster and Mr. Chocolate) that I was, I loved the flying monkeys. Some things never change! 

Made this using PicMonkey and some elements from EyeInspire . Click on the image to bring to full resolution. Right click to "Save As". Size accordingly. 


Thursday, October 2, 2014

BFF Open House Link Party #178


The Answer Is Chocolate

Happy Friday Eve once again and welcome to the first party of October. We are in full on Halloween mode and crunch time! Here are some ideas to inspire you. 

From Artsy VaVa, I am in LOVE with these brilliant Halloween cuffs. She shares the how to and it's easier than you think! 


I am wild about this copycat wreath from Homemade Interest especially given that the price of the wreath she knocked off was $259! She did hers for less than 1/4 that and the result is just as stunning as the original. 


This spooky vignette from The Crafty Lumberjacks is perfect for a mantle or any flat surface: 

This week's chocolate feature would be a perfect addition to a Halloween dessert table ( or any dessert table, or just because they're awesome!). From the ladies at LouLou Girls


Now on to this week's party!