Saturday, May 25, 2013

Altered Box Crafting At The Mumster's

Altered Cigar Boxes May 1

I can always count on a visit to The Mumster involving some crafting which is A-OK by me. I check with her before coming to see what she has in mind before I go. She’s enjoyed my altered cigar boxes and wanted to have a couple to give as gifts to some special friends. She planned ahead and scored the boxes at Total Wine.

P5199593

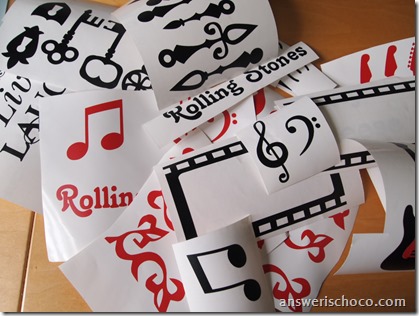
Since she knew the themes, I cut out a bunch of vinyl on my Silhouette Cameo before leaving home.

Rolling Stones Box

For these boxes you will need:
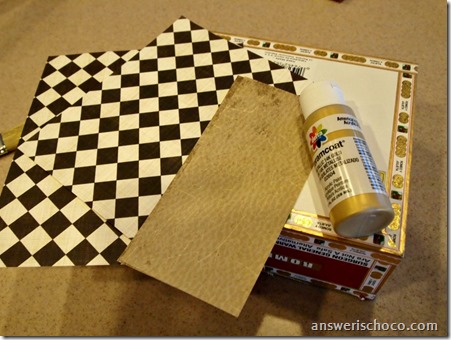
  • Cigar Boxes to cover
  • Scrapbook Paper
  • Mod Podge ( My go to is Matte)
  • Craft Paint
  • Embellishments
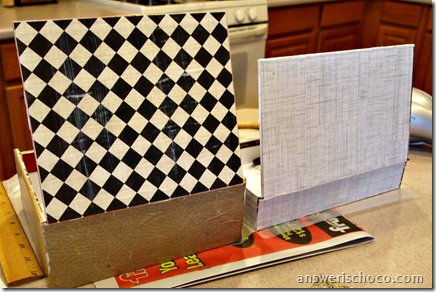
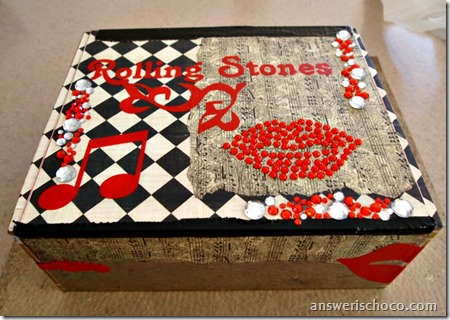
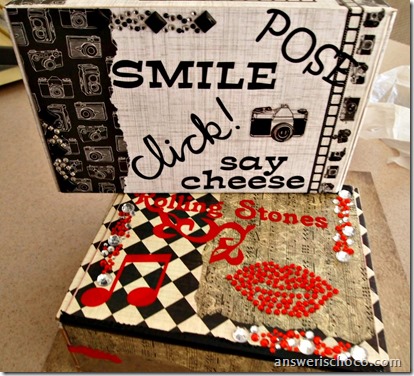
Measure your papers to fit your box. You can either cover the whole box with one paper or mix and match. The Mumster recently went to Vegas to see The Rolling Stones and wanted one of the boxes as a gift for the friend who invited her. For this box I used neutral papers , red vinyl accents and the focal was a red rhinestone lip sticker I picked up at Michaels in their 2 for $3 section.

Altered Cigar Boxes May

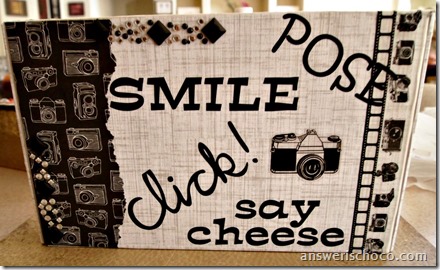
The other box is for friends of hers who threw her a surprise Birthday dinner and who love to take pictures so this one was photo themed.

Photo Altered Box

I found this great camera themed paper and brought with me camera themed washi tape ( Recollections, Michaels) , vinyl photo phrases, and of course, rhinestones!

Rolling Stones Box 1

For the Rolling Stones box I used black and cream harlequin paper, and music notes paper.

So now Mom has 2 Christmas presents out of the way; I got my craft fix; and we’re back to the Wine store for more boxes!

Sharing At: 

Thursday, May 23, 2013

BFF Open House Link Party #106

The Answer Is Chocolate

Happy Friday Eve all. Time to party. I've been on the go the last couple of weeks so I'll get back to features soon. In the meantime we'll get right to the party!


Tuesday, May 21, 2013

Jewelry Making With Plaid and Martha Stewart. I'm In Love!

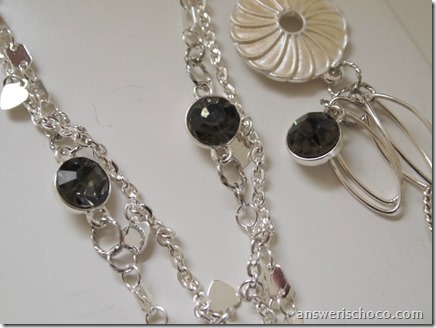
Martha Stewart Rhinestone  Necklace
This post is sponsored by Plaid , Martha Stewart Crafts, and The Blueprint Social. Projects and opinions are my own.


When I heard that Plaid was launching a Martha Stewart Jewelry line, I was excited. When I had the opportunity to get to play with products from this new line, there was no living with me. I camped out at the front door waiting for Mr. FedEx man. Martha and jewelry? This could only be phenomenal.  The only thing missing was chocolate.

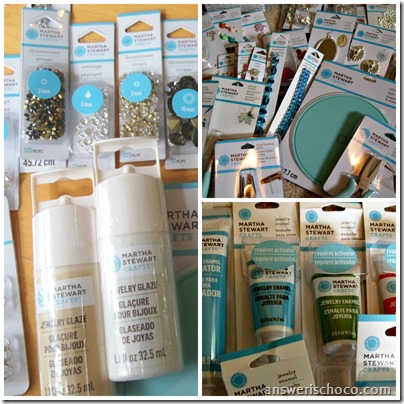
Martha Stewart Jewelry Supplies

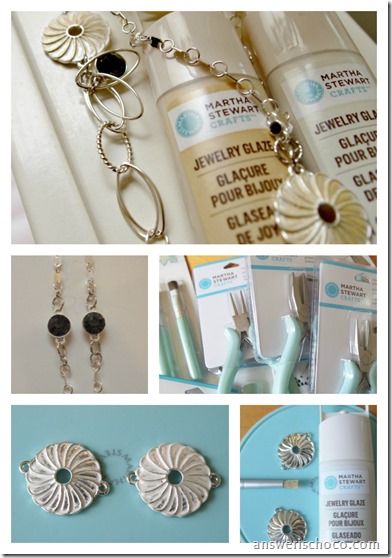
Let’s start with the amazing variety and choices in this new line. Whether you’re a new jewelry maker or an experienced one, there’s something for you. Findings, chains, beads, charms, rhinestones, bails, bezels, tools. Two of the most exciting new products are the jewelry glazes and enamel paints.

You can make your own very elegant enamel charms in a variety of colors.  There are also  epoxy clays and silicone molds to make even more components. I had to start somewhere (this was the hardest part!) so I decided to play with the jewelry glaze.

Martha Stewart Glazed Charms

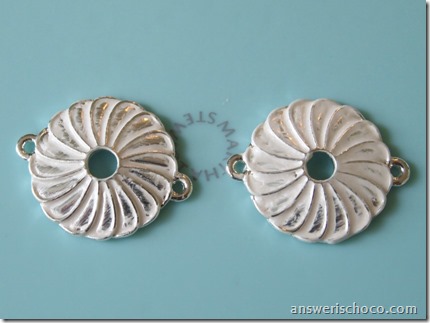
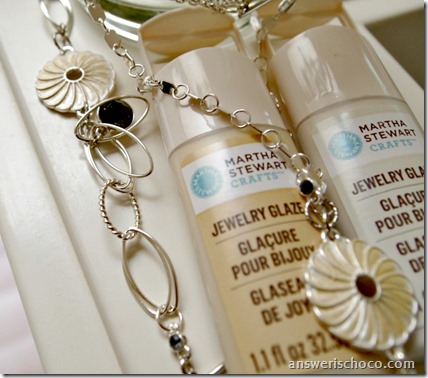
I covered two of the silver charms with  Ivory jewelry glaze. To apply it, squeeze a little glaze onto the silicone mat then stipple it onto the charm. This little silicone mat is genius! Works with the jewelry glaze and the enamel paints and cleans up easily.

Martha Stewart Pearl Glaze

I wanted a vintage look so I wiped a bit of the Ivory glaze off with a clean dry rag but if you want a more contemporary opaque look, just don't wipe away the glaze. After about an hour’s drying time , I went over the Ivory with a coat of the Light Gold glaze.

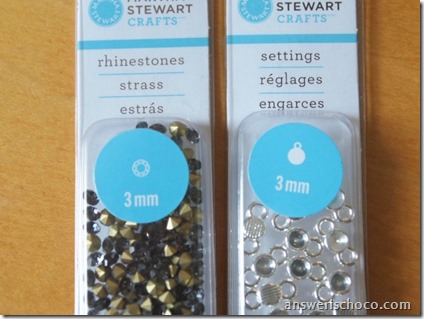
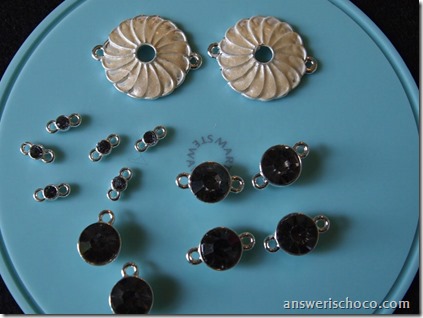
While my glaze was drying, I played with a couple different sizes of the rhinestones and settings, using the Martha Stewart jewelry glue to secure the rhinestones.There are two different kinds of settings; pronged and glue in. I used the 3MM and 6MM hematite colored rhinestones and settings .  I've mentioned before that I'm really sensitive to strong fumes and smells. The jewelry glue didn't bother me at all.

Martha Stewart 3MM Rhinestones

Martha Stewart Gold Glaze

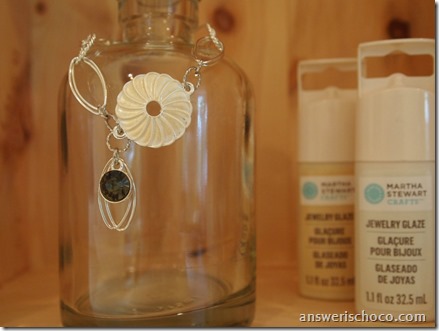
I used two types of silver chain that came in my supplies, connecting the rhinestone components with jump rings to sections of one of the chain and using the other chain in its entirety. I made a pendant out of one of the glazed charms and rhinestones and used the other glazed charm (with chain I had on hand) to make a matching bracelet.
Martha Stewart Glazed Pendant Project

Martha Stewart Jewelry Glazed Necklace

The rhinestones come in a variety of colors and sizes and coordinate with other beads in the line. 
Martha Stewart Jewelry Glaze Bracelet

There are endless possibilities with these products, limited only by your imagination. You can check out the full line of products (available exclusively at Michaels) and get some other ideas here: 

  • Facebook: https://www.facebook.com/InspiredByPlaid
  • Twitter: https://twitter.com/PlaidCrafts
  • Pinterest: http://pinterest.com/plaidcrafts


And be on the lookout because other creative bloggers will be sharing their Martha Stewart Jewelry creations too.

Sharing At:


Monday, May 20, 2013

Just The Ticket Card


Happy Monday all. I'm over at the CutCarstock Blog today sharing how I made this fun ticket themed card and matching envelope. Hope you'll drop by!


Thursday, May 16, 2013

BFF Open House Link Party #105

The Answer Is Chocolate

It's already the middle of MAY! Mother's Day has come and gone. End of school and graduation season is upon us, not to mention Father's Day, wedding season, SUMMER! Let's jump right into the deep end of the pool and see what everyone's been up to. Can't wait to share some new Martha Stewart goodies from Plaid with you next week!  It's a party. Grab something chocolatey and have fun!


Wednesday, May 15, 2013

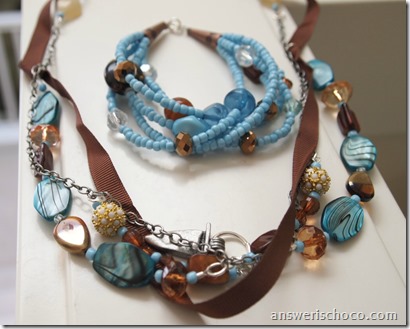
Turquoise and Toffee Multi Strand Necklace and Bracelet

Toffee and Turqoise Necklace and Bracelet

I wear a LOT of black. I laughed when during one of the “Dark Knight” movies, Morgan Freeman’s character turned to Bruce Wayne and said “ Yes Mr. Wayne, it comes in black”. College Boy looked at me like “uh huh”. Consequently, I also wear a lot of black and silver jewelry. I guess that also means I'm Batman.

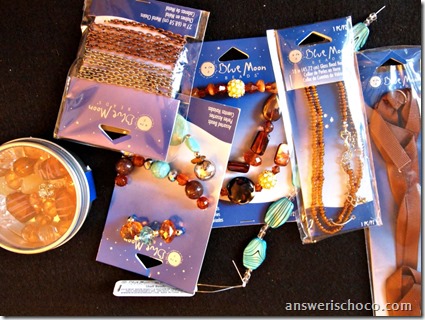
I decided to challenge myself both creatively and stylistically and reached into my stash of Blue Moon Beads from my Design Team supplies and my eye fell on some turquoise beads along with a bead mix of turquoise and toffee. Inspiration!

Blue Moon Beads Toffee and Turqoise 1

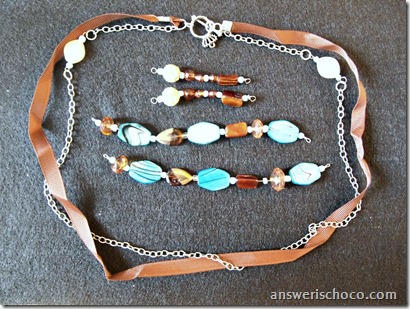
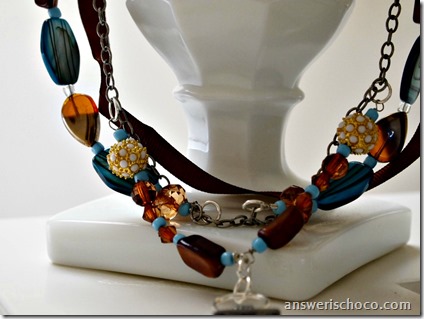
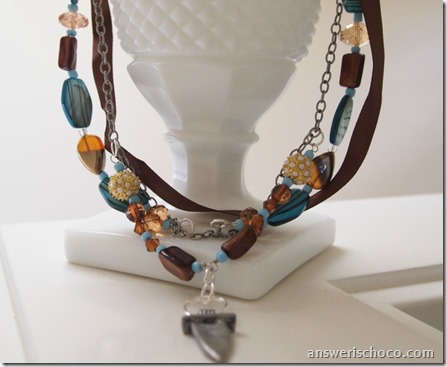
I used a ribbon necklace and antique silver chain as my base and then strung different beads on stringing wire, closing each end with crimp beads.

Blue Moon Beads Toffee and Turquoise 2

I just eyeballed where I wanted the strung bead sections and attached them to the chain using jump rings. No real plan involved.

Toffee and Turquoise Necklace

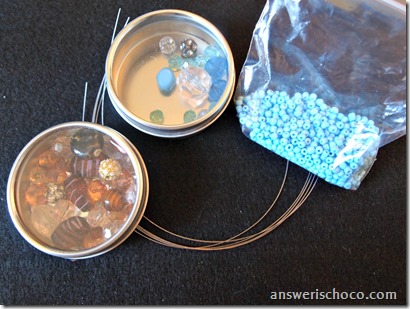
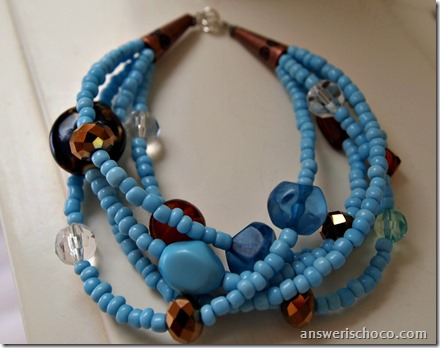
When that was done, I was staring at a big pile of turqoise seed beads and have been wanting to make a multi-strand bracelet so I did.

Toffee and Turquoise Bracelet 1

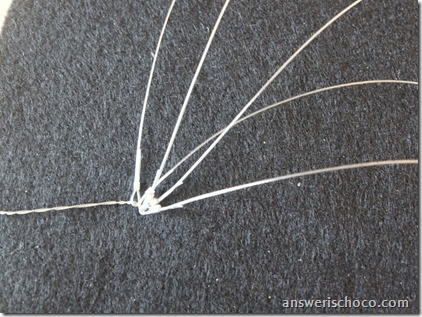
I cut five pieces of stringing wire the same length and put a crimp bead on one end of each strand.

Toffee and Turqoise Seed Bead Bracelet

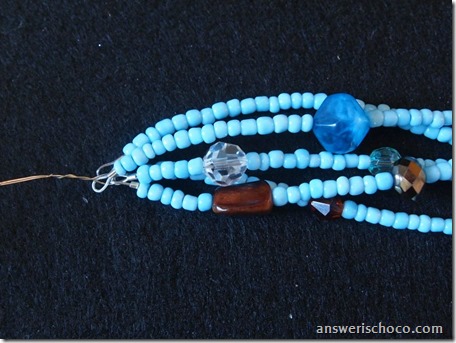
Then I gathered all of the crimped ends and ran a piece of beading wire through each loop, twisting the ends of the wire together to hold them.  Strung a mix of seed beads and other beads onto each strand, closed with another crimp bead , gathered the ends with a piece of wire and then ran the wire through copper bead cones and made a wrapped loop.  I joined both “cone ends” with jump rings.

Multi Strand Seed Bead Bracelet

Your cone bead will cover those ugly ends.
Toffee and Turquoise Bracelet Closeup


Turquoise and Toffee

Now I'm craving some dark chocolate covered toffee!

Sharing At: 

Tuesday, May 14, 2013

Mod Podged Mini Dress Form Photo Prop

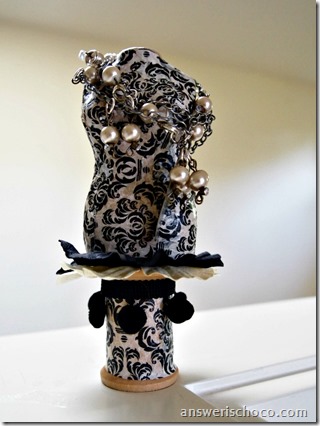
Mini Dress Form Photo Prop

Being a jewelry maker, I’m always looking for different ways to photograph my creations. I got this idea when I stumbled upon mini paper mache dress forms in the 2 for $3 section at Michaels.

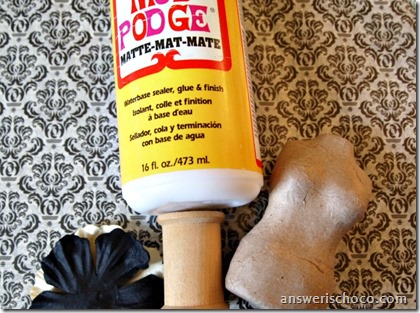
For this project you will need:
  • Mini Paper Mache Dress Form
  • Mod Podge ( I used matte)
  • Wood Spool
  • Printed Tissue ( I used a damask print, 5 12x12 sheets to a pack by Recollections also at Michaels)
  • Coordinating Trim and Paper Flowers
Mod Podge Mini Dress Form

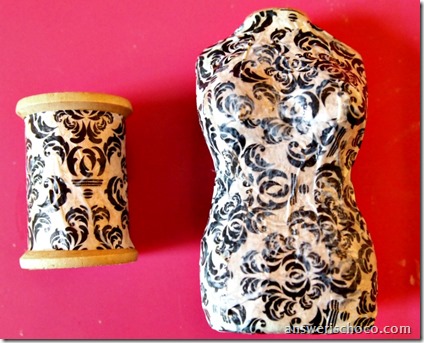
Cover your spool and dress form with Mod Podge; apply paper. When I’m working with tissue paper I like to “pre-scrunch” it since it’s likely to get wrinkly anyway. I find this keeps the wrinkles uniform. You can be exact and line up the patterns, or you can be me.

Damask Tissue Mini Dress Form

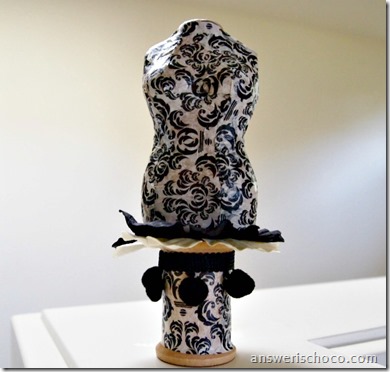
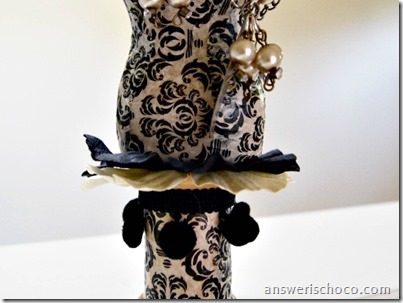
I trimmed the top of my spool with some leftover pom pom trim, hot glued two coordinating paper flowers to the top of the spool, glued the dress form on and DONE!

Mod Podge Dress Form Jewelry Holder

Now I have another little photo prop to use in my posts.

Dress Form Photo Prop

Sharing At: