Tuesday, October 2, 2012

Mod Podge and Vinyl H-OWL-oween Sign

Vinyl Owl

Sharing a post I did for the Expressions Vinyl blog last month. This was a very fast project. The longest part was the Mod Podge dry time. 

I wanted to add some more sophistication to my Halloween décor, and also love metallics. The Silver Leaf  Expressions vinyl fit both of these requirements.

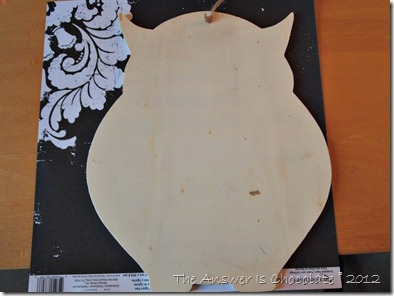
Scrapbook and Vinyl Owl

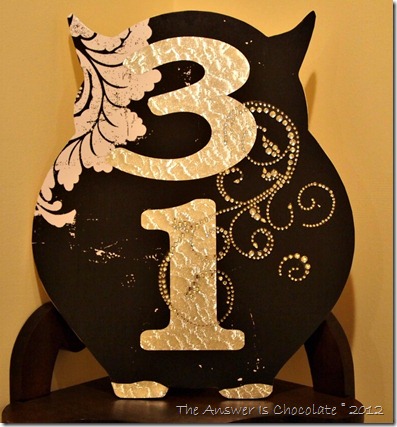
I started with a plain wood owl and a piece of scrapbook paper. I traced the owl on the paper, cut it out, adhered it to the owl with Mod Podge and let it dry.

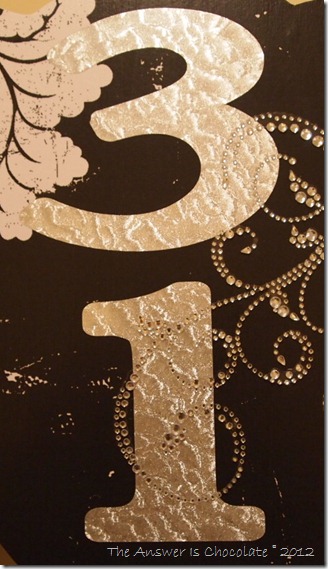
While it was drying, I loaded my Cricut Expression with a sheet of Silver Leaf Expressions Vinyl and cut out the numbers “31” using the Plantin Schoolbook cart.

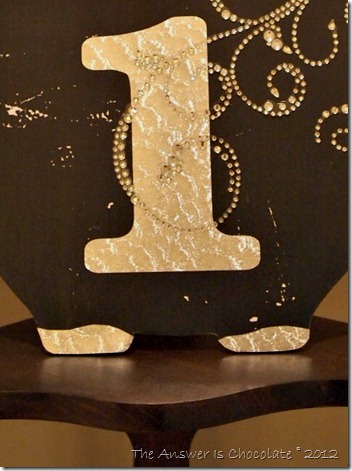
Once my owl was dry, I added my numbers. I also added some bling by using an oversized rhinestone swirl I had in my stash. I told you this was easy!

Silver Leaf Vinyl

Craft fail save! When I traced my owl on paper I managed to get the border strip that isn’t really part of the paper. Rather than re-cut it I covered over those spots on the owl’s feet with vinyl scraps. Just cut them freehand and done.

I love the texture of the Silver Leaf vinyl. It really catches the light.

Vinyl Owl

P9186413

I hope you enjoyed this easy project ! Happy Howloween.

Sharing At: 


Monday, October 1, 2012

BFF Open House Link Party #72 Wrap Up and Features

Happy October ( I still can't believe it's October). Thanks everyone who linked up to Friday’s party. There were so many wonderful ideas shared ( as always) and here are just a few.

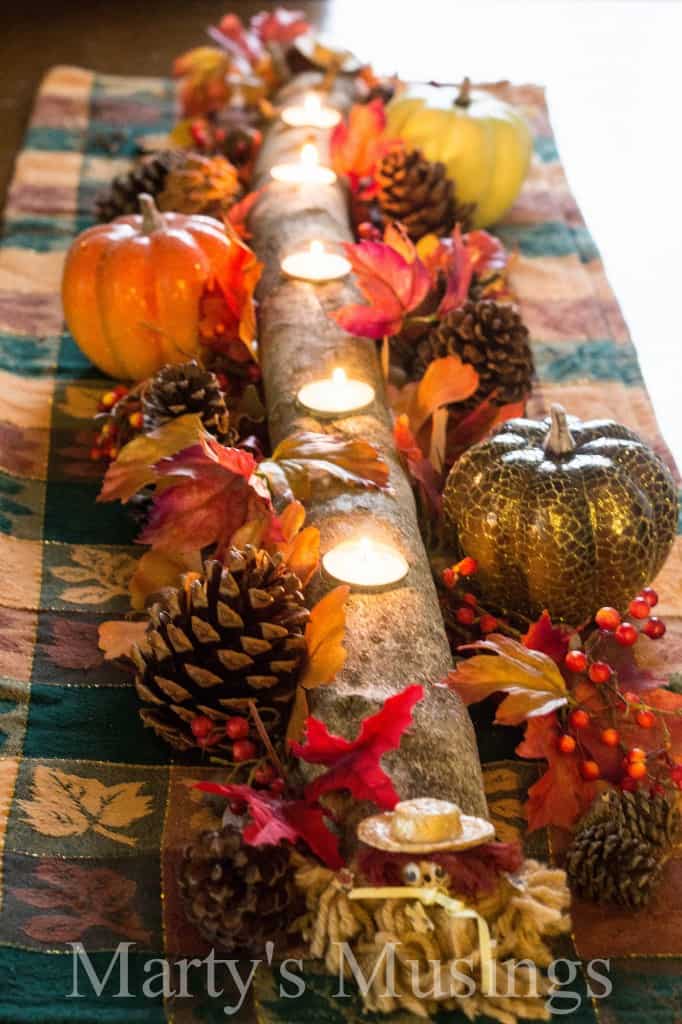
Doesn’t this look straight out of Pottery Barn? Marty from Marty’s Musings got the idea for this branch candle holder, and her husband helped bring it to life:

branch with holes cut out for tea candles and flowers, pinecones, acorns and fall decor arranged on top of table runner

Karyn from Pint Sized Baker is constantly coming up with the cutest cake pops and this week was no exception. Check out these amazing Jack Skellington cake pops:


They go perfectly with this gorgeous Halloween countdown sign from Sarah at Alderberry Hill:

pm3088 1024x848 Countdown To Halloween

If you’re looking for a little more color for Halloween, you’ll love this bright and bewitching wreath from Alayna’s Creations:


Finally, this week’s chocolate temptation comes from The PinterTest Kitchen, Chocolate Cream Cheese Surprise cupcakes. Yum!

Chocolate Cream Cheese Surprise Cupcakes

Thanks again to everyone who linked up and can’t wait to see what you get up to this week. Make it a creative one!

Saturday, September 29, 2012

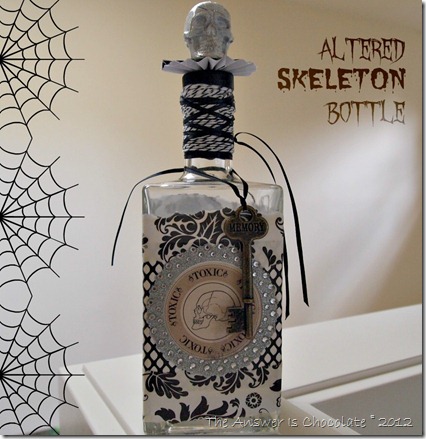
Altered Skeleton Bottle

Altered Skeleton Bottle

I’m always excited when Mr. Chocolate decides to try a new adult beverage because he always chooses stuff that comes in the coolest bottles and eventually they’ll be mine all mine mwaaaaaaaaahhhhhh.

I had fun last year making “Pick Your Poison” altered bottles, that I wanted to make another one.
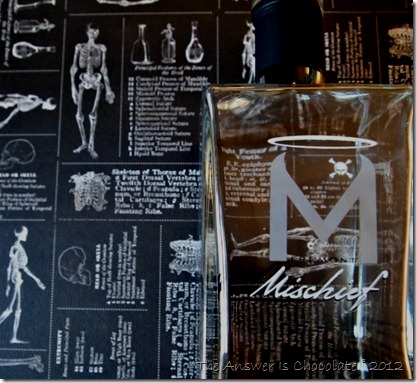
I started with this empty bottle:

Altered Bottle Blank

appropriately called Mischief.

I was going to use the paper you see underneath it then I decided to use this paper instead:

P9266492

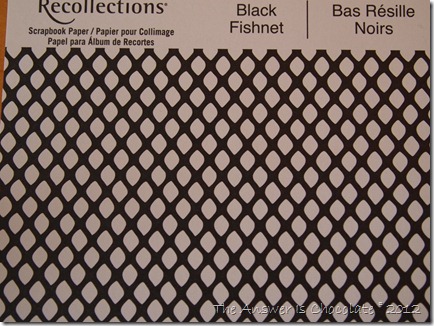
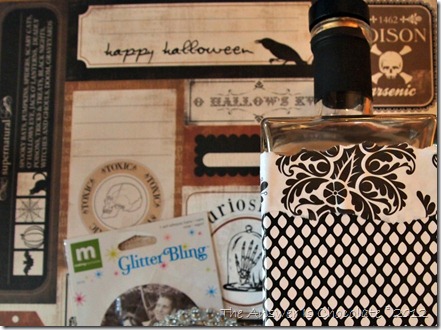
Fishnet! Yes, fishnet paper. I thought it screamed Halloween. Measured around my bottle, cut the paper and applied to the bottle with Matte finish Mod Podge, then tore some strips of black and white damask paper and slapped that on with the MP.

Fishnet and Damask Bottle

Once that was dry, I cut out a circle from the All Hallow’s Eve scrapbook paper shown here, applied it to the bottle with Antique Matte Mod Podge, then applied a rhinestone circle sticker.

Blingy Halloween Bottle

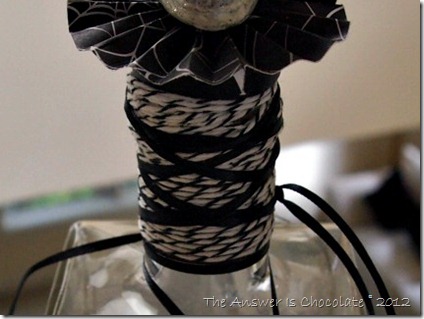
I had a skeleton head left over from my coffin boxes and decided it would make a great bottle topper. First I wrapped the bottle neck with black and white baker’s twine, then kind of zig zag wraped black ribbon on top of that:
Skully Head Bottle

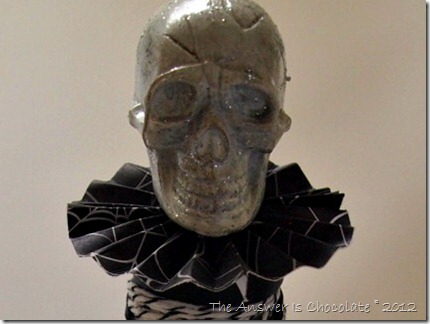
I also had some spider web paper left over from my coffin boxes so I made a pleated pinwheel to make a collar for Mr. Skully Head.

Skully Head Bottle

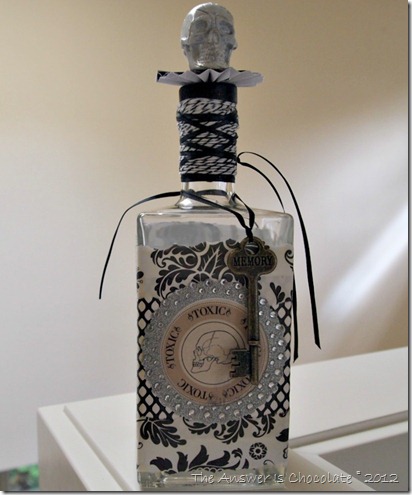
Carrying on my propensity to pun, I added a key from a package of Tim Holtz keys…a Skeleton Key .I crack me up.
Skully Bottle

Sharing At:


Thursday, September 27, 2012

BFF Open House Link Party #72 : The I'm Late Edition!

I’m late I’m late for this very important date, and very much running around like the Mad Hatter. So without further ado ( adieu?) let’s party!

link party rules-001

Don't forget to share the bloggy love and visit some of the other partiers.  Thanks for choosing to spend part of your week here with out of control me ! 

Tuesday, September 25, 2012

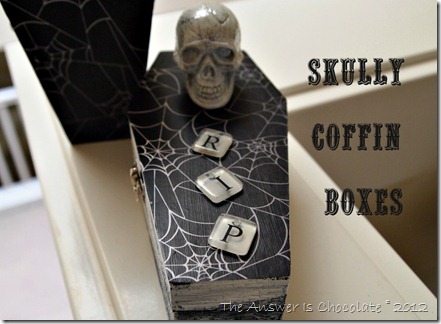
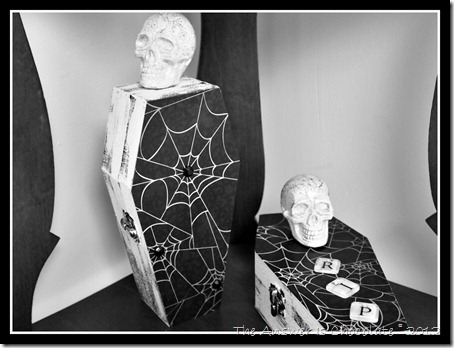
Skully Coffin Boxes

Skully Coffin Boxes

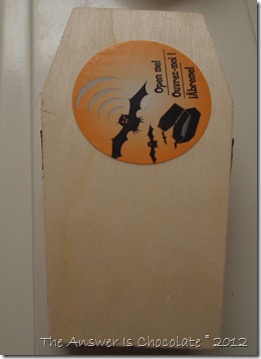
I’m having fun with a neutral Halloween palette again this year and black and white fits right in. You’ve probably seen these little coffin wood boxes at Michaels or other craft stores. Michaels had some for $.99 and some for $2.99 that make noise when you open them. Yes, I bought both kinds.

P9256481

My camera battery was charging when I was making these so I didn’t get a lot of pics along the way but it’s pretty easy to follow along even w/out step by step pics.

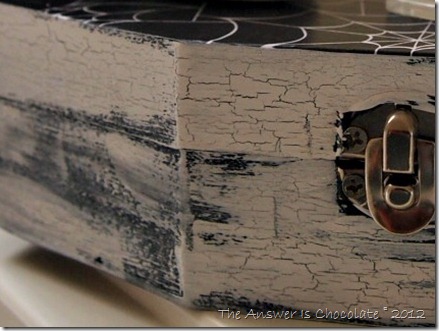
Decide on your color scheme ( you could go bright and whimsical with this too). I painted my plain boxes black, let dry, then painted a layer of white school glue ( plain old white glue) over the black paint. Let almost dry and then went over that with white paint. Oooohhhh crackle crackle.

White Glue Crackle

Ann at Make The Best of Things has a great tutorial here.

I traced around my boxes on the back side of the scrapbook paper I chose ( Recollections Spider Web) and cut out tops and bottoms for my boxes. Mod Podged those on using MP Matte Formula ( my go to).

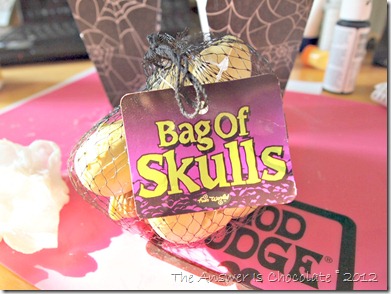
While everything was drying, I grabbed a Bag O Skulls. Literally:

Bag Of Skulls

I picked these up last year at either Dollar Tree or Michaels or Target or somewhere I was scrounging around after season. I debated whether to leave them the color they were or paint. Went with paint.

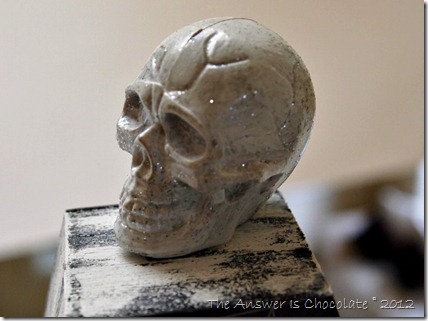
Used Martha Stewart Craft paint….that stuff sticks to anything including cheap plastic skulls.  Went over that with Martha Stewart glitter paint in sterling.
Skully Head
These are fashionable skeleton heads. Must have glitter! Glued them to my boxes and embellished.
Skully Coffin Boxes

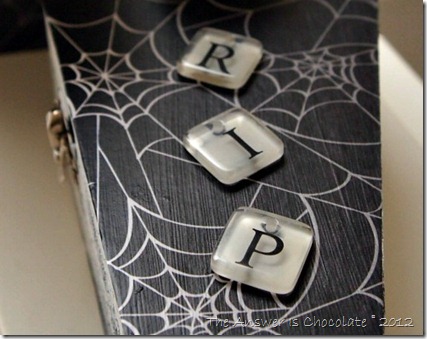
Pulled out RIP letters from my stash of alphabet embellishments. These were clear acrylic which didn’t show up well so I painted the back with a white paint pen.

Coffin Spider Box

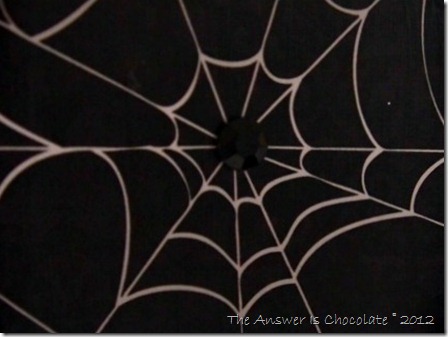
In addition to the must have glitter, must have rhinestones. The black on black doesn’t show well here but I like it in the middle of the spider webs and it picks up the light.

Skull Coffin Boxes B&W

Total cost: $3 (if that)

If you want to see another great coffin box idea, check out this one from Sarah at Alderberry Hill: A Glitzy Halloween Coffin

Sharing At:


Monday, September 24, 2012

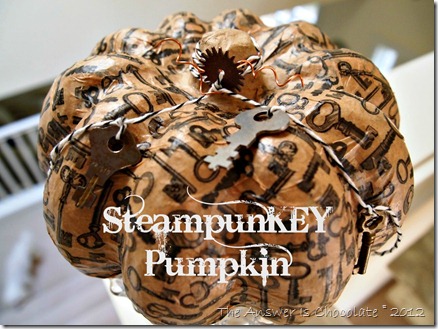
SteampunKEY Pumpkin. More Fun With Tissue Paper and Mod Podge


SteampunKEY Pumpkin

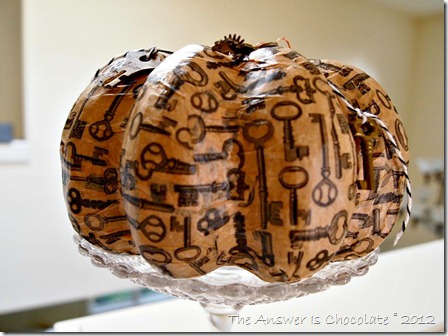
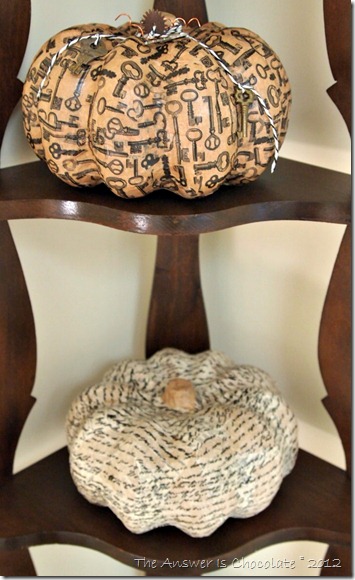
I fully admit to loving cheesy puns. I had so much fun with my script Tissue Paper and Mod Podge pumpkin that I knew I wanted to make another one. Having bought this cool key themed tissue paper at the same time, the SteampunKEY pumpkin was conceived.

Tim Holtz Gears Pumpkin

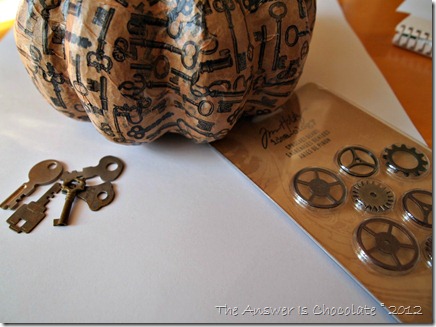
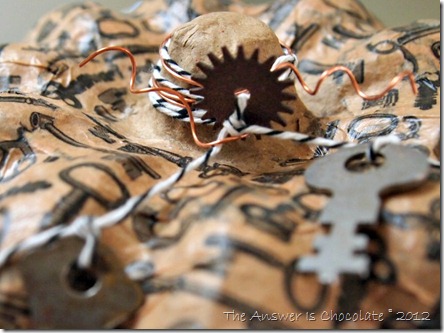
Follow the same steps outlined in my earlier tutorial. I left the stem bare on the first one but since I knew I wanted to add keys etc. I wrapped this stem with copper wire and black and white baker’s twine.  I looked in my stash and had some Tim Holtz gears and some little keys. My family members actually mail me the stuff they have no idea what to do with which is how I got the keys. Thanks Mumster (my mom for anyone who's new to my craziness)!

Tissue Paper Key Pumpkin

Here’s a closeup of the little copper gear I used:

Gears and Keys Pumpkin

And now my script paper covered pumpkin has a friend!

Tissue Paper Pumpkins

Sharing At:
Mommys Sweet Confessions