Monday, November 21, 2011

Cleaning Out Your Refrigerator for Craft Ideas...More Snow Jars


Since cleaning out my refrigerator the other day kept me from playing in my craft room, there had to be SOME upside right? Pickle jars!!
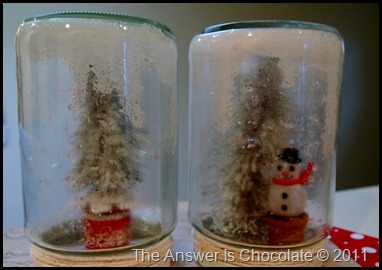
Snowman and Flocked Tree Jars
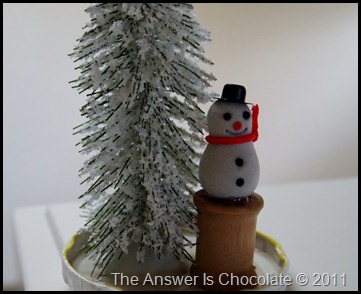
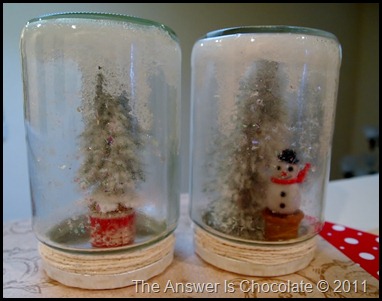
I had so much fun with my Snowman in a jam jar ( I’ve named him Marcel ) that once I had more jars to play with, I knew what I wanted to do. I didn’t take step by step pics but the process is basically the same. This time I added trees ( I picked up a couple of packs of bottle brush trees at Dollar Tree…$1 for a pack of 2) and used some wood thread spools I had in my stash.
Snowman Spool
I’m sticking with plain white glue with my Epsom salt. I tried Diamond Glaze just to see what would happen. Not so good! So the process is:
  • Coat the bottom of your jar with glue ( remember bottom will become the top) and invert to let a few drips run down wherever).
  • Pour in some salt
  • Swirl / shake ( cover your opening!) until coated
  • Spray some spray adhesive ( I used Elmers )
  • Sprinkle coarse glitter, spritz a little more sprinkle fine glitter
  • While that’s drying, paint your lids
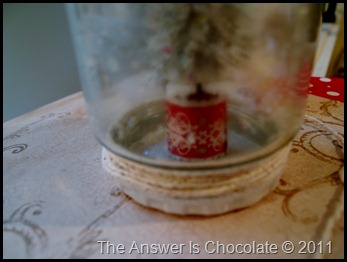
Once everything was dry, I glued the snowman to the spool and the spool and tree to the lid. For one of these, I wrapped a spool in a scrapbook border:
K&Co Spool

Flocked Tree Jar Spool
Spritzed the inside of the lids with some spray adhesive and sprinkled some more Epsom Salt, then lowered the jar onto the lid ( you want to make sure and keep the salt out of the rim of the lid so your jar screws on correctly) . I dribbled a little glue in the rim too.
Flocked Tree Jar
On these, I went around the neck with plain twine. Start and end with a dab of hot glue.
Snowman Spool Jar (2)
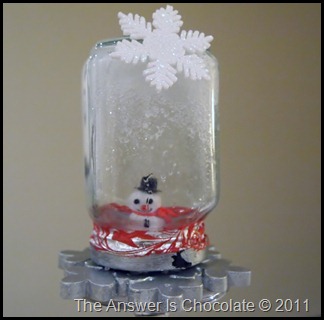
Finished by adding a glittered snowflake from a pack of ornaments ( $1.49 or $1.99 for a pack of 12 @ Michaels, by Darice) to the top ( formerly the bottom!) of the jar.
Snowman Spool Jar Top

Tree and Snowman Jars

Now I’m craving a pickle.
Sharing At:
Tip Junkie handmade projects
Photobucket
homework
The Stuff of Success
A Crafty Soiree

BFF Open House #29 Wrap Up and Features and Carmex Giveaway Winner!

Happy Thanksgiving Week everyone. Thanks to everyone who linked up at last week’s BFF Open House. One of the best turnouts ever with more fantastic ideas. Here are just a few:

I am always amazed at the results achieved by those of you brave enough to tackle big DIY projects. Caroline from Artfully Caroline built a mantel. BUILT. A. MANTEL!

Isn’t it gorgeous?

Speaking of mantels, I don’t think I ever would have thought you could find one at Goodwill. But that’s exactly what Karin at Art Is Beauty did and look at the stunning result:

Amazing!

I have a slight wreath obsession among other things. So I couldn’t resist this “Glam” wreath from Michele at The Scrap Shoppe. ANd you should also read the reason she made it.

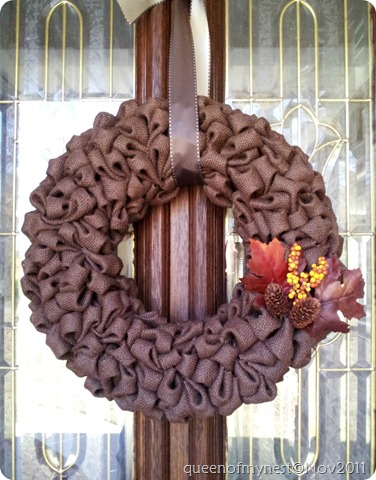
And since I remain burlap challenged, I’m in awe of anyone who can coax beauty from my fabric nemesis. Look at what AJ from Queen of My Nest created:

Burlap Front Closeup Edit

Finally, if you’re looking for a last minute addition to your Thanksgiving table, check out these elegant coiled thankful cards from Carolyn at homework:

The winner of the Carmex giveaway is Malia from Yesterday on Tuesday!  Congrats! I will provide your email to Carmex and they will contact you to get your mailing info.

Carmex Giveaway

Thanks again everyone and as always, have a creative week!

Sunday, November 20, 2011

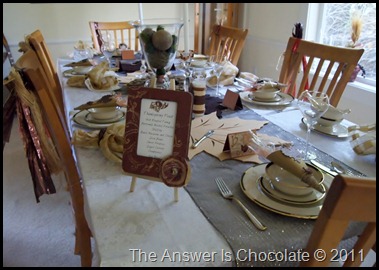
Our Thanksgiving Table

Cleaning out and cleaning the refrigerator don’t count as creative projects. Necessary, but not creative! But I did also set our Thanksgiving table so I did do get to do something a little creative.
PB193580
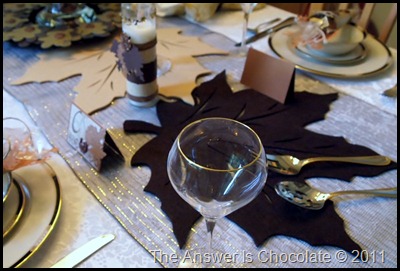
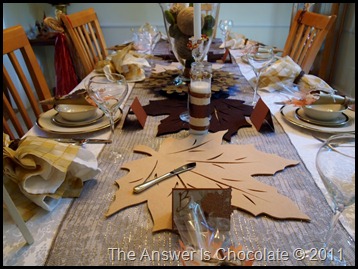
We’re not super formal on holidays but Thanksgiving and Christmas are the two times a year I at least get to break out the wedding china. This year I went for a mix of nature and glitz.
PB193581

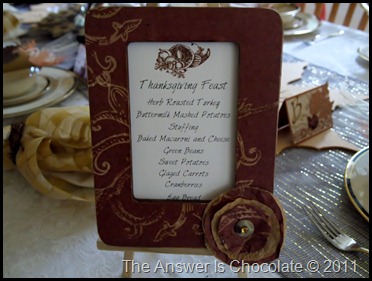
Our menu is pretty traditional. Herb roasted turkey, stuffing, mashed potatoes, sweet potatoes, green beans, glazed carrots, fresh homemade cranberry sauce, and an egg bread I’ve been baking since I was 16.  I’m one of “those” people…I cook it all and I love it. For dessert there will be pumpkin and apple pies, vanilla whipped cream, and a chocolate pecan tart.
PB193589
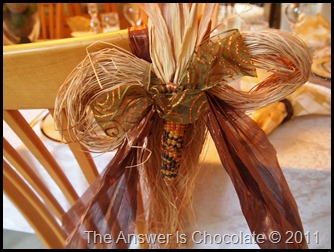
I’ve had these raffia bows forever and this year I used them as chair decorations, with metallic organza ribbon and mini Indian corn.
PB193587
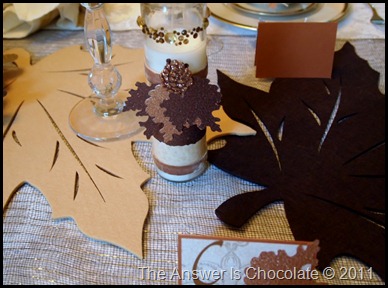
For my table runner, I used a woven chocolate brown and gold giant ribbon roll I found at JoAnn’s for 70% off!!! $3 for my table runner ! I also found these felt maple leaf place mats at Bed Bath and Beyond for 2 for $3. I bought 2 in maize and 2 in dark brown and just angled them along the runner.
PB193597
Here are the Thanksgiving candles and place cards I shared earlier.
PB193595
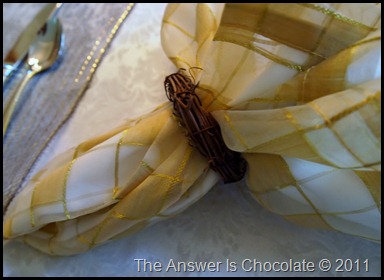
For napkin rings, I just used mini grapevine wreaths I found at Michaels for $.49 ea.
PB193599
I don’t put out all the flatware that you’re “supposed to “ for a proper place setting because the unused stuff ends up getting scooped up between dinner and dessert and I end up starting all over anyway. SO it stays put and I get it out when its needed. Sorry Emily Post.
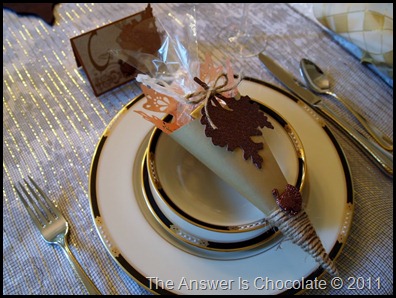
I filled my table favor cones with Hershey’s Toffee Crunch Nuggets wrapped in cone shaped cellophane bags that fit perfectly in the favors.
PB193594
I’ll leave you with this recipe because every time I mention I make cranberry sauce from scratch, people look at me like I have three heads. It is SO SO EASY ( but you can definitely let people think it’s hard). Mr. Chocolate eats this stuff as a side dish so I start stocking up on fresh cranberries as soon as they hit the stores, freeze them right in the bags, and make this several times during the year.
Fresh Cranberry Sauce
Picture and Recipe, courtesy of Ocean Spray’s website

Ingredients:

1 cup sugar
1 cup water
1 12-ounce package Ocean Spray® Fresh or Frozen Cranberries

Directions:

Combine sugar and water in a medium saucepan. Bring to boil; add cranberries, return to boil. Reduce heat and boil gently for 10 minutes, stirring occasionally. Cover and cool completely at room temperature. Refrigerate until serving time. Makes 2 1/4 cups.
Can it get any easier than that? I usually add some fresh orange zest or even just strips of peel to the sugar / water before I add the cranberries, or if I don’t have oranges on hand, reduce the water by 1/4C and replace with orange juice. You could also add a cinnamon stick or cloves if you want a little spice.

Sharing At:

Friday, November 18, 2011

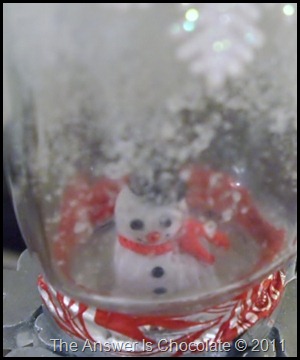
Doesn’t Everyone Put A Snowman In a Jar? Snowglobe Project.


I have only just started playing with Christmas projects. What kind of crafter am I?! So behind. But Vivian from The V Spot keeps sharing all these wonderful things she’s done with Epsom Salt and I just couldn’t delay any further.
Snow Man Globe
“Help! Some crazy chick stuck me in a jar”

Here’s what I started with:
Snowman Jar
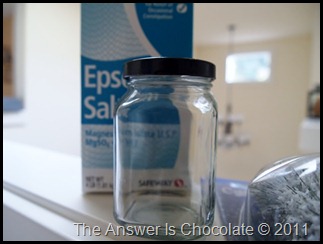
Empty jam jar and Epsom Salt (available near first aid stuff).
Darice Snowmen
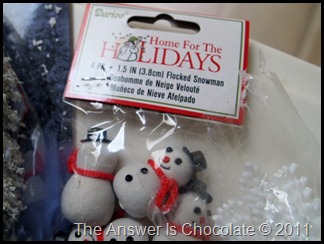
Package of flocked snowman doohickeys by Darice. I got mine at Michaels.

I swirled some glue in the bottom of my jar and then poured in about a handful of epsom salt. Covered the opening with my hand and shook it like a maraca. While that was drying, I painted the lid silver. While that was drying, I went back to my jar and sprayed some adhesive and sprinkled some iridescent glitter in the jar.
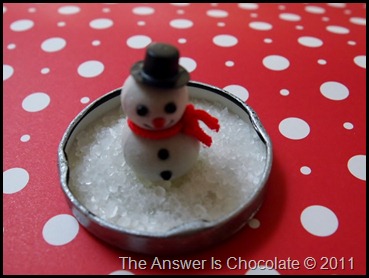
When my lid was dry, I glued one of the snow men in the middle:
Snowman Snow Globe
then spread a little more of the salt around him. Ran a bead of glue around the lip of the jar and put the lid back on. Actually I put the jar on the lid vs the lid on the jar if you follow.
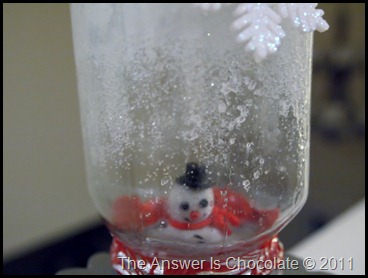
Snowman Jar Closeup
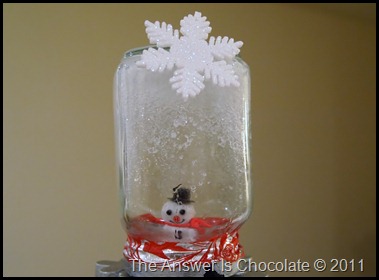
I went around where the lid and jar adjoin with a scrap of tissue paper and finished with a little snowflake ornament on top.
Snowman In A Jar
I also managed to muck up some of the paint on the lid but I am calling it an unintentional creative decision to make this look like it’s something old I’ve had forever instead of an empty $2 jam jar and a $.30 snowman!
Snowman Snowflake

Sharing At:


Thursday, November 17, 2011

BFF Open House Link Party #29 and Carmex Healing Lotion Giveaway

Happy Friday (if work is over for Thursday, it’s Friday!) all. Speaking of work, it kinda ate my lunch and a couple of dinners this week so this is one of those weeks where “Blog Feature Friday” isn’t featuring a blog.

With next week being Thanksgiving and next Friday being shopapalooza-kick it into high gear for Christmas-Tryptophan recovery day, I’ll skip it and have a new BFF to introduce to you on December 2.

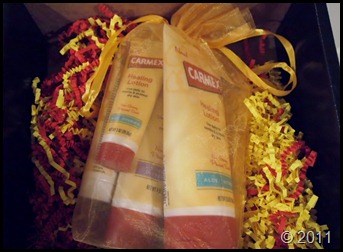
But I do have a treat for you this week! I’m a member of the Carmex Blog Squad and they sent me a wonderful box of goodies to try:
Carmex Healing Lotion
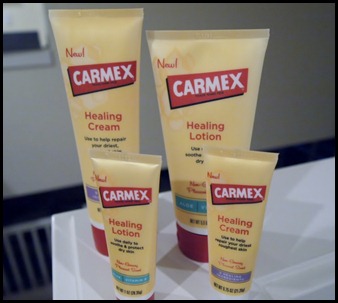
If you’re unfamilliar with Carmex, they've been around since 1937 are are still family owned and operated. They’re most well known for healing lip balms but they also have a new line of healing lotions.

Between the weather getting colder ( which means the heat’s on which can be very drying), all the hand washing I do (contrary to popular belief, I don’t just lick the chocolate off my hands!) from playing with paints, inks, glues etc. and from working with paper which can also be very drying, my hands and skin are always dry. I have tried a BUNCH of different lotions so I was really excited when they started this line.
Carmex Healing Cream
The Healing Lotion is great for everyday use and absorbs quickly and does not leave a greasy feeling. I hate feeling covered in something. Basting is for turkeys, not people. The Healing Cream is more intense ( still not greasy) for tougher areas that tend to need a little more help. The Healing Lotion lasted through hand washing for me so I didn't have to re-apply.

The nice folks at Carmex are offering one of you the chance to get the same cute gift box they sent me, so I decided I’d combine that with this week’s party! 

To be eligible, all you need to do is:
  • Be or become a follower of The Answer Is Chocolate or
  • Link up something at this week’s party
You just need to make sure and leave a comment for each thing you do.

Now, what have you been up to this week? Can you believe Thanksgiving is next week? I’m seeing such cute Christmas ideas I know I won’t be able to make everything I’d like to! OK Party On!


Products were provided to me to review but all opinions expressed are my own. 

Wednesday, November 16, 2011

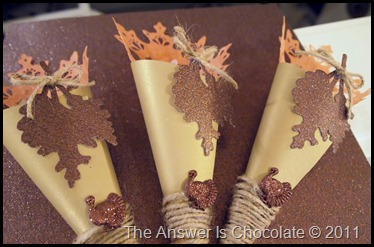
Thanksgiving Table Favors “Cone-u-copias”

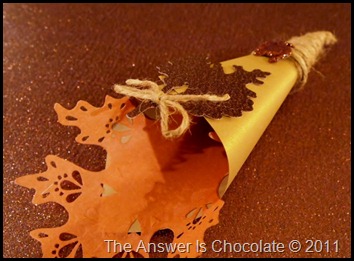
I always like to have a little something on the table for guests. Like most of my projects, this idea just kind of came to me and I ran with it hoping it would pan out.

Since cornucopias are such an iconic symbol of Thanksgiving, I thought paper cones were in order.
Thanksgiving Paper Cone Jute
You’ll need:
  • Lightweight cardstock cut 6x6. I used a metallic gold by Recollections from Michaels
  • Jute twine
  • Embellishments
  • Die Cuts
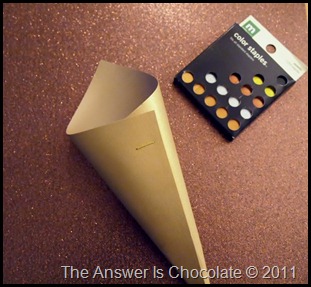
I formed my cone shape and taped and stapled together.
Thanksgiving Paper Cones
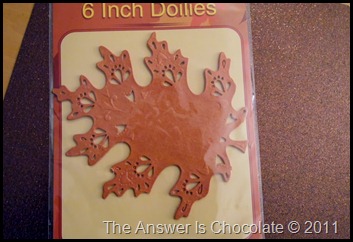
Pretty boring right? I had this package of leaf shaped doilies I found on one of my Dollar Tree trips and thought hmmm….maybe they would work here.
Dollar Tree Doilies

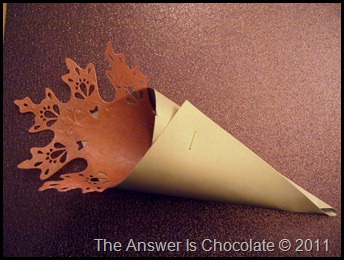
Thanksgiving Paper Cone
I just ran a line of tape down the center of my cone and stuck a doily about halfway in. Better. Still kinda boring. In lieu of a doily, you could use a big die cut.

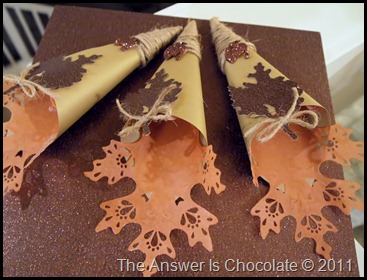
What isn’t made better with jute? Ran a line of hot glue down the back of the cone starting about 1/3 of the way from the bottom and then wrapped my jute around ending at the bottom.  Had some more glittered turkeys from other projects ( Recollections) and glued one on top of the twine.
Thanksgiving Paper Cones (3)
Then die cut oak leaves using the Memory Box Leaf Trio die I used on my place cards and candles and scraps of Core’dinations glittered paper, made and glued on a jute bow at the stem, and glued to the cone. Done and done!
Thanksgiving Paper Cones (2)

Thanksgiving Paper Cones (3)
Haven’t decided yet what I’m going to fill them with…thinking a mix of seasonal chocolates and spiced nuts or garlic pretzels….

Sharing At: 
A Crafty Soiree


Photobucket
Tickled Pink at 504 Main