Thursday, October 20, 2011

BFF Open House Link Party #25 and BFF Marcia Beckett

This week has been a blur. Work has been nuts and left little time or energy  at the end of the day to create anything. SOOOO I’m really anxious to see what all of you creative peeps have been up to since last week. My creative soul is starving!
This week’s BFF certainly helps, by providing a feast for the eyes! Marcia Beckett is a K-6 Art teacher who keeps her own creative juices flowing through her  blog Dabblings. Marcia dabbles in a variety of things from watercolors, photography, scrapbooking, lettering, to art journals, collages and mixed media. Here are a few samples:
This piece is called “Red Configuration on Canvas” and is a mix of watercolors and gesso.
I LOVE this piece of creative lettering using watercolors. One of my favorite sections of “Somerset Studio” magazine is the lettering and exemplar section. Oh did I mention that Marcia’s been published in Somerset?
And whose day wouldn’t be brightened looking at this gorgeous sunflower?
The layers and depth are great and the washi tape around the edges really makes it pop. I hope you’ll go visit Marcia and see more of her amazing work!

Now. Party On! If you made it link it. Please link to your specific blog post and not your main page and no advertising pls? And share the party love … go visit a few other BFFs!

Wednesday, October 19, 2011

Ombre Fall Printables

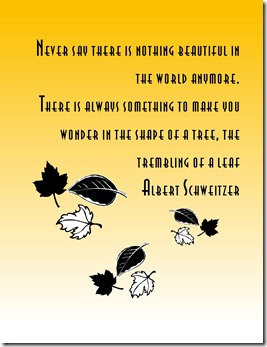
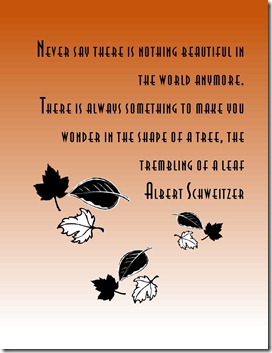
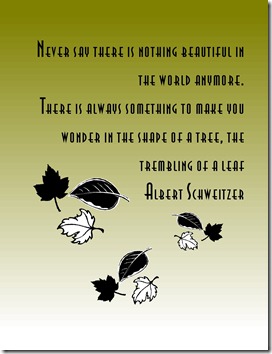
I haven’t yet had a chance to do any ombre projects but I did play around with the idea in my graphics program! I combined that with a Fall quote and:
Tree Quote Ombre Gold
Tree Qoute Orange
Tree Quote Ombre Green
To download, click to bring to full size, right click to “Save As” .
Linking Up At: 


Monday, October 17, 2011

BFF Open House #24 Wrap Up and Features

Thanks all for making the weekly BFF Open House link party such a fun event. I really really love seeing what everyone’s been up to! I try to visit as many of the links as possible but this weekend got away from me and I hope you'll understand.

Here are a few items from Friday’s party, but as always, everyone is so inspiring!
If you’ve never visited Mich in LA ( then you should) you’ve probably never played her “guess the mystery thing” regular stump the blogger series. She picks an item and transforms it into a piece of jewelry and invites you to guess “the mystery thing”. I just had to feature these necklaces. And you just have to go visit to find out the “mystery thing”
After that you can pop on over to Sarah at Alderberry Hill to see how she made these adorable mummies out of potato chip cans!
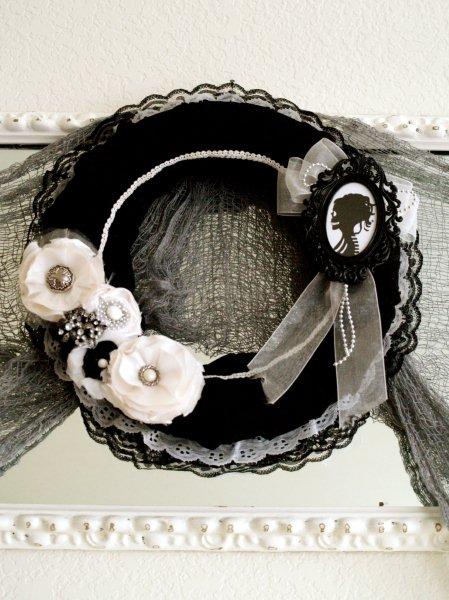
From there, take a peek if you dare at Bev’s Gothic Spooky Mantle over at Flamingo Toes. Love this cameo wreath:

And then get some ideas for a fabulous  party from La-Dee-Da Creations who had great fun with some ladies from her church getting together to make Halloween crafts:
Have a wonderful week and see you all again on Friday!

Sunday, October 16, 2011

Martha Paint and Vinyl Makeover!

Michaels Rub Ons
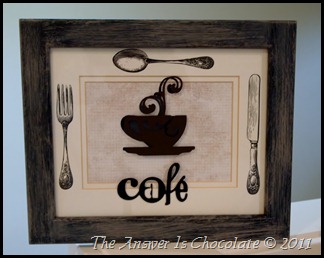
Mr. Chocolate recently cleaned out his den and gifted me some framed pieces he replaced with other stuff. That plus a trip to Michaels 2 for $3 section gave me an idea!
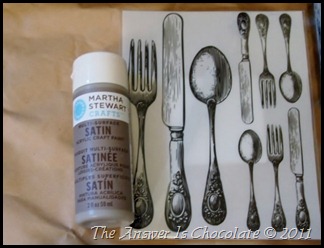
I am in love with the Martha Stewart line of paints by Plaid. This frame was a plain black and I wanted to age it up a bit so I used Martha’s Satin finish Gray Wolf and dry brushed it.
Michaels Rub Ons
Nice and aged looking now! I also love rub-ons and Michaels has a whole new collection of them in their 2 for $3 section. I couldn’t resist these cutlery images:
Martha Stewart Satin Dry Brush
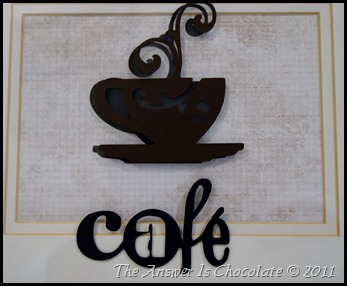
I cut the large fork, knife, and spoon, and put those on three sides of the mat from the picture that had been in the frame.  Then I chose a piece of scrapbook paper from my stash, and cut a cup image using the Wall Décor and More cartridge on my Expression. I cut the detailed image in brown and the shadow image in black. I put the shadow image on the paper and the detail image on top of the glass (slightly offset) to give it more depth.
Wall Decor and More Cup
Then using the same cartridge, I cut the phrase “café” in black and put this on top of the glass as well.
PA163222
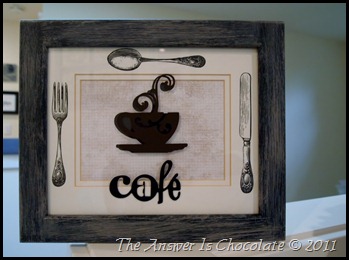
And now I have a new piece of art for my kitchen for the cost of about $1.50 since I had most everything on hand!

Thursday, October 13, 2011

BFF Open House Link Party#24 and This Week’s BFF: Art Is Beauty!

Hi all and thanks for joining me for another BFF Open House! Last week’s party had the MOST links ever. A big thanks to everyone who links up regularly and to those who came for the first time. And a big thanks to all of those who have recently become followers of The Answer Is Chocolate!

This week I’d like to introduce you to the wonderfully talented Karin from the blog Art Is Beauty. One trip to Karin’s and you’ll see her blog is aptly named. Let’s take a peek:
This gorgeous coffee table started out as a very ordinary Goodwill find:
I love the colors Karin chose and the stencil design down the middle. Some of Karin’s other transformations incorporate our shared appreciation of lovelies found over at  The Graphics Fairy. Like these pillow cases ( another Goodwill find) that are simply mahvelous!
And tis the season to be Spooky:
And you know I kinda have a thing for bottles so these definitely caught my eye!

You’ll find lots of tempting transformations over at Art Is Beauty, so I hope you will go and visit Karin soon.

Now on with the party. Simple. If you made it, link it! Please link to your specific blog post and not your main page and go visit a few links and make some new BFFs!

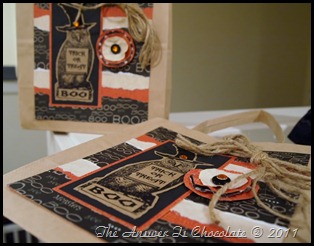
Upcycled Halloween Gift Bags

PA133215
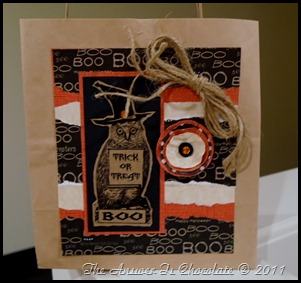
I needed something for the Altered Halloween Canvases I made and I love gift bags. But I’m trying to reduce, reuse, and recycle so I wanted to use things I already had on hand. Enter some small, fairly plain, grocery bags!
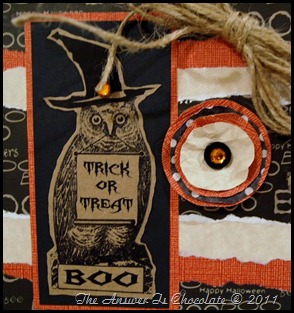
I went to my scrap bin and pulled out some coordinating scraps and made the panel for the front of the bag. Then I went to my Graphics Fairy file because there is always something good there! I had downloaded this owl and decided it was perfect. I added a hat and text using my PrintShop Deluxe program, and printed on kraft cardstock. Trimmed, mounted on a black panel, then on an orange one.
PA133214
Finished off with a jute bow ( just cut several lengths of jute twine and made a bow; hot glued on to the bag) a layered flower from more scraps, and self adhesive rhinestones.
PA133212
Easy peasy!
Linking Up At:
A Little Knick Knack

Tuesday, October 11, 2011

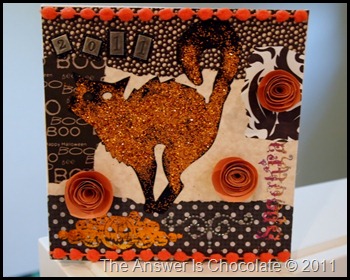
Altered Halloween Canvases: Paper and Glitter and Foil Oh My!


Altered Halloween Canvas (12)
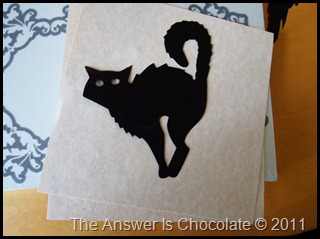
I’m having lunch with a couple of girlfriends later this week and always like to take a little something to these. I poked around in my stash and remembered a couple of canvases I bought at Michaels in their then $1 Section. Gathered those and a few other things:
Altered Halloween Canvas
Altered Halloween Canvas (2)
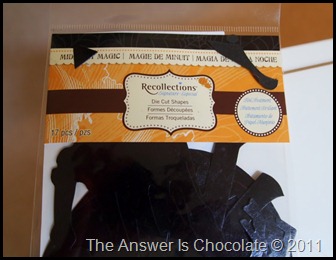
Michaels canvases, Recollections parchment textured paper cut to size, Recollections Die Cut pack:
Recollections Die Cut
Mod Podged the paper onto the canvases and then grabbed some coordinating scraps from my stash and MP’d those on top. While that was drying, I covered a couple of the die cuts with glue ( any clear drying glue works) and covered ( mostly ) with orange glitter. I didn’t want full coverage…wanted some bare spots.
Altered Halloween Canvas (5)
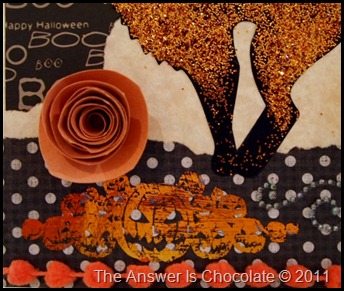
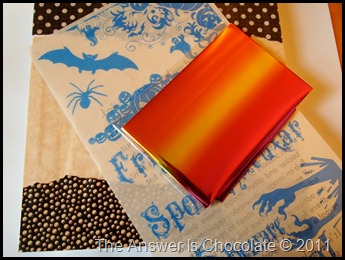
Once my canvases were dry, I applied these adhesive designs ( and threw away the packaging before taking a pic! but I found them at Ben Franklin.)  Just cut the pieces I wanted and applied and then went over them with variegated craft foil.
Altered Halloween Canvas (6)
Altered Halloween Canvas (11)
Once ,my glittered friends were dry, I glued them down to the canvas then went about embellishing with rolled flowers, metal numbers, self adhesive rhinestones and some pom pom ribbon.
Altered Halloween Canvas (8)
Altered Halloween Canvas (10)
Now I need to find some bags to upcycle to put these in !
Linking Up At: 
Photobucket
homework


A Little Knick Knack