Saturday, July 9, 2011

Mumster’s Mosaic Box

The BFF Open House link party is still up and running if you want to link up and don’t forget to comment if you want to be eligible for the giveaway.

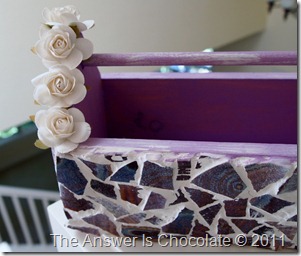
Mosaic Box Side
The Mumster (aka my Mom if you’re a newer visitor)  like other members of my family, is an enabler in the best kind of way. Hubs brings me broken and discarded items to see what I can do with them and even though Mom lives several states away, she saves things to bring me when she comes to visit. She had a ceramic piece that broke. Normal people throw these things out. I never pretended to come from normal people! Naturally she said “ You can do something with this right?” I can just imagine that conversation with TSA.

“Ma’am, do you always fly with broken ceramic pieces and if so why?”
Well my daughter’s a crafter and she likes to make things out of broken and discarded pieces and she has a blog called The Answer Is Chocolate that you should go visit
“Security!”

Perfect ingredient for a mosaic project. Oops. I haven’t really ever done a mosaic project! OK no time like the present. I found a couple of these at club GW:
Mosaic Box
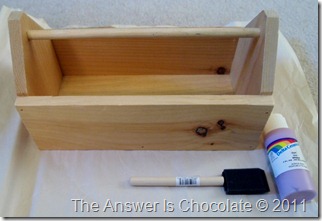
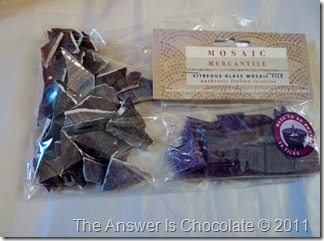
Plain wood caddy.  I bought two. They only had two. They were a whole $1.99 but it was 50% off blue sticker day! I painted this one with a lilac acrylic. I also Mod Podged on some coordinating paper. Just did. Don’t ask me why.  Then I got out the pieces along with some glass mosaic tiles I had on hand in the event that I ever got this particular craft urge. I was a Girl Scout. Always be prepared!
Mosaics
For someone who hadn’t done mosaics, I even had a tile nipper for just in case. Mr. Chocolate bought it for me last year at the fair. The guy totally thought he was buying it for himself. HA!
Broke the broken pieces into more pieces and nipped some of the glass tiles and glued to one side of the box:
Mosaic Box Pre Grout
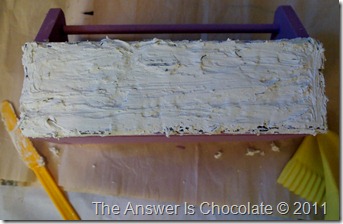
I found some pre-mixed grout at Michaels, more expensive I’m sure than the stuff you can mix yourself, but that’s what 40% coupons are for. Frosted my box ( because it’s like cake frosting) and let it set up then wiped off per instructions. I put a really thick coat on because the pieces were thick and some were rounded and I wanted to get things as even as possible. You will also be wiping a lot longer!
Grouted Box
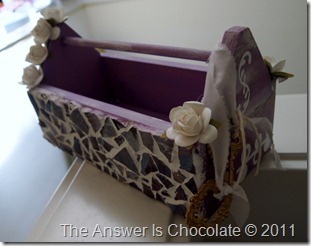
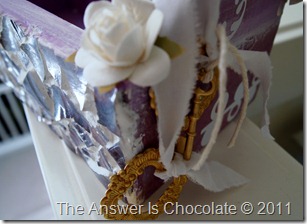
After I got the grout off I wasn’t happy so typical of me, I started adding stuff. I did a dry brush of white to age it up. I cut some white vinyl with my Cricut to give it some detail. I ripped up some muslin strips that I tied on one side of the handle and added some charms. And then I added some paper flowers I’d bought on my visit to the LA Garment district in April. OK there. Less is not more. MORE is more!
Mosaic Box Detail
Mosaic Box Closeup
Mosaic Box (3)
I think Mom can use it to hold napkins or silverware or stationery or pens or…..Now I just have to ship it to her. Surprise Mumster!
Linking Up At: 
UndertheTableandDreaming
Anything Related


Photobucket


Thursday, July 7, 2011

BFF Link Party#10 and BFF Scatter Girls!

Don’t know about you, but weeks that start off with a Monday holiday really throw me off. Not complaining mind you but it’s Friday already?! Lots to cover at this week’s Open House here at TAIC.

First…I’m very excited to feature this week a brand spanking new blog that will officially launch itself on Monday July 11. Fun will be had by all because the ladies behind this are each wonderfully creative on their own and now they’ve teamed up to create a new online community! Introducing:
Photobucket
Left: Lauren  Center: Gina and Right: Chrissy
You can also find Lauren at The Elephant’s Trunk and Gina at Hiya Luv

So what is Scatter Girls all about?
Do you love the handmade community (Yep!)
crafting (Oh yes)
sharing your creations (Affirmative)
chatting with others about all things handmade? (Roger that)
Do you love to try new crafts (Do I like chocolate?)
perhaps you have a stash of fabric (check)
rubber stamps (I plead the 5th)
buttons ( I might have a stash or five jars)

You get the point! These gals are creative and they’re getting together to create an online space where other creative souls can gather. There will be tutorials, features, sharing, and tips on growing your handmade business. They’re going to have a weeklong kickoff starting Monday July 11 so go visit, check things out, find out what Scatter Girls is all about! You’ll also have to go if you want to know which one of the Scatter Girls loves Hershey’s Nuggets with Toffee and Almonds, which one loves to sew, and which one specializes in handmade wine accessories.

OK on with the party! Anything goes…as long as it was made or made over by you. If you can sand it, paint it, glue it, glitter it, or cover it in chocolate, link it! Just no advertising or Etsy shops please.

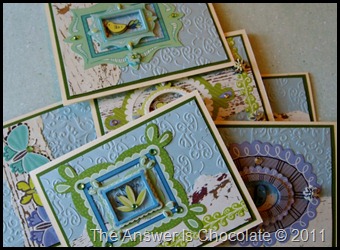
And FINALLY, as I posted earlier in the week, to celebrate my recent and exciting bloggy good fortune, one of you will win these:
P7041272
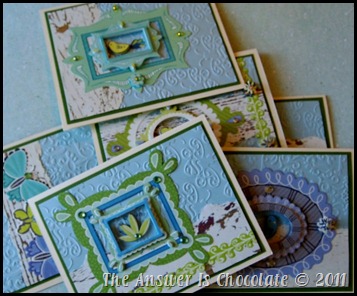
A set of six handmade notecards. Just a little thank you from me to you. To be eligible to win just leave a comment. That’s it! Winner will be selected by random.org on Monday July 11.
Now really on with the party!

Tuesday, July 5, 2011

Celebrating With A Giveaway!

 I hope everyone had a spectacular 4th!

Last week was crazy good. It started out with an email from Heather at Whipperberry that I’d won her superfantastic giveaway sponsored by Lifestyle Crafts of the Epic Combo Letterpress Kit! Squeal!!! I can’t wait to get it and start playing. Thank you so much Whipperberry and Lifestyle, and if you’ve never visited Whipperberry  you’ve been missing out! Amazing projects, features, link parties….!

Then, on Friday, Cassie from Paper Issues let me know I’d been selected to join the Paper Issues Creative Team!!!  I’m so excited and honored to be on this team with some of the most creative paper artists. If you are into anything paper (believe me, it’s not just cards and scrapbooking although there are some incredible examples of those) and have never visited Paper Issues, you really want to check it out.


Paper Issues Blog Design


To celebrate, I thought I’d do a little giveaway. The giveaway will be part of this week’s BFF Open House link party so you’ll need to come back Friday to enter!
P7041271
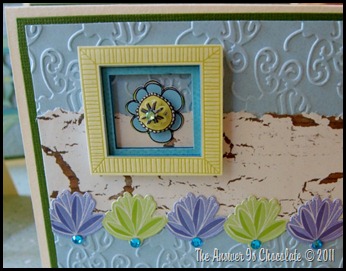
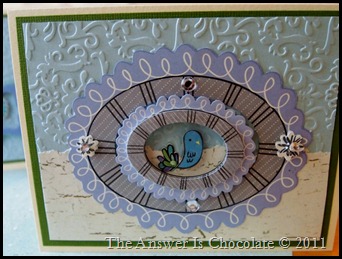
A set of 6 notecards (5.5 x 4.25) featuring KandCo’s Poppy Seeds collection. Die cuts, self adhesive scrapbook borders, and dimensional stickers. Each card has an embossed panel I did with my Cuttlebug:
P7041269
and each card is finished with coordinating rhinestone accents.
P7041268
These made me really happy to make…I love the whimsical design of the series and it was a fun color palette to work with. Just something I thought I’d share to celebrate my good fortune! Come back Friday if you want to win!!
Monday, July 4, 2011

BFF Link Party #9: Wrap Up and Features

Thank you to everyone who linked up to BFF Open House #9, and I hope you enjoyed meeting Diane from Pittypat Paperie. Since it’s the Fourth of July today, it seems only fitting to feature ALL of the Fourth related projects that were linked don’tcha think?
Michelle from The Scrap Shoppe linked this wonderful “doily” banner:
Switch up the colors and you could have a banner for any season!
Bethany, from A Fish Who LIkes Flowers shared this amazing wreath made using ribbon!
Another idea that could be adapted for any holiday ( I pinned this to do for Halloween!) or in your décor colors for all year round.
Amanda Joy from Joy In The Jumble linked up some great printables (if you need some last minute decorations, printables save the day!):
Terry from Cherished Treasures shared her vintage Fourth vignette which is truly lovely!
And considering where you are, you know I have to feature something chocolate right?! So check out this “I am craving it” chocolate chip cookie cake from Tonia at The Gunny Sack:
As always, can’t wait for Friday to see what else you amazing ladies have been up to!! Happy Fourth to all.

Friday, July 1, 2011

BFF Link Party #9 and BFF Pittypat Paperie !

Happy loooonnnnnnnnnnng weekend! Happy Friday! Happy Birthday America! This week’s BFF is Diane from Pittypat Paperie where you will find all kinds of lovely inspiration and one of the sweetest bloggers in blogland.

Diane and I definitely share a love of paper as the name of her blog might imply. She does wonders with it.
Love these gorgeous paper bows she made. Who wouldn’t want to get a present decorated with one of these?
She is always putting her creative talents to use for her family and friends, especially her grandchildren. This is just a quick glimpse at the fun Parisian party she put together for her granddaughter:
There’s a ton more to see about this party here and here. And this adorable idea she did for her grandchildren…a money box!
Diane also shares printables she uses in her projects. I used a graduation themed one in many of my son’s graduation party decorations.

I hope you’ll go and visit Diane and explore. Now on with this week’s party! What are you cooking up for the Fourth? Whether you’re cooking for realsies or just whipping up something creative, link it up! You know the drill…if you made it link it…paper, jewelry, recipes, upcycle, recycle, sewing, décor, you name it. Just no advertising or Etsy stores please.

Thursday, June 30, 2011

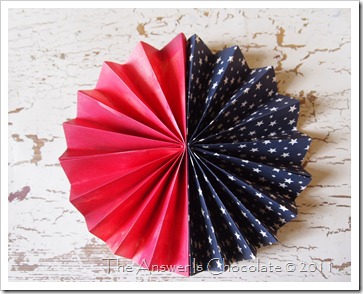
Patriotic Paper Pinwheels

Fourth Pinwheel (3)
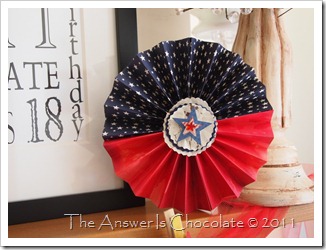
I’m alliterative  among other things! These pinwheels aren’t a new idea but I’ve actually never made any! You can free fold  the paper accordion style or you can score it like I did using my Martha Stewart score and fold board. I love this thing! I use it for all my cards and anything I have to fold or score.

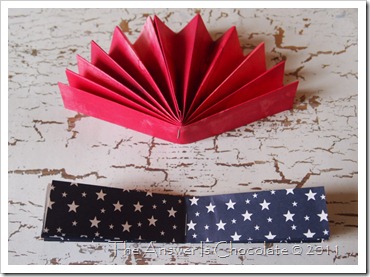
I thought it would be fun to use two papers together, So I cut 12x12 papers to 6x12, then scored and folded them at the one inch mark and joined the two different halves together.
Fourth Pinwheel How To
Once you’ve completed your accordion folding fold your folded piece in half and staple in the middle. STAPLE. You need to STAPLE. After you STAPLE stick the the two sides of each half together with your adhesive of choice ( I used my ATG gun) and then you’ll stick the two halves together:
Fourth Pinwheel How To
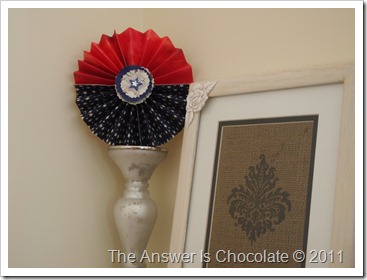
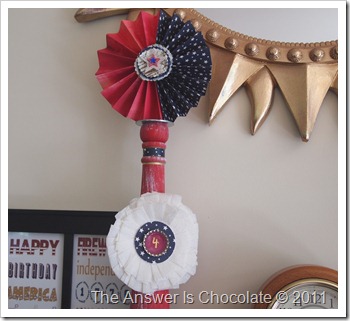
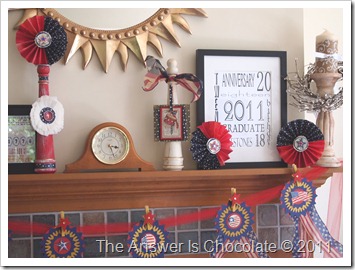
You could be done here. But that’s no fun now is it? So…I used some scrap paper and cut circles using a decorative edge scissor to make a layered flower center middle thingy and used leftover stickers from my medallion banner project to finish the centers. I just scatted these along my mantel for a little extra dose of Fourth of July flavor:
Fourth Pinwheel (2)
Candlesticks aren’t just for candles!
Fourth Pinwheel (4)
Fourth Mantle (2)
Or they can stand up by themselves!
Linking Up At: 


Paper Issues Blog Design
A Little Knick Knack

Tickled Pink at 504 Main


Tuesday, June 28, 2011

A Couple of Cards

Sharing a couple of cards I made tonight. A belated graduation card and so I don’t make that mistake again, a birthday card that I can send early!

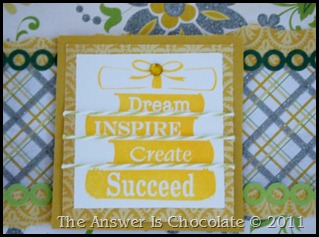
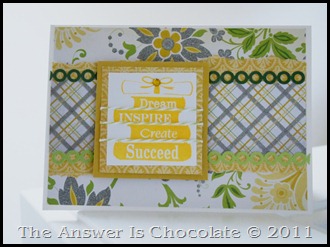
For the grad card, I wanted to do some different colors than those I’d been using for my son’s friends cards. Stuck with school colors for those and am so over that! This time just went with paper I liked which happened to be from DCWV’s Lemon Flower Stack. Hard to tell from the pics, but a lot of the papers in this pack are glittered. Oooh la la!

Yellow Grad Card
I stamped the focal image using this ink which I’m in love with:
Yellow Grad Card Closeup
It’s chalky but pigmenty and provides great coverage.

I used the floral background from the paper stack along with a scrap strip of another print from a previous project from the same pack. Say THAT three times fast!  Embellished with The Twinery’s twine in honeydew and some KandCo self adhesive scrapbook borders.

For the birthday card:
Pink and Green Birthday Card
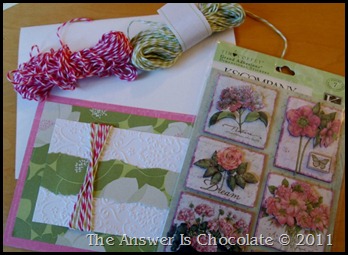
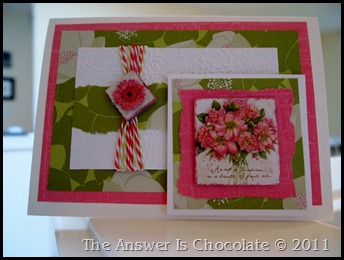
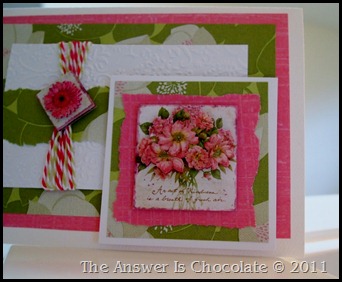
I remembered to photo my supplies which included more Twinery twine…honeydew and pink sorbet, some Ann Butler designed Kand Co paper and Tim Coffey designed KandCo dimensional floral stickers. I ran a scrap of white paper through my Cuttlebug using damask embossing plates and then layered everything as shown onto a white 5x7 card.
Pink and Green Birthday Card (4)

P6281173
Linking Up At:
UndertheTableandDreaming