Showing posts with label Wreath. Show all posts

Saturday, November 11, 2017

"Remember Why You Wonder" Printable


I hope you're all enjoying this Saturday, doing whatever fills your soul. This week's party continues here.

I saw this quote somewhere online as I was hopping around and don't remember where but it resonated with me so I decided to make a printable. 

"Remember Why You Wonder" 
I did three versions. The first one is clean and simple:

For the second one, I added a vintage paper background: 


For the third, I added a texture over top of the vintage paper: 


It's sized 8x10 so click on whichever image to bring to full resolution. Graphics are from a Rustic Wreath collection I downloaded from Creative Market.  

Tuesday, December 16, 2014

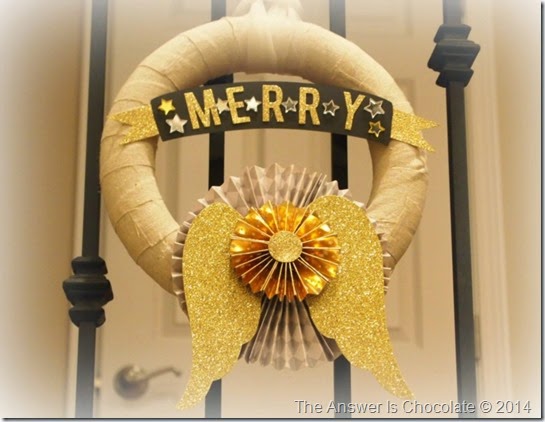
MERRY and Bright Wreath

Merry Wreath DCWV

While taking down our Christmas decorations last year, I had to concede that the evergreen ( faux) garland I’d been using to decorate the railings had seen its last Christmas. I needed to come up with something to do this year and came up with this wreath idea that hangs on the railing you see when you enter the front door.

For this project you will need:
  • Wreath form ( I used one from Dollar Tree)
  • Fabric scraps (I used drop cloth scraps from a never ending painter’s drop cloth)
  • Hot glue and glue gun
  • Paper ( I used DCWV Sparkling Holiday Stack)
  • Glitter cardstock
  • Black Cardstock
  • MERRY die ( Savvy Stamps) or letters
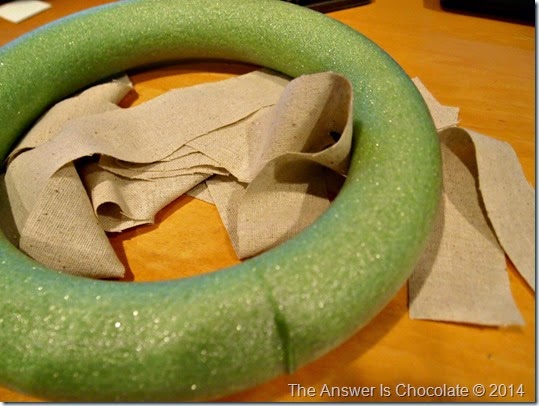
First, prepare your wreath:

Dollar Tree Wreath

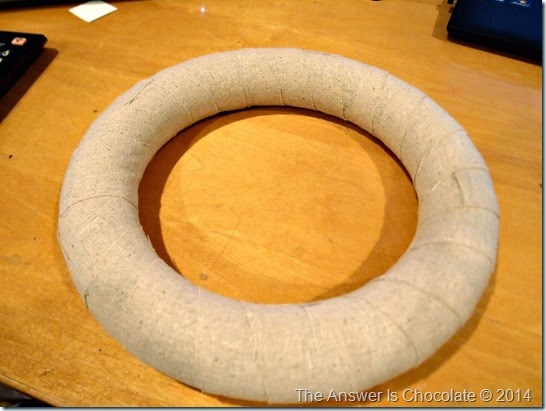
I cut strips from my never ending painter’s dropcloth I bought at Home Depot a few years ago. Using as you would ribbon, wrap your wreath form until covered.

Drop Cloth Covered Wreath

If you end up with an ugly spot well there’s where  you’ll glue your focal!
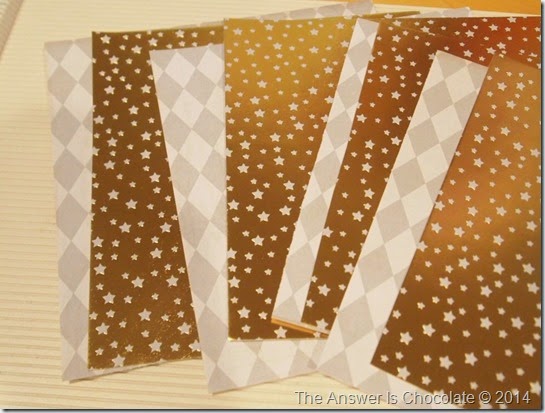
Here’s the stack I used. DCWV’s Sparking Holiday which I fell totally in love with and picked up at Michaels even before I knew I’d be guest designing for them. LOVE this beyond measure!

DCWV Sparkling Holiday

About 1/2 the papers are foiled. Pretty!

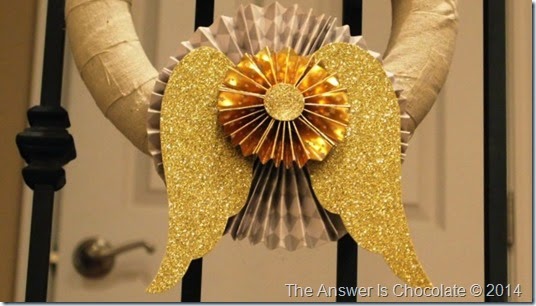
I chose a couple of papers for the medallion ( rosette, pinwheel, fan thingy) that would be the focal.

DCWV Sparking Holiday Rosettes

Cut into 6x6 sections and scored 1/2 inch folds using my scoring board. I found an image for the angel wings online, printed and cut a template from cardstock, and traced and cut from glittered paper in my stash.

DCWV Sparkling Holiday Medallion

I used four sections of the grey paper for the larger medallion and two of the gold paper for the smaller one. Layer as shown and use hot glue to assemble and adhere to wreath.

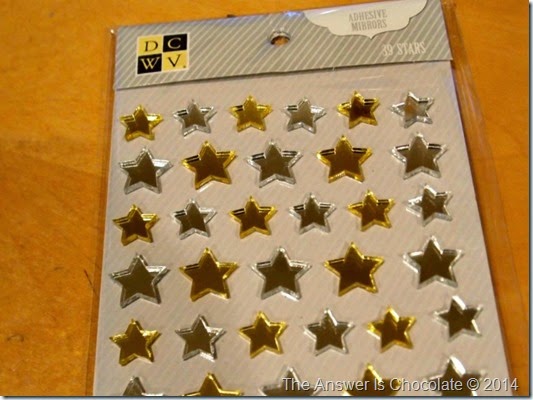
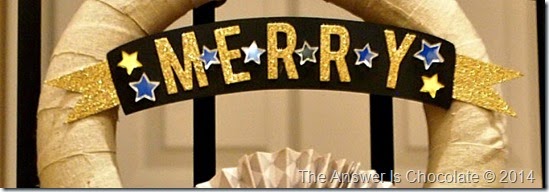
For the banner, I cut the shape from black cardstock , and die cut the MERRY letters. To make this really pop, I added these mirrored stars from DDCWV:

DCWV Adhesive Mirrors

They twinkle so much more than this picture shows.

Merry Banner

Where this hangs isn’t conducive to a great photo shoot ( and of course I forgot to take pics before I hung it …bad blogger) but I love seeing it twinkle as I go up and down the stairs.

Merry Wreath DCWV

Sharing At:


Monday, November 26, 2012

Wreath Makeover With Paper and Ribbon Scraps

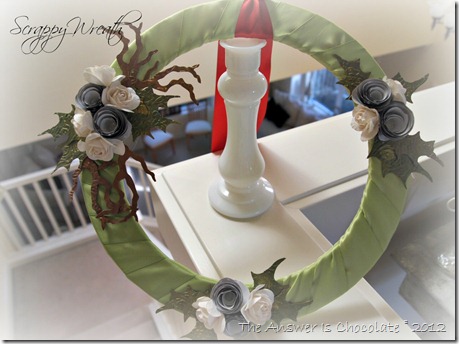
Scrappy Wreath

I had a productive weekend getting some Christmas crafts and gifts done, including this wreath makeover  that’s going to hang next to one of my trees. Yes, I said “one of”. No, the Hoarders people are not parked outside my house. Yet.

Scraps Wreath

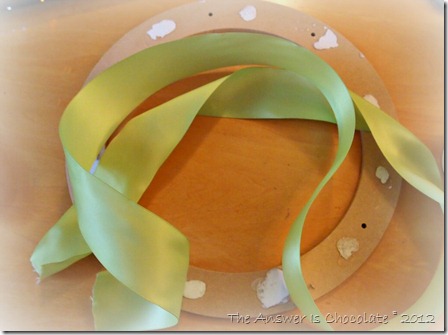
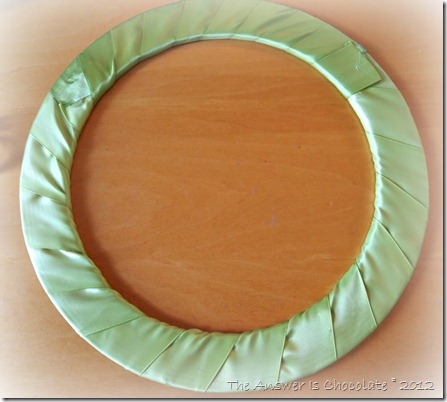
I started off with a pressed wood wreath frame that you can find at most craft stores. I had a wreath from last Thanksgiving that I decided I no longer loved so I pulled all the stuff off of it which is what the white spots are. If people open gifts at my house, guess who hoards the scrap ribbon to re-use? I pulled out a couple of pieces and wrapped my wreath form.

Wrapped Wreath
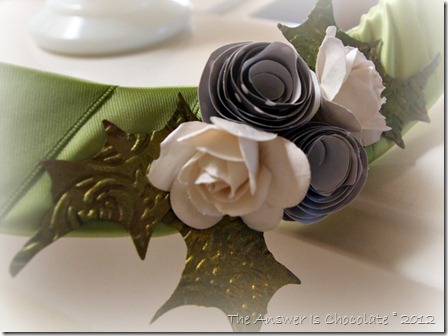
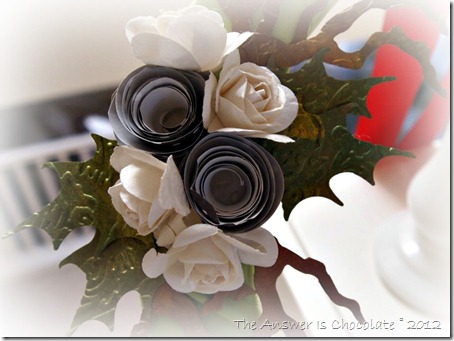
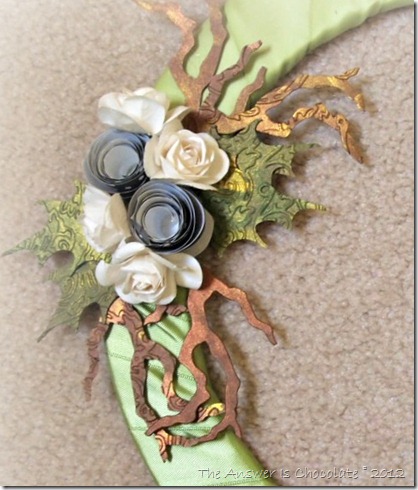
The rough ends where the ribbon joined won’t matter since they’ll be covered up. The next part I thought I tool pictures of and oops. But to decorate my wreath, I used a Tim Holtz die to cut holly leaves, and branches from chipboard. Ran those through an embossing folder to give them some texture and then dabbed on some inks in metallic brown, green, and gold.  Went to my paper scraps and pulled out some black and white polka dot papers and made rolled flowers. And then to my embellishments stash and grabbed some off white paper roses.
Embossed Holly Leaves

Hot glued the leaves and flowers on over my ugly ribbon spots.

Frosty Scrappy Flowers


Woodland Wreath

I finished the whole thing with a bright red ribbon ( another scrap) and it will hang next to my Whimsical tree that’s filled with lots of red, lime green, black and white.

Sharing At: 


Tuesday, November 1, 2011

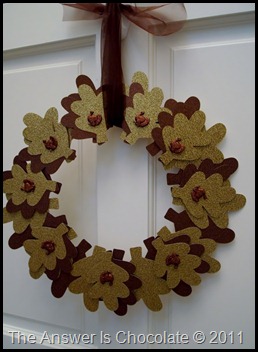
All That Glitters Thanksgiving Wreath

Can you believe it’s November?! Me either. I’m very excited because it’s exactly three weeks until our son comes home from college for Thanksgiving. Not that I’m counting the 21 days until then or anything.

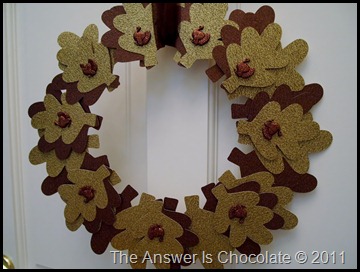
I don’t even try to fight my paper addiction. I know who will lose. I found this superfantasticawesomewonderful glitter cardstock at JoAnn’s. I don’t even know the brand, but it came in metallic gold, silver, and bronze. MUST HAVE (and yes, I got all of the colors)! Then of course the question was what to do with it.
Glitter Turkey Wreath
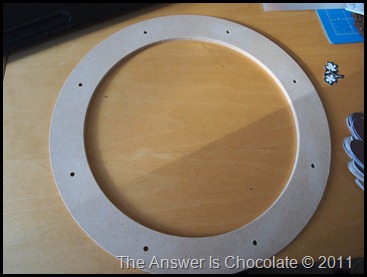
I decided on a wreath but I also decided I wanted one to hang from a mirror above our fireplace. I wanted one that was not too bulky or heavy. I was wandering around Michaels (they’re going to start charging me rent) and found these in the floral aisle:
PA293321
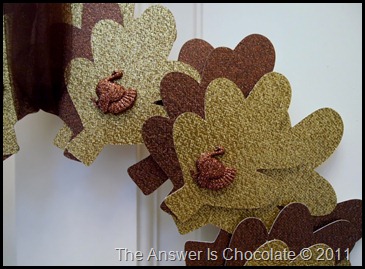
Perfect! Headed home and cut out a bajillion oak leaves on my Cricut Expression ( Doodlecharms cart)  from my glittered cardstock in gold and bronze ( actually about 36 ) and sat down with my hot glue gun.  My leaves are 4” and 3 1/2 “. I alternated the colors of the larger leaves around the wreath form and then took one of each color of the smaller leaves, glued them together and then stuck them on using foam dots because I wanted some depth. Finished off with these glittered turkey embellishments by Recollections that matched the brown cardstock perfectly!
Glitter Turkey Closeup
Haven’t hung it on my mirror yet because Halloween’s still up!
PA303345
Linking Up At:

Photobucket


Photobucket


Monday, September 26, 2011

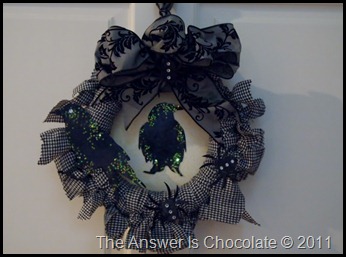
Repurposed Dress Halloween Wreath

Yes, all those words really do go together.
P9263077
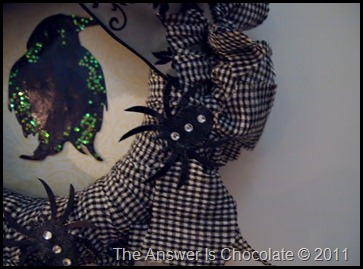
I recently cleaned out my closet and while I donated most things to Goodwill, I saved a few pieces because of the fabric. One was a black and white checked dress . I’ve see tons of cute yarn wreath ideas but know I don’t have the patience for all that wrapping. But I thought hmmmm….maybe strips of fabric? Out came the rotary cutter and I cut strips and strips and strips (I think about 20 total) and tied them around one of those green styro wreath forms from Dollar Tree.

 Since I was not at all sure where this was going, or if it was going anywhere, I didn’t take pics along the way. Once I had my wreath form wrapped, I trimmed the edges with pinking shears . I thought it would be fun to give this wreath a back so I cut a circle of Halloween Cardstock from DCWVs “Ghosts and Goblins” pack and hot glued it to the back.
P9263080
I had a pack of black Halloween silhouette die cuts I picked up at Michaels ( Recollections) . Fingerpainted some glue randomly on my selected images and sprinkled with fine clear glitter and the middle vial of  this stuff I found at Michaels from Art C:

I embellished another bird the same way and went over the spiders with just the glue, glitter and some self adhesive rhinestones.
P9263079
Finished it off with some ribbon from my stash (one of those after Christmas I know I’ll use it sometime finds at 75% off somewhere!)
P9263081
What’s in your closet?
Linking Up At: 


Photobucket
homework

Paper Issues Blog Design