Showing posts with label Washi Tape. Show all posts

Tuesday, January 29, 2013

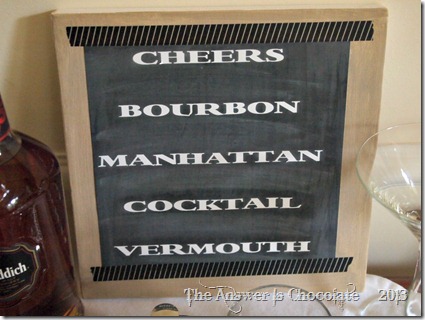
Chalkboard and Vinyl Bar Sign

Chalkboard and Washi Canvas

You might remember the upscaled Dollar Store barware project I posted earlier this month. This project is another piece for Mr. Chocolate's bar corner. He decided at Christmas that he’d turn a corner table in our dining room into a place to store his boutique bourbons. His favorite cocktail is a Manhattan so I decided I’d make him a cocktail themed sign based on that  for his “bar”.

I debated about keeping it for a Valentine’s present but here’s how that would go:
I’d make it, we’d be out somewhere, guarantee he’d see something and buy it , then what? How do I know? Almost 22 years of marriage. I know. And first thing he said when I showed it to him was “ I was thinking it needed a sign”.

So for this super easy project you will need :
  • A canvas ( this one is 10x10)
  • Paint in your choice of color
  • Chalkboard paper or you can paint a square or you could use chalkboard vinyl. I found self adhesive chalkboard paper in the kids crafts section at Michaels
  • Vinyl
  • Vinyl cutter or stencils and Xacto knife

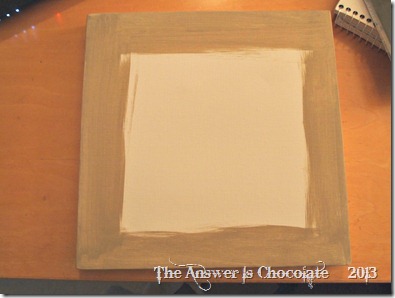
Bar Sign Painted Canvas

I painted the edges of my canvas in my usual shabby style…I love imperfect.

Cut my chalkboard paper to 8x8 and even though it’s self adhesive. slapped some Mod Podge on the back to make it extra secure.

Primed Chalkboard

On the off chance I’m not  the last person in the crafterverse who’s made a chalkboard project, you should “prime” your chalkboard surface by covering it with chalk then wiping off.

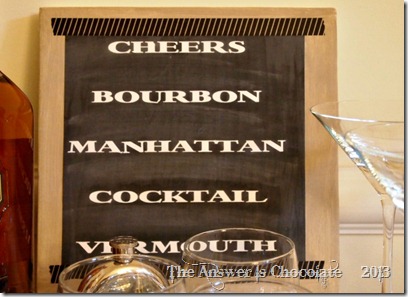
Chalkboard and Washi Bar Sign 

I cut the words from white vinyl on my Silhouette and then applied them to my chalk paper. Finished with a couple of strips of washi tape that matched the color scheme.

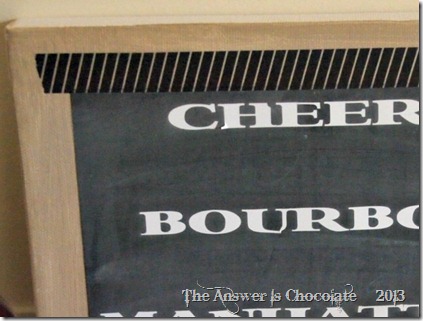
Chalkboard and Washi Canvas

Yes, you can see I kind of goofed up the “U”…..reminding myself I love imperfect.

Sunday, December 2, 2012

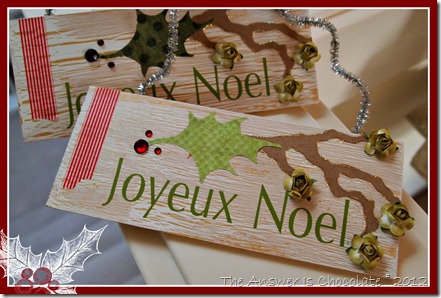
Easy Christmas Signs "Joyeux Noel"

Joyeux Noel Signs Border

I made these signs for a treat exchange as a little something to go with the chocolate butter cookies I brought.

For this project you will need:
  • Wood Scraps ( these are from a package of scraps found at Michaels)
  • Craft paint, your choice of colors. I used Martha Stewart Metallic Gold and Wedding Cake
  • White glue ( Elmers or generic)
  • Vinyl for lettering ( or you could stencil)
  • Die Cuts
  • Embellishments ( I used paper roses, washi tape and adhesive rhinestones)
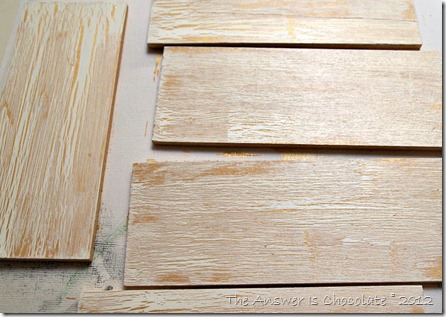
Joyeux Noel Crackle

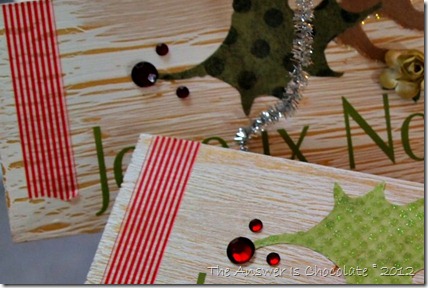
Paint your wood pieces with desired base color ( mine was gold). Let dry, apply white glue and when almost dry, go over with top color ( white). If you’re impatient, use your embossing gun ( lightly) or hair dryer to speed up drying. This also helps the crackling.

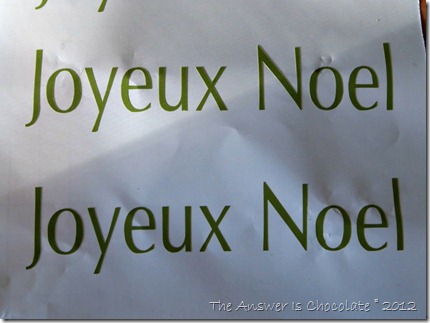
Joyeux Noel Vinyl

I used my Silhouette Cameo to cut out vinyl letters from green vinyl.  I like to use transfer tape to apply lettering to get it somewhat straight.

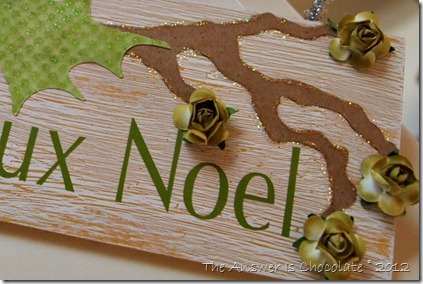
After my letters were on, I cut a branch and holly leaves using my Cuttlebug and Tim Holtz Holly Branch die:
*Tim Holtz Sizzix HOLLY BRANCH Die Bigz 657468
Getting a lot of use from this die. It’s the same one I used in my wreath makeover here. Mod Podged a branch and one leaf onto my signs and outlined the branch with iridescent glitter glue, and used red rhinestones for the berries.

Joyeux Noel Signs Border


Joyeux Noel Signs Border

I’ve gone crazy for washi tape so grabbed a roll of peppermint striped tape and put a piece on just because. 

Finished by hot gluing a silver tinsel pipe cleaner to each.

Sharing At: 


Tuesday, October 9, 2012

Vampire Coffin Boxes

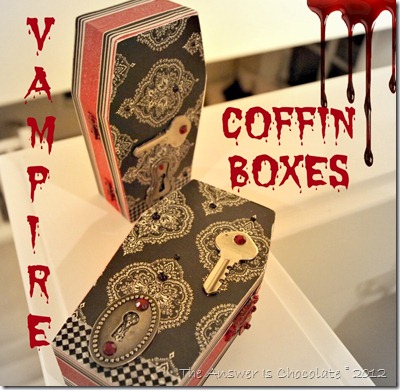
Vampire Coffin Boxes

I know a couple of people who love all things Vampire. Even though I’m not that into them, Vampires do give me an excuse to play with my signature colors: black and white. And what’s a Vampire without a little red?
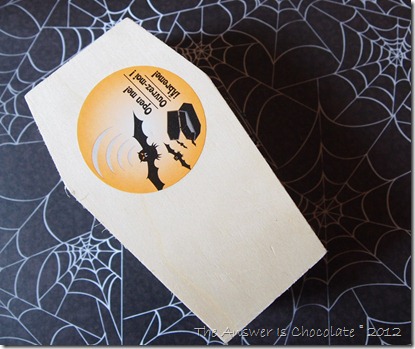
P9256489

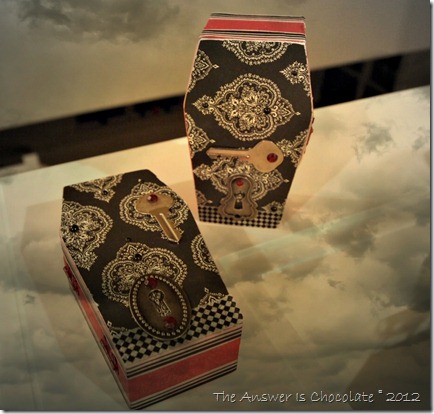
Started with one of these from Michaels. Painted the sides with Martha Stewart red craft paint, over which I painted Martha's  red glitter paint.

Vampire Coffin

Mod Podged a black and white patterned paper to the top and bottom and then went around the edges with some black and white washi tape.

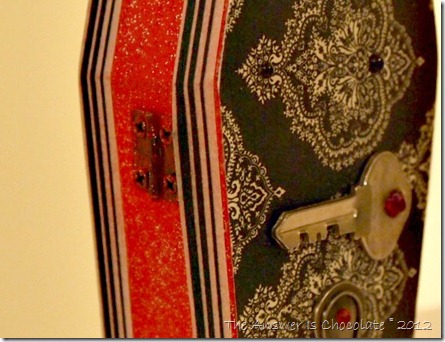
Do your family members send you random things when they clean out their junk drawers? Mine do. The Mumster sent me a bag of keys. I don’t know that Vampires use keys but they seemed to fit. I also used some keyholes from a pack by Tim Holtz . 

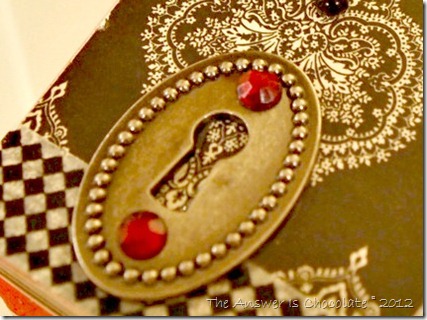
Vampire Coffin Closeup

Embellished the top with red rhinestones and black pearls. Vampires have to be glam right?

Vampire Boxes

Since they sleep during the day, do they say “day day” instead of “night night”?

Sharing At: 


Saturday, May 26, 2012

Memorial Day Birthday Card


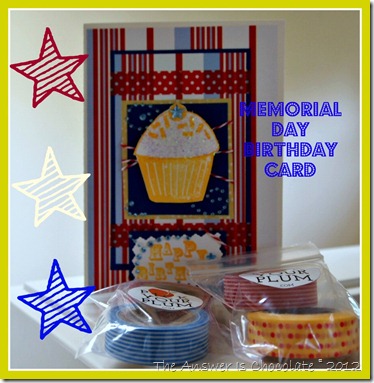
Memorial Day Birthday Card

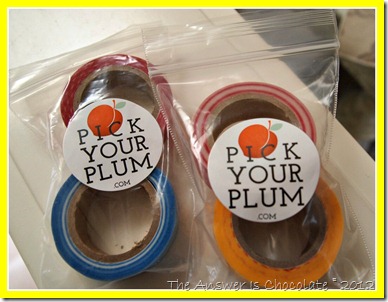
One of our nephews celebrates his birthday this Memorial Day weekend, so I decided I’d make him a Memorial Day themed card. It was also the perfect reason to use some washi tape I recently ordered from Pick Your Plum!

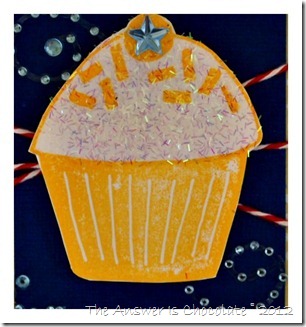
I grabbed some striped red white and blue paper from my stash along with some matching blue cardstock, and stamped  cupcake on white cardstock w/ yellow ink. I stamped the cupcake again on a scrap piece of paper and cut out the bottom to make a mask. I sprayed the top of the cupcake w/ Elmer’s spray adhesive and “frosted” it with Recollections tinsel glitter.

Stamped Frosted Cupcake
What’s a cupcake without frosting? I trimmed the cupcake image and mounted it on blue cardstock wrapped with red and white baker’s twine and added some rhinestone swirls.

Washi Tape

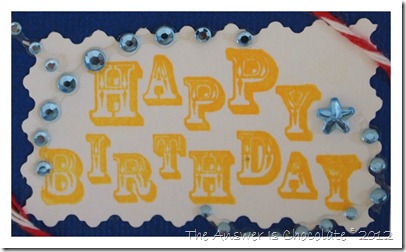
I used the red and white polka dot washi tape from my recent purchase to add to the card and then stamped “Happy Birthday” in the yellow ink on a white scrap, trimmed with deckle edge scissors and framed with a blue scrap.
Stamped Happy Birthday

Finished off with the rest of the rhinestones and baker’s twine.