Showing posts with label Silhouette Cameo. Show all posts

Monday, October 17, 2016

Signs of Halloween


Even though I thought I was done w/ my Halloween decorating, I went on a little bit of a sign making binge while we were on storm watch this weekend.  Being cooped up in the house is a good way to do some stash busting! 


These were all made from inexpensive things I'd picked up along the way and done the same way. Paint and vinyl. Easy peasy. 


Supplies:

  • Wood pieces to paint
  • Craft paints in colors of choice
  • Vinyl
  • Vinyl cutter
  • Misc. embellishments


For the "Wicked" sign, I started with a plain wood box I found at DAISO ( Japanese Store where pretty much everything's $1.50). 

The large Broom sign was one of those " no idea what I'm going to do with this but it's $.99" sale finds at Michaels.

The three piece Broom sign was from a bag of wood pieces bought on another trip to Michaels. 


The process is the same for all the signs. Paint, dry brush, apply vinyl. 

Paint with the basecoat color of your choice ( I used Folk Art Titanium White and Extreme Glitter White;  Martha Stewart Metallic Gold ) . For the white signs, apply one or two coats of the plain white and then one coat of the glitter white. For the Wicked sign , two coats of the gold paint. When dry, dry brush lightly with black paint. 


Either while you're waiting for your paint to dry or the power to go out, cut your vinyl. I used images from the Silhouette store and cut on my Cameo.  When your signs are dry, weed and apply your vinyl. 


Monday, February 4, 2013

Valentine's Decor: Easy Vinyl Embellished Charger

Love You and Me

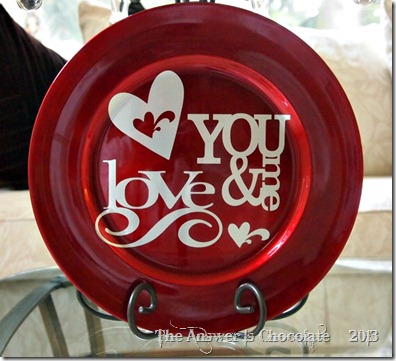
Still in stash busting mode and sharing a project I made last month for the Expressions Vinyl blog.  After Christmas 2011 (yes, that’s right 2011) I picked up a couple of vinyl chargers for next to nothing on clearance at Michaels. I thought I might use them this Christmas. Didn’t. But I did use one to make a quick Valentine’s project.

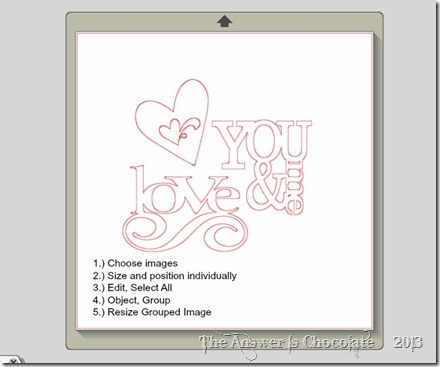
 I downloaded a few Valentine’s themed images and phrases from the Silhouette online store. I have had my Cameo for a year now and am still learning everything you can do with it. For this project I used the group function to well, group, all the images I used together enabling me to then re-size one thing vs multiple.

Grouping Instructions

It’s the same principle as any graphics or digital scrapbooking software. I positioned and sized each image individually then did “Edit, Select All” and then “Object, Group” from the menu in the Silhouette software.
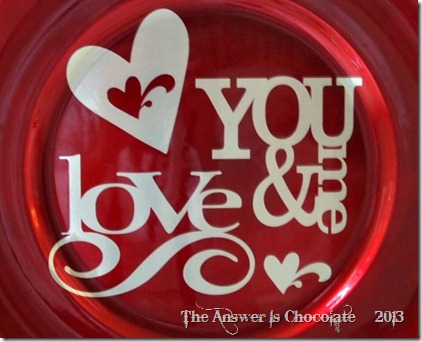
I sometimes use transfer paper and sometimes don’t. This time I did because I was trying to make sure it was centered. I cut my grouped image using a brushed metallic silver vinyl ( Expressions ) and even added the little center heart cutout.

Love You and Me Closeup

I don’t do a lot of decorating for Valentine’s but this was a quick and easy way to add a little.

Sharing At:


Saturday, July 14, 2012

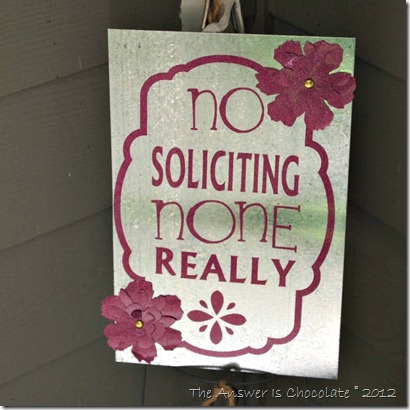
How Can I Miss You If You Won't Go Away? No Soliciting Sign.

Sharing a post I did for the Expressions Vinyl blog last month. 

Those of you who've been around a while, might remember I made one of these last year. This one I made for the Mumster ( aka my Mom to those who may be new)  who is the friendliest person I know but who has one nemesis: Solicitors. 

How do you tell people to go away but nicely? With a sign made using Expressions Vinyl Glitter Ultra Cast that’s how!

No Soliciting

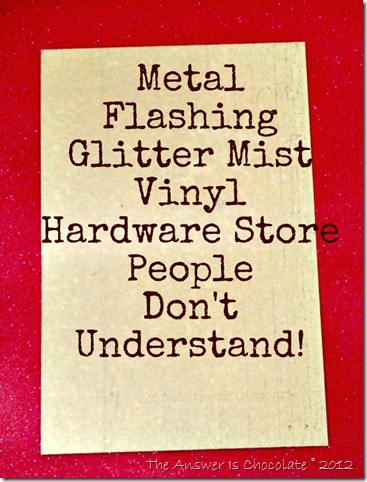
I tend towards using things for other than their intended purpose so for this project I used some metal flashing(?) from the HW store for my sign.

Metal Flashing and Vinyl

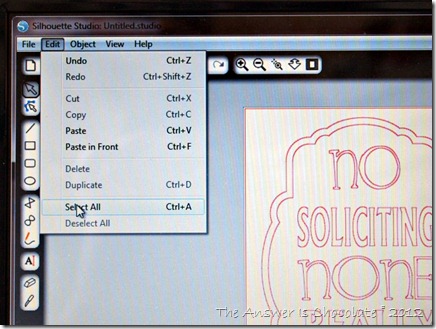
I chose a frame from my Silhouette library and then did the text in two different fonts. I am still far from an expert with my Cameo but one tip I think worth sharing is when working with text or multiple objects in a project, group your objects. How?

Silhouette Group Objects

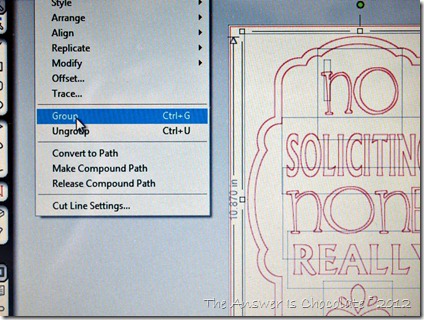
After you’ve completed your layout, click on edit then scroll down to “select all” . Next you’ll want to group them which binds them together so if you accidentally hit your keyboard or something you only accidentally re-size one thing and you don’t mess up the individual parts. Not that I’ve done that or anything.

Group

I cut the frame and text out from the same vinyl. Applied it to the metal piece using transfer tape. For things where it’s just a piece I don’t always use transfer tape. For something like this…DEFINITELY.
I always have to add something so I ran the rest of my vinyl through my Cuttlebug die cutter using a Tim Holtz Alterations die:

Vinyl No Soliciting Sign

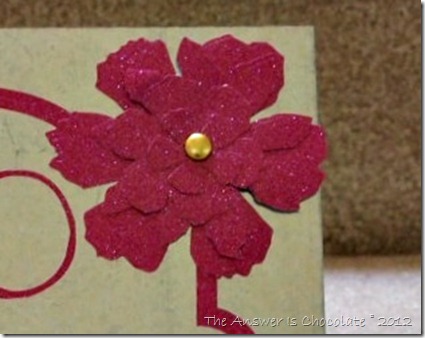
Attached all the layers with a brad and then super glued to the sign.

I made a No Soliciting sign for our house last year, and in another attempt to confuse the Hardware Store people, my stand is a metal tomato cage. I just use magnets to attach the sign to it. Someday the HW store people will stop asking me what I’m doing with stuff!

Sunday, April 29, 2012

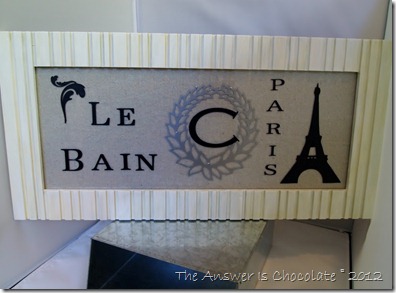
Monthly Post for Expressions Vinyl: Paris Inspired Bath Sign

I was so excited when the folks at Expressions Vinyl invited me to contribute to their blog. I'll be posting a project over there once a month! This is the first project I shared last week .


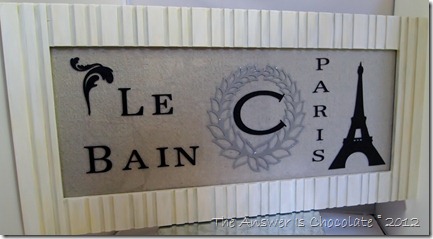
Paris Sign

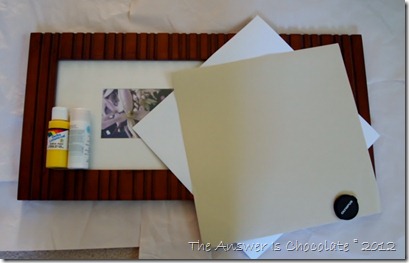
 I love using old frames for projects and found this bead board looking frame at Goodwill. It was in great shape and I could have left it alone but what fun is that? I definitely had to "vintage it up" a bit.


Paris Bath Sign

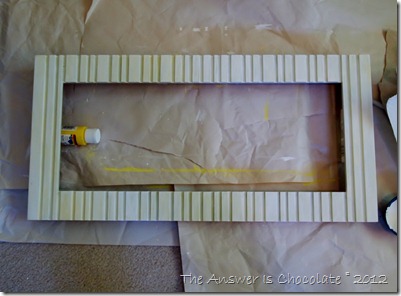
I thought I had light yellow paint but since I didn’t, I lightened up some bright yellow by adding white paint. Painted my frame with a coat of that, then dry brushed over it with white paint. Instant re-purposed shabby chic frame!

Paris Bath Sign Frame

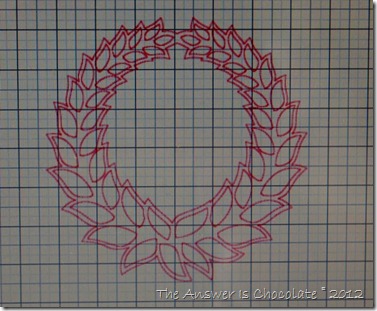
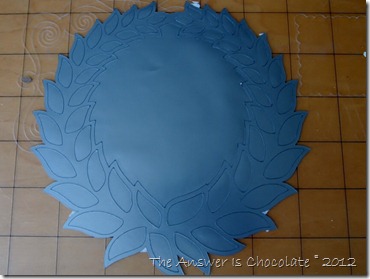
Now for  the fun part! Along with my Eiffel Tower, I downloaded this fabulous laurel leaf image from the Silhouette online store:

Sillhoutte Laurel

Sized in the Silhoutte design studio software and then cut it from metallic silver Expressions vinyl. I love love love the metallic vinyl from Expressions. Did I mention love?
Vinyl Laurel (2)

Except when trying to photograph it on a sunny day. This pic doesn't do the metallic goodness justice.  But you get the idea. I even saved the center of the laurel wreath to use on something else. Waste not, want not.

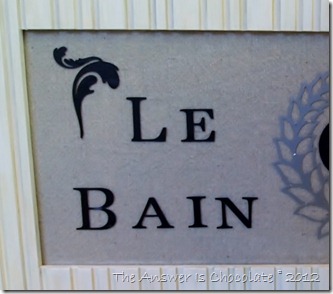
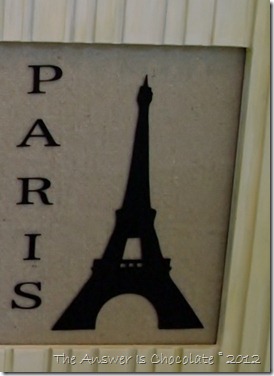
I decided I’d do our monogram, so I cut out the letter “C” and then the letters to spell “Le Bain” ( The Bath) , Paris, a flourish,  and the Eiffel tower using Expressions black vinyl.

Vinyl Paris Bath Sign

Paris Bath Sign Vinyl

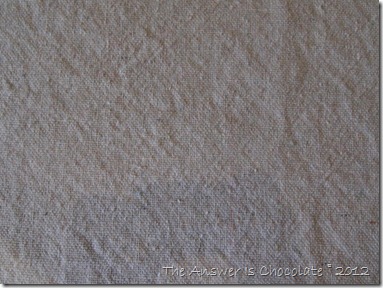
I applied all of the vinyl to the glass. What’s that behind the glass?  A piece of fabric drop cloth from the HW store!
Paris Bath Sign Dropcloth

Since I was going for a shabby look, I wasn’t concerned about ironing the fabric. OK like that was going to happen anyway. HA!

Paris Bath Sign Vinyl

Lesson learned…I should have placed the monogram over the laurel in the design software before cutting either out. I think this would have positioned things better but I’m still mastering my Silhouette Cameo and that's one of the best things about the design software. Just didn't think of it soon enough.  Guess I'll just have to make more vinyl projects :) 

Now when I’m in the bathroom, I can pretend the bathroom is in an artist’s loft in Paris. Of course I also have a big box of French chocolates in that scenario.  A girl can dream.

Sharing At: 


Thursday, March 8, 2012

Superhero Art...Big Boys Love Comics Too

When your kids get older, it’s fun to watch them become mature enough to indulge their inner child. Through the Middle to High School years, they're usually trying to act much older than they are. Then they get to college and they are more comfortable in their own skin.

Our son is a self professed comic geek. A fan of both DC and Marvel characters ( although Marvel prevails) and a collector of comics, memorabilia etc.

He’s coming home for Spring Break tomorrow (YEAH) and I found a way to combine what I love to do with what he loves.

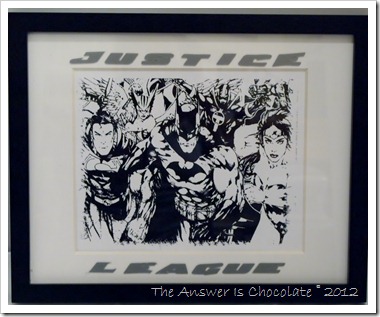
Justice League BW

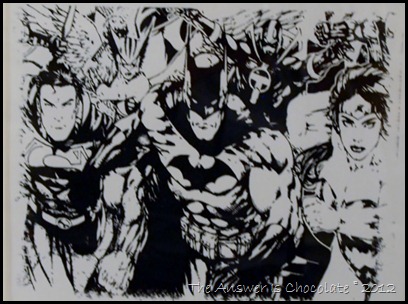
He’s excited about the “Justice League” movie that’s in the works so I found an image online ( this is for personal use only Copyright people)  but it was in color and I wanted black and white.

P3064506

Using My Memories Suite, I not only converted it to black and white, but chose a pencil sketch filter. I exported it as a photo and in my Print Shop program, aged the edges.

Printed on cardstock, framed it in a frame I had on hand and then downloaded the “Justice League” font from here and then cut the words on CoCo, my Silhouette Cameo. I used metallic silver vinyl from Expressions Vinyl.

P3064509

We got him a very cool black and white Batman statue for his birthday so this will go perfectly with that!

Sharing At:

Saturday, March 3, 2012

Shamrocks Don't Have to Be Green!

I don’t do a ton of decorating for St. Patrick’s day but seeing so many cute ideas inspired me to do SOMETHING. This was a very quick project that I could work into my non-seasonal mantle.

Gold Shamrock

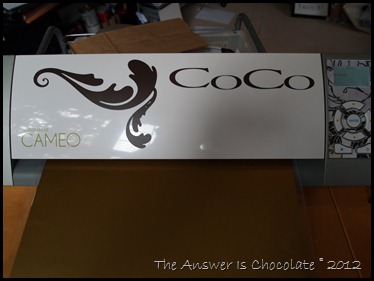
I’ve been neglecting CoCo (my Silhouette Cameo) and she was sitting on my desk, staring at me petulantly. She needed to be involved!

SIlhouette Gold Vinyl

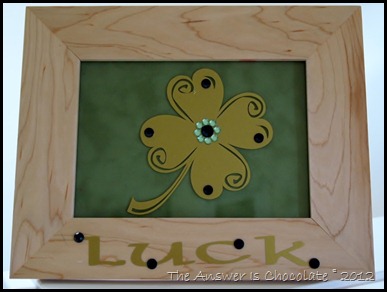
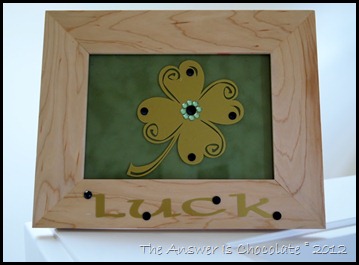
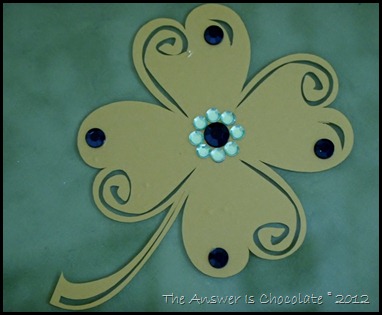
I decided to combine one of the iconic  colors of St. Patrick’s day, gold, with its traditional shape the shamrock, and cut my shamrock from gold Expressions vinyl.  I found this great shape with the swirls in the Silhouette online store.
Gold Shamrock Closeip

I simply framed a piece of green suede / velvet scrapbook paper cut to size and then placed the shamrock on top of the glass. Of course I needed to add some rhinestones because it’s what I do! The center is one black rhinestone with smaller green rhinestones that fortunately fit perfectly around it!

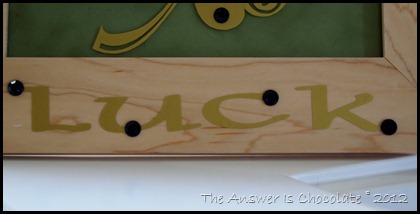
Gold Luck

At the same time I cut my shamrock, I cut the letters LUCK from the same gold vinyl. I absolutely love being able to do exactly what you want in the same project...add a text box on the same page as a shape; choose the font from what's already installed on your computer etc.

Embellished the letters randomly with more black rhinestones. Easy project and the best part is everything was already on hand!
Shamrock Gold

Sharing At:


Saturday, January 28, 2012

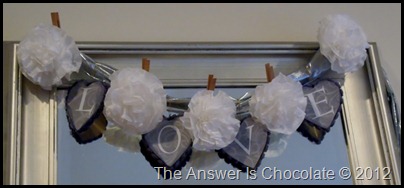
Valentine's Banner from Coffee Filters and Christmas Ornaments

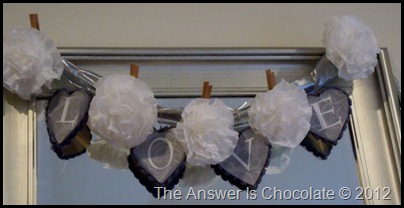
I finally got to sit down and play today! I had the general idea for this in my head but it was greatly helped along when Rachel from Holy Craft shared a tutorial on coffee filter flowers that made me really want to bring the idea for this banner (that’s now on our bedroom mirror)  to life.

LOVE Banner (2)

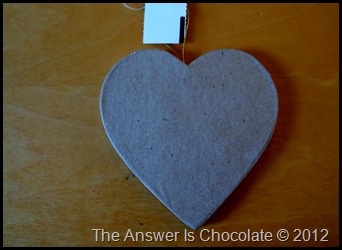
The banner is a combination of coffee filter flowers and paper mache heart shaped Christmas ornaments I picked up 50% off after Christmas.

Paper Mache Heart

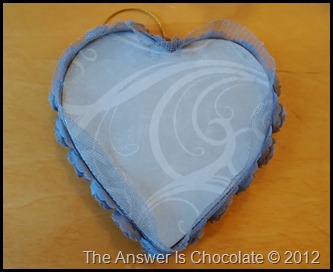
I covered the heart with a gray paper from Echo Park. I had some great lace ribbon trim in my stash and hot glued that around the edge of each ornament.

Paper Covered Heart

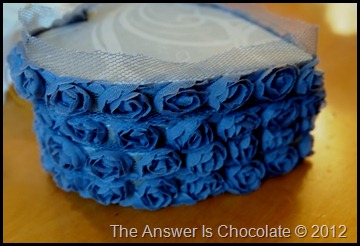
Here’s a better shot of what the ribbon looks like.

Lace Rose Trum

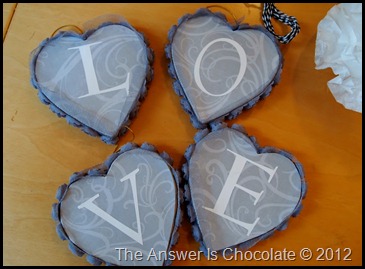
I cut out the letters L O V E on CoCo, my Silhouette Cameo, and put one letter on each heart.

Paper and Vinyl Hearts

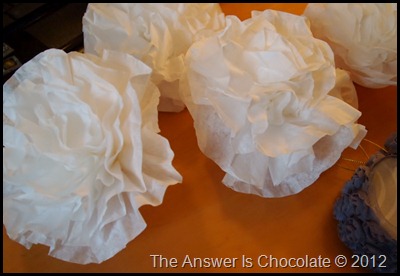
Then I made my flowers. 5 coffee filters per flower and following Rachel’s tutorial.

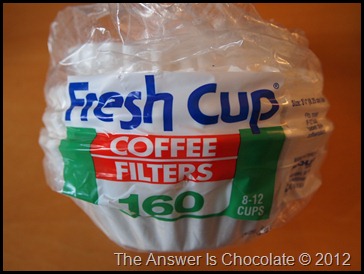
Dollar Tree Coffee FIlters

Thank you Dollar Tree. 160 coffee filters for $1!

Coffee Filter FLowers

I made 5 flowers so I had one for each end and to go between the letters. I strung the hearts on some silver tulle using the thread that was already attached and then clipped the flowers using clothespins, then strung the banner across the mirror. And while this might be Valentine’s themed, with the colors I used I can actually leave it up permanently.

LOVE Banner

Sharing At:
homework