Showing posts with label Home Decor. Show all posts

Monday, July 5, 2021

Home Decor: Repurpose Paper and Coffee Filter Flowers Into Giant Wreath


I hope everyone had a safe and Happy Fourth. I'm hoping we get some peace and quiet tonight because the dog was not happy last night. And when the dog's not happy, no one's happy! We're getting organized in our new home and took a few minutes this morning to whip up something for my new office. 

In my last office, I had an accent wall for which I'd made a border of flowers that ran along the top. I couldn't bring myself to toss them when I took it down and knew I had an oversized wreath form that I was going to use for something in our old house but never did, so it was pretty easy to visualize this oversized wreath. It was quick, easy, and a great way to re-purpose a bunch of rolled and layered paper and coffee filter flowers I'd already made. 

Supplies: 
  • Giant Wire Wreath Frame ( I don't remember the dimensions but it was the biggest one Michaels sells)
  • Rolled / Layered Paper Flowers. You can design your own or use patterns for your cutting machine. 
  • Coffee Filter Flowers. I made these freehand. I love coffee filters because they retain their shape and don't wilt like tissue papers. 
  • Glue gun and glue. 


I started with the largest of the paper flowers. I had three this size so I did kind of a triangle shape to evenly disperse them. 


Then, I took the smaller paper flowers and distributed them in between, just kind of eyeballing the spacing. 


When I made these, I intentionally made different styles of flowers because I didn't want everything to match. After I had all of the paper flowers placed, I started adding the coffee filter flowers which again, I didn't make all the same. 


These were easy to fluff back up since they'd gotten a little squished being boxed up! I filled in the bare spots, fluffing along the way until the wreath form was filled in. It went very quickly and now is the first thing I've hung on the wall in my new office! 


Sharing At: 


Wednesday, September 16, 2020

Mackenzie Childs Inspired DIY Pumpkins


If you've spent any time in Home Decor world, you are probably familiar with Mackenzie Childs signature style. I love it, not only because she uses tons of black and white but because it's whimsical, pretty, and not rigidly perfect. It's also expensive and while I'd love to have a bunch of pieces, I don't. But hey, we're Makers so what do we do? We use our faves for inspiration and DIY that stuff! 
Here's an example of the real ones: 


Supplies: 
  • Plain Ceramic Pumpkins ( $1 each from Target)
  • Paint Pens ( I used Craftsmart from Michaels)
  • Acrylic Paint 
Step 1: 
Gather your supplies. I found these ceramic pumpkins for $1 each at Target in the section that none of us can get past. They know us! I also grabbed two paint pens: gold and black. 


Step 2: 
For the signature Mackenzie Childs check, I went down the lines of the pumpkin with the black pen. 

Since the style here is to look handpainted, you don't have to be perfect. 

Step 3: 
I went horizontally around the pumpkin with the paint pen to create the squares.


Step 4:
Tip: When I've done checkerboard before, I've gotten the order messed up so I've taken to putting a pencil dot in the squares to be filled in before I start filling! 


Step 5 
When all of the squares were filled in, I went back down the pumpkin spines with a gold paint pen and colored the stem. (I went back over that gold spot w/ black)


Et voila! 


The process for the Striped Pumpkin was similar but I used acrylic paints instead of paint pens.


I did a couple of coats for opacity. 


To finish, I also used paint and just went down each side w/ antique gold. 

Et voila!


I am pretty happy with my $2 project! 


Monday, January 21, 2019

Valentine's Day : Blasts From The Past


Yay! I have my laptop back and didn't lose anything and I'm so happy! Have some photo editing to do for some things I've worked on recently and have to re-install some stuff,  but in the meantime, thought I would take a trip down memory lane and re-up a few Valentine's Day home decor and card projects from past years.  Projects are linked in the titles. 

Home Decor


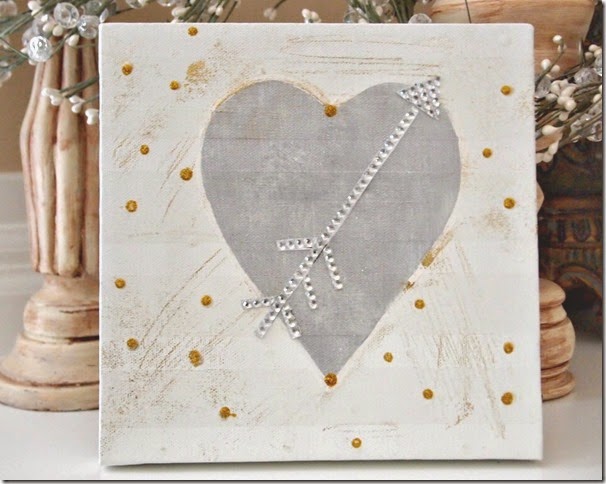
This is a really quick way to add some Valentine's decor that can actually stay up all year long and not look out of place. Neutral colors make it versatile. 

Valentine Canvas Bling Arrow


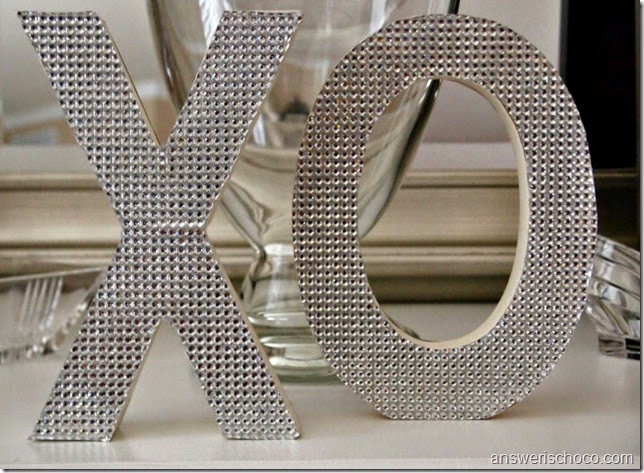
This is another thing that you can leave up all year long. 

DCWV Bling XO Letters


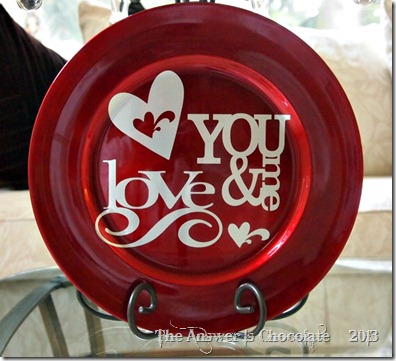
I actually did this in "traditional" Valentine's colors ( primarily since it was a stash bust from an extra charger I had from Christmas)

Love You and Me


Cards 

Mizuhiki Cord Valentine's Cards:

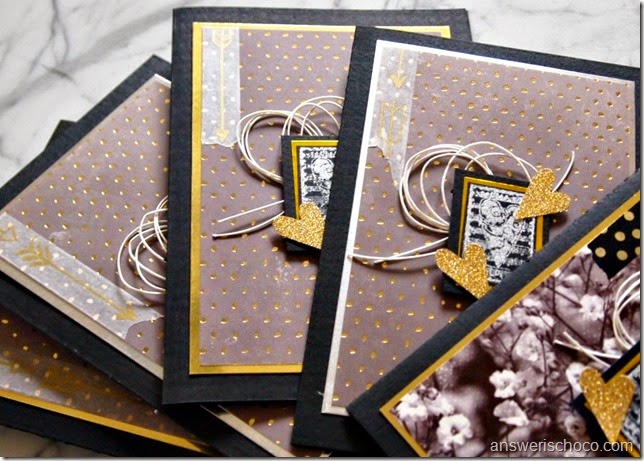
Handmade cards using Mizuhiki Cord (found w/ Origami supplies)

DCWV Decor Noir Valentines


Metallic and Bright Valentine's Day Cards:


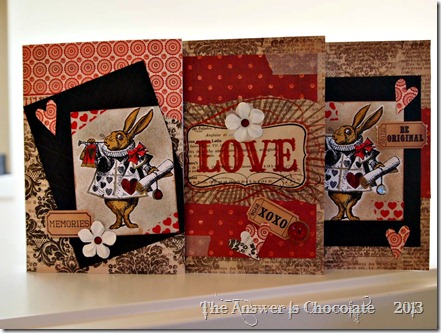
Valentine's Cards 2013


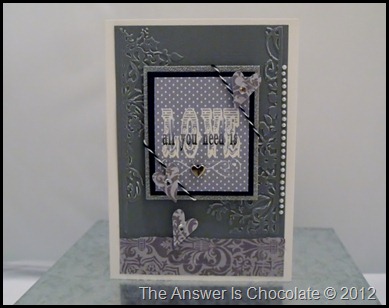
Grey and White Valentine


Hope you've found some inspiration!


Friday, February 8, 2013

Key To My Heart Wall Art

Published On: 


Key To My Heart Valentine's

I love it when a plan you didn’t have comes together! But first...if you're looking for the BFF Open House link party, it's still going on right here . Great ideas to check out and link up your own.

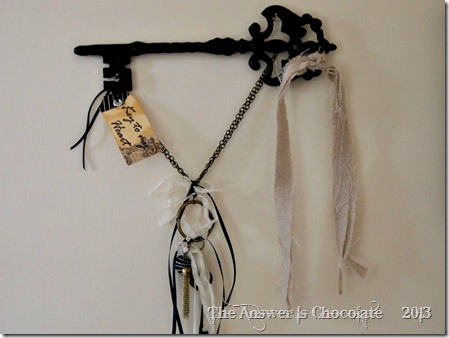
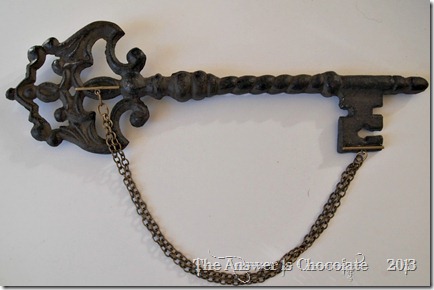
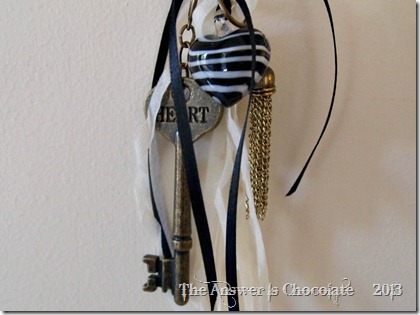
So. I had this big antique metal key in my stash and wasn’t sure what I was going to do with it and then I was going through my stamp stash and ba-da-bing.

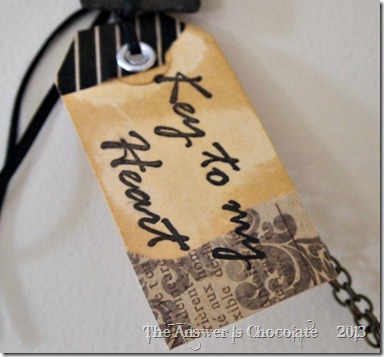
Key To My Heart Tag

The stamp has the sentiment that brought everything together but more on that later.

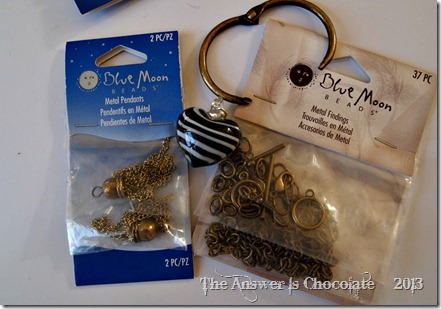
I had this fantastic black and white glass heart in my Blue Moon Beads design team materials. LOVED it from moment I saw it but wanted to save it for just the right thing.

Blue Moon Beads Antique Gold

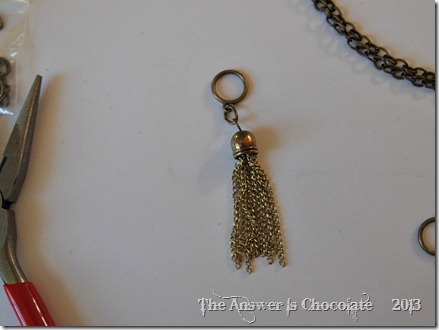
I pulled it out along with some antique gold chain, findings, and this metal tassel pendant. All by Blue Moon.

Blue Moon Metal Tassle

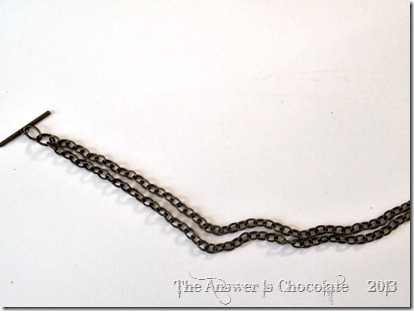
I attached pieces of a toggle clasp from the findings package to two lengths of chain and glued them to the back of my key.

Blue Mean Antique Gold Chain

Metal Key Blue Moon Chain

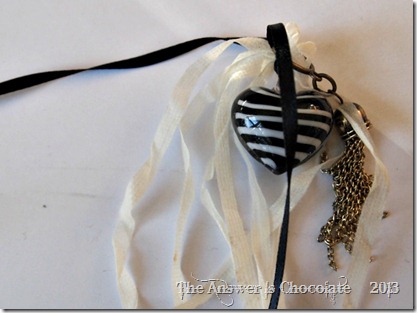
While that was setting, I worked on my focal point. Using the glass heart, metal pendant, another key from my stash, some ribbons and an antique book ring ( 7 Gypsies) I just kind of played around until I liked the result. This involved more findings from the same package.

Blue Moon Glass Heart

Key To My Heart Focal

I tied my focal to the book ring and then the book ring to the chain and finished up with some strips of leftover drop cloth. And now we’re back to the tag using the stamp that started it all.

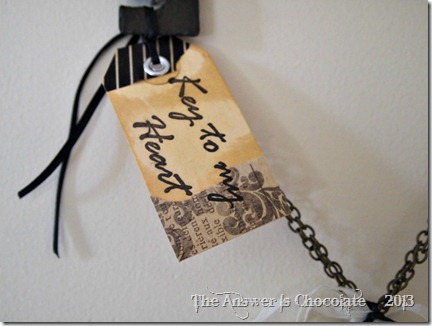
Key To My Heart Tag

Small manila tag, dusted and swiped with Distress Ink ( antique linen) with a scrap of leftover paper and a piece of washi tape. I  debated about saving this to give Mr. C. for Valentine’s Day but decided I wanted to look at it now. It’s hanging in our bedroom where we both can see it. From the moment I got this key he’s claimed it as his. Well who knew he was right? ‘Cause he does hold the key to my heart.

Sharing At: 


Tuesday, January 22, 2013

Medium Time Commitment Coffee Filter Wreath

Medium Time Coffee Filter Wreath

I’ve always wanted a coffee filter wreath. And I’ve always wanted one that’s fluffy and dense. But I haven’t always wanted to spend what seemed like ton of time to get that really dense look. So here’s my take on spending a medium amount of time on one ( 1hr give or take) plus I re-purposed a styrofoam wreath I already had on hand. For this project you will need:
  • Recycled or new wreath form
  • Basket Coffee Filters
  • Glue Gun
  • Cheesy Lifetime Movie on in the background ( optional)
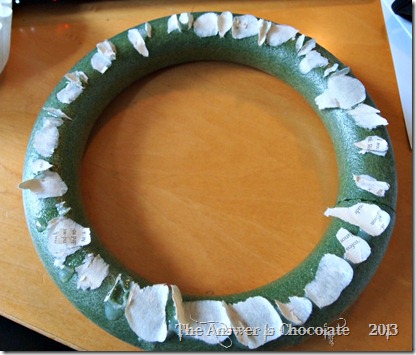
I started with this monster:

Repurposed Styrofoam Wreath

Skeleton of an early crafty experiment. We’ll call this wreathus formicus.  Decomposed down almost to the bones.

I was originally going to fold coffee filters in quarters and then lay them flat all around the wreath. But I like fluffy and when I was folding, started twisting the bottoms of my quarter folded filters thinking after I got them glued on I could fluff them out a bit. It was at this point I started thinking about doing more video tutorials because I need more hands!
Coffee Filter Folds

Fold a coffee filter in half, then in half again to quarter and then grab and twist the bottom until it looks like a badminton thingy. Now you’re going to ask me “how many badminton thingies” did you make? To which I answer: “A bunch” . Serious answer is I started with an open package of coffee filters about 3/4 full, finished that up and used another maybe 1/8th to 1/4th of another pack so I’m going to say a package should do you.

Here’s where I wish I had the video because I got busy twisting, gluing, pulling glue strings off myself that I didn’t want to get on my camera so didn’t take pictures along the way bad blogger! I glued the twisted part down, then guaged where the next one should go, glued the next one down and so on. I starte in the middle of the wreath went all the way around then did a row on the inside and outside of the first row. After that, I just fluffed.

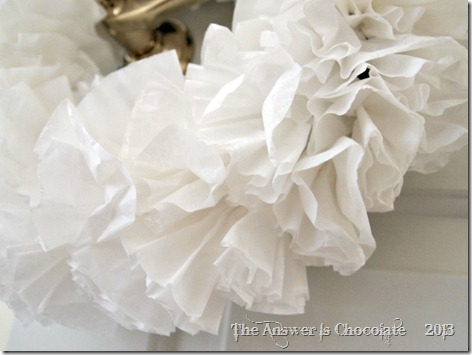
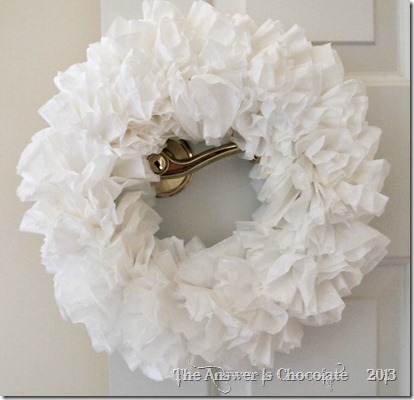
Coffee Filter Wreath

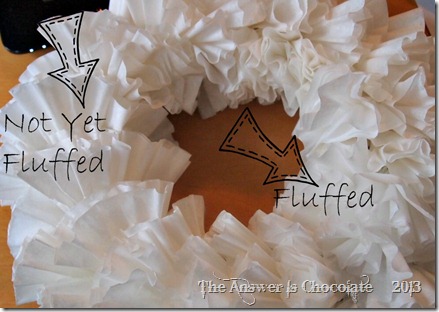
Kind of reminds me of daffodils. This is to try to illustrate what I mean by fluffed vs unfluffed:

Unfluffed Coffee Filter Wreath

Unfluffed, you can see the natural creases of the coffee filters. Fluffed, is just softer.

Coffee Filter Wreath Fluffed


Sharing At: