Showing posts with label Hanukkah. Show all posts

Monday, November 4, 2013

Painted Glass Appetizer Plates

Hanukkah Plates

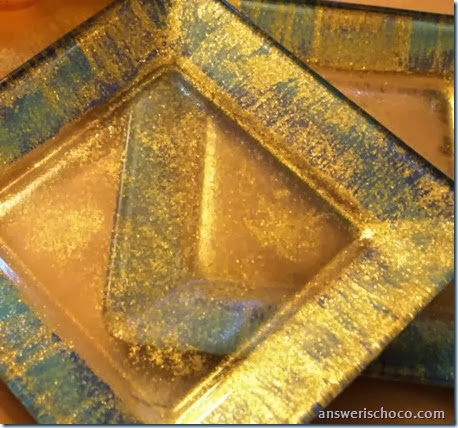
Hanukkah comes early this year. It actually starts on Thanksgiving. Inspired by some votive holders I made as a gift last year, I made some little appetizer plates this year in festive Hanukkah colors. These are for the same friend.
For this project you will need:
  • Clear glass plates ( I got mine at Cost Plus)
  • All purpose craft paint ( I used Martha Stewart Gloss and Glitter paints)
  • An oven or 21 days ( will explain below)

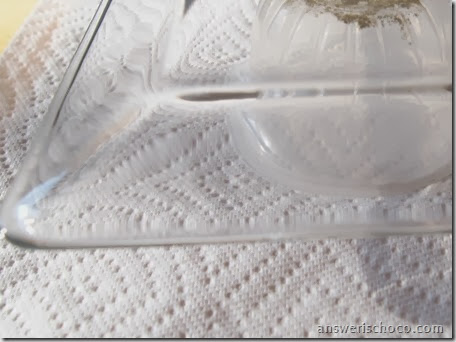
Clear glass plate

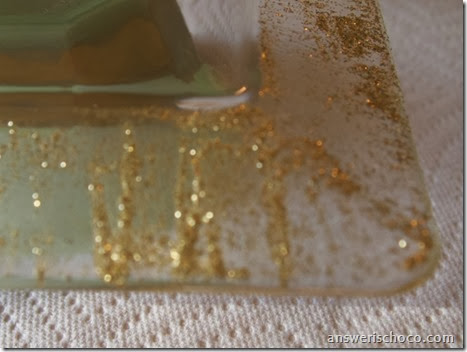
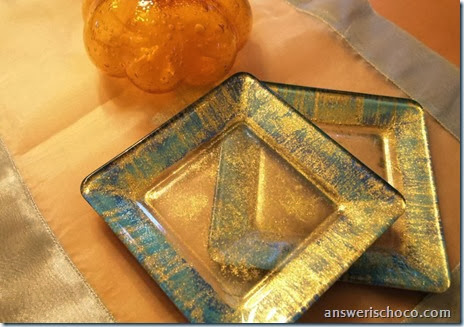
You’ll be painting the underside of the plates so clean the bottom with alcohol to ensure your paints adhere. This is kind of a reverse process . Place your plate with the bottom side up. I found it easier to elevate the plate on something.  I started with the gold glitter paint ( Florentine Gold) and went around the rim. Let dry and went around with a second coat.

Hanukkah Plate Glitter

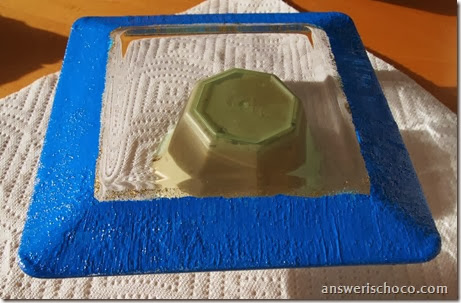
I didn’t want perfectly even coverage. I wanted a kind of mottled, watercolor effect so my painting was random. Once the second coat of glitter was dry, I used a sponge paint dauber and “spounced” one shade of blue (Martha Stewart High Gloss Pond) randomly around the rim. When that was dry, I painted over that with High Gloss Indigo.

Hanukkah Plate Blue

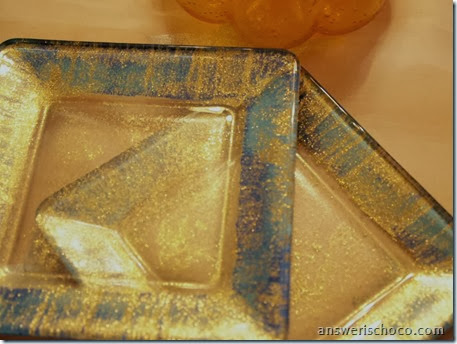
Kind of looks like I taped it off with painters tape doesn’t it? Once that was dry, I used another sponge pouncer and more of the Florentine Gold glitter paint and went over the unpainted part of the plate.

Hanukkah Plates

Here’s where the oven comes in. You can either “cure” your plates by letting the paint sit for 21 days, or you can let them dry for an hour, and bake them in the oven. Place your piece in a cold oven, turn to 350 degrees ( the glass needs to heat up gradually), bake for 30 minutes and then let your oven cool down to room temp.  They are now top rack dishwasher safe and all the paint is on the underside so the tops are food safe.

Hanukkah Plates


This was a really easy, fun, and rewarding project. You could make a few of these as gifts, for your own holiday entertaining, and the only limit is your imagination on a color scheme.

Sharing At: 


Thursday, December 6, 2012

BFF Open House Link Party #82

Happy Friday eve all. Hope everyone's had a fantastic week. I'm mid-stream on everything. Cards, decorating, baking. Hope to get a chunk more done this weekend. This weekend also marks the start of Hanukkah so a very Happy Hanukkah to all who will be playing dreidel, eating latkes ( YUM) and lighting the menorah.

Just a reminder that I have a giveaway going through Tuesday...your own copy of the latest version of My Memories Suite Scrapbooking Software. Details here.

OK let's see what everyone's been up to this week!


Thursday, November 29, 2012

BFF Open House Link Party #81

Can you  believe that tomorrow is the last day of November? I can't believe Thanksgiving was just / already  a week ago. It's full steam ahead for December holidays.

Hanukkah starts December 8th  and then Christmas is just three short weeks or so after that. Fuel up on your favorite energizing beverage, protein bars, and of course chocolate because it's turbo holiday time! I hope you'll bear with me as I'm counting down the days until College Boy comes home for a month. 24 days from today!

So let's see what everyone's been up to this week.

Please remember to link to your specific post and not your main blog page and spread the holiday cheer by visiting a few other links.  You can also meet some other bloggers here: 


Tuesday, November 27, 2012

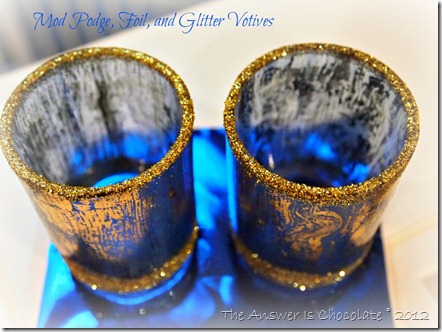
Mod Podge, Foil, and Glitter Hanukkah Votives


Featured On:


Mod Podge, Foil and Glitter Votives


Hanukkah is just around the corner. Since it’s the Festival of Lights, what better thing to make than some fun votives? I made these for a friend.

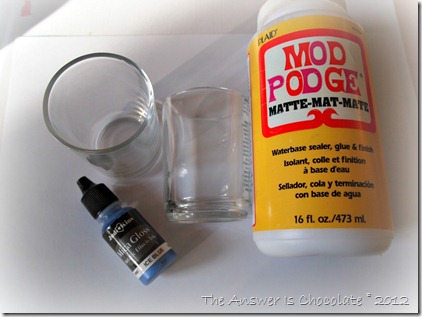
For this project you’ll need:
  • Clear glass votives
  • Mod Podge
  • Tint of your choice, paint, ink etc. I used JudiKins Mica Gloss
  • Foil Transfer Sheets  ( I had some in my stash but I know Michaels carries the ones by Martha Stewart w/ her paints)
Tinted Votives

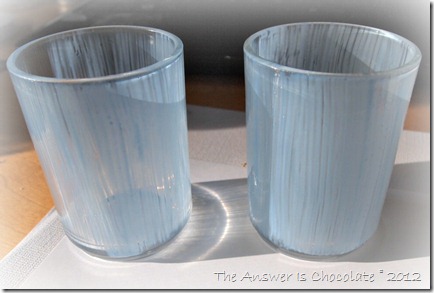
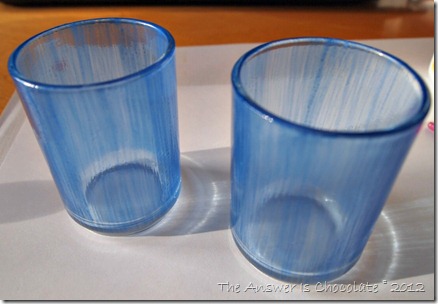
In a small container, mix your Mod Podge and tint to a desired color. I went with a metallic blue for Hanukkah.  Apply your tinted mixture to your votive, let dry, repeat twice more or to desired color.

Tinted Mod Podge

Top pic is the first coat. Bottom pic is after three coats and dry.

Blue Mod Podge Votives

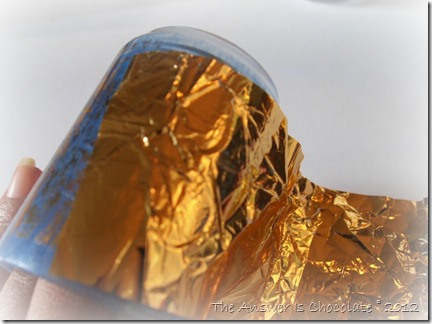
Now it’s time to apply the foil. While your votives are still a little tacky, randomly press your foil onto your votive. I use what I call the leg waxing technique. Lay your foil down, smooth over with your hand and rip off. No pain!

Apply Gold Foil

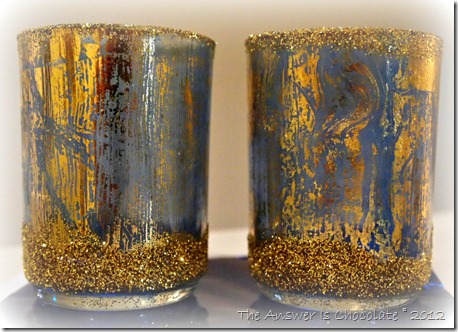
I tend towards an imperfect look so I crinkled my foil up first and then didn’t try to match up lines or get full coverage.

Mod Podged Hanukkah Votives

After you’re done applying your foil, brush some more Mod Podge around the bottom, sprinkle with glitter, Edge the top rim with more MP and dip in glitter .

You could whip up eight of these for an impromptu menorah or you could make them in different colors for your Christmas mantle, or  for everyday decor, or...

Sharing At: 


Monday, December 12, 2011

Glitter Is For Hanukkah Too! Hanukkah Card

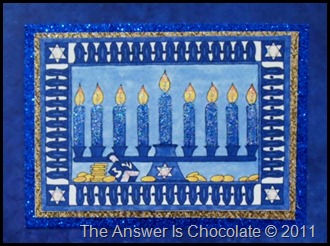
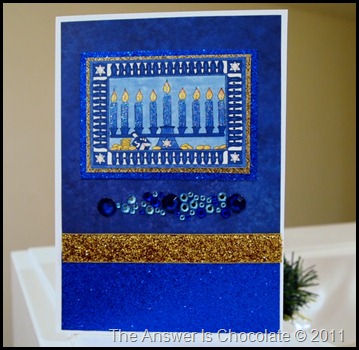
I’m a glittermaniac lately so I was quite thrilled when I found glittered cardstock that I could use for some Hanukkah cards I wanted to make for friends.

Hanukkah Glitter Card
Michaels had their glitter cardstock 10 (12x12) for $10 last week. It’s hard to capture just how gorgeous this blue is in a picture but trust me it is!

I generated the menorah from my PrintShop program , printed on a textured cardstock, and then went over the candles with an iridescent Stickles glitter glue.
Glitter Hanukkah Card
I also accented the dreidel. Mounted this on gold glitter cardstock and then on the blue.

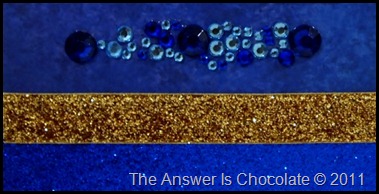
I made the main panel for the card from a spongy blue paper with a strip of the blue metallic and added a row of gold glitter ribbon. Hey, if you’re going to go glitter, go all in!
Hanukkah Glitter
To finish, added a strip of blue rhinestones I had in my stash ( more from last year’s after season Michaels binge).
Hanukkah Glitter Card

Sharing At:
homework

Tuesday, November 23, 2010

Hanukkah's Next Week!

You know how you plan waaaaaaaayyyyyyyyy in advance to do something and then BAM, where'd the time go? Uh huh. And Mother Nature is NOT helping since I need to mail these and she brought snow during Thanksgiving week. Dear Mother: It is not supposed to snow in Seattle in November! Did you perhaps confuse us with Minnesota? Good thing Hanukkah is eight days so if these are a little late...

 I started with 5x5 wood plaques, painted them black, then dry brushed with white, then blue, then gold. Created a "Subway Art" thingy on my computer, printed out on regular copy paper and then the fun began! I have this giant jar of JudiKins Mica Gloss I bought at a stamp show.  It's magical stuff to play with and it's wonderful for making background papers. I wasn't sure about printing on the glossed paper so I printed first, and then went over the printout with the Mica Gloss. It's transparent enough to see through. You don't need a lot of each color so I put drops of it on a plastic sheet protector, brayered it ( lightly...so things don't get muddy) and then went over my printouts. This pic doesn't capture how the gold really gleams.  Once dry, Mod Podged that onto my prepared plaque.
Made the background paper for the cards using the same materials and technique. Computer generated dreidel which I mounted on navy blue velvet paper, then on Stardreams gold scrap leftover from the card. Embellished with "Diamond" Stickles and blue adhesive rhinestones. Computer generated sentiment.

Had some scraps left from my background papers and card so of course made tags! Finished with fibers and ribbon on hand. And after all of that, I have pretty "trash" leftover because here's the paper that was underneath the papers I brayered:

You can see the gold glisten a bit better here.  
Linking Up At:

Playing With Printables

OK I'm one of those people who when I get on a kick...you know the rest! I feel like such a dork because while I have played around with graphic design: A.) My brain just won't work with Photoshop so B.) I keep going back to the program I know which is Broderbund's Printshop but didn't know how to share anything like a printable. I've been able to share some PDF files but I wanted to play just like others who have printables you can click on from directly within a blog post. Did I mention I'm stubborn and I want what I want? Did I also mention I'm one of those people who hate manuals because I think I can intuit my way through? Uh-huh. So I finally broke down and consulted "the manual" and figured it out!!! Sssshhhh...don't tell anyone.

I love the "Keep..........and ............On" variations so here are a few I came up with to share:
Linking Up At: