Showing posts with label Dollar Tree. Show all posts

Saturday, December 1, 2012

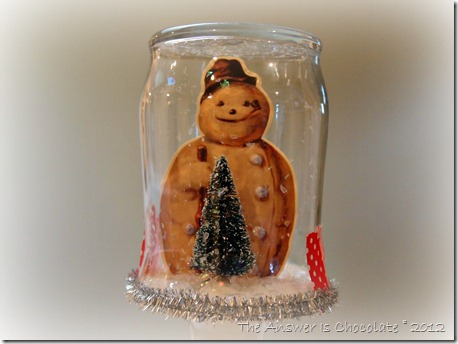
Vintage Paper Snowmen Under Glass

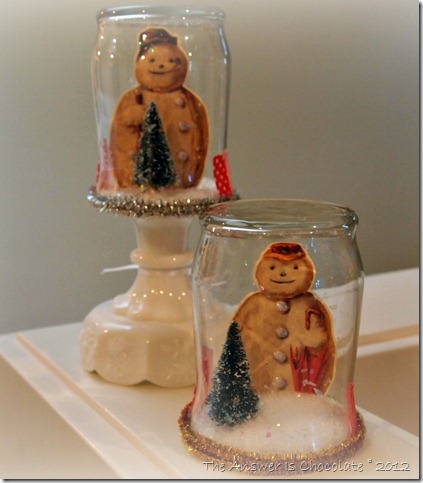
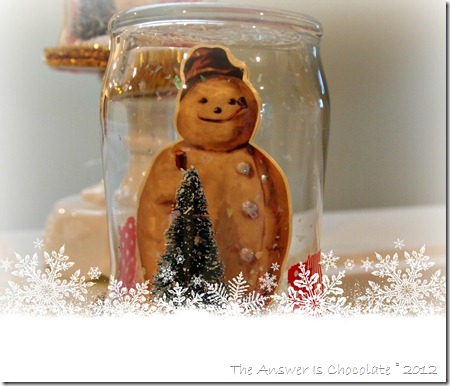
Vintage Snow Jars

When I was at a scrapbook show a few weeks ago, I saw some really cute domed jars. I fell in love with them but they were $5 each and I couldn’t justify it knowing I’d want to use more than one.

So I kept walking. Then I was at Dollar Tree and saw these clear glass candle holders that were similar in shape. Ding Ding Ding. Idea!


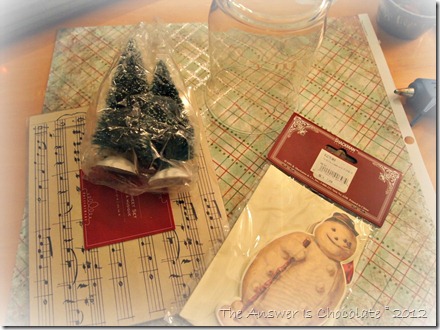
For this project you will need:
  • Clear glass jar or candle holder
  • Paper snowman 
  • Small tree
  • Epsom Salts
  • Glitter
  • Pipe Cleaner
  • Chipboard
  • Scrapbook Paper
  • Tinsel Pipe Cleaners

Vintage Snow Jars

The diecuts I used are actually vintage cards I picked up somewhere. You could print a vintage graphic on cardstock and trim  to get the same effect.

Stickles Snowmen

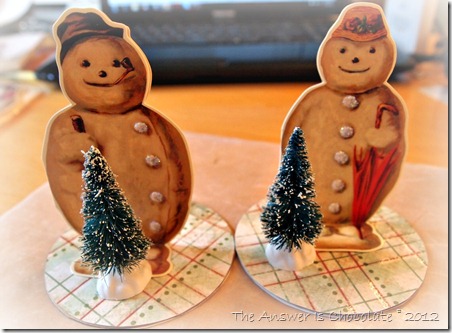
I added some Stickles glitter glue to the buttons on these snowpeople to give some dimension. Since these are cards they open and are hinged in the middle. The bottoms aren’t connected so I made a stand by folding the front one way and the back the other.

Using your candle holder as a guide trace circles around two pieces of scrapbook paper and a piece of chipboard. Apply scrapbook paper to either side of chipboard.

standing snowmen

Hot glue your snow people to the circles. Hot glue your trees in place.

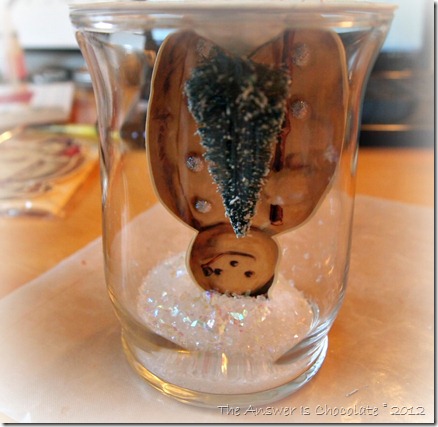
Snowman jar

Pour Epsom Salts and glitter into candle holder and then hot glue your diorama in place.

Frosty Snow Jar

I added some coordinating washi tape just cause and finished by hot gluing tinsel pipe cleaners around the bottom.

Frosty Snoman Jar

Sharing At:


Wednesday, December 28, 2011

Even A New Year's Grinch Can Celebrate: Easy Party Hats

New Year-001
We are not big New Year’s Eve party people. I joked with my mom that I’d celebrate on Australia time which means I could mark the New Year a day earlier and not even attempt to pretend (or pretend to attempt)  I was going to stay up. 


I don’t have anything against New Year’s Eve…I love thinking about the year past, the year ahead, goals, memories etc. Just have no desire to dress up in stuff I’ll wear once, and/or be out and around people who’ve had too much to drink.

So it’ll be another cozy night at home. But we’re not total Grinches! We’ll have a special dinner and of course there will be chocolate, and we’ll have a movie or On Demand TV series marathon. Living on the edge I know, but even homebodies can be festive! Especially with a trip to Dollar Tree, supplies on hand and the amazing Graphics Fairy!
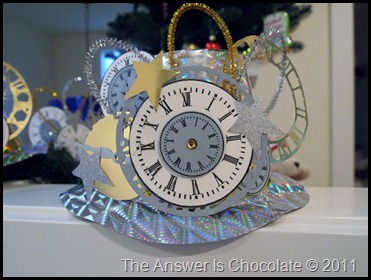
Party Hats
I found the basic paper top hat at Dollar Tree…variety of colors but I liked the silver and gold. Except they only had two. Well they had three but one was smashed in. So I got blue for college boy since it goes with his school colors.

Remembered I’d downloaded a great antique clock graphic from The Graphics Fairy. Printed several on cardstock in various sizes and cut them out.
New Year's Eve Hat
I have the Tim Holtz Weathered Clock die by Sizzix so I cut out several in silver and gold and used up scraps from my Christmas cards to punch glittered silver and gold foil stars.
New Year's Eve Party Hat
I used 3 chenille stems for each hat, bending each one in half to make a loop and hot glued them to the hat. Then stuck the clock faces on, embellishing some w/ self adhesive rhinestones. Just kind of stuck stuff
wherever.

Not too bad for a $3 investment by a New Year’s Grinch right? 

Don't forget, I also have a great giveaway of My Memories Suite digital scrapbooking software going on through New Year's Eve!
Sharing At:


A Crafty Soiree


Friday, December 16, 2011

Framed Glitter Ornament

This week's BFF Open House link party is still going on here and will be up through Sunday. 

I thought I'd post an idea I recently shared over at The Scrap Shoppe where Michele has had a wonderful Handmade Holiday series going. This week is recipes so you should definitely check it out! It wraps up tomorrow but there have been some wonderful ideas shared. 


I was excited  Michele decided to do another Homemade Christmas and thrilled to be invite  to share a  fun , easy, and inexpensive piece of Christmas décor : A Framed Glitter Ornament

Dollar Tree Ornament Frame

I really enjoy making things using inexpensive materials. Largely that’s because I can justify buying more supplies, but I’m also a firm believer that you don’t have to spend a lot to have pretty things around you. Like so many crafters, one of my go to places is The Dollar Tree.

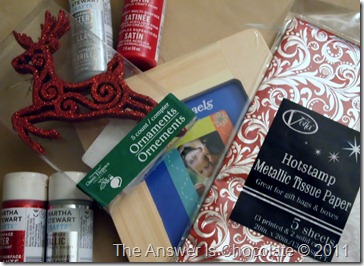
On one of my trips I found a pack of glittered reindeer ornaments. Five for $1! Had to have.Right next to them was  a pack of red tissue paper “hot stamped” with silver. Also a must have!
Dollar Christmas Decor
One of my other stash staples are unfinished wood frames from Michaels. Yep you guessed it. They’re $1.

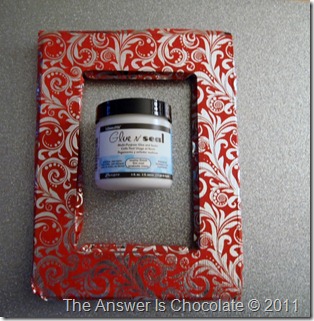
I took one sheet of the tissue paper and traced around the frame and cut out. Covered my frame with Ranger’s Glue N Seal and then put my tissue paper on. You could also use Mod Podge. I chose not to seal the top since I wasn’t sure if it would dull the shine of the silver foil.
Dollar Chrismas Decor
Don’t worry if you don’t get this exactly measured to your frame. Let your adhesive dry and then I file around the edges with a piece of fine sandpaper or a package of emery boards that you picked up at Dollar Tree!

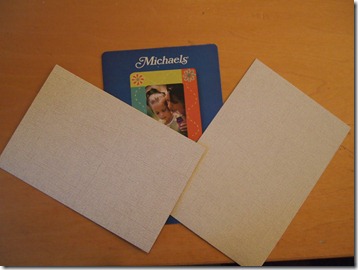
Waste not want not, so I covered the cardboard that came with the frame with some scrapbook paper:
PB173554
I covered both sides because it just gives a nice finished look since there’s no back to the frame.

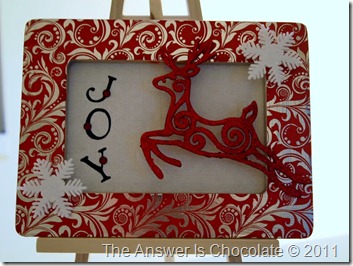
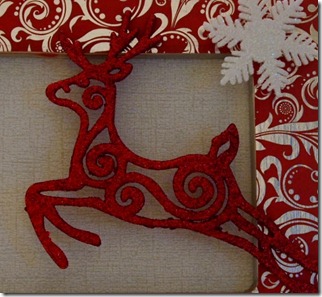
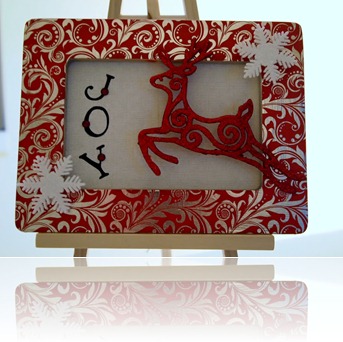
Took one reindeer from my package of ornaments, cut off the string used to hang and then hot glued it to my finished frame, offset so the feet and antlers are glued to the frame vs onto the paper. I liked the dimension this gave.
Dollar Tree Framed Ornament
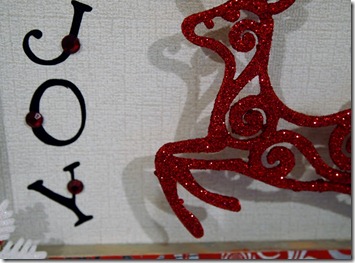
I cut the letters JOY from black vinyl using my digital cutter but if you don’t have one of those, you could easily use alphabet scrapbook stickers or letter stamps.  Embellished those with red self adhesive rhinestones I had in my stash.
Dollar Tree Ornament Shadow
Another reason I like the effect of gluing the reindeer to the frame vs the paper is this shadow effect. The glittered snowflakes I also had on hand and came in a package of 12 for $1.99 at Michaels.

My total cost for the supplies for this project was about $3!
  • $1 frame
  • $1 Tissue Paper ( over 4 sheets left over  so lots more crafting!)
  • $1 Ornaments ( really $.20  for this project since I used one of five)
Let’s say you decided to spend $4 more on frames and make a total of five of these so you used up all your ornaments. Price per project would be around $1.40!! And I guarantee you’ll still have tissue paper left over.
Dollar Tree Ornament Frame

If you're looking for a last minute decor idea or gift, this is a fast an easy way to whip something up.

Sharing At: 


Wednesday, December 7, 2011

Naughty or Nice? Vinyl Charger

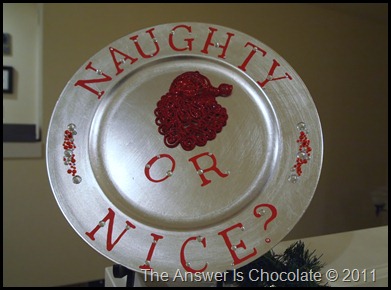
One of my décor staples has become those vinyl chargers that you can get at Michaels in a variety of colors. I look at them as blank canvases to play with. I did one for Thanksgiving and picked up some others to use for Christmas. Charger + Vinyl = easy peasy

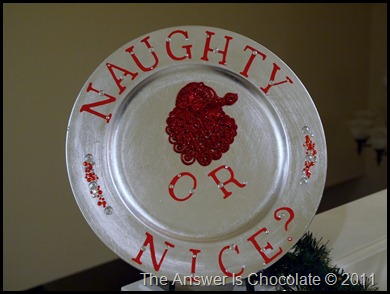
Charger Naughty or Nice
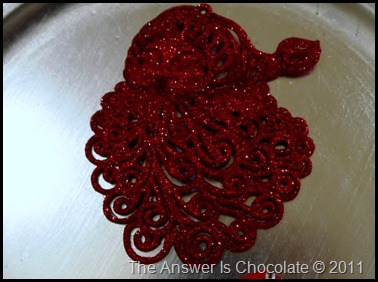
I cut the letters from red vinyl  and placed on the charger. Since the message was “Naughty or Nice” and Santa is the one who knows which one you’ve been, it was a perfect use for more glittered ornaments I found at the Dollar Tree ( 5 for $1 )

Santa Ornament Closeup
I ended up going over the face with silver RubnBuff to give it more definition but had already taken the pic.

Finished off with red and clear rhinestone strips I had in my stash, picked up on sale after Christmas last year, and dotted the letters with individual clear rhinestones.
Naughty or Nice Charger

So which one does Santa think you are? Naughty or Nice?

Sharing At:
HookingupwithHoH


Monday, December 5, 2011

Blast From The Past: Tinsel Trees (Stinkin' Easy)

OK this was the easiest thing ever. So easy it’s not really even worth posting about but what the heck.

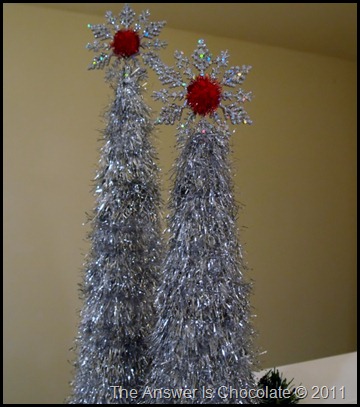
I have lots of different styles of Christmas décor. I like different looks, and since I decorate just about every room, I figure I can do different styles in each. This year I’ve caught a glitter bug and am doing a kind of retro mid-century modern mantle. Enter the tinsel!
Tinsel Tree With Topper
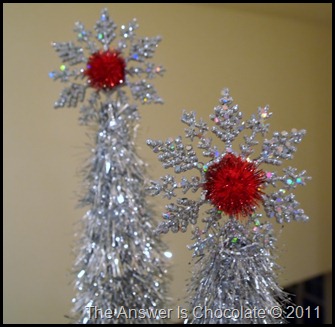
What the heck are they you ask? Tinsel trees I answer. With Snowflake toppers.  Here are the complicated ingredients for this crazy concoction:
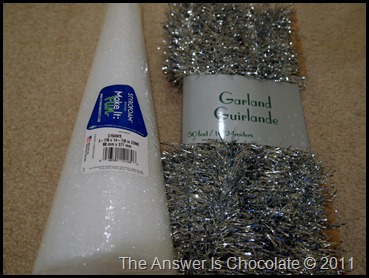
Tinsel Trees
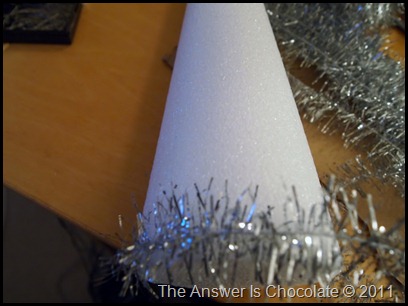
Styrofoam Cone and Tinsel Garland. I hoped to get the cone at Dollar Tree but apparently they don’t have them anymore so I got one at Michaels with a 50% off coupon and one at JoAnn’s with a 40% coupon. The tinsel garland I did get at Dollar Tree. 50 Feet for a buck.
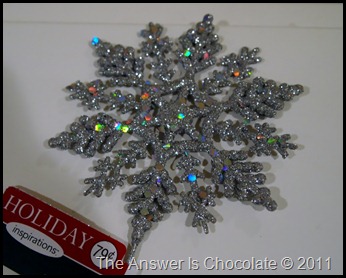
Snowflake Pick
For the topper, a VERY expensive glittered snowflake from Jo Jo’s ( JoAnn) $.79 and 50% off . I know…pricey!

I didn’t even use glue. Just started at the bottom of the cone and stuck a straight pin through the tinsel garland and a few more as I went around the bottom to make sure it was on there good.
Tinsel Tree Start
And wrap. And pin…from time to time in random places on the way up to the top.

Before I stuck my snowflake pick in, I added a glittery red pom pom I had in my stash.
Snowflak Topper
The mantle’s not quite finished but getting there and I’ll show it soon. In the meantime, I’m in the mood to watch some cheesy 60’s sci-fi Christmas movie like Santa Claus Conquers The Martians. OK so that may be the ONLY cheesy 60’s sci-fi Christmas movie and I don’t even know how I ever saw it but somehow I did. Don’t judge!
Tinsel Snowflake Trees
“Take me to your leader. No not the crazy woman with the glue gun. Anyone but her!”

Sharing At:
homework

Photobucket
HookingupwithHoH