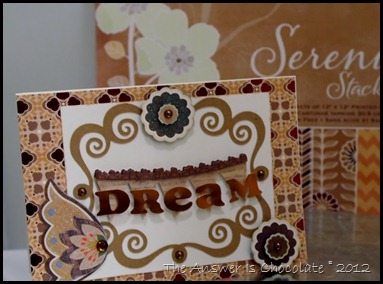
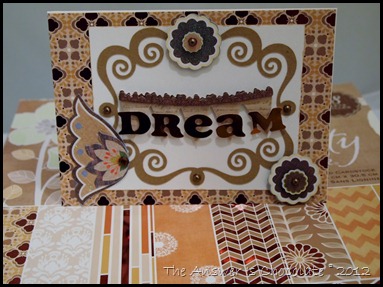
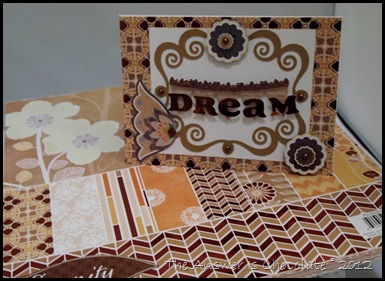
It’s a good thing I keep having reasons to make cards because it helps make a dent in my paper stash. OK it makes a slight mark. Or an indication that it’s been touched? You get the picture.
This one’s for a colleague who will be retiring soon. It wasn’t planned but she’s actually quite excited now and can’t wait to do some things she hasn’t had time for.
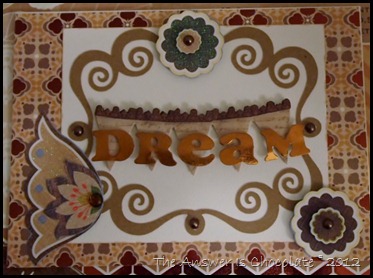
I used DCWV’s Serenity Stack and K and Co’s Edamame die cuts and Grand Adhesions dimensional stickers. The swirly frame I cut from kraft cardstock using my Silhouette Cameo.
Covered the front of the card with a patterned and foiled paper from the stack, and then layered a white panel, the swirl frame and the DREAM sticker.
Finished the card off with layered die cuts and cocoa colored self adhesive pearls.
Showing posts with label DCWV. Show all posts
Showing posts with label DCWV. Show all posts
Tuesday, March 6, 2012
Wednesday, February 15, 2012
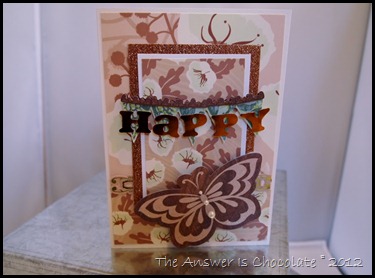
Floral and Copper Birthday Card
I love it when a plan I didn’t have comes together. Like when two different companies whose products I love each come out with products that work together. Which of course means I have to get them because, well, they can’t be separated right?
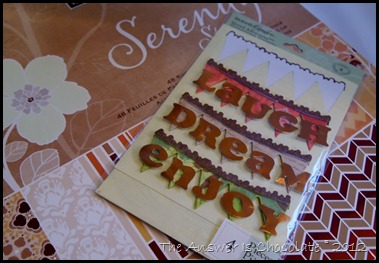
I made this birthday card using a new stack from DCWV called Serenity, a Grand Adhesions pack from K and Co called Engraved Garden, and die cuts from their Edamame collection.
The Serenity stack has coordinating florals and other patterns and some of the papers have foil accents. I used a large and small version of the same foral pattern for the background and center of the card.
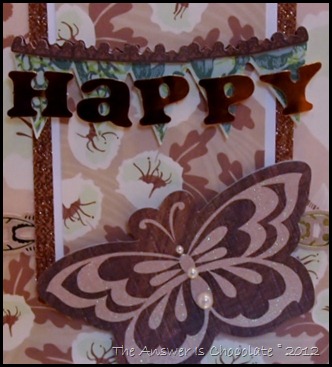
The Grand Adhesions dimensional word stickers are all in one piece so they’re super simple to use. Peel. Stick. Done. The letters look a little brassy in this pic but they are a gorgeous metallic copper.
I layered the butterfly die cut using dimensional foam dots and embellished with self adhesive pearls. This was one of those cards where less was more so I actually kept embellishments to a minimum which is a challenge for me!
Wednesday, October 5, 2011
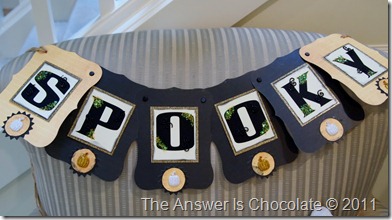
Easy SPOOKY Banner…
See, I already had to make one more Halloween decoration. Who am I kidding? Like it will be the last one!
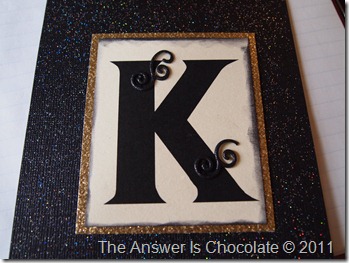
I generated the letters using my PrintShop Deluxe program, printed on cream cardstock, cut out and then went around the edges with black ink.
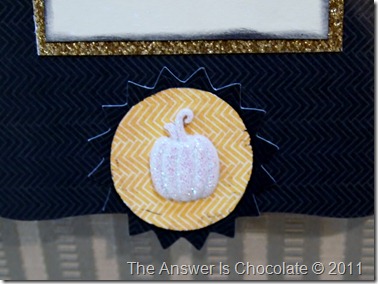
Cut out the banner shapes from DCWV’s “Ghosts and Goblins” stack using my Cricut . I also used it to cut out the circle and sunburst shaped pieces from the scrap cardstock. Inked the edges of the circles ( I was going for a grungy look so I wasn’t especially careful) and then finished off with glittered pumpkins! These are also from Recollections @ Michaels…a package of 12 ( I still have orange and brown) that were 2 packs for $3.
I generated the letters using my PrintShop Deluxe program, printed on cream cardstock, cut out and then went around the edges with black ink.
Mounted each letter onto glittered gold cardstock and then added these cute squiggle brads (also glittered) from Recollections @ Michaels.
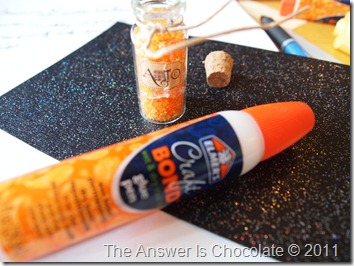
Time to embellish! Remember this glittery stuff I used on my repurposed dress wreath?
I got that out again and embellished each letter:
using this awesome double sided Elmer’s glue pen. I love this thing!Cut out the banner shapes from DCWV’s “Ghosts and Goblins” stack using my Cricut . I also used it to cut out the circle and sunburst shaped pieces from the scrap cardstock. Inked the edges of the circles ( I was going for a grungy look so I wasn’t especially careful) and then finished off with glittered pumpkins! These are also from Recollections @ Michaels…a package of 12 ( I still have orange and brown) that were 2 packs for $3.
Wednesday, September 28, 2011
Easy Halloween Decorating
I’ve been having fun working on things to update my Halloween décor. Heavily black and white/cream, with accents of paler orange tones. Mr. Chocolate’s a little nervous that we haven’t even gotten out the actual Halloween bin(s) yet!
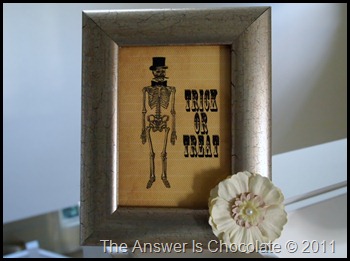
One easy way to decorate is to swap out pictures in frames that are already part of your décor. Easy to bring consistency and seasonal updates together. No one makes that easier to do than The Graphics Fairy! I found this guy whom I’ve nicknamed “Skelly” at Karen’s wonderful site:
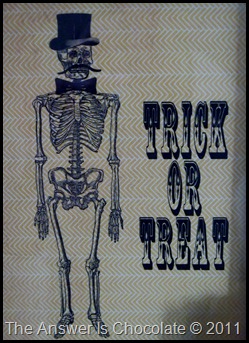
How cute is a skeleton in a top hat? Using my graphics program, I gave him a bow tie and a mustache, generated the text, and printed on a sheet of paper from DCWV’s “Ghosts and Goblins” stack. Done and done.
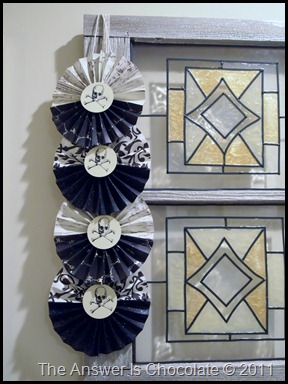
In keeping with the “accent what you have” idea, I had some scraps of paper that I loved and wanted to use them up so I made some pinwheel medallions, combining different papers / patterns. Wasn’t sure what I was going to do with them until I decided to make a “demi-garland” since I didn’t make enough for a full garland. Was passing by a piece of faux stained glass I made years ago (BB…Before Blogging) and….
An old window I picked up and decorated using Plaid’s Gallery Glass.
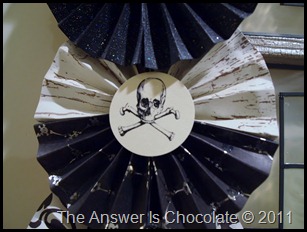
For the centers, I downloaded a skull image from the internet, printed on cream cardstock and punched with a 2” round punch.
Now to go through those bins!
Linking Up At:


Monday, September 26, 2011
Repurposed Dress Halloween Wreath
Yes, all those words really do go together.
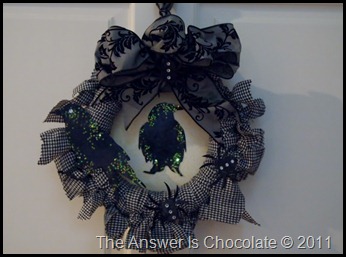
I recently cleaned out my closet and while I donated most things to Goodwill, I saved a few pieces because of the fabric. One was a black and white checked dress . I’ve see tons of cute yarn wreath ideas but know I don’t have the patience for all that wrapping. But I thought hmmmm….maybe strips of fabric? Out came the rotary cutter and I cut strips and strips and strips (I think about 20 total) and tied them around one of those green styro wreath forms from Dollar Tree.
Since I was not at all sure where this was going, or if it was going anywhere, I didn’t take pics along the way. Once I had my wreath form wrapped, I trimmed the edges with pinking shears . I thought it would be fun to give this wreath a back so I cut a circle of Halloween Cardstock from DCWVs “Ghosts and Goblins” pack and hot glued it to the back.
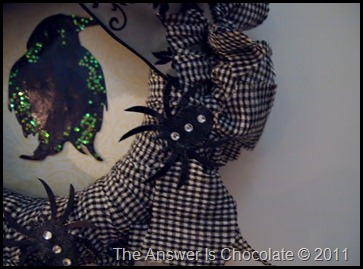
I had a pack of black Halloween silhouette die cuts I picked up at Michaels ( Recollections) . Fingerpainted some glue randomly on my selected images and sprinkled with fine clear glitter and the middle vial of this stuff I found at Michaels from Art C:

I embellished another bird the same way and went over the spiders with just the glue, glitter and some self adhesive rhinestones.
Finished it off with some ribbon from my stash (one of those after Christmas I know I’ll use it sometime finds at 75% off somewhere!)
What’s in your closet?

![]()


I recently cleaned out my closet and while I donated most things to Goodwill, I saved a few pieces because of the fabric. One was a black and white checked dress . I’ve see tons of cute yarn wreath ideas but know I don’t have the patience for all that wrapping. But I thought hmmmm….maybe strips of fabric? Out came the rotary cutter and I cut strips and strips and strips (I think about 20 total) and tied them around one of those green styro wreath forms from Dollar Tree.
Since I was not at all sure where this was going, or if it was going anywhere, I didn’t take pics along the way. Once I had my wreath form wrapped, I trimmed the edges with pinking shears . I thought it would be fun to give this wreath a back so I cut a circle of Halloween Cardstock from DCWVs “Ghosts and Goblins” pack and hot glued it to the back.
I had a pack of black Halloween silhouette die cuts I picked up at Michaels ( Recollections) . Fingerpainted some glue randomly on my selected images and sprinkled with fine clear glitter and the middle vial of this stuff I found at Michaels from Art C:

I embellished another bird the same way and went over the spiders with just the glue, glitter and some self adhesive rhinestones.
Finished it off with some ribbon from my stash (one of those after Christmas I know I’ll use it sometime finds at 75% off somewhere!)
What’s in your closet?
Linking Up At:


Tuesday, June 28, 2011
A Couple of Cards
Sharing a couple of cards I made tonight. A belated graduation card and so I don’t make that mistake again, a birthday card that I can send early!
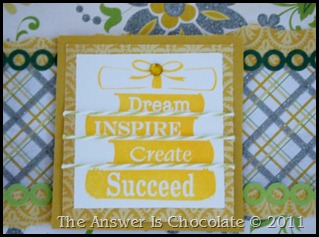
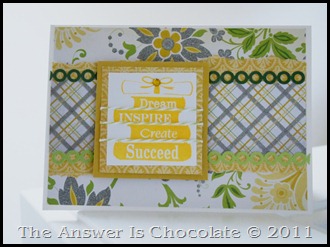
For the grad card, I wanted to do some different colors than those I’d been using for my son’s friends cards. Stuck with school colors for those and am so over that! This time just went with paper I liked which happened to be from DCWV’s Lemon Flower Stack. Hard to tell from the pics, but a lot of the papers in this pack are glittered. Oooh la la!
I stamped the focal image using this ink which I’m in love with:
I used the floral background from the paper stack along with a scrap strip of another print from a previous project from the same pack. Say THAT three times fast! Embellished with The Twinery’s twine in honeydew and some KandCo self adhesive scrapbook borders.
For the birthday card:
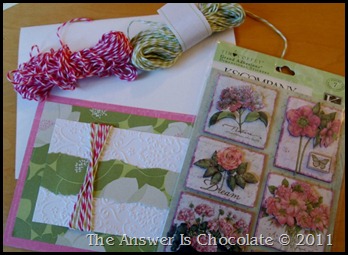
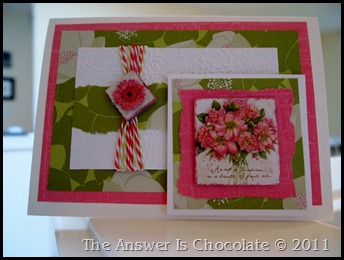
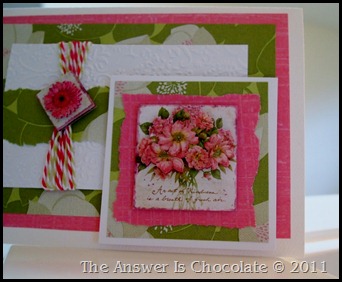
I remembered to photo my supplies which included more Twinery twine…honeydew and pink sorbet, some Ann Butler designed Kand Co paper and Tim Coffey designed KandCo dimensional floral stickers. I ran a scrap of white paper through my Cuttlebug using damask embossing plates and then layered everything as shown onto a white 5x7 card.
For the grad card, I wanted to do some different colors than those I’d been using for my son’s friends cards. Stuck with school colors for those and am so over that! This time just went with paper I liked which happened to be from DCWV’s Lemon Flower Stack. Hard to tell from the pics, but a lot of the papers in this pack are glittered. Oooh la la!

I stamped the focal image using this ink which I’m in love with:
It’s chalky but pigmenty and provides great coverage.
For the birthday card:
I remembered to photo my supplies which included more Twinery twine…honeydew and pink sorbet, some Ann Butler designed Kand Co paper and Tim Coffey designed KandCo dimensional floral stickers. I ran a scrap of white paper through my Cuttlebug using damask embossing plates and then layered everything as shown onto a white 5x7 card.
Subscribe to:
Posts (Atom)

