Showing posts with label Cricut. Show all posts

Monday, August 14, 2017

Another Altered Cabinet Door: NEST Sign


I mentioned in an earlier post how I love using cabinet doors for projects. I usually find mine at a local architectural salvage place and got this one along with a previous one for a donation of $5 ( for both) to Habitat for Humanity. 

We have a lot of blank wall space which I don't actually mind, but it's also great for when an idea does hit because  I haven't had to take something else down. This will hang in our TV watching area where we end up spending a fair amount of our time .  This is where I find out all of the latest intrigue on "Game of Thrones", say goodbye to my Sestras on "Orphan Black", see who's up to what on "Scandal" and "How to Get Away With Murder" and Netflix and chill.

We also read here when the TV's not on. We're homebodies so the them of "Nest" seemed appropriate.

Supplies: 
  • Salvaged Cabinet Door
  • Acrylic Paints
  • White School Glue
  • Printed Tissue Paper (Recollections)
  • Mod Podge
  • Adhesive Foil (I used Cricut Gold Metallic)
  • Scrabbook Paper (C'oredinations Cream and Black) 
  • Misc Embellishments
  • Die Cut and/or Electronic Cutting Machine (Silhouette and Cuttlebug)


The wooden wings will be part of another post but I took a pic of the unfinished cabinet door with them so more on that later in the week. 


I painted the "frame" of the door with black acrylic paint (I used Craftsmart). Taped off the edges and then painted the interior with cream acrylic paint. 


I didn't worry about complete coverage of the interior because I knew I'd be putting the tissue paper here.  Cut the tissue paper to size and then apply using Mod Podge. 

Measured out my tissue paper before I painted
Using my favorite white glue technique, I crackled the frame of the door. Basically paint a layer of glue ; let dry until tacky but not completely dry ; paint over w/ contrasting color. 

Tip: You want to use long even strokes and go in one direction, not up and down. Back to School is the perfect time to stock up on cheap, white, glue! 


While that was drying, I laid out my design on my Silhouette Cameo, then cut the images and lettering using Cricut Gold Foil. 

Enter frustration. When I applied the foil pieces, the transfer tape pulled up the Mod Podged tissue paper in some spots. The nice thing about working w/ the tissue paper was that it was easy to tear some "matching" pieces and just repair those spots with a little more Mod Podge. 


I don't think you can really tell where I had to patch. I used my Cuttlebug to cut the flowers ( Tim Holtz Tattered Florals) rolled the edges and added rolled roses in the center. I rummaged around in my mismatched embellishment stash and found some swirly things ( technical term) that I painted to match and put on the nest image and the corners of the door. 


Monday, October 20, 2014

Halloween: BEWARE Banner and Ghosts of Projects Past

Beware Banner

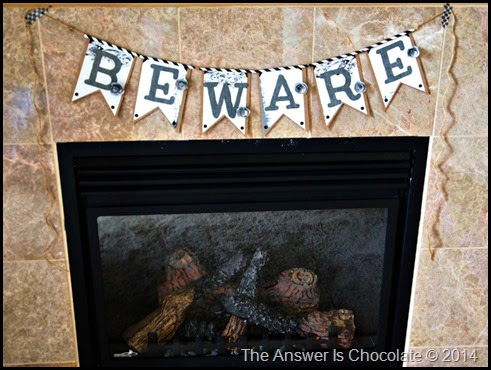
We have a 2nd  fireplace without a mantle that was sitting there all naked and bare and I decided it needed a Halloween banner.

For this project you will need:
  • Chipboard
  • Scrapbook paper ( I used a black and white pack from Oriental Trading Co)
  • Textured Cardstock ( Core’dinations)
  • Paper Straws ( Oriental Trading Co)
  • Glitter Tape
  • Self adhesive rhinestones
  • Jute twine
  • Adhesive
Bewarer Banner 1

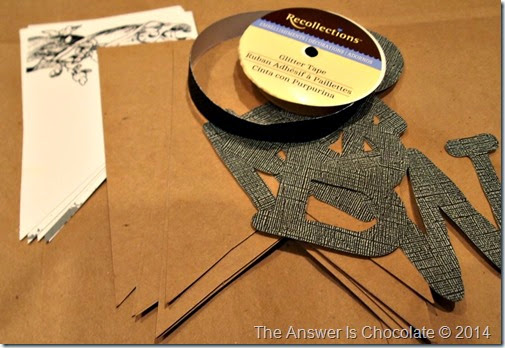
For the banner, I cut the letters from a textured cardstock using my Cricut.  Cut the pennant shapes from chipboard (4.5 x 6.5) . I did these the old fashioned way using math and everything! Determine the center point of your rectangle ; draw lines to the bottom corners to make a triangle and cut. Same for the scrapbook paper layer reduced by 1/4”. Layer scrapbook paper pennant on chipboard , cut photo corners from glitter tape and apply, adhere letters and finish with rhinestones.

Beware Banner 2

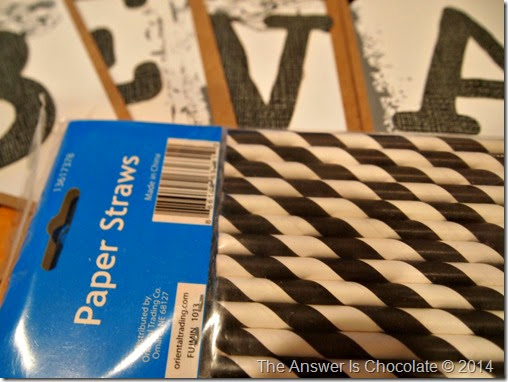
I got the idea to use the paper straws both to embellish each piece of the pennant because that's how I roll.

Cut straws to width of pennant pieces and attach with hot glue.

Beware Banner 3

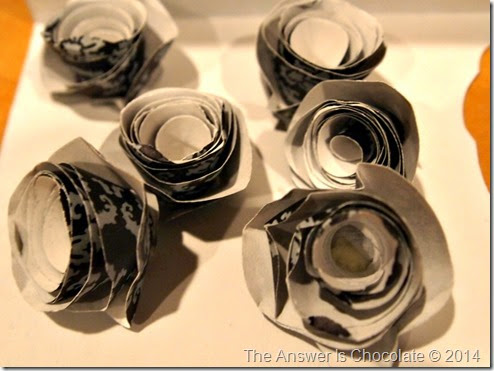
Using another piece from the scrapbook paper pack, I made rolled paper roses for each of the letters. To hang, thread jute through each straw and attach with washi tape.

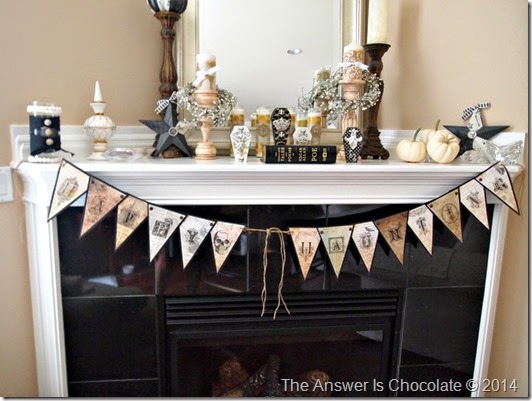
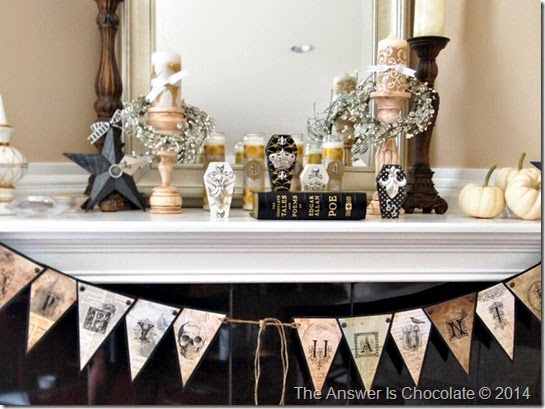
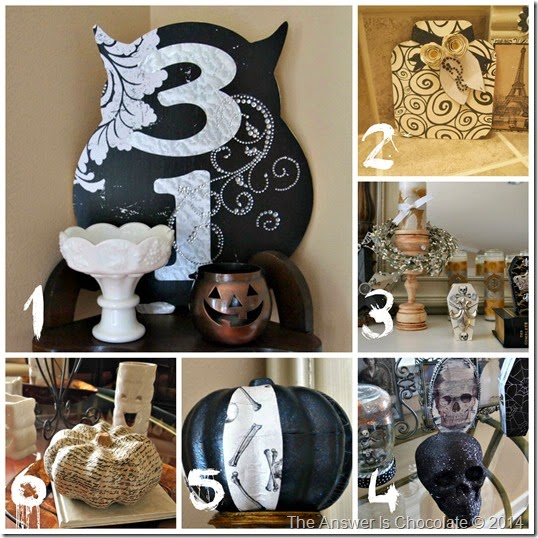
Also sharing some of this year’s Halloween décor using past projects (active links go to tutorials):

Haunted Mantle

Haunted Mantle 2

Halloween Decor
  1. Paper and Vinyl Owl
  2. Pressboard and Paper Pumpkin (I didn't do a post on this but it's a leftover pressboard "page" from a shaped album, covered in scrapbook paper using Mod Podge)
  3. Gothic Coffin Boxes
  4. Halloween Snow Globe (Halloween take on Christmas snow globes; old jar, Halloween figure, glitter )
  5. Glitter Decoupage Pumpkin
  6. Tissue Paper Pumpkin


Sharing At: 


Wednesday, January 12, 2011

The Bug and I: Another Card

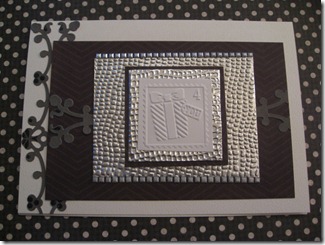
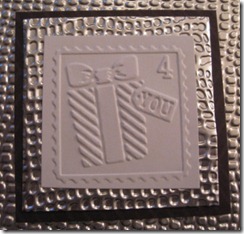
I needed a birthday card and my Cuttlebug included a perfect birthday folder. This is another guy card which have always been a challenge for me because I like to add all kinds of stuff. But I kept it pretty simple.
IMG_4724
I used DCWV paper ( a brown herringbone pattern) layered with embossed metal and the focal point of the card is an embossed present. That’s one of four mini folders that came with the Cuttlebug. The metal was already embossed ( bought it at a craft fair) but I’m pretty sure it was also done using “the bug” so going forward, I can make more. Mwaaaahhhhhhh
Here’s the center of the card close up:
IMG_4722
Layered on another piece of the metal, on top of a scrap of the brown herringbone.
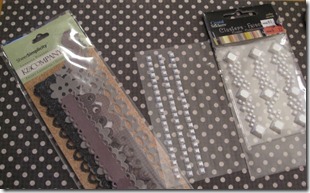
The whole thing is on a plain white card. Other embellishments:
IMG_4725
K&CO self adhesive scrapbook borders and strips of self adhesive pearlized diamond thingies from one of my dumpster dives in the clearance bins at Michaels. $.99 for the whole package!
Linking Up At: 
 Beyond The Picket Fence

Catch a Glimpse Button

Friday, December 3, 2010

PEACE

OK I'm a little out of control and Mr. Chocolate is afraid I'm going to hang a banner on him. But  since I was compelled to buy both packages of those Jolee's snowflake stickers I used for my Vintage-y Music-y ornaments, I couldn't just let them sit there right? 'Course not. So what surface wasn't yet adorned with a banner? A mirror in our bedroom! And since it came from the great Barn o Pottery, I decided to do a PB-esque banner.

To the craft cave! Oh did I mention I've been to Starbucks? Cut out the letters to spell PEACE on my Cricut using a metallic pewter cardstock. Cut out ovals using the same cart ( Plantin Schoolbook) from a vintage cream cardstock. Cut out slightly bigger ovals from white. Ran the white ovals through:

my 5" XYRON. This is a very versatile size XYRON if you're looking for something to put on your Christmas list. Glued the letters to the cream ovals using this which is part of the superfantabulous Elmer's/XACTO giveaway I won from Craft ENVy. It's a double sided glue pen with one side for wet bonding and the other for dry bonding! Oooh la la.
This allows better control of adhesive to things like letters because it works just like a pen. Some people go all squibbly over shoes or clothes. I go all squibbly over things like this. OK shoes and clothes too but I'm just sayin'.

Pulled the backing off the bigger ovals and stuck the smaller, lettered ovals on, then added one of the snowflake stickers to each letter:. You'll have a sticky edge left. I poured silver glitter on that, then attached to a cream ribbon using glue dots:
These stickers are REALLY detailed!
And here it is strung across our  mirror:
Linking Up At:


Photobucket

 UndertheTableandDreaming

Tuesday, November 2, 2010

A "Banner" Crop of Gratitude with Tute

OK I've gone a little overboard on the banners. I think I'm done because I really need to be working on some more stuff for the craft show I'm doing later this month but I decided to do one more banner so here 'tis:
It's hard for me to get a good shot of the whole thing so here it is broken down into two parts:
Here's the tute:
Create letters of varying sizes ( you could use varying fonts too but I used the same one)
Print out on lightweight cardstock. I used cream. Cut out each letter and adhere to slightly larger black panel.
I used my Cricut (Accent Essentials cartridge) to cut out scalloped edge squares of patterned paper but you could use a large punch or decorative edge scissors to do to the same . Adhere to black cardstock:
Adhere your letters to your prepared panels using foam dots. I put every other letter at an angle because...I did ( you thought there was a plan?).

Grab some clothespins. I bought a ton when one of the Dollar Stores was going out of business. Use your patterned paper scraps to cover one side of your clothespins. Grab some embellishments. I used paper flowers, buttons, and adhesive rhinestones:
Plain clothespin, paper to fit, paper flower, button, completed pin ( OK minus rhinestone but you get the gist)
Once all of your clothespins are assembled, line them up and take a picture cause they're cute:
See, there are the rhinestones
Tulle has become my new favorite banner hanging thing. The rolls of it they sell with the wedding stuff not the kind on bolts in the fabric store. It's inexpensive, sturdy and and plus it's tulle. What's not to like?  Clip your letters to your tulle ( I roll it out as I go along so I know how much I need) and you're done! Here's a close up of one of the letters:
OK this is mostly because I am playing around w/ settings on my camera and figured out my color accent thingy
I don't know how to attach it but I did make a pdf of the letters so if you would like it, just email me.
Linking Up At:

A Little Knick Knack