Showing posts with label Card Making. Show all posts

Wednesday, February 10, 2016

Pretty In Pink Valentine's Cards


I've never been a big pink person. Maybe it was because I was supposed to like it as a girl and being the contrarian that I am, I didn't.  But for this year's Valentine's cards I was kind of drawn to the idea of it, especially when I found pink glitter paper at Michaels. 


For these cards I combined the pink glitter paper with gold foiled paper I picked up during the holidays and used Paris themed stamps by Tim Holtz. What's more romantic than Paris?

Supplies: 
  • Cardstock for base card ( I used Stardreams black metallic)
  • Craftsmith Gold Foil Paper
  • Pink and Black Metallic Glitter Papers
  • French Themed Stamps ( I used Tim Holtz)
  • White cardstock for stamping
  • Black pigment ink ( I used Recollections)
  • Pink and Gray Inks ( I used Fresh Ink)
  • Punches, embellishments,stickers


I stamped the images in black pigment ink, set with a heat gun and then dusted pink and grey inks on top. Trimmed and mounted as shown on the black and pink glitter papers, then embellished with punched hearts and the black, white, and gold "LOVE" stickers ( Recollections, Michaels). 


I used foam dots to mount the focal images to the front of the card and embellished with self adhesive pink pearls. Also Michaels in their 2 for $3 section. My name is Carol and I spend too much time at Michaels. 


Monday, January 25, 2016

Harry Potter Birthday Card


I am a huge Harry Potter fan and have a couple of friends who are also so it was a no brainer to make this birthday card in the Gryffindor house colors. I modeled it on the scarves the characters wore in the films using gold glitter paper to make the stripes to alternate with the base card stock color. 

I found two fonts (free for personal use)  to use for the sentiment. "Lumos" and "Parry Hotter"  to create the sentiment and played around with them until I was happy. Then printed on white cardstock, trimmed, mouned on black and gold papers as shown and decorated with punched stars and rhinestones. 


As the huge fans we are, we all have the "adult" ( HA!) coloring book! I finished the card with some self adhesive star strips I had in my stash. 


I think the Sorting Hat put us all in the right house. 

Wednesday, January 7, 2015

Birthday Cards in Black and White and Gold


DCWV Decor Noir Stack Cards

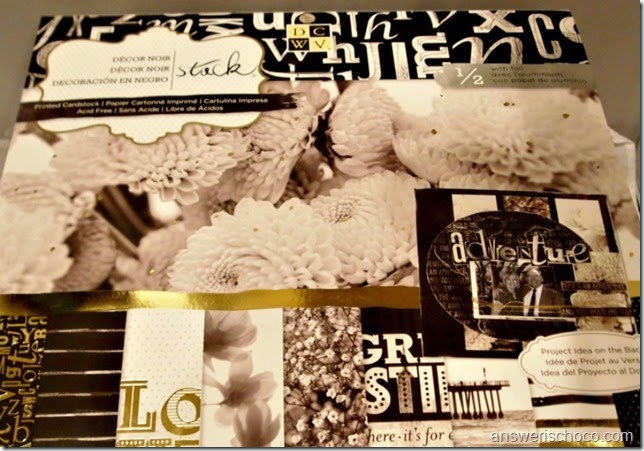
It’s no secret to anyone who’s read my blog that I LOVE black and white. Clothes, decor, photography…pretty much everything. So when I stumbled across this paper stack from DCWV while at Michaels recently, there was no doubt about whether to get it. It’s appropriately entitled “Decor Noir”. I couldn’t wait to get started with it and luckily I had three birthday cards to make for whom this color palette was perfect.

DCWV Decor Noir Stack

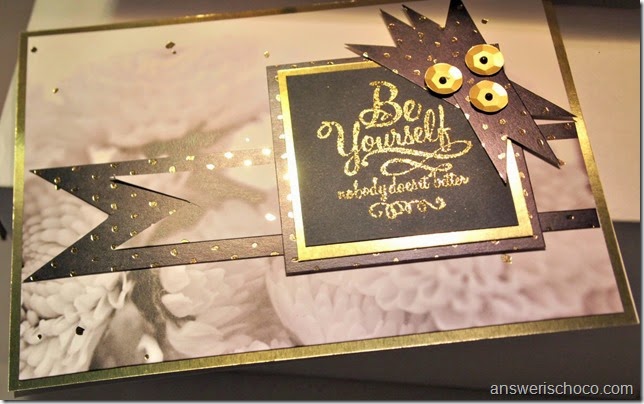
The black and white alone was enough for me but they added gold foil to many of the pages ! GOLD FOIL and black and white. Could I get any happier? Only if the pages were chocolate. I chose two papers to start. One with white mums that’s featured on the stack cover and has flecks of gold foil ramdomly placed and the other a distressed black background with gold foil dots.

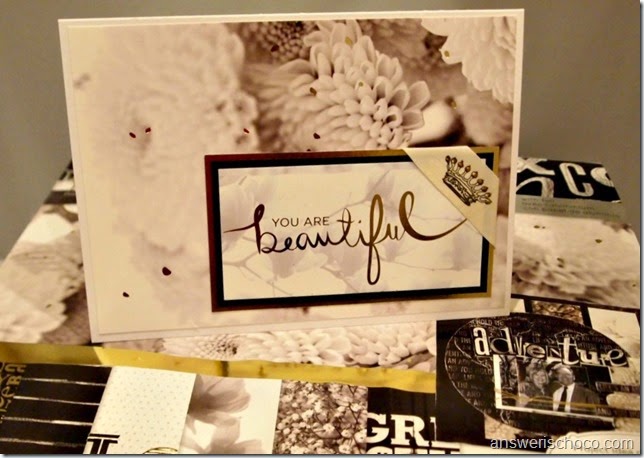
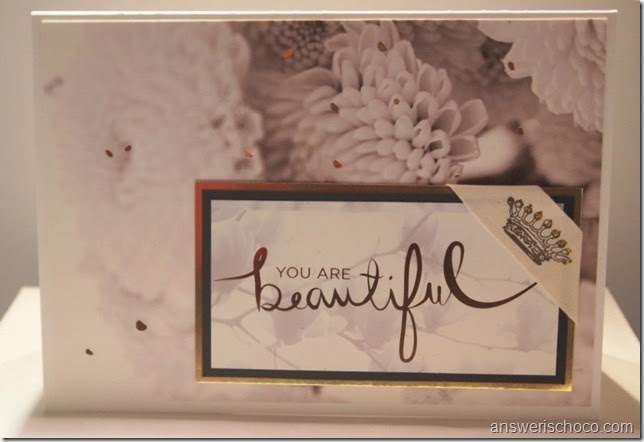
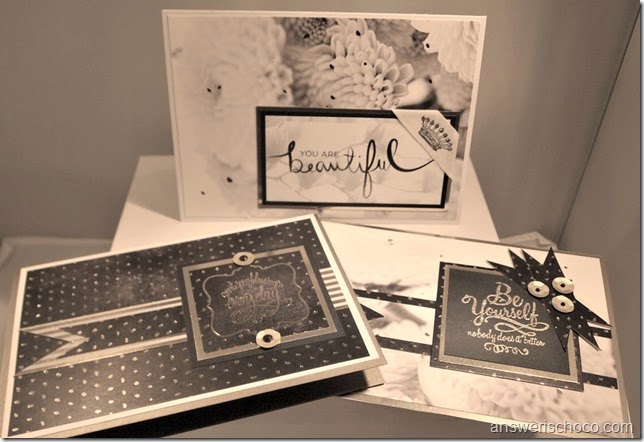
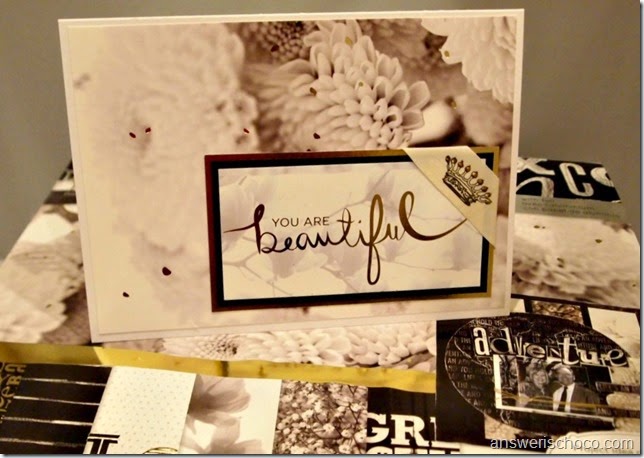
For the first card I cut out a sentiment from a page of well, sentiments, trimmed and matted with black and gold papers. The papers in this stack are so elegant that I resisted my natural urge to embellish and went with less is more letting the papers speak for themselves.

DCWV Decor Noir Beautiful Card

The only embellishment I added was the piece of ribbon at the corner to which I added some gold glitter glue.

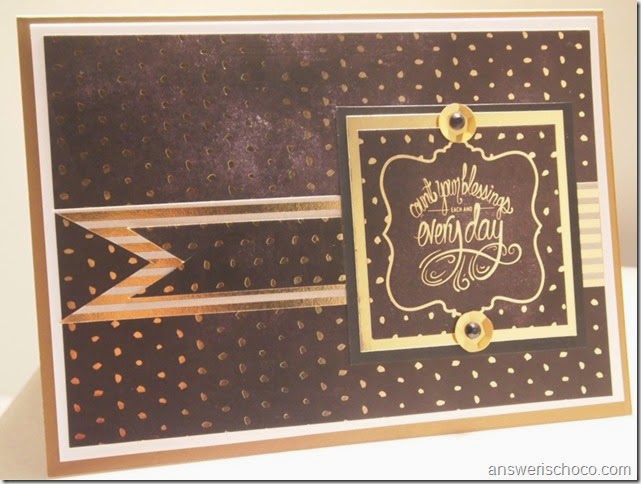
DCWV Decor Noir Black and Gold

The black and gold dotted paper has the sentiment “Count your blessings each and every day” on the page in the lower right corner. I cut that out and matted with gold and black papers. I used a scrap from another stack to make the striped ribbon and layered it with a piece of the polka dot paper.

DCWV Decor Noir Mums and Dots

For the last card, I combined both sheets of paper from the stack and stamped the sentiment on black paper and heat embossed with gold powder.

DCWV Decor Noir Cards

I love them in color or in black and white photos!

DCWV Decor Noir Stack Cards

Sharing At:

Tuesday, August 12, 2014

Happy Accident: Silver and White Wedding and Thank You Cards

Recollections Silver White Cards

I didn’t set out to use papers and embellishments from one company but that’s how these worked out. I needed to make a few cards and it wasn’t until after I’d chosen the papers and coordinating embellishments that I realized they were all Recollections from Michaels. Some might say that I spend too much time at a certain craft store because these were not all purchased together.

Recollections Papers Silver and White

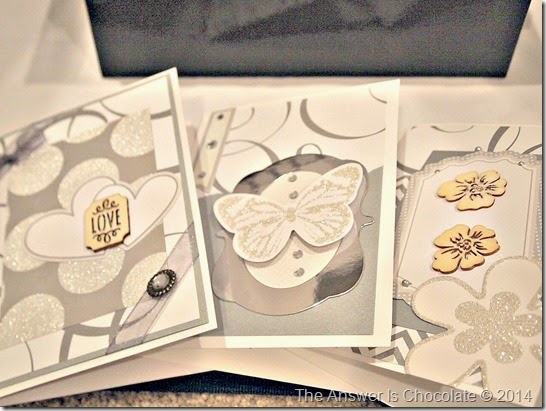
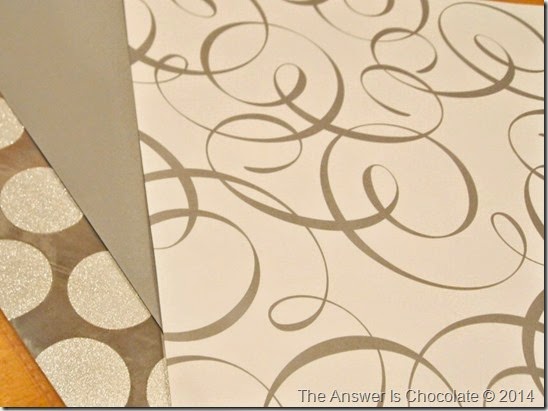
I used a silver polka dot glitter paper, a silver cardstock weight paper and a silver and white swirl. All papers are 12x12. Cards are all 5x7.

Recollections Wedding

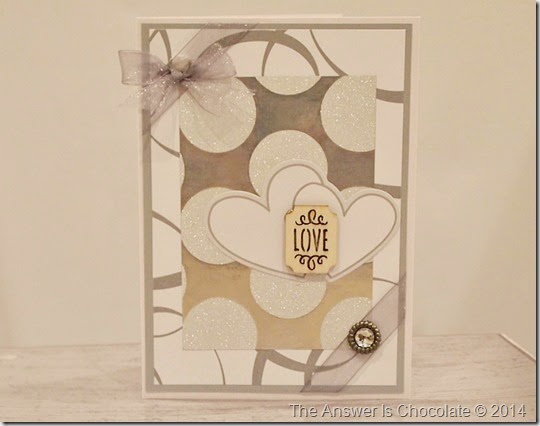
For the wedding card, layered the papers as shown and tied silver ribbon around the corners of the panels.

Recollections Silver White Thank Yous

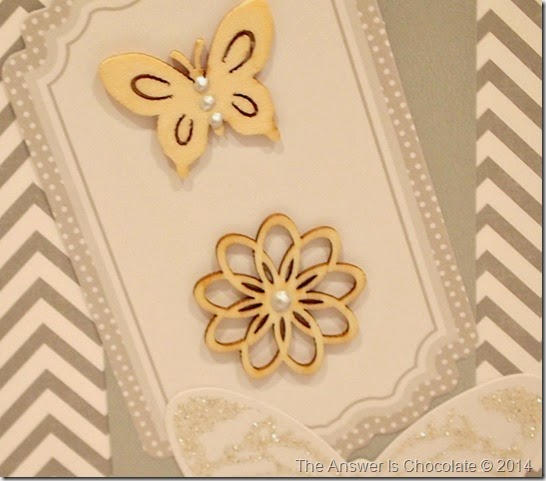
For the Thank You cards, I used a package of die cuts and unfinished wood embellishments, randomly placed.

Recollections Chevron

Finished up some of the cards with dots of Liquid Pearls.

Monday, June 23, 2014

Special Order and Everyday Note Cards

Pink Paislee Card

College boy texted me the other day asking if I would mind making a card for a friend of his. LOL.  Me? Mind making a card? Especially one that's a special order from my son in another state? HA.  His friend’s academic adviser had undergone some major surgery so I wanted to make it extra special.

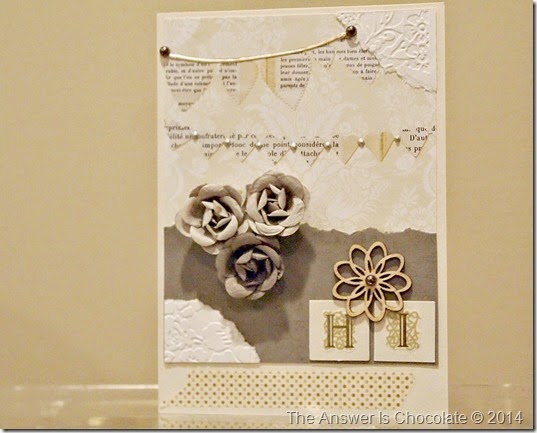
I used a sheet of paper  from Pink Paislee and a coordinating torn scrap as the background, and added torn corners from an embossed scrap I had from a previous project. The paper is heavily patterned so I decided to accent what was already there with Stickles Liquid Pearls.

The wood spiral flower and grey paper roses were from some bargain finds at Michaels. To finish, I layered alphabet sticker letters to make the word “HI” onto punched squares of scrap cardstock and added a strip of washi tape.
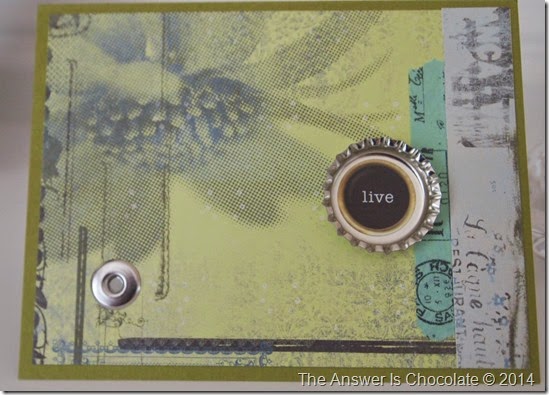
Since I was mailing this to CB, I decided I’d send him some notecards that he could use as thank yous or whatever. I’ve always been a stickler about thank you cards, and despite some resistance along the way, now that he’s an adult he actually appreciates why.

Basic Grey Periphery

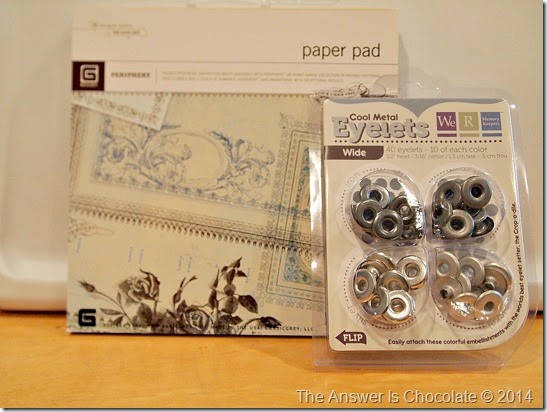
I used this paper pad from Basic Grey ( busting my paper hoarding stash) and these oversized We R Memory Keepers eyelets as my focals.

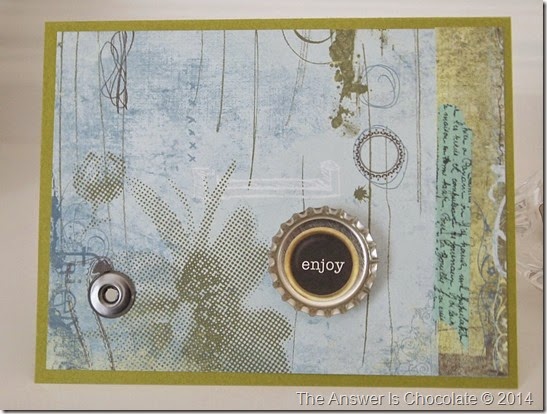
Enjoy Notecard

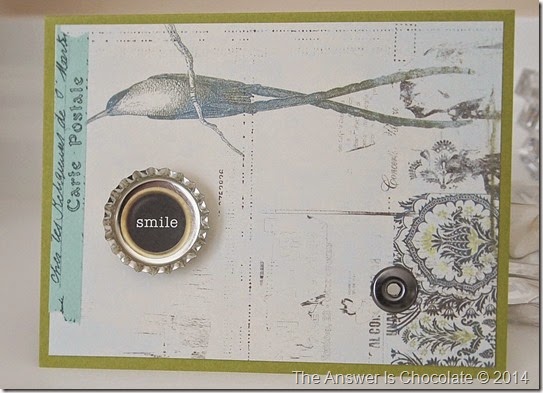
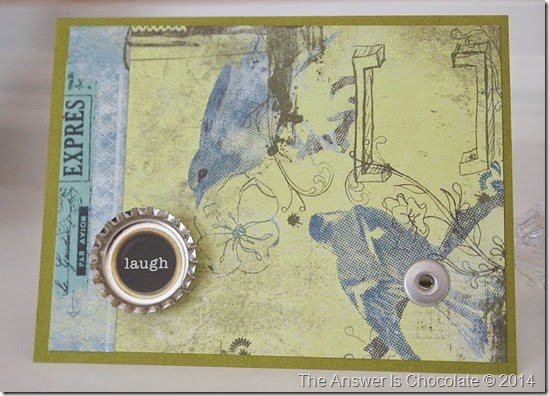
Each card has a flattened bottlecap with a sentiment sticker in the middle. “Enjoy”, “Live”, “Smile” , “Laugh”.

Smile Notecard


Live Notecard

Laugh Notecard

I finished each card off with a strip of printed washi tape. He's doing a Summer research project at school and has some opportunities to do some extra things via his Professors so these will come in handy.

Monday, June 9, 2014

It's A Bird It's A Plane It's Super Hero Father's Day Cards

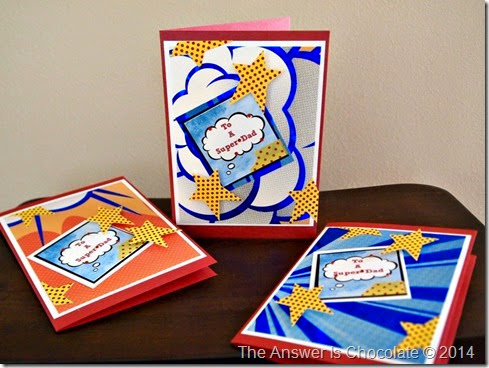
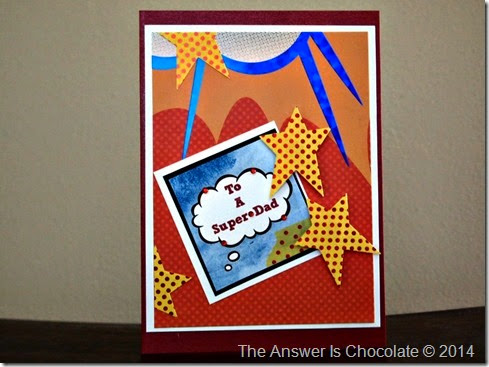
Super Dad Cards

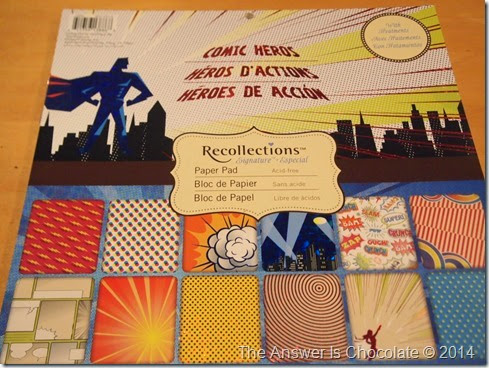
I’ve been on a paper diet lately, resisting the temptations of all the paper stacks calling my name. However, I couldn’t resist one stack I saw at Michaels…the Comic Heroes stack from Recollections.

P6072082

SInce College Boy is a self described comic geek, it went without saying that this had to be part of my collection. Then I started thinking about Father’s Day cards and what a perfect match!
Supplies Needed:
  • Comic Heros paper stack
  • Cardstock
  • Computer generated image
  • Washi Tape
  • Rhinestones

Comic Father's Day

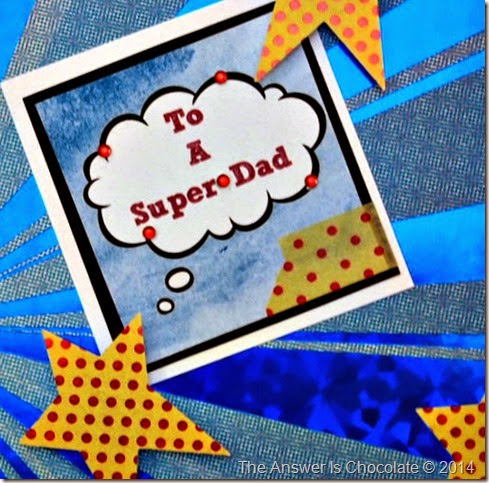
For the card focal , I created an image in PicMonkey and then printed on plain white cardstock. I thought the could shaped comic bubble worked with the papers. Trimmed, matted with black and then again with another scrap of cardstock.

Super Hero Dad Closeup

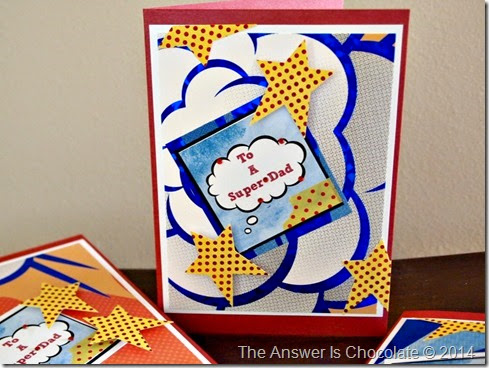
The papers are so detailed that I didn’t need to embellish a lot. I punched stars from another sheet from the stack.

Super Dad Father's Day

I had some washi tape that coordinated with the paper I used for the stars and reminded me of the dots you often see in comics.  I used foam dots to adhere some of the stars and others I trimmed and laid flat with tape.

To finish, I added a few tiny red self adhesive rhinestones around the cloud bubble.

Up up and away!

Monday, May 5, 2014

Masculine Thank You Cards

Masculine Thank You Cards

Hope everyone had a great weekend. Feliz Cinco de Mayo!

I had an early Mother’s Day weekend. College Boy flew home from school to attend a symposium at the University of Washington. He wanted to thank both the Professor from his school who selected him to attend,  as well as the Professor who hosted the event. 

He’s so cute…”would you mind making a couple of cards?”


"Oh no. Me make cards? I would hate that!"

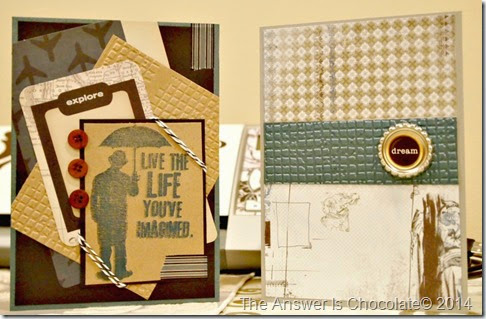
Life You Imagine Card

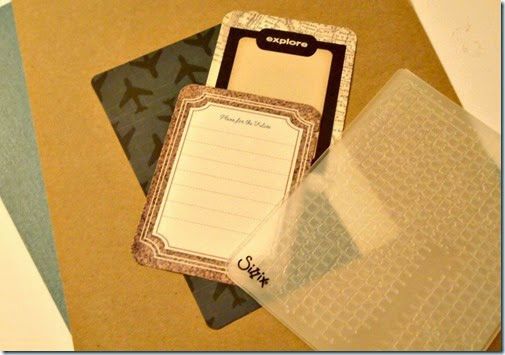
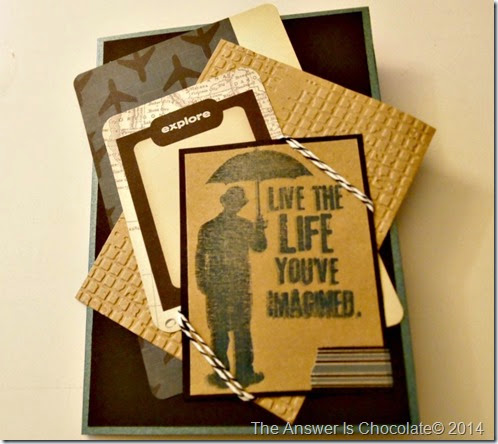
I chose a muted teal metallic cardstock, kraft cardstock and some of the cards from the Project Life Vintage Travel kit. Who better for masculine cards than Tim Holtz, so I used one of his grunge embossing folders and Tim Holtz stamp.

Life You Imagine Card Base

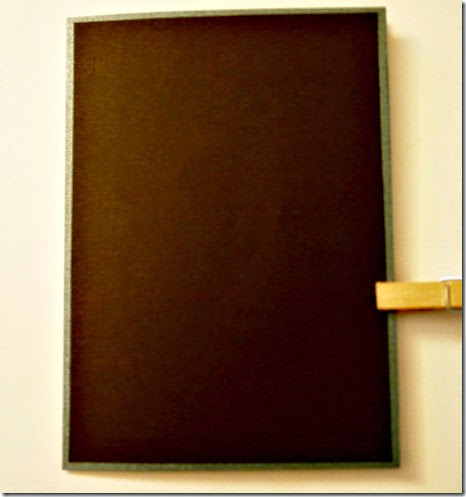
Make a 5x7 card from the teal cardstock. Cut a 4.75 x 6.75 panel from black card stock and layer.

Life You Imagine Panels

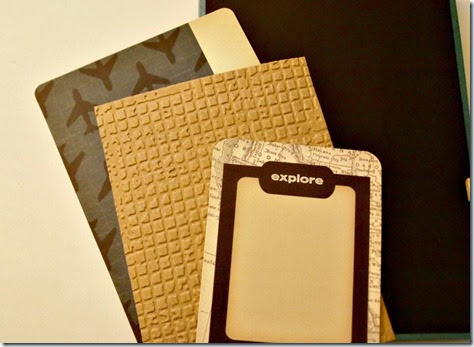
Cut a 5x6 panel from the kraft cardstock and run through your Cuttlebug or equivalent using the embossing folder. Layer panels at an angle (corners will hang over the card, trim flush with card when all panels are adhered)

Life You Imagined

Stamp image on kraft scrap and trim with black panel. I double stamped this image to get the slightly blurred effect.  Apply washi tape strip and baker’s twine . Layer on top of card . embellish with vintage buttons and done!

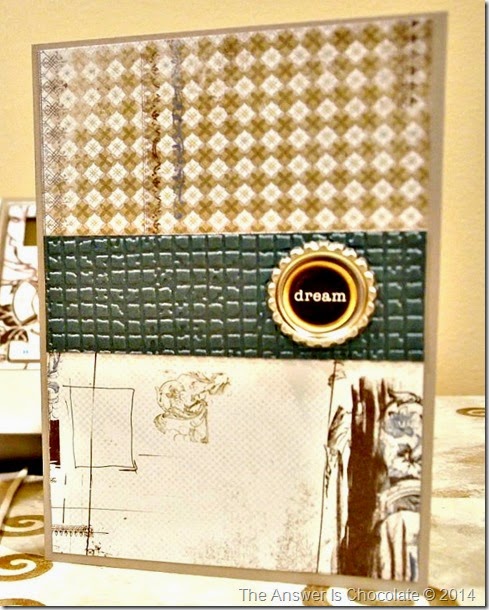
Dream Thank You

The “Dream” card is the same basic card  construction except join two coordinating papers together then cut to 4.75 x 6.75 panel. For this card I used a grey card stock and coordinating Basic Grey ( "Perphery") papers.  Use a leftover piece of the teal cardstock and run through the embosssing panel. Adhere across the front as shown. Apply “dream” sticker to flattened bottlecap and adhere to panel.

Monday, April 7, 2014

Spring Cards Using What's On Hand

Sympathy Card

My creative process is usually to survey what supplies I have on hand and then kind of “feel” a project. Sometimes I look at things, take them out, put them back. Sometimes it's instant. Other times it takes a while.

Right now half of my craft room is packed up  (  Mr.  Chocolate says “How can you tell” ).  I still used that process but could feel the absence of other stuff. ( I really can Mr. C.)


Still, I needed to make some cards so used what I had . All my dies and embossing folders are packed up. I have my neutral papers , a bin with miscellaneous embellishments and some stamps on hand.

Sympathy Cards Grey and White

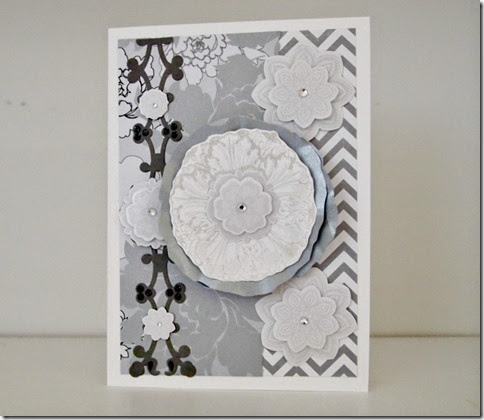
For these cards, I used a combination of silver, gray and white papers. Stamped the floral medallion on white paper with grey chalk ink, and layered with torn silver paper circles. Embellished with rhinestones and self adhesive sticker borders.

Spring Card

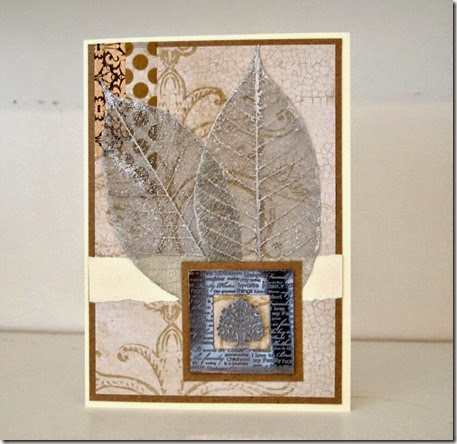
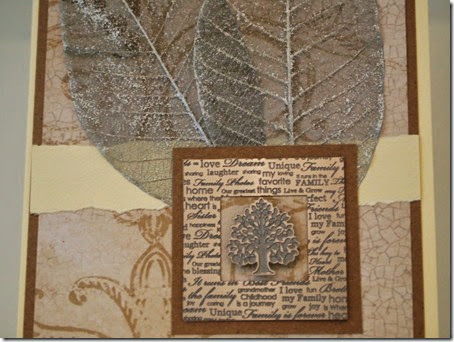
For this card, I used a natural color scheme with fossilized leaves and a metal frame and tree as the focal.

Spring Card Closeup

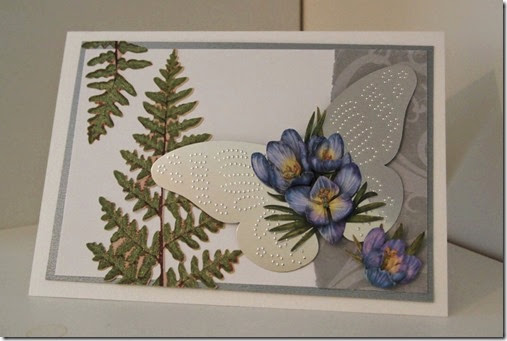
For the last card, I used gray and white with a splash of color from  fern and 3D Iris stickers and a metal butterfly I found in the $1.50 bin at Michaels.
Metal Butterfly Card

Butterfly and Iris Card


Happy Spring ! 

Monday, March 3, 2014

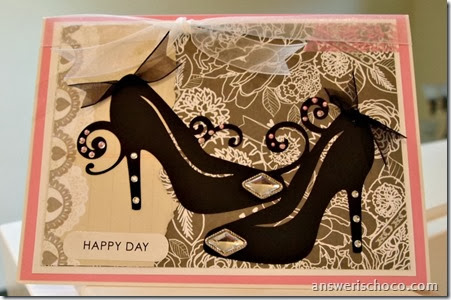
Fashionista Birthday Card : Pink Paislee Secret Crush

Pink Paislee Birthday Card

I made this birthday card for a very stylish friend. Who can’t use a pair of fabulous high heels even if they’re made of paper?

For this card I used:
  • Bordered A-7 card ( Pop Tone)
  • Pink Paislee “Secret Crush” papers
  • Black and White Cardstock
  • Cricut Wall Décor and More cartridge
  • Cricut Expression
  • Ribbon
  • Rhinestones and Liquid Pearls

Start with a pre-scored A-7 card.  I used a white bordered invitation by Pop Tone. Layer with a panel of paper from the Pink Paislee “Secret Crush” collection.

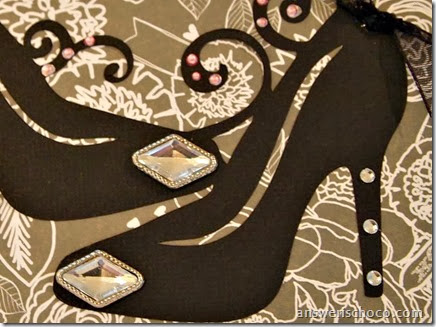
The shoes were cut from black cardstock using the Wall Décor and More cartridge by Cricut and my Cricut Expression.

Wall Decor and More Shoes

I glammed these up with self adhesive rhinestones on the toes and the heels, dots of pink Liquid Pearls and organza ribbon bows.
Pink Paislee and Cricut Card

Finished the card  with a scrap of pink washi tape, wrapping white organza ribbon around the top of the card  and adding a sentiment sticker.
Sharing At: 

Tuesday, February 4, 2014

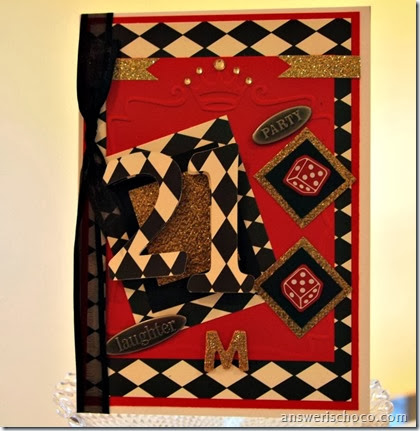
21: Vegas Style Birthday Card

Red White and Black Birthday

My BFF and I have done everything together including getting married and then a few years later, having kids within days of each other. We even went to the same Ob/Gyn and delivered in the same hospital. So 10 days after celebrating my baby’s 21st, it was time to celebrate her baby’s 21st.

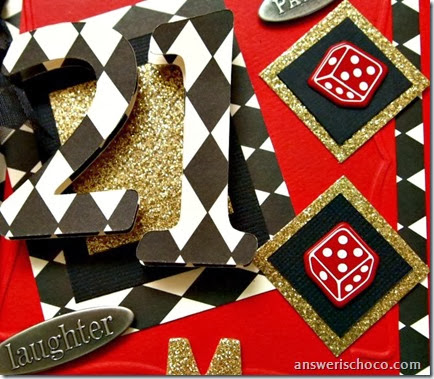
Since she’ll be celebrating in Vegas, I wanted the card to match so when I saw dice brads at Impress I had to get them and based the card around them.
Black and White 21

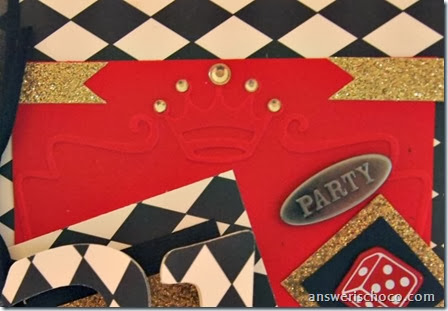
I went with a red / white / black scheme to play off of the roulette wheel. Used Canvas Corp diamond patterned paper , layered with an embossed panel using a Cuttlebug embossing folder with a crown at the top.
Black and White Checker

I used my Cricut Expression to cut the numbers 21 out of the diamond patterned paper and layered them with foam dots ( cut 2 sets for each number) and added some glittered gold paper and ribbon to give the card some glitz.  Layered the dice brads onto black and gold papers and embellished the crown with gold rhinestones.

I hope the birthday girl has a great time!